Black Cat Halloween Decorations – Simple DIY Project for Wooden Halloween Cats!
This post may contain affiliate links and I may be compensated for this post. Please read our disclosure policy here.
Black Cat Halloween Decorations – Simple DIY Project for Wooden Halloween Cats!
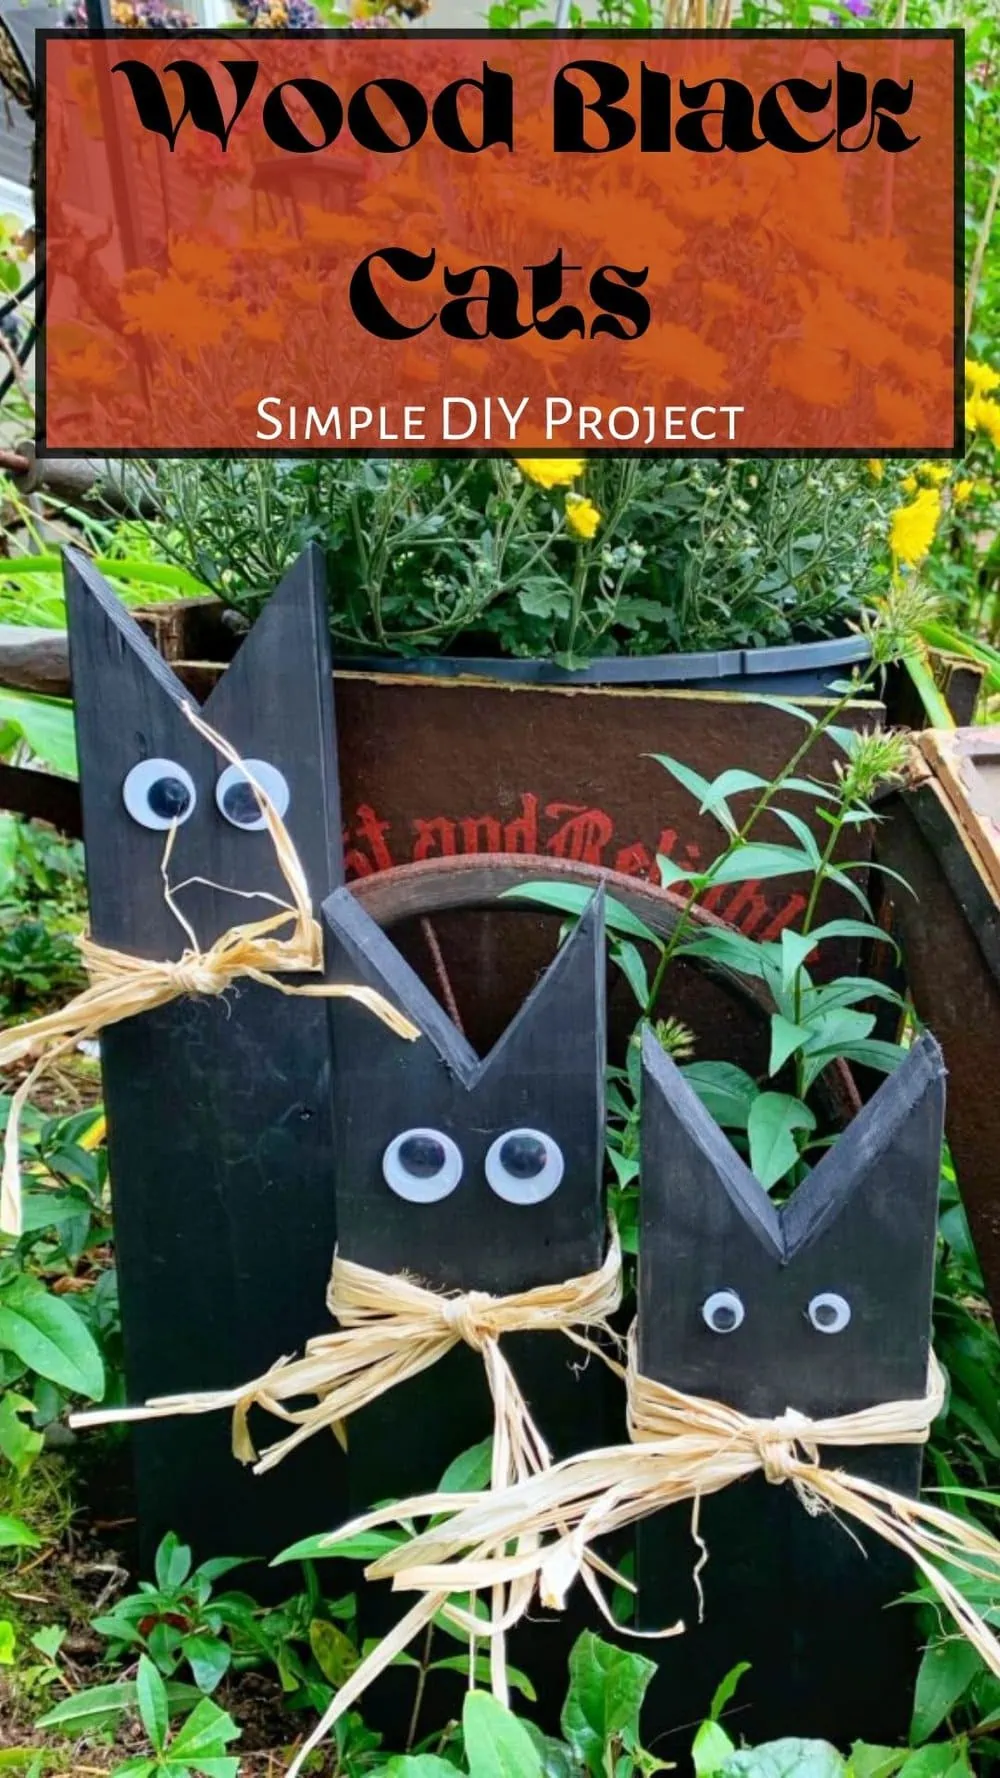
If you are looking for a really simple Halloween decor project that you can do to add some festive feel to your home (or get the kids involved with), check out these really easy wooden black cats. You only need a few things to make them, and they take very little effort to complete – but add some fun decor to the house or yard! I think these Black Cat Halloween Decorations, work especially well for outdoor decorations, which can be pricier to buy.
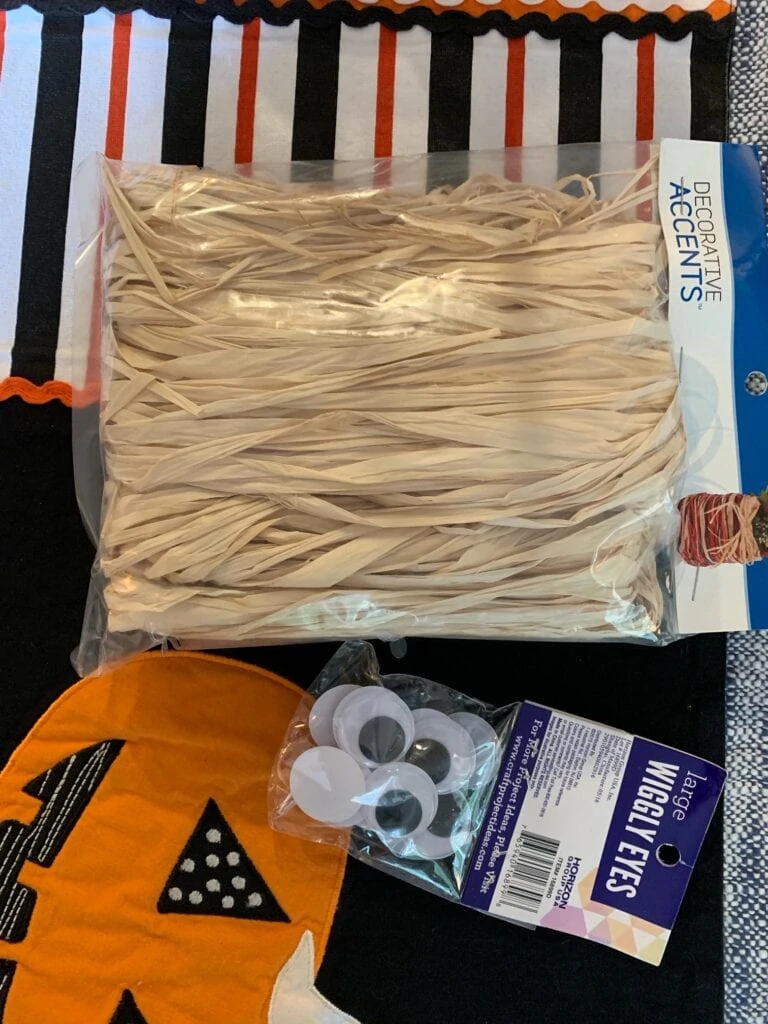
All you need is some pieces of 2 x 4 board, black paint, googly eyes, glue to attach them with and raffia. It is really that simple.
We did a set with the kids for a fun weekend project, and it was so simple. It took a short time to paint the boards, then we let them dry, then added the finishing touches, and that was it. It was so easy, and short enough to keep the kids focussed and interested. And they turned out so cute, with so little effort.
They also make a really great and affordable gift from someone else, if you are looking for some inspiration along those lines.
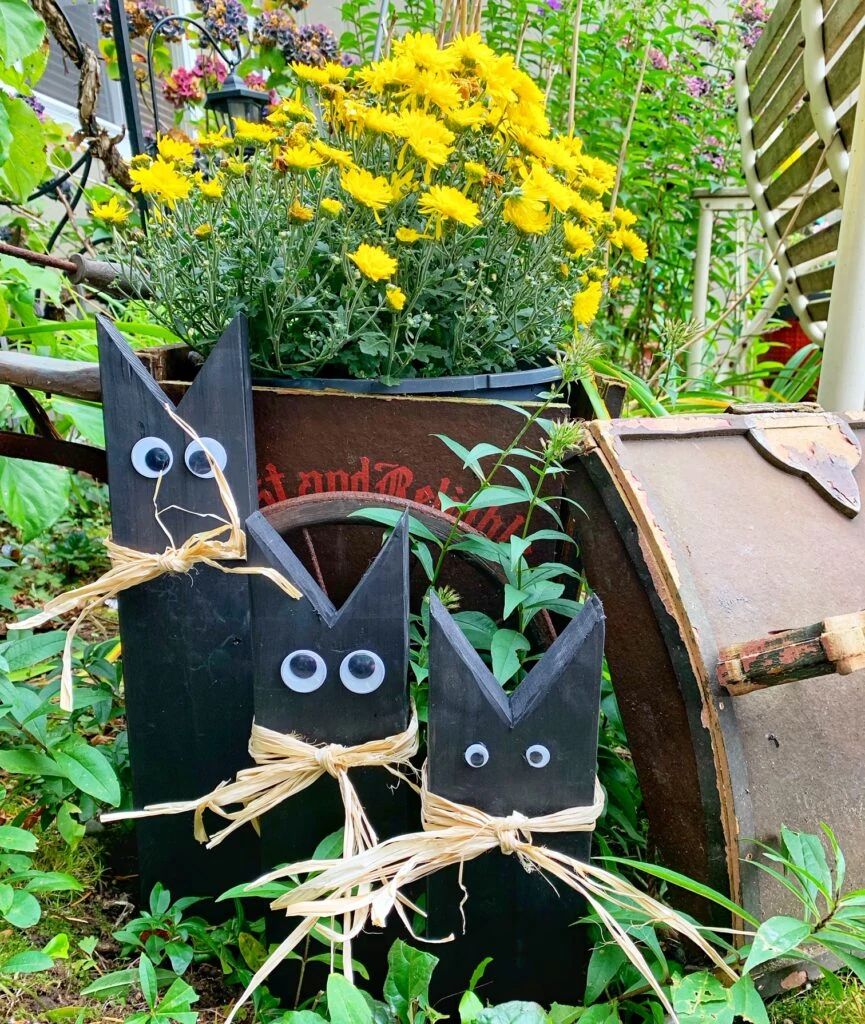
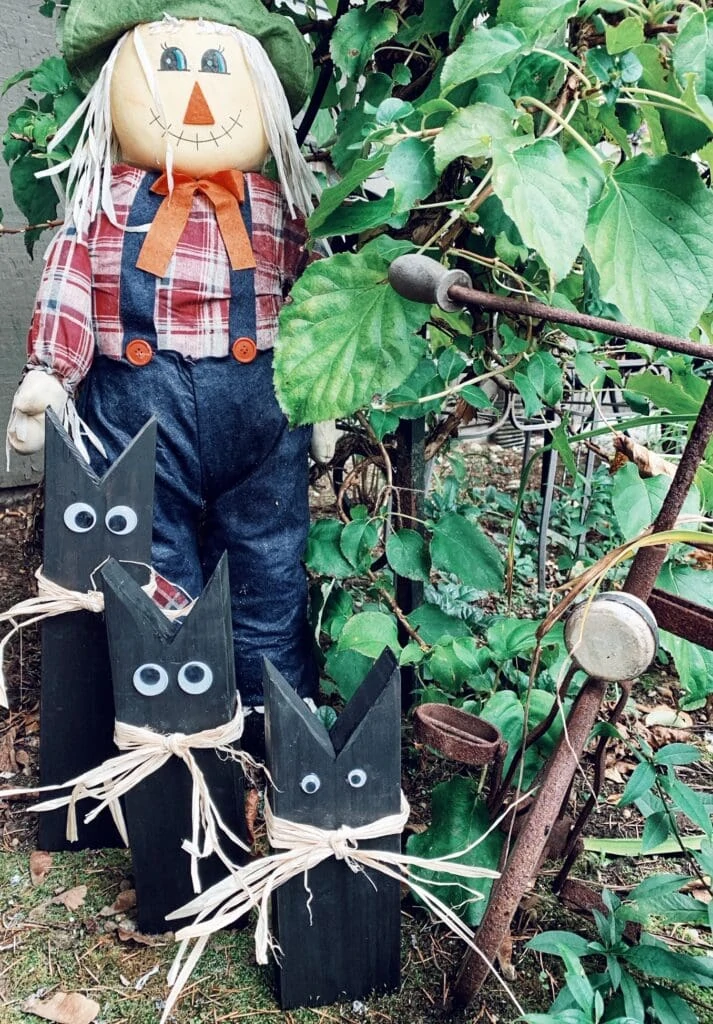
We made a dad, mom and baby cat, and put them out in the front yard for a fun seasonal statement.
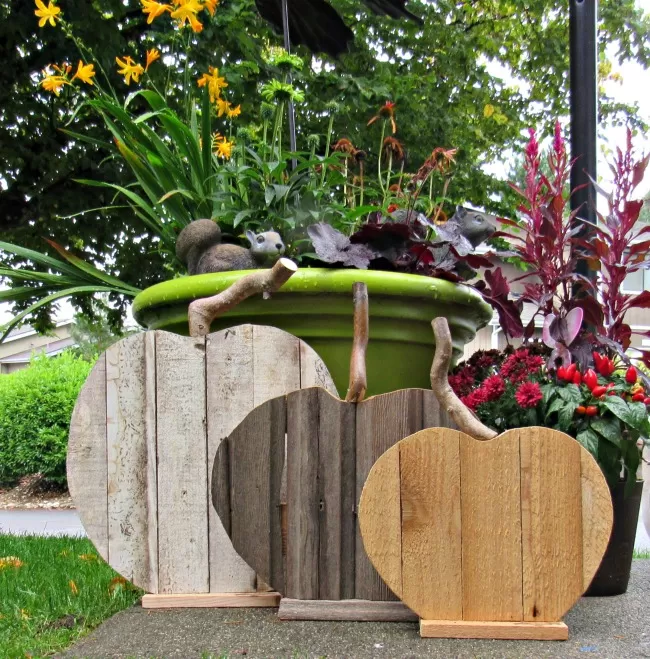
And if you want something a little more along the lines of harvest time, we also made these DIY wooden pumpins that we bring out each Fall to decorate our house.
Supplies needed to make these Black Cat Halloween Decorations :
- You will need raffia (can use any color you want, we got natural and orange for two different sets that we did.
- Googly Eyes. We used two sizes. The large ones for the mom and dad cat, and smaller ones for the small cat.
- Hot Glue (or any kind of glue you want to attach the eyes).
- Black Paint
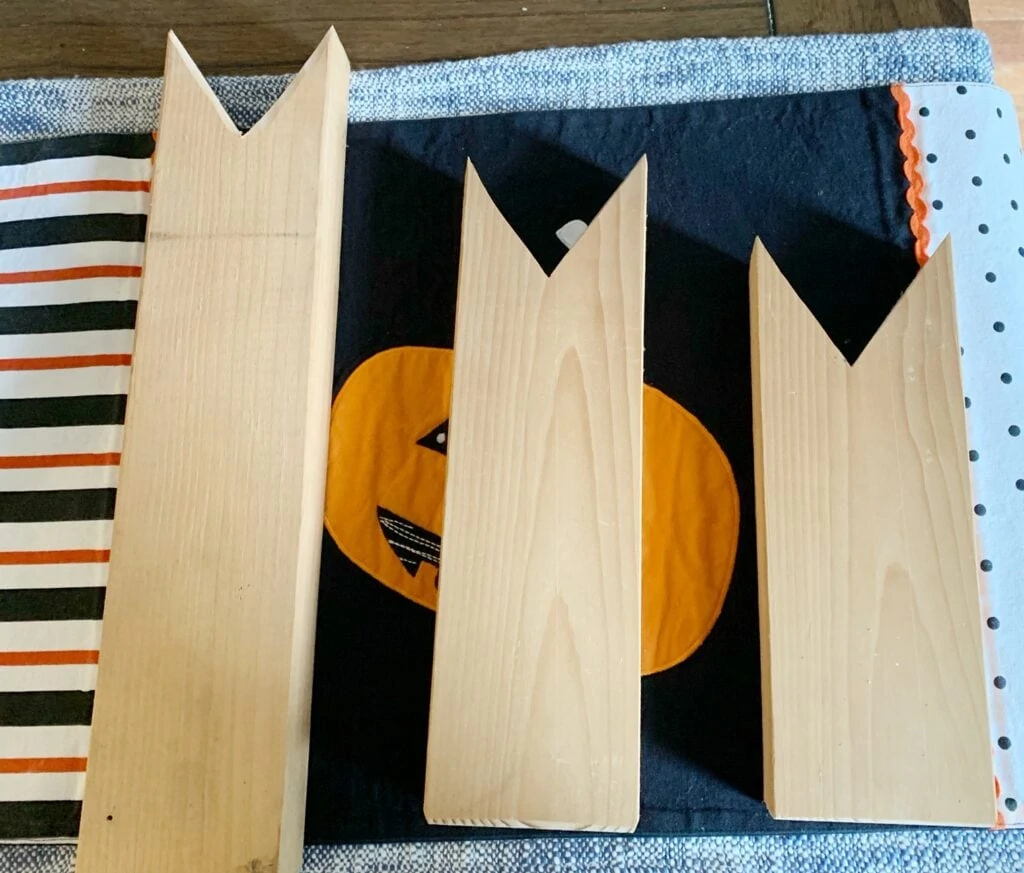
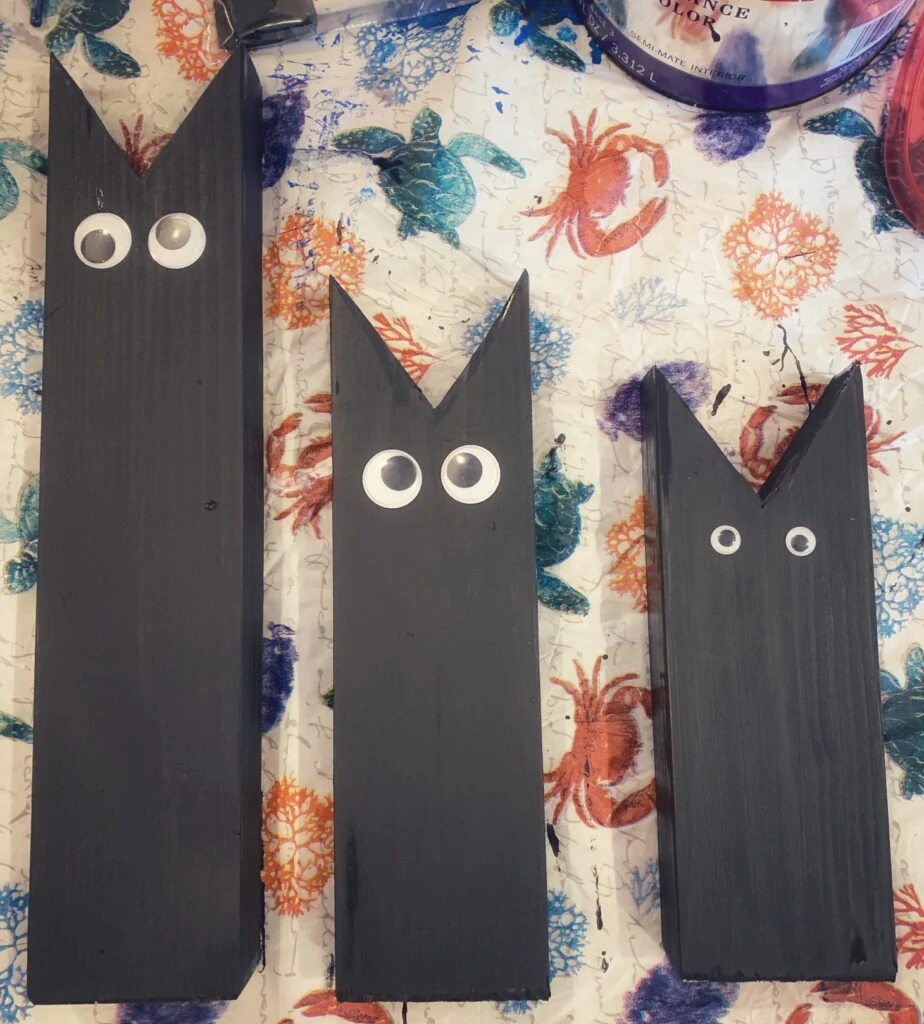
And three 2×4 boards, cut at varying sizes (to make a dad, mom and baby cat), with a “V” cut at the top of each board.
How to Make the Wooden Black Cats::
We cut our boards at:
- Dad cat – 16 inches
- Mom cat – 12 inches
- Baby cat – 10 inches
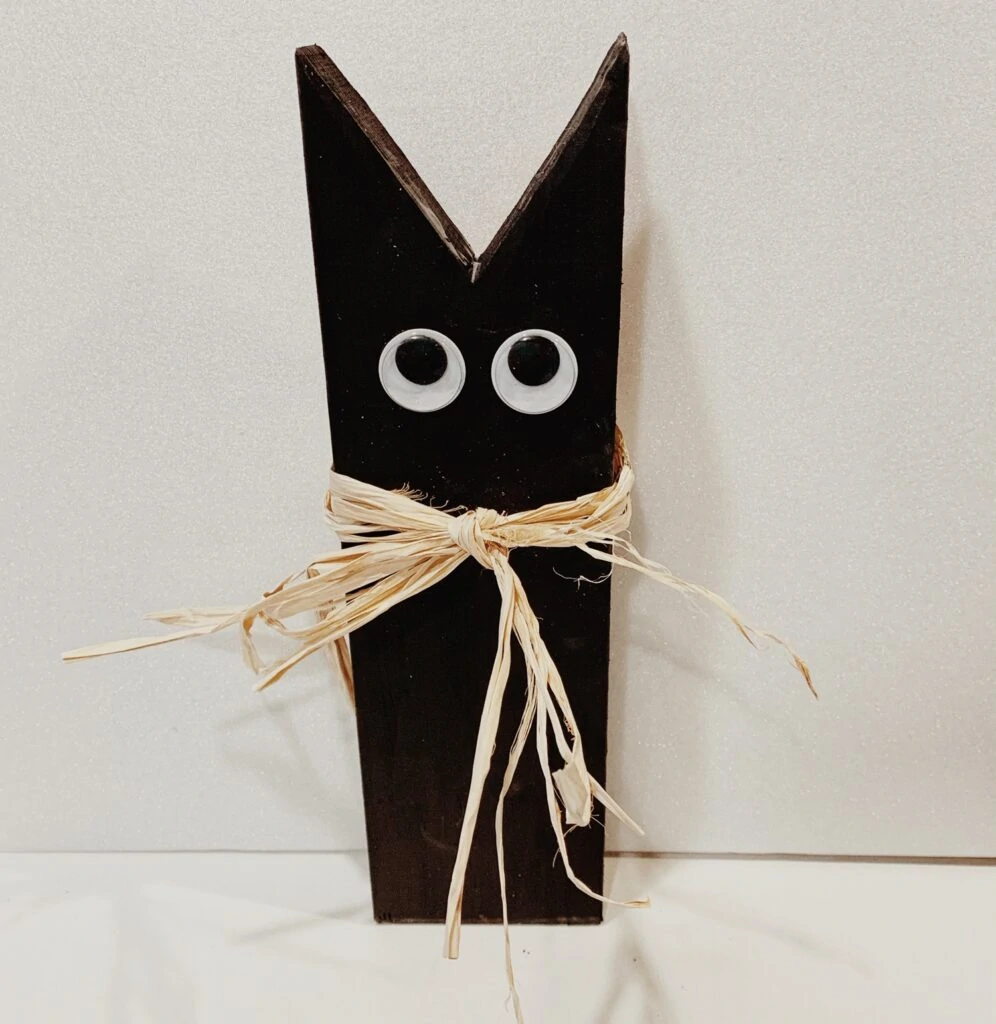
Once they were cut to the right height, we cut a simple V shape into the top of each board.
** Note – You may be able to go in some place like a Home Depot and ask them to cut a 2×4 down to these specifications for you too (I have had them cut boards to size in the past).
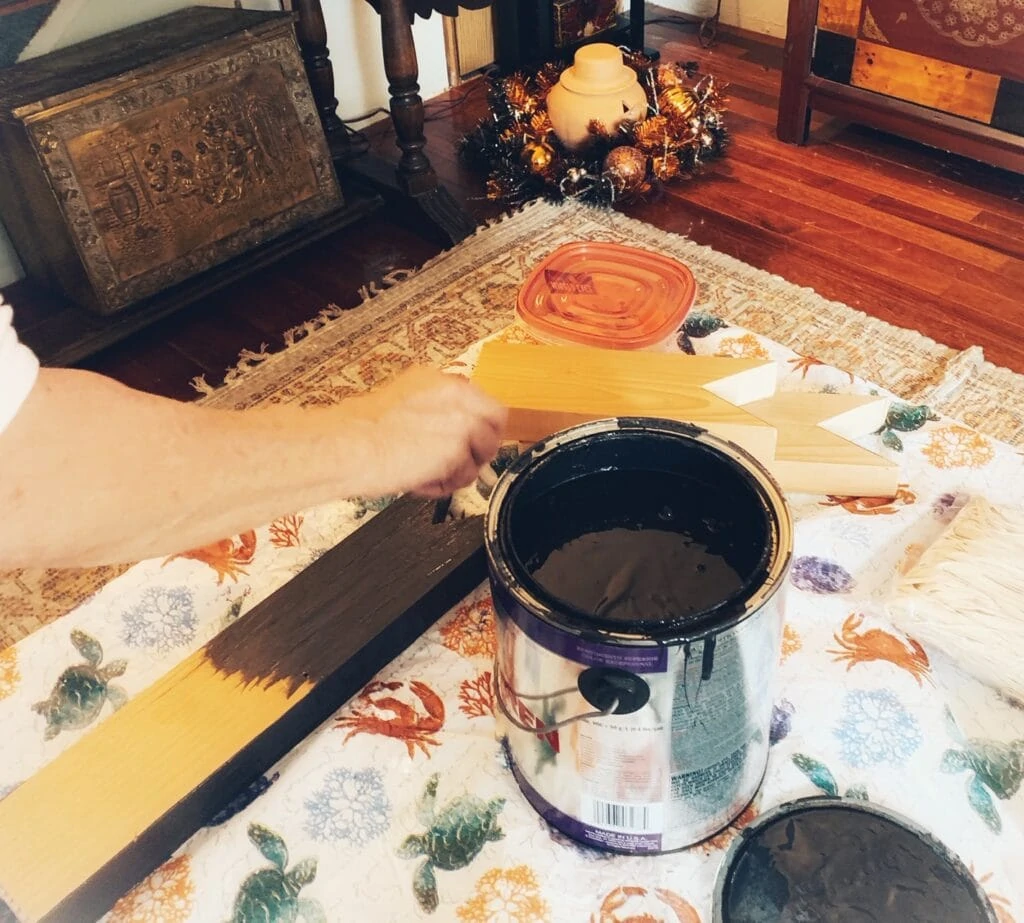
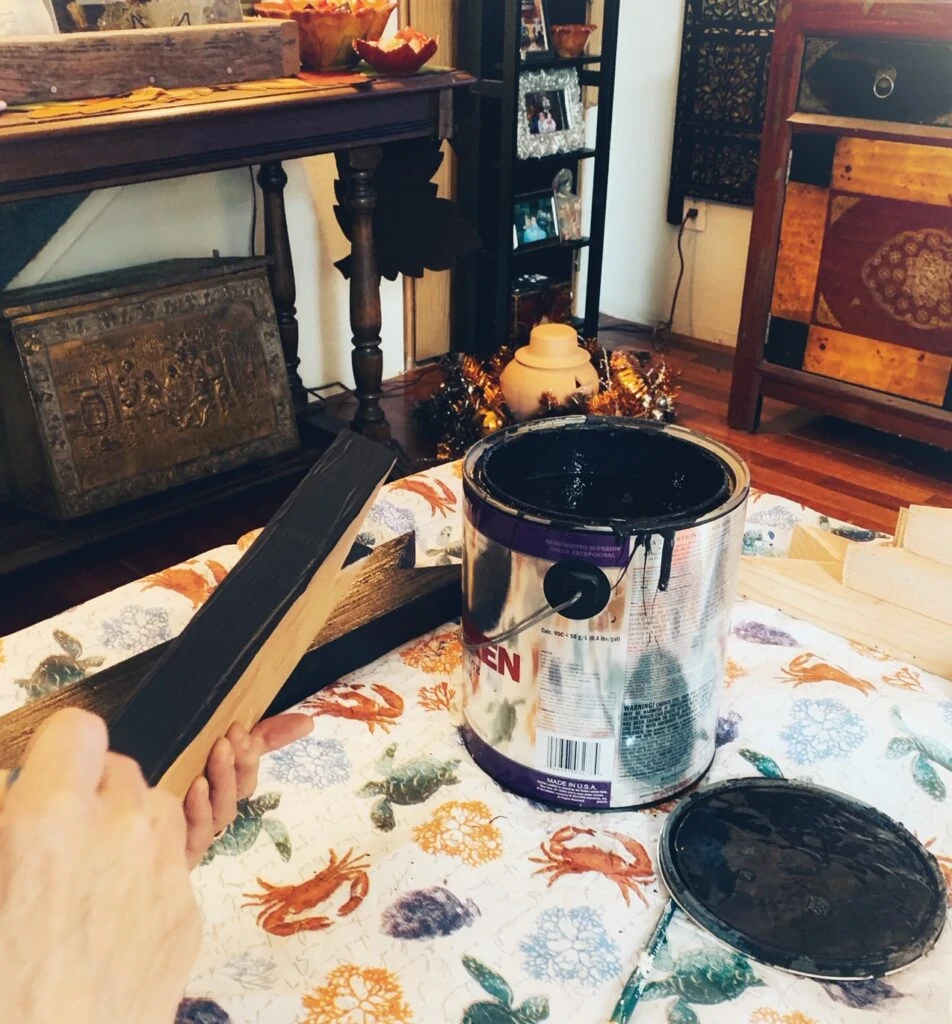
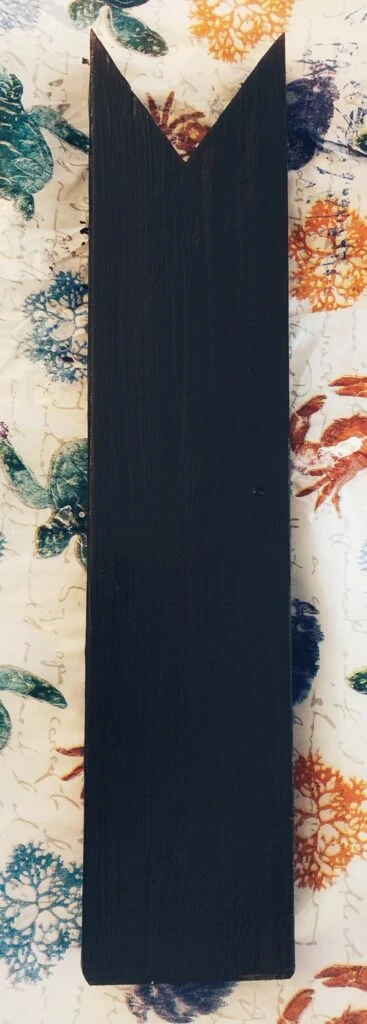
Don’t forget to paint the sides, as you will see those. You may also want to make sure to paint the back, depending on where you plan to display them. It will give the black cats a more finished look.
Be sure to give each board time to fully dry in between coats. We only needed one coat on each side, but it will depend on the paint you use, and the wood you use – to determine how many coats of paint you will need.
If you will be using them in an outdoor space, then you may want to take the time to cover them in a sealer once the black paint has dried at this stage. If you are only using them inside, you can skip this step.
Once the paint is fully dry, position the googly eyes in a way that you like. Once you like how they are positioned on each board, use hot glue (or glue of your choice to glue them to each board).
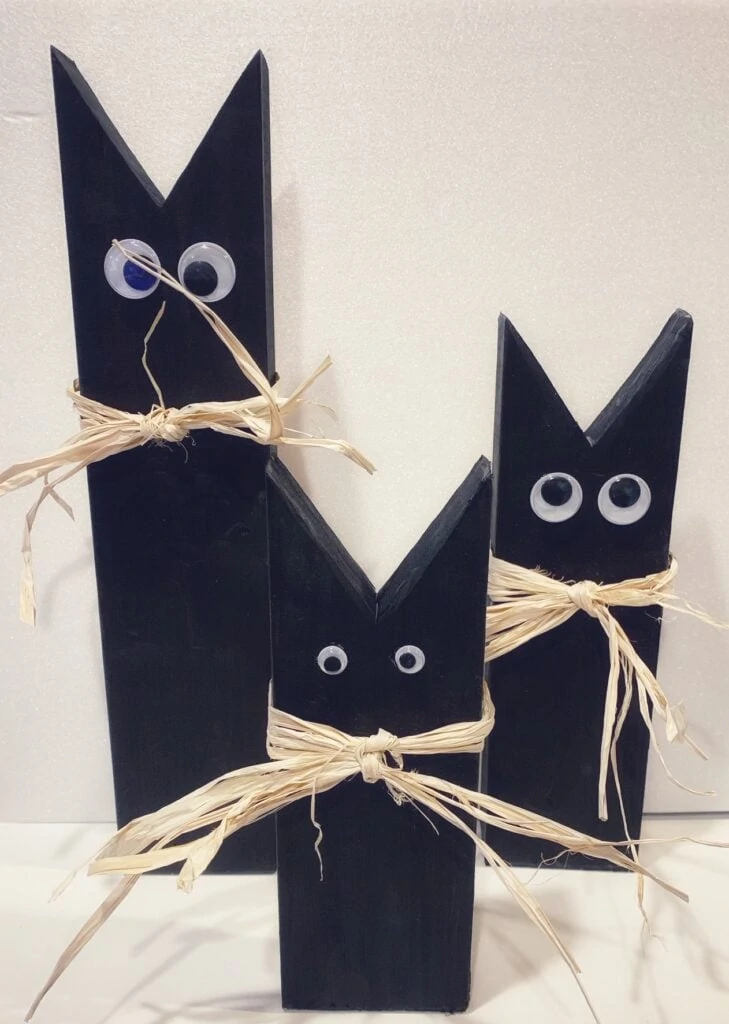
We used the large eyes for dad and mom cats, and smaller ones for baby cat.
Once all of the eyes are glued on you can tie raffia around where it would be the neck on the cat. Simply start by tieing it in a knott, and then decide where you want to cut it off.
In the example above we only used the natural raffia, but we did get orange and black to do on other cats too, so use what colors you love!
That is it! It is really that simple. Now find the perfect spot in your house or yard to display them.
Other articles you might like:
DIY Scarecrow – How to Make A Scarecrow with Items Around The House!

