Make Rustic Wood Pumpkins Using Reclaimed Wood!
This post may contain affiliate links and I may be compensated for this post. Please read our disclosure policy here.
Rustic Wooden Pumpkins Made From Reclaimed Wood
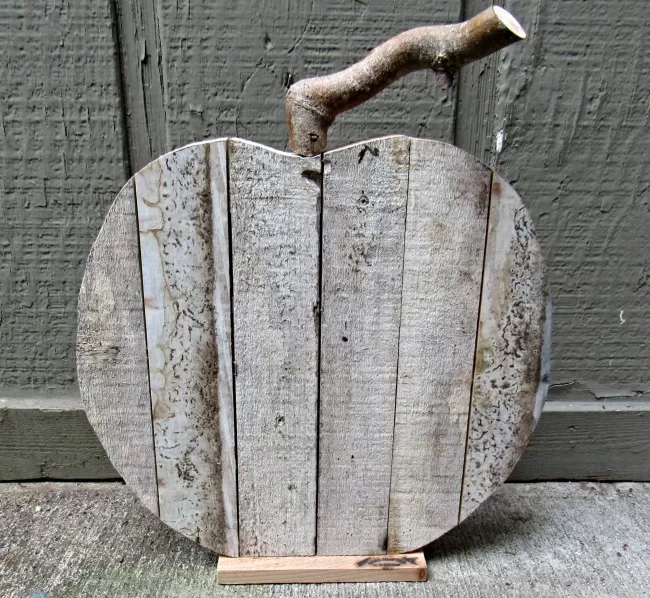
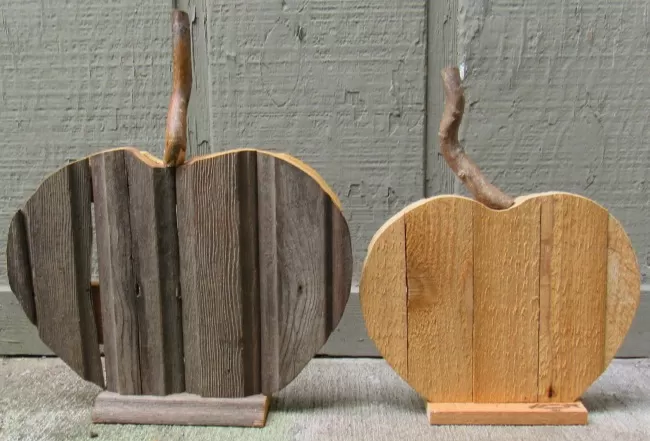
I love rustic decor, but shopping for many of these rustic fall pieces in the stores can get pricey. This year we got creative and made these fun rustic fall wooden pumpkins from reclaimed wood, some scrap wood and sticks from the yard. It does not take a large amount of wood for each pumpkin, so its a great project if you have a few boards laying around (old pallets would be perfect)! These are great since you can use them for Halloween decor (throw a faux crow on top) or in more Harvest themed decor too. They are very flexible. You can use them to decorate a mantle indoors, or as a table centerpieces, or leave them out on the front porch to add some festive decor to your outdoor space.
This project is also frugal, as you can use reclaimed wood. You can sometimes ask stores if they have wood pallets you can get for free (or find them on Craigslist or community sites for free often too). Wood from wood pallets would be a great look on these. You can also often find very affordable wood in the remnants areas of stores like Home Depot, so that is another idea for where you can find affordable wood. It does not take alot, so you can make this decor not much (where if you were to buy them they can cost you a little chunk of change (if you can find them that is). My mom lives on some property, where wood is ample, so her and my husband helped me with these pumpkins. Search your yard for twisty tree branches to make the stem of these wooden pumpkins.
What you will need to make these reclaimed wood pumpkins:
- Jigsaw
- Scrap wood (the amount you will need depends on how many pumpkins you want to make, and how large (one plank from a pallet could make a smaller pumpkin)
- Large Staple gun, or small hammer and small nails
- Wood Glue
- Stick from outside for the stem at the top of the pumkin
How to make these Wooden Pumpkins:
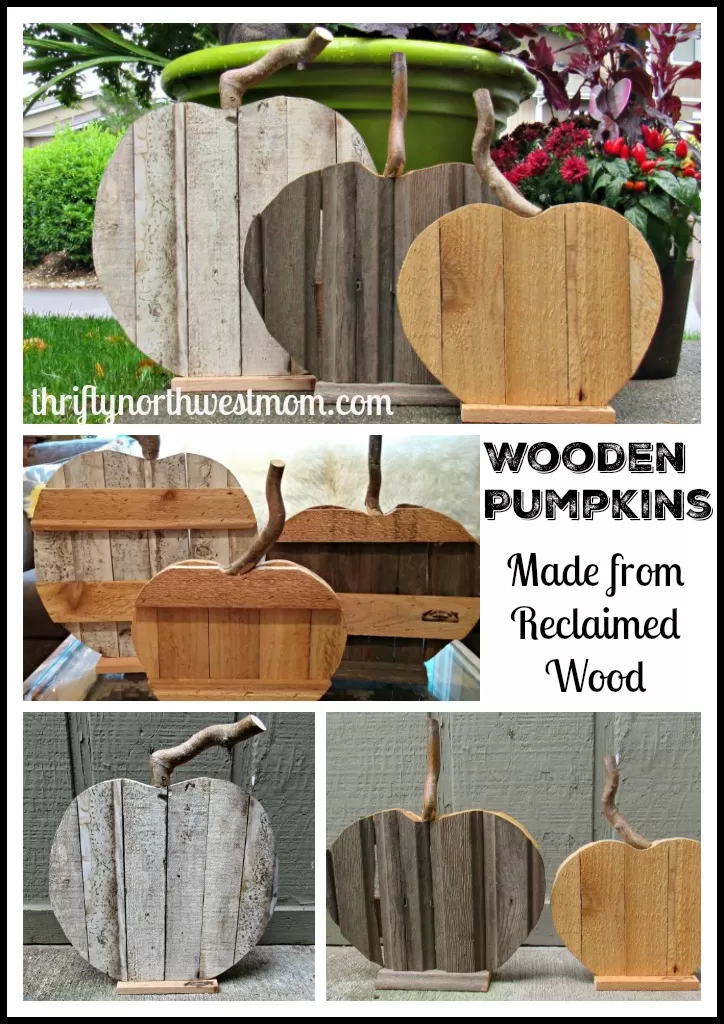
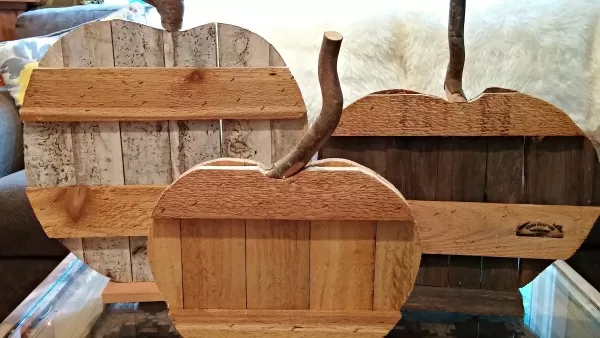
1) Line up the slats together to form a square around the size of the pumpkin you want to end up with.
2) Take another slat of wood and run it horizontally across the other slats (like in picture above)
3) Staple the horizontal slat of wood to each vertical slat of wood (see image above)
4) Once you have the vertical slats held together with the horizontal slat, you can draw your pumpkin shape on the wood (use a paper template to draw it on if that is easier).
Note – if you plan to create a base for them to sit on (see step #7 below) then you will want a flat bottom of your pumpkin, vs rounded, so keep that in mind when drawing your pumpkin.
5) Use the jigsaw to carefully cut along the lines of the pumpkin you drew on each set of wood
6) Once you have your pumpkin shape cut out, you can use wood glue to attach a branch/stick as the stem to the top of your pumpkin
7) You can now either add picture hanging wire to the backif you want to hang them on your door or wall, or you can build a base for them to stand up on (thats what we have in the image above so they can sit on flat surfaces. To build the base cut one of the slats approx. 1 inch longer then the base of your pumpkin (so it is 1/2 inch longer on each side). Staple it to the bottom of each pumpkin base.
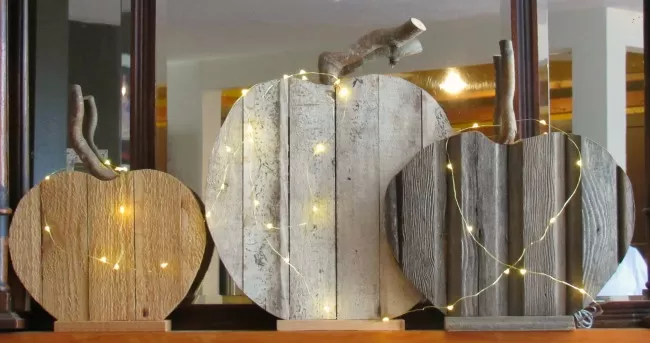
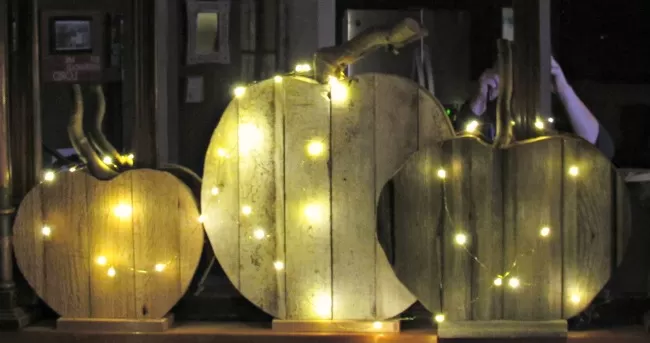
8) You can also add a string of lights if you want them to glow at night time. We used this batter operated string we got here.
They show off much better in real life, but add a fun festive ambiance to the house when you string some small lights around them.
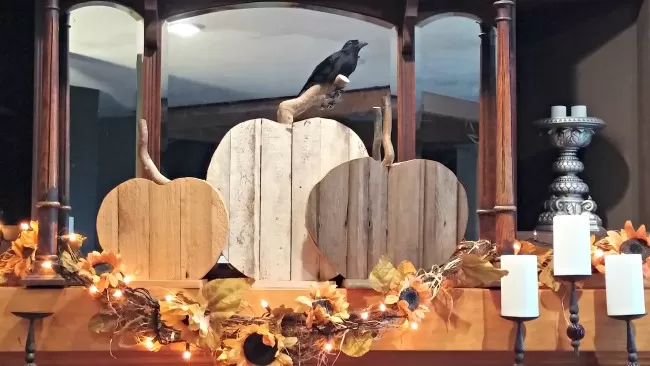
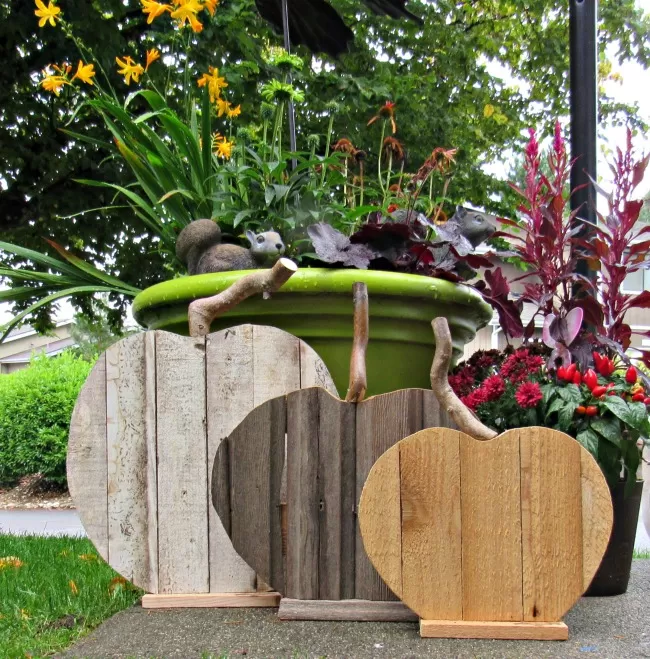
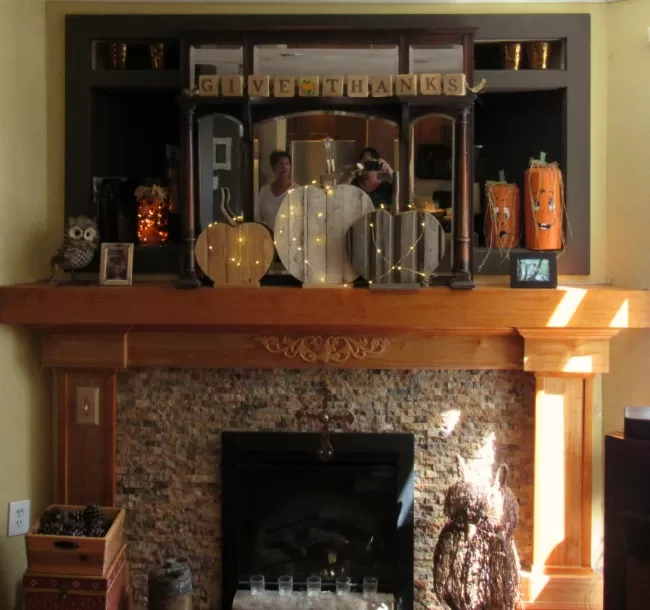
We used ours to decorate our mantle, but they also work great on a porch outdoors.
And here is what they look like sitting on my mantle! The best part is that since we used scrap materials they were free to us to make, and so not only do I love them but they can be a very frugal option to Halloween or Fall decorating!
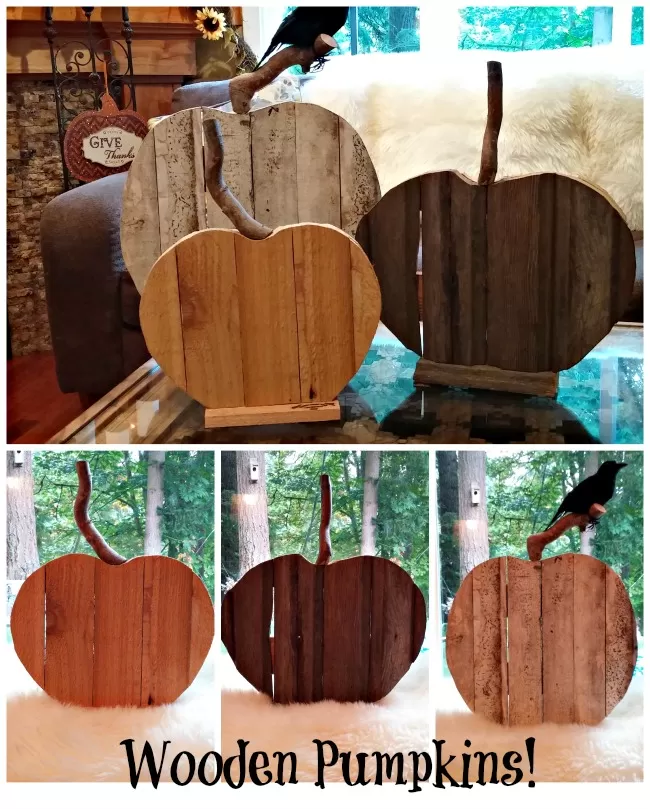
One of the things I think is key to this project is to use different colored woods if you can get your hands on a variety of them. Another thing that looks really cool is when you can use wood that is not flat, so it adds some extra dimension to your pumpkins.
More articles you might like:
Pumpkin Centerpieces Ideas – Use A Pumpkin As A Vase And Add To It!
Homemade Thanksgiving Table Decorations & More Frugal Thanksgiving Decor Ideas!
Make Disney’s Olaf (From Frozen) Using Pumpkins this Fall!

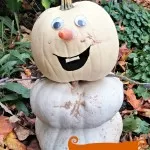

These are so cute!