Route of the Hiawatha Trail & Bike Ride – Amazing for Most Ages!
This post may contain affiliate links and I may be compensated for this post. Please read our disclosure policy here.
 Route of the Hiawatha Bike Ride – Amazing for Most Ages!
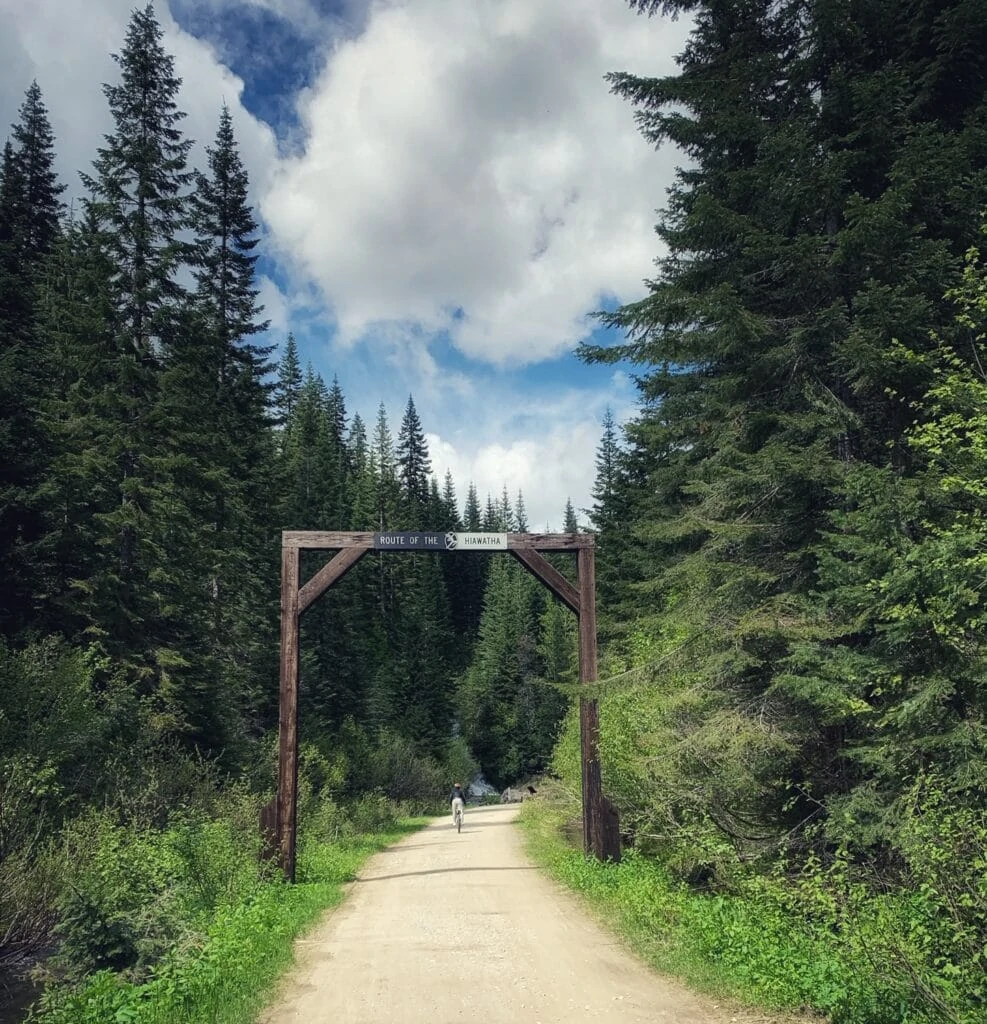
If you are looking for a fantastic bike ride, suitable for most ages and abilities, you will definitely want to consider the Route of the Hiawatha Bike Ride on the Montana/Idaho border. I recently headed from the Seattle area over to this bike route, to get my kids out and active. We were traveling with my mom (a senior) as well, so I called the folks at the visitors center to see if the bike ride was one that was good for all ages, and they assured me it was. Here is our real life experience to let you know what we thought.
The route to Hiawatha bike ride is part of the rail to trail project, and has earned honors as one of the best in the system. It is mostly in Northern Idaho, although you will cross the border just into Montana to start the ride (if you are starting where most folks do, but there are other options we will discuss below). It will cost you to enter, plus if you want to take the shuttle back that costs, and if you do not have your own bikes, those will cost too. We will cover all of the costs in specifics below. If you bring your own bikes, it can be an affordable thing to do. If you do not, then it can be pricey (but was worth it to us as a splurge activity). When we were researching it ahead of time, I had trouble finding detailed info in one spot, so I we will share everything we learned during our trip here, so you can decide if it is a good fit for your family, and be prepared ahead of time if you decide it is.
It was one of the highlights of our recent trip to Northern Idaho, and I am so glad we splurged on it! Of all the things we have done this summer, this is the one activity that my friends and family ask about the most.
What is the Route To Hiawatha Bike Ride:
It is a 15 mile bike ride, that is mostly a low grade down hill ride, and provides some spectacular scenery and history of the area. You are in the wide open outdoors, and it is breathtaking in many places.
It is generally open from Mid-May through Mid-September, but if you are planning a trip around the beginning or end of that time-frame, be sure to check their website here to confirm it is open. It is open daily during those times from 8:30 AM to 5 PM PDT, so plan your visit in that window. I recommend getting there earlier rather than later if possible, as you should not have any trouble getting a shuttle back up the mountain when you are done that way.
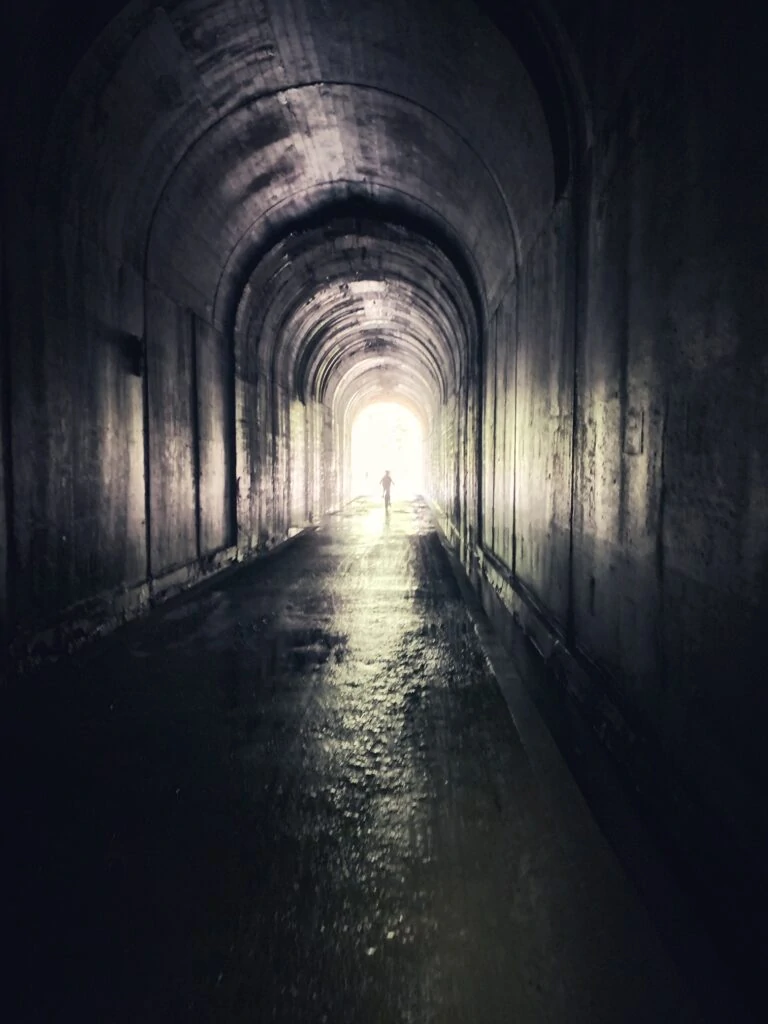
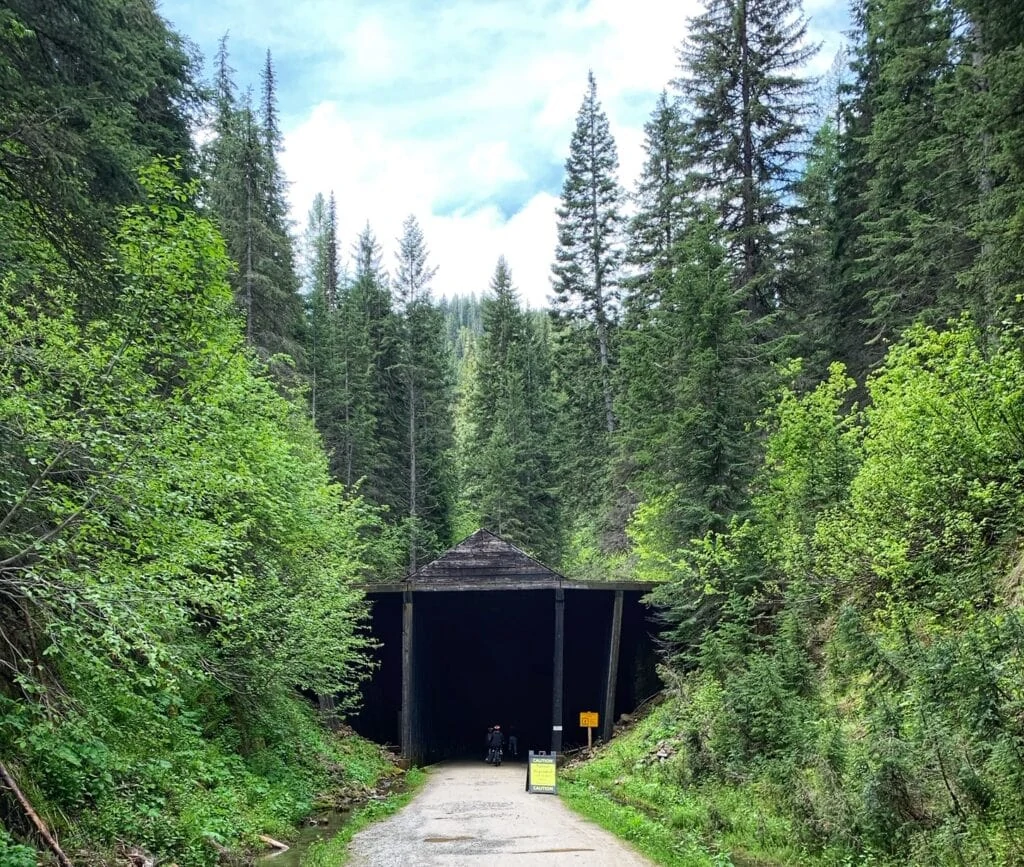
There are 10 rail tunnels you will bike through. The first one is the longest at 1.66 miles long (and the only one you will have to bike back through on the return trip). This one is cold and dark, so make sure you have a great light on your bike (if you are renting, they come with them) to see in there. We also dressed in layers so we had something to wear through this tunnel.
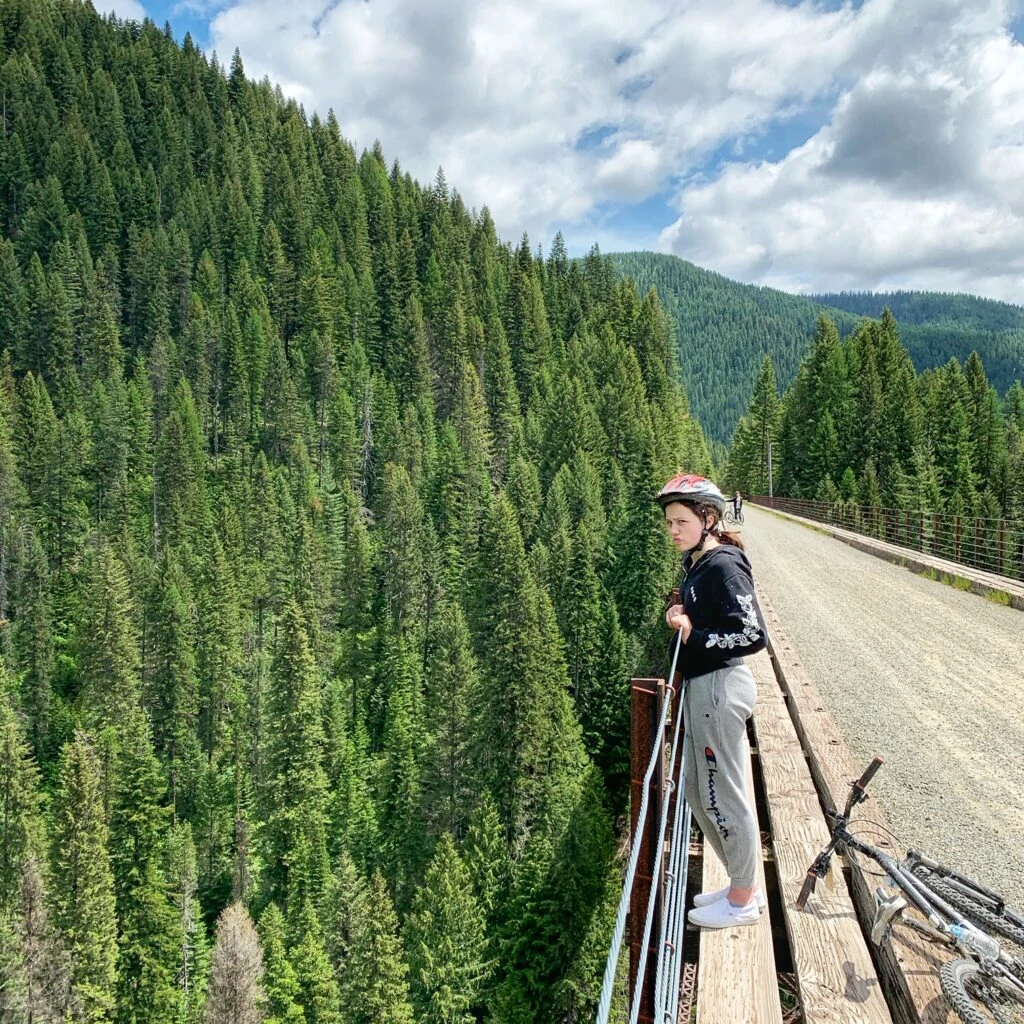
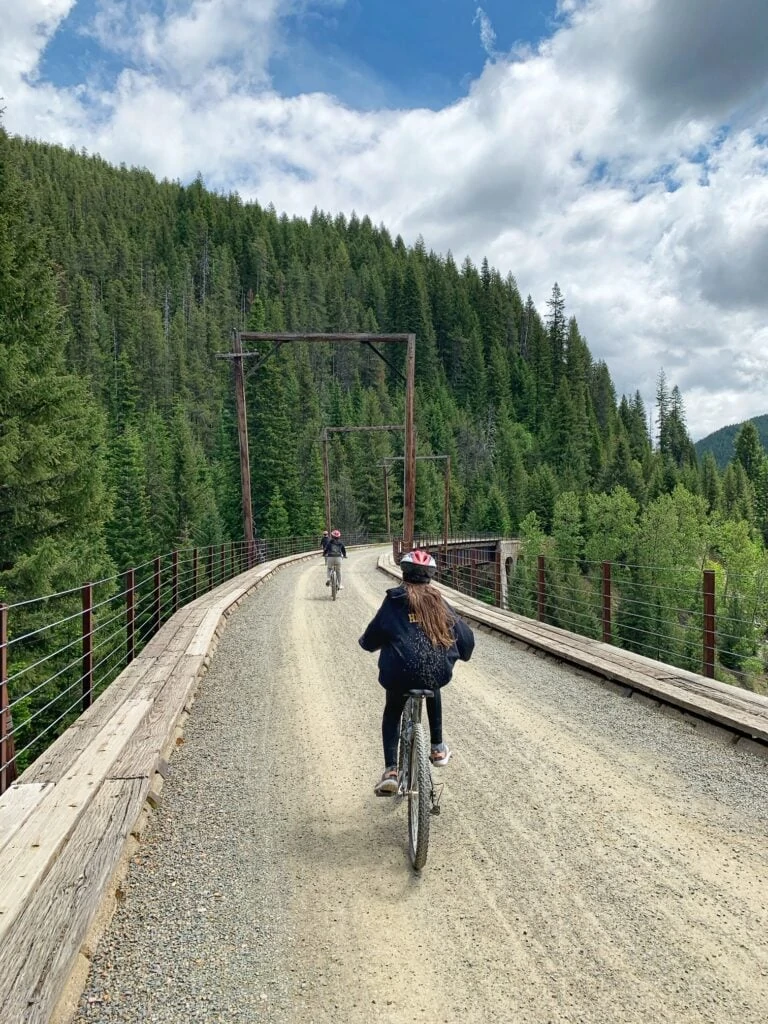
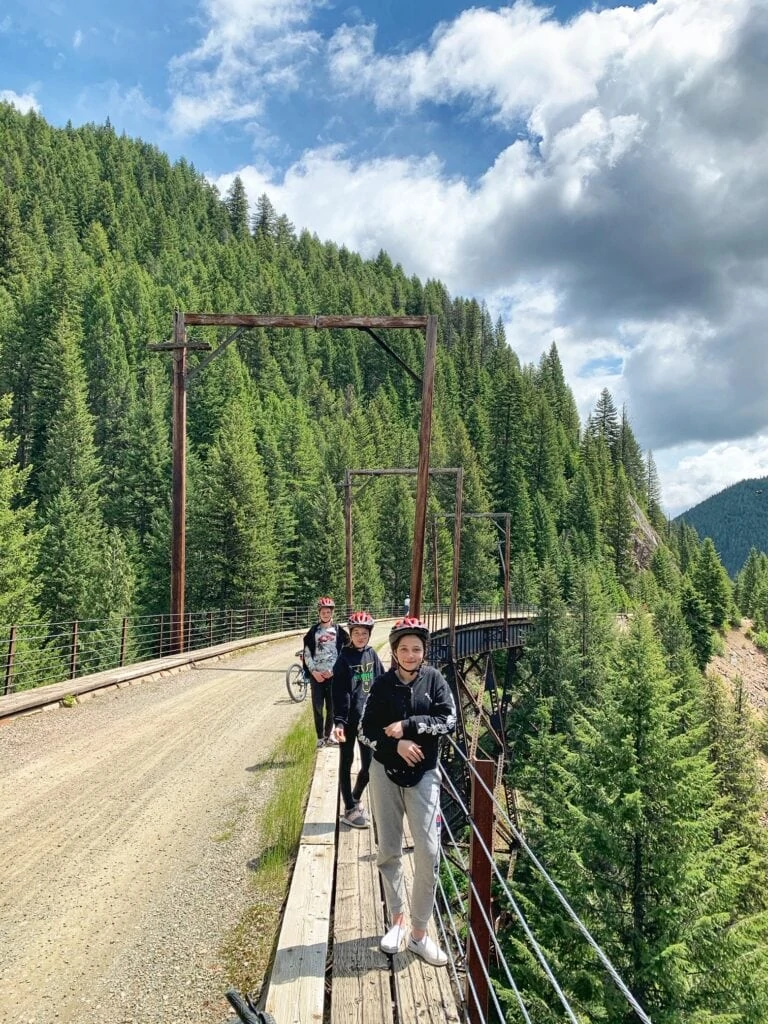
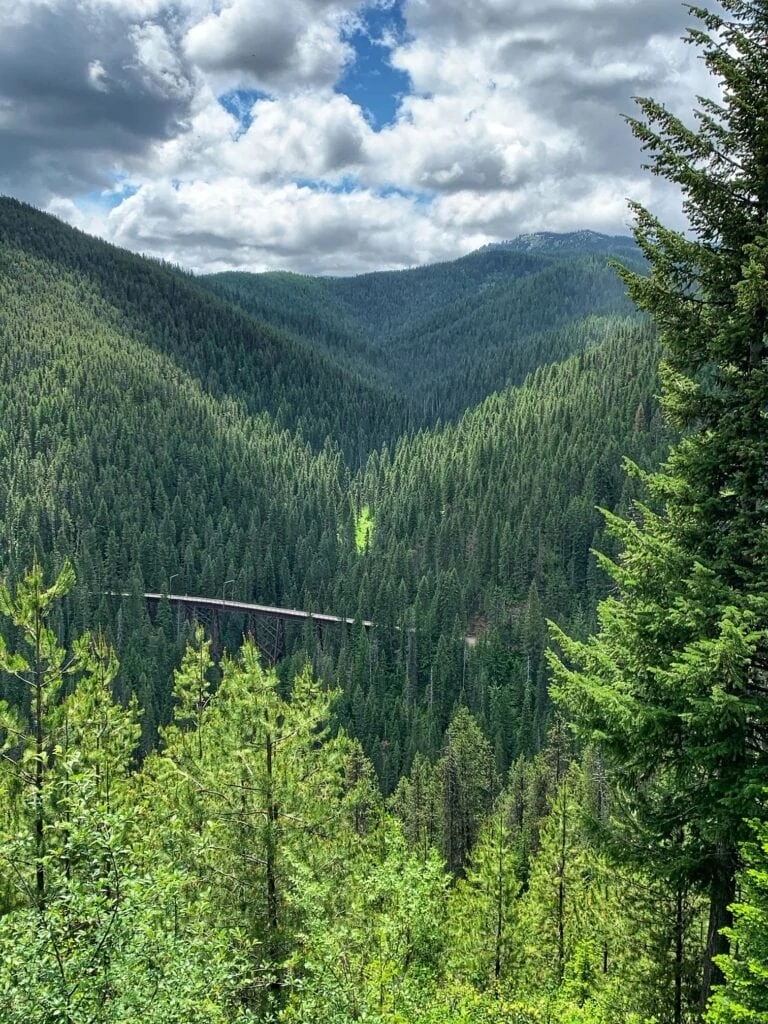
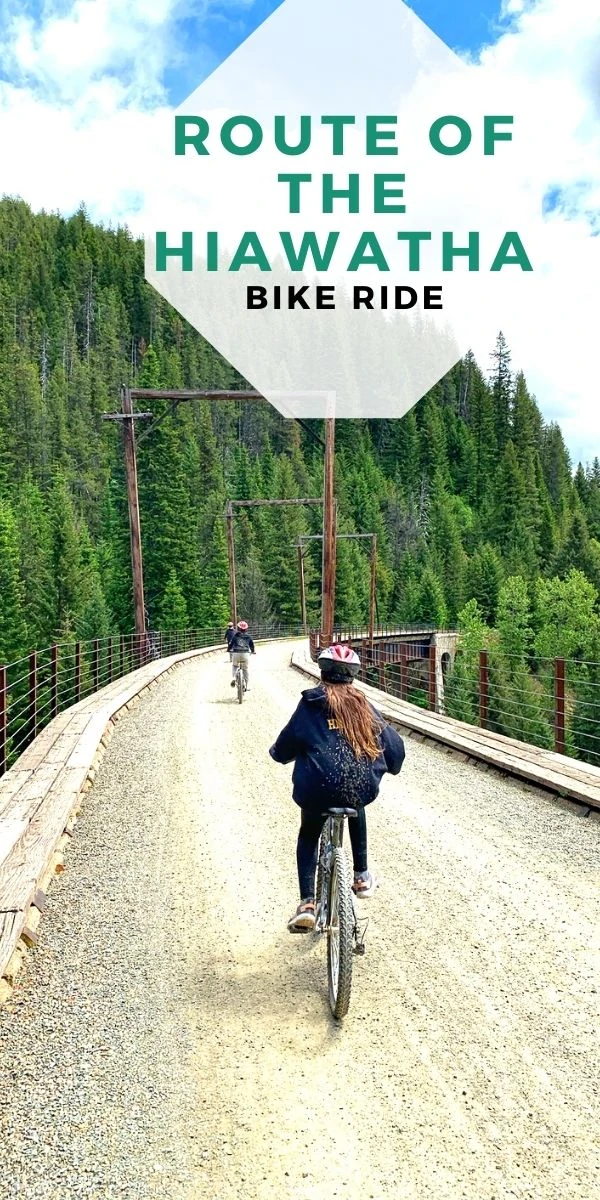
You will also have the opportunity to ride over 7 trestle bridges, which provided some of my favorite scenery along the way. They are great spots to stop for a break to survey the surroundings, for picture opps, and just enjoy the beauty in general. Some of them are pretty high, so if you have a fear of heights you might want to just ride right down the middle without stopping!
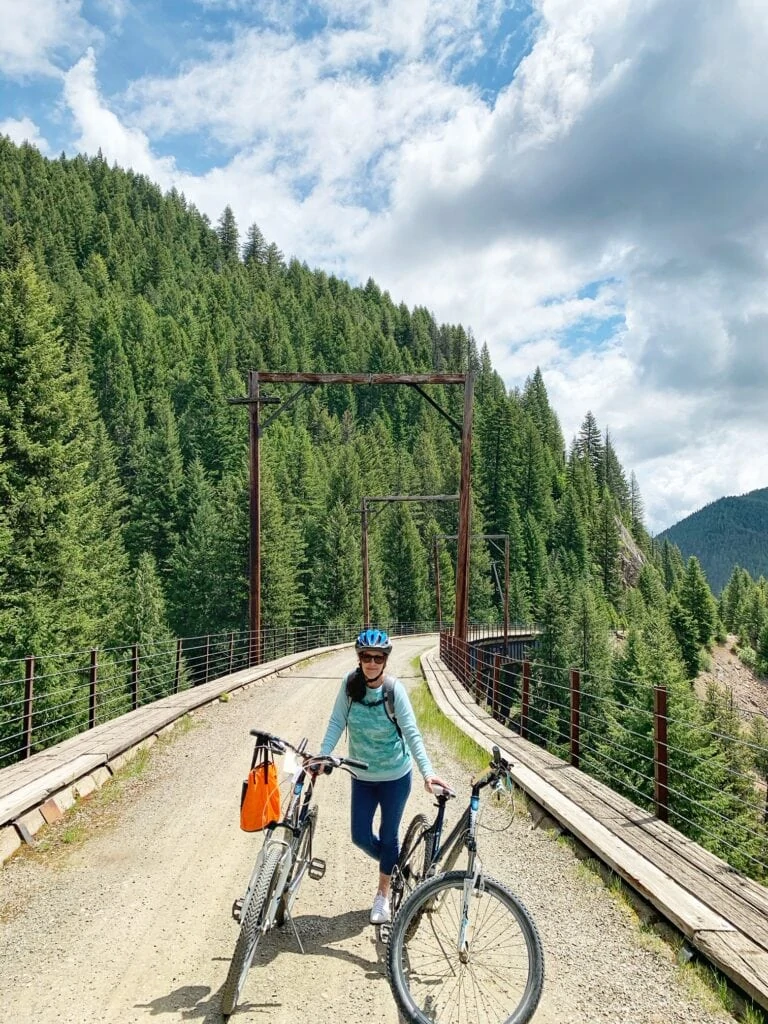
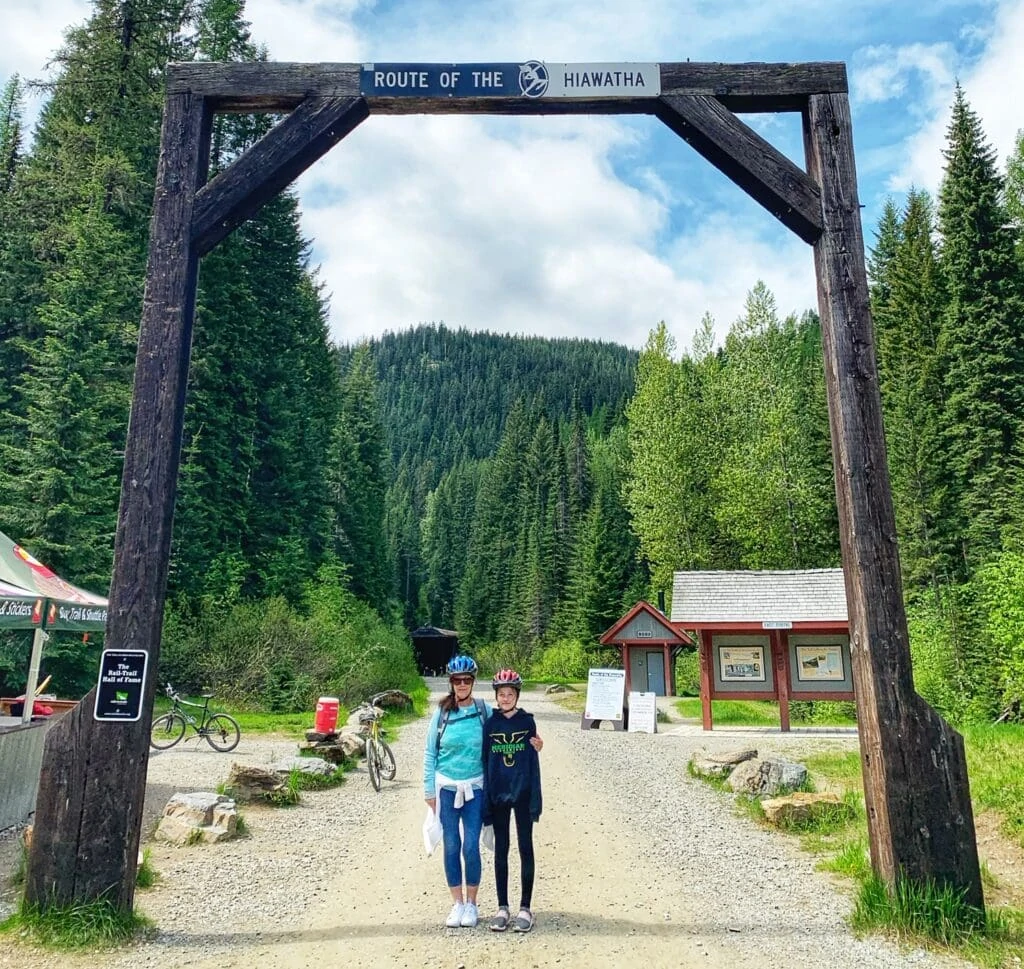
My Mom (grandma) posing with both of our standard rental bikes.
It was a girls trip for us, but we were three generations traveling. My mom is 68, and she loved the trip. She did fine on the trip down – by the end she was getting tired though. Once you get dropped off the shuttle you have to ride the mile back through the tunnel to where your car is parked (I will go into more detail on that in the shuttle section below) and that part was very difficult for her (she probably should have walked some of that or taken her time more). The only other complaint she had was the seat (it was very uncomfortable for her, and we had rented standard bikes. In the future I would rent her a comfort bike, or she expressed interest in the e- bikes.). Outside of those two things, the bike ride was a real highlight for her, and she is so glad she pushed herself a bit to do it. We did see other seniors riding the motorized bikes, and she said if she did it again she would look into one of those!
I also had my daughters, and one of their friends with me (ages from tweens to early teens). They also complained a bit about the discomfort of the bike seats (they have cruisers at home, so were just not used to them), but they had no problems at all making the trek! We saw other much younger kids on the ride too, so it is something that is popular for all ages for the most part.
Why You Should Consider This Bike Ride:
If you love the outdoors, and leisurely bike rides, this one is spectacular. It is called the “Crowne Jewel” of the rail to trail project on the Idaho Visitors Site, and we were not disappointed. I loved that it was mostly a low grade downhill ride, so you definitely got exercise, but it also makes it accessible to more people who do not have as much experience on longer bike rides.
Getting There:
The main trailhead (East Portal or Taft Trailhead) is located 7 miles to the east of Lookout Pass off I-90 at Taft, Exit 5 in Montana. If you are renting bikes, you will stop for those at exit 0 (at Lookout Pass Ski Area) to pick those up first, and then continue onto the main trailhead.
Once you take Exit 5, it is a little confusing getting up to the trailhead if you are relying only on signage in the area, so be sure to have this webpage pulled up if you have any questions about how to get there.
How Much Does It Cost?
If you are bringing your own bikes, this can be an affordable thing to do for families. If you have to rent bikes it turns into a bit of a splurge event – but we thought it was well worth the money for our recent getaway. Here are the costs you should plan for if you want to enjoy the Route To The Hiawatha Bike Trail.
- Ticket Into Trail – you can purchase these ahead of time online, or at Lookout pass ski area, or directly at the Taft Trail (but this is cash only here)
- Shuttle Tickets – these need to be purchased ahead of time.
- Bike Rentals – arrangements should be made ahead of time to assure availability
- Other Equipment/Bike Transports If Needed
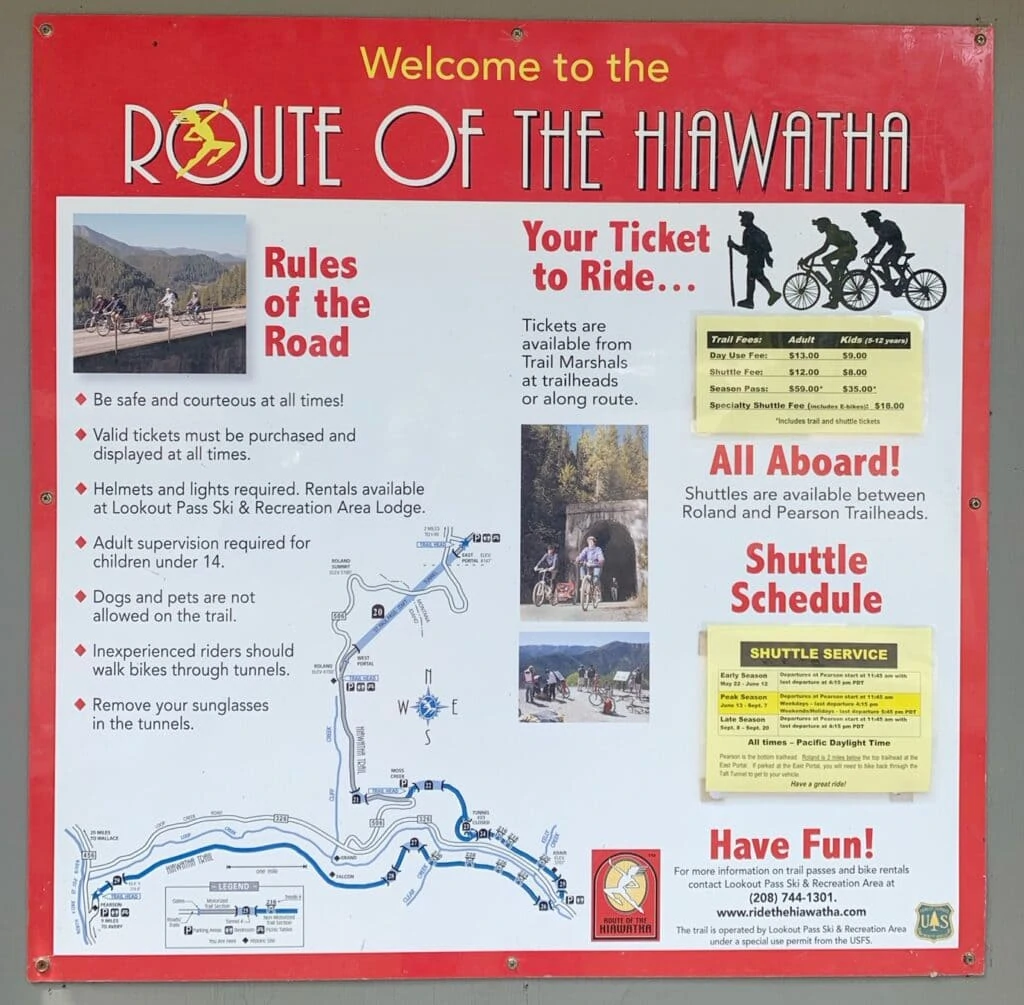
You can find all of the costs on this page here.
Renting Bikes – What You Need To Know:
Location
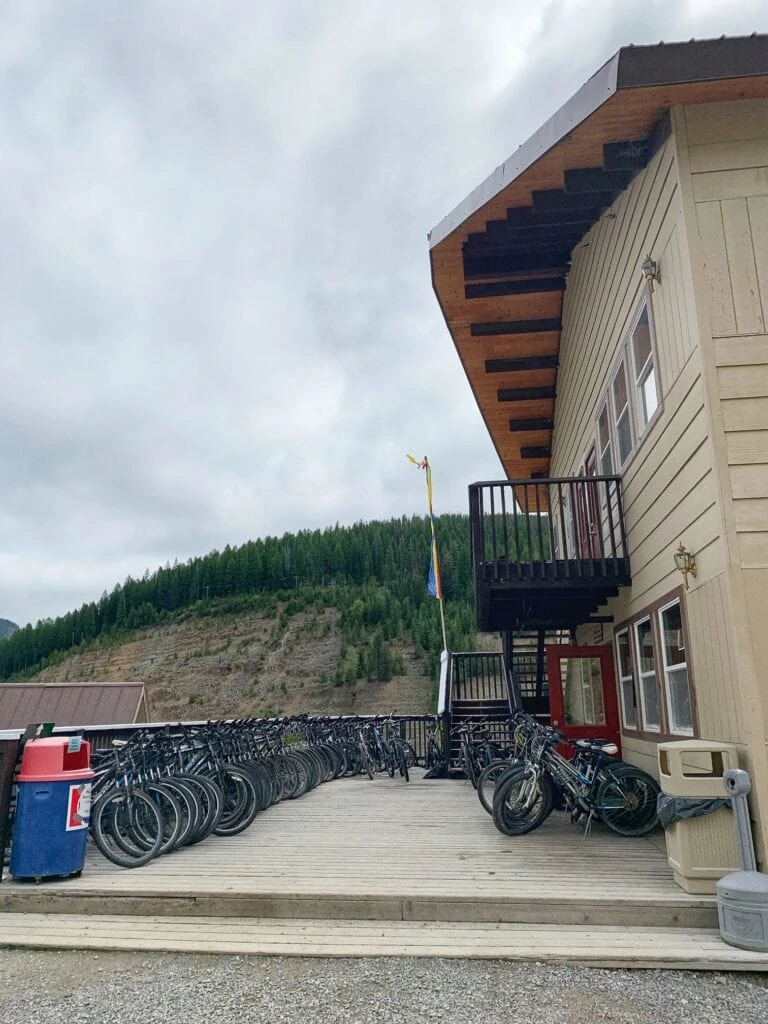
You will stop at exit 0 on the Idaho/Montana state line, at the Lookout Pass Ski area to pick up bike rentals if you did not pre-arrange to have them delivered for you.
Bike Racks –
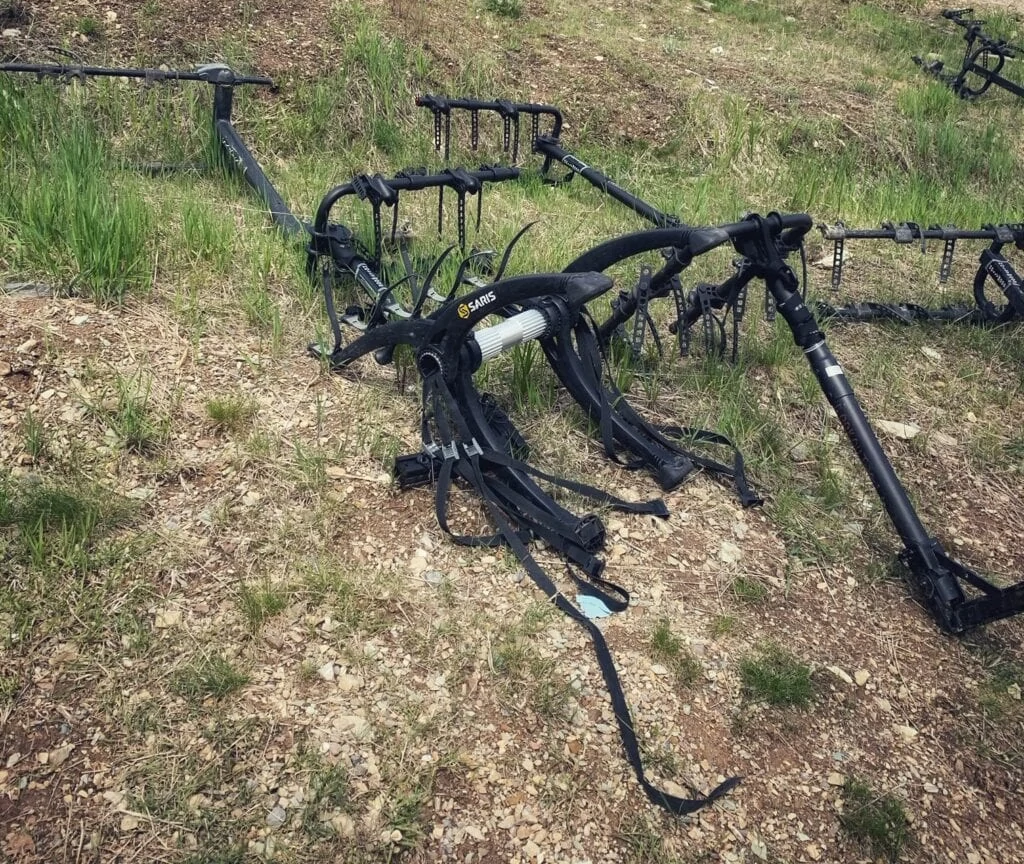
They have strap on racks that can carry up to 3 bikes. They also have receiver hitch racks that can carry up to 5 bikes (you will need a hitch on your car to use this one). If you do not wish to, or cannot transport bikes with your vehicle, you can arrange for delivery of bikes to the trailhead with the rental company by calling ahead. We learned the hard way that we needed them to transport the bikes. Had I understood better how this worked ahead of time, we could have arranged transport before our trip and drove directly to the trail head (vs stopping at the bike rental shop) and our bikes would have been waiting for us there – so I highly recommend arranging this service ahead of time if you need it.
Costs of bike rentals –
You will want to check their website for current costs, but here are the things you will pay a fee for when renting.
The bike rental (comes with helmet and light for tunnels). The fee will depend on the bikes you choose. We rented all standard bikes, as I was trying to save. In the future I would stick with standard for the most part, but I would have rented my mom a comfort bike instead, as the seat was pretty uncomfortable for her.
The hitches are complimentary.
Transporting Your Bikes To The Mountain – at the time of publishing this article, the cost to transport your bikes is $35 for the first 4, and $5 for each bike after that. Since the cost of renting bikes was adding up, I tried to see if a hitch would work for us (as I wanted to save money). It did not, and in the future I would just pay this extra fee regardless. The reason is that it will provide quite a bit of convenience for you (they will transport the bikes for you and and pick them up). Although this did not seem like such a big deal on our way to the bike ride, we sure where glad after the bike ride was over when we could just leave them at the trailhead and get in our car to head out. We were all tired, and it would have been harder if we had to load all the bikes back up and drop them off afterwards. So just something to consider for your travel style, when deciding how to get the bikes there.
We got dirty riding through the muddy tunnels, so make sure you wear something you dont mind getting dirty in.
Taking the Shuttle to Return to Your Car – What You Need To Know:
Unless you are a hard core bike rider, you will want to purchase a ticket to take the shuttle back up the mountain. If you do not, it will be a 15 mile bike ride back up hill to get back to your car.
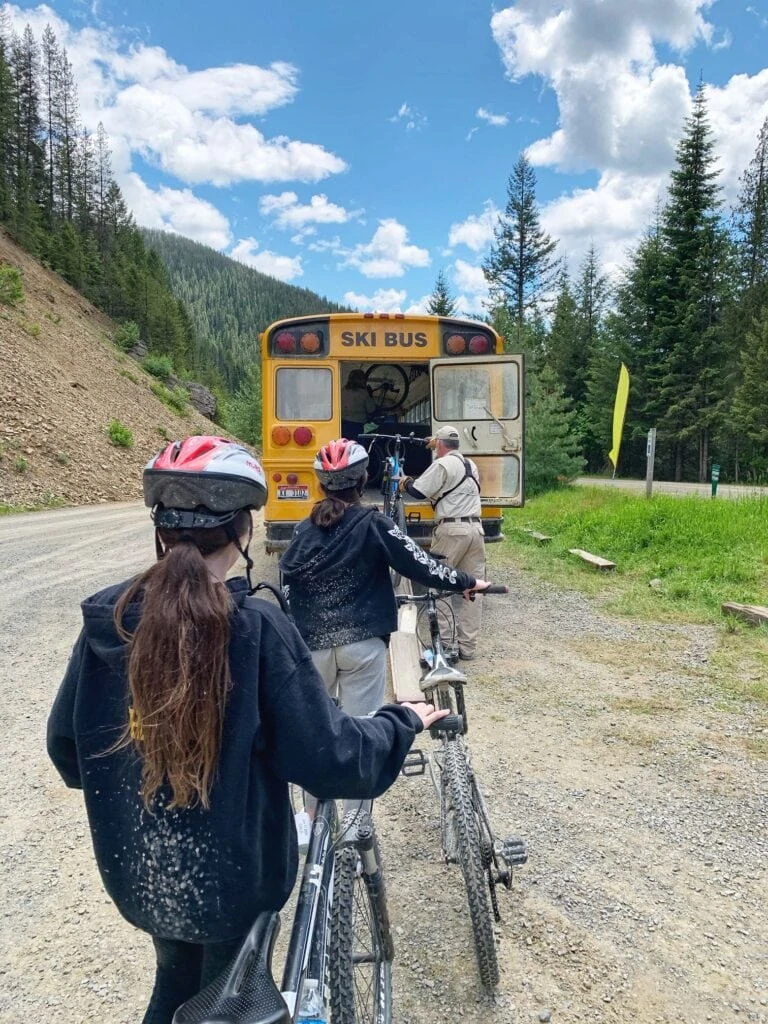
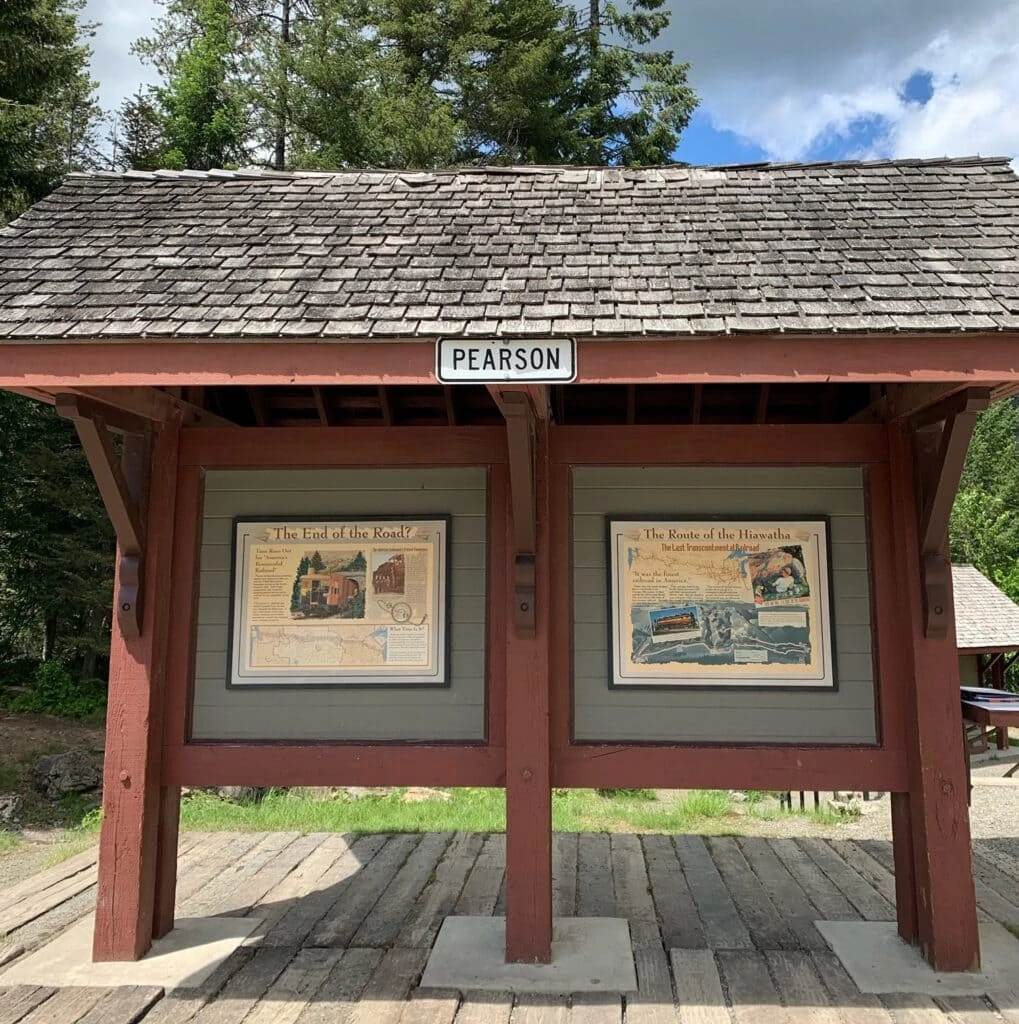
The shuttle picks you up at the Pearson Trail head which is the end of the Route to Hiawatha trail.
If you have never done this trip, there are a couple of things that I think are really helpful to understand about how the shuttle works.
- The shuttle runs from Roland to the Pearson on the trail. That means that if you start the ride at the Taft trailhead (like most people do, and we mention above) you will have to make the trek back through the 1.66 mile trip on bike again from where the shuttle drops you off, to the parking lot you parked your car in. If you want to avoid that extra ride at the end, you can start from the Roland trailhead area – but you will miss the first really long tunnel, and the waterfall we show above. I really enjoyed starting from the Taft area, and did not find the ride back bad. If you are traveling with really young kids, or seniors, you might want to skip that part (that was the only part of the ride my mom really did not enjoy).
- The shuttle runs on a first come, first serve basis. What that means is that once you hit the Pearson trail head (and you will know you are there – the trail ends), they will advise you to park your bike in the order you have arrived there. This is the line for the next shuttle that arrives. We had no issues getting on the first shuttle that showed up after we did – but if you are visiting during busy times you may have to wait on a shuttle or two to get back up the mountain, so be prepared for that.
- The shuttle currently runs at the following times (but be sure to check their website to make sure these are still current):
- Last shuttle leaves Pearson at 4:15 PM in the early and late season.
- On Weekends during the Peak Season the last shuttle departs at 5:45 PM (The Peak Season runs roughly from July through Labor Day weekend)
One more tip about riding the shuttle back up. If you are able to, choose a seat on the right hand side of the bus (so opposite the driver). The reason for this suggestion is that you will be driving by a couple off moose waterholes where they often see moose out at. These are all off of the right hand side of the bus, so you will have a better view if you are fortunate enough to see them. We did not on our trip back up the mountain, but I hear that you often do.
Tips for Making The Trip The Best It Can Be & More Info:
- How Long Does It Take
It took us about 3 hours to do the bike ride itself, including a few stops along the way. I think in general it takes most people around 2.5 to 3.5 hours for the actual bike ride. You will want to plan for time to get there, get bikes (if you are renting them), taking the shuttle back up and getting back to your car and the return trip as well. All in all it is pretty much a full days event. We left our hotel at 8:30 am and got back around 4:30 – but we made a few stops along the way so the actual time will depend on your specific plans.
- Restrooms
You will find restrooms at the beginning and end of the trail, as well as one about mid way through too.
- Food & Drink
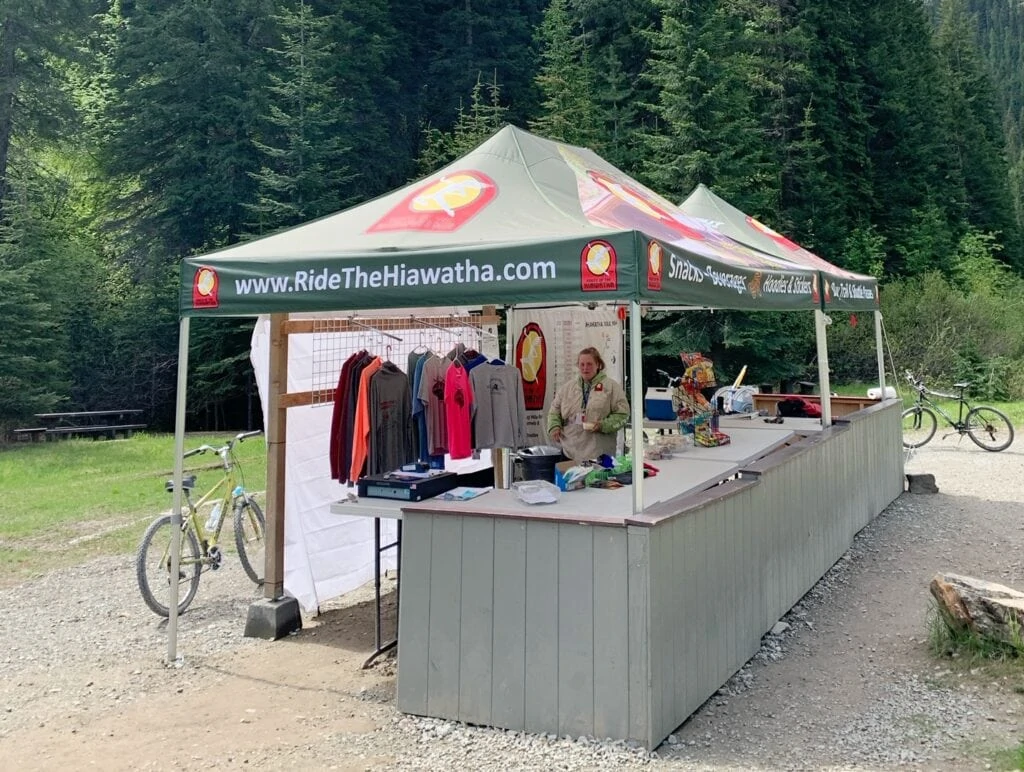
There was a tent set up at the beginning and the end of the trail that sold some snacks and drinks (things like soda and chips kind of snacks). You will also find a couple of spots to refill water bottles along the way. Be sure to pack a water bottle for the trip too. If you are renting bikes, they have a spot you can put your water bottles right on the bike for easy access.
- Safety Tips
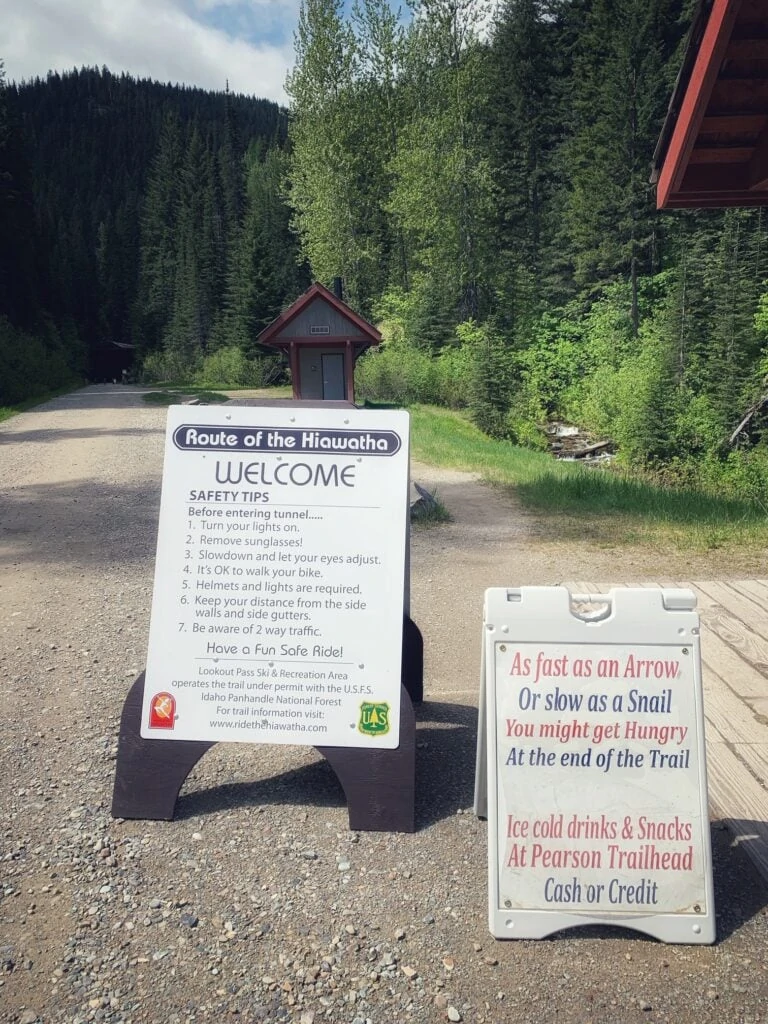
There are rangers at the beginning of the trail and they will go over safety tips with you before you head out. The basic ones are that you will need a helmet, a light for the tunnels as they are very dark, and take your sunglasses off in the tunnels. If you are renting one of their bikes they come equipped with a light. If you are bringing your own light (as you have your own bikes) they recommend a minimum a 300 Lumen light or greater (most regular flashlights or helmet lights are dimmer than this and the tunnels are dark).
The first part of the trail will share a road with the shuttles, so for about a mile you will need to listen for that and ride to the side of the trail. Go early and you will not likely run into any vehicles, as the shuttles are not doing alot of running at this time yet. After you pass this stretch, you will be on trails that only have bikers for the rest of the trip.
There is wildlife (we saw deer and chipmonks), but there are reports of moose and other wildlife in the area too. I had not heard about any issues with any wildlife and we really enjoyed seeing what we did, but something to take note of and prepare your kids for how to act in nature (not feeding them, or approaching, etc).
- Do You Need Reservations
You do not need reservations ahead of time for the trail pass, but they are highly recommended if you are renting bikes. If you want your bikes delivered they recommend you make reservations at least 48 hours in advance and if you plan to take the shuttle, be sure to reserve the date you want for that ahead of time too (although once you have your tickets and are onsite they board on a first come, first serve basis).
- Dress in Layers
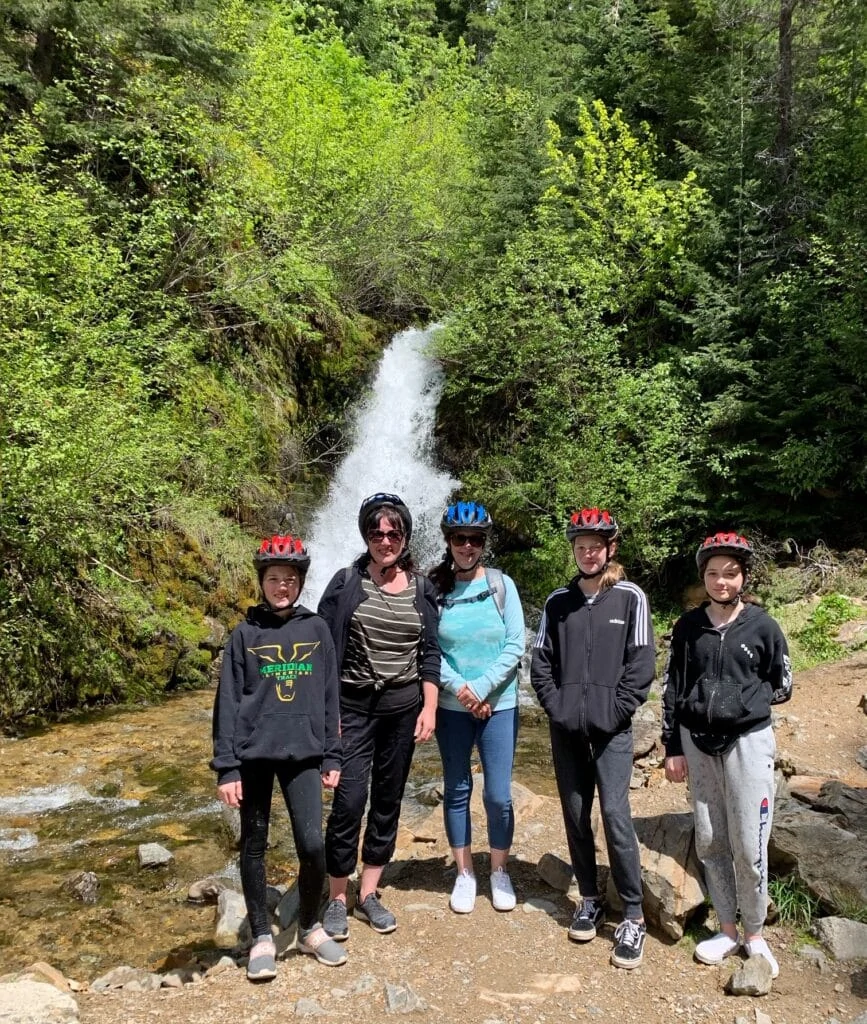
Although it was a warm day during our ride, we dressed in layers for this trip. The reason is that you go through a few tunnels that are dark, damp and cool. It is really the first tunnel that is the real issue. It is a mile long, and so we wore our layers mostly for that. If you don’t mind a mile ride through a cool tunnel, you can skip this tip, but it is what worked for us. This is the waterfall you come out to on the other side of the tunnel!
Where We Stayed & Ate In the Area
Where to Stop For Lunch On The Way Home
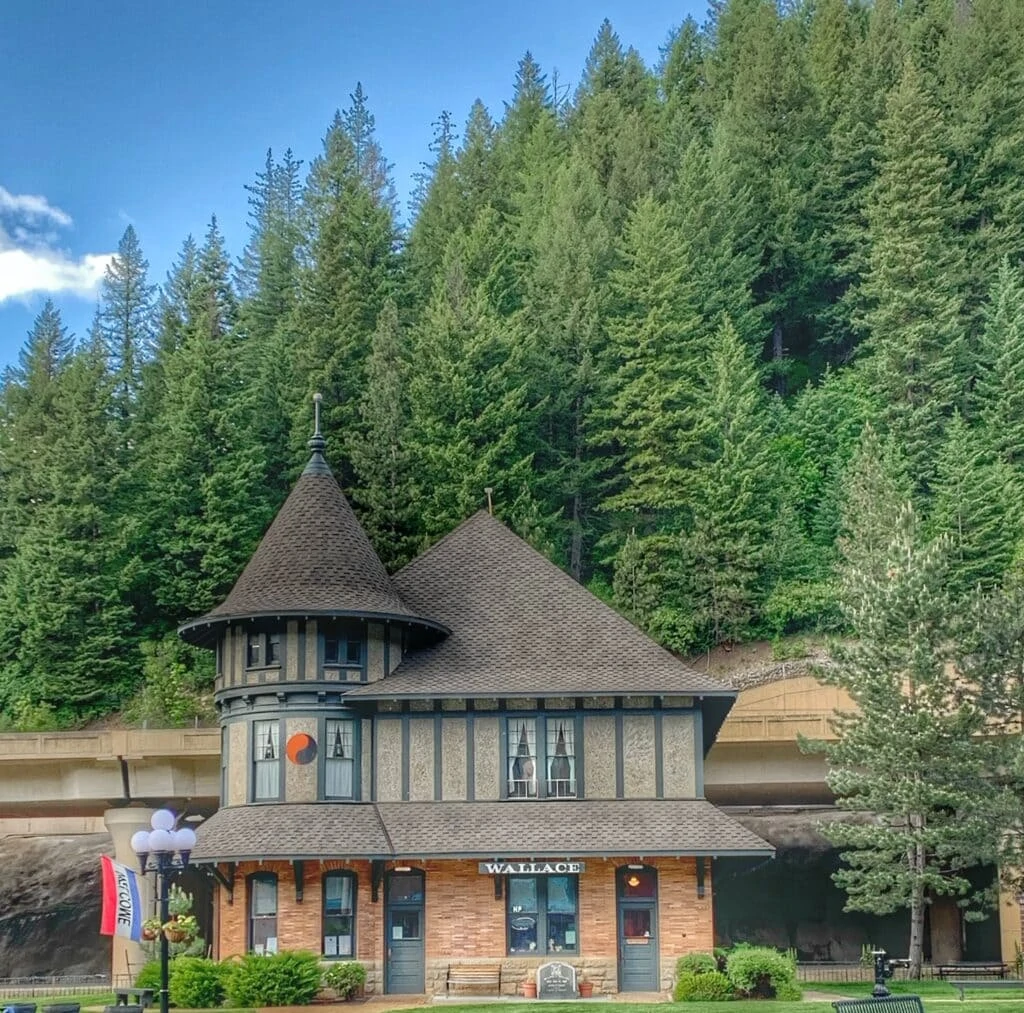
If you are heading back to Idaho, Wallace is a fun small town to stop in. It offered a few quaint eating options. We share about some of those in this article here (along with more tips on what to do in Kellogg and Wallace for families)
Alternatively, you could pack yourself a lunch and stop along the trail for a picnic. We saw a few people doing that too. Picnic and lunch options are also available at the Lookout Pass ski area if you want to stop there on your way up and purchase a picnic already put together for you.
Where We Stayed:
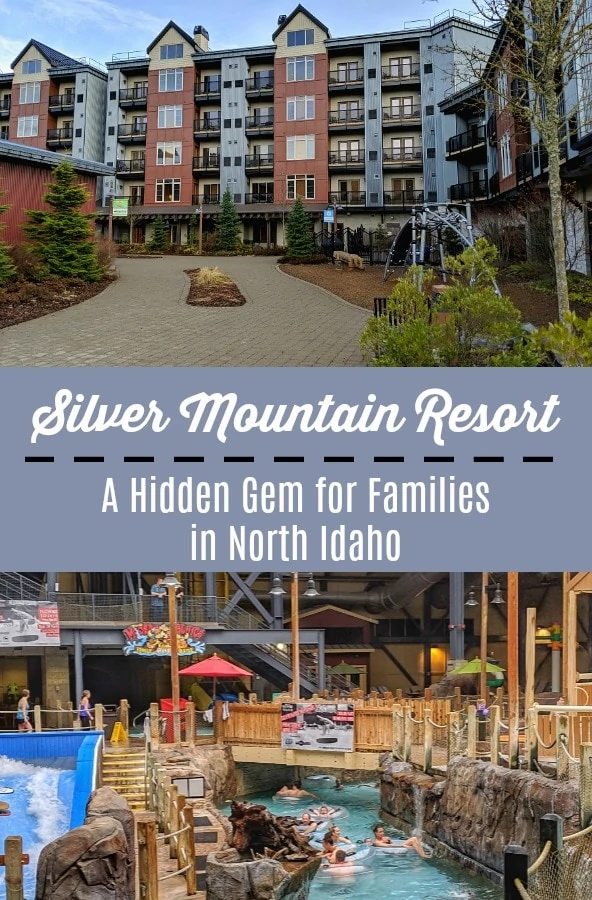
We stayed at the Silver Mountain Resort in Kellogg Idaho, which is about a 20 minute drive from here (easy drive). The Silver Mountain Resort offers a beautiful resort, plus access to their waterpark, and there are miles of additional paved bike (or walking trails) accessible right from the resort if you brought your own bikes. If you like dirt biking, you can take your bikes up the mountain on their gondola and enjoy lots more biking that way too.
You can read Jens families full review of the Silver Mountain Resort here, for more on what you can expect if you stay there as well.

 Route of the Hiawatha Bike Ride – Amazing for Most Ages!