Reuse and Repurpose Items to Create Beautiful Planters on a Budget
This post may contain affiliate links and I may be compensated for this post. Please read our disclosure policy here.
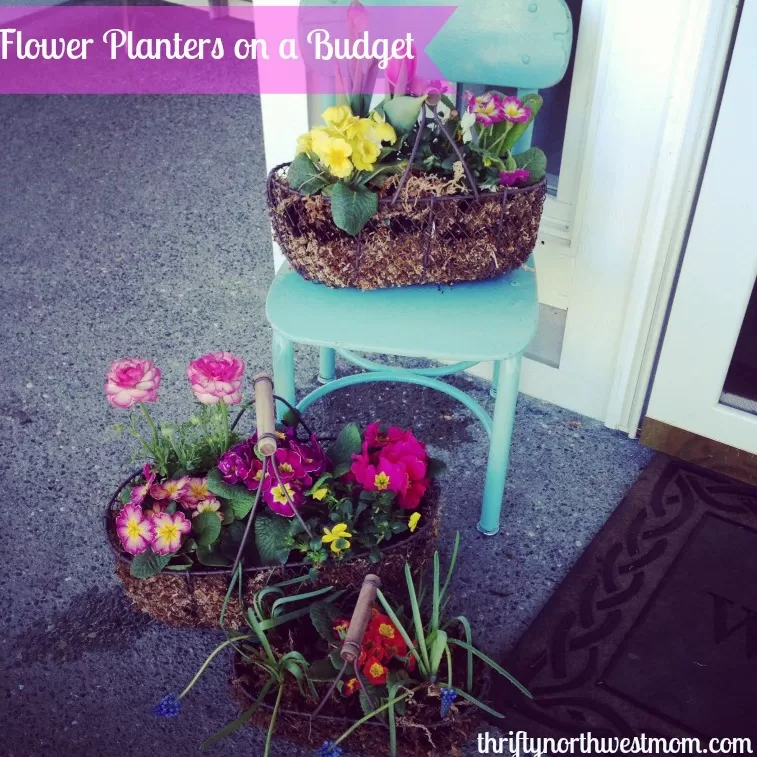
I love this season, pretty flowers everywhere!! I love annuals and what a pop they can add to a front porch or patio. I have also come to love planting and amateur gardening. This past year, my mom and I received a number of chicken wire baskets and early this spring, we decided to try to pot some. Now chicken wire is not the best “pot” so to speak for loose dirt, but I remember seeing a gal at the farmer’s market who would create beautiful arrangements in colanders, bicycle baskets, even crates with really large holes. I decided to do a little research on how to pot in containers that have large openings. What I discovered changed my life! Well, at least when it comes to potting. :)
I discovered sphagnum moss, a substance that you line pots with and place on the top to help keep the plants moist. I love it! I was able to find it at Lowes for $7.00 a bag (which I used to plant a dozen medium sized chicken wire baskets). A little of this stuff goes a long way! I have to warn you it is messy, but what fun would gardening be if it wasn’t. (Sphagnum Moss is also available at Amazon or most local gardening shops). Now that I have discovered this moss, I keep looking around for some fun pots to help create a container garden on my front porch.
Steps to Create Budget-Friendly Planters:
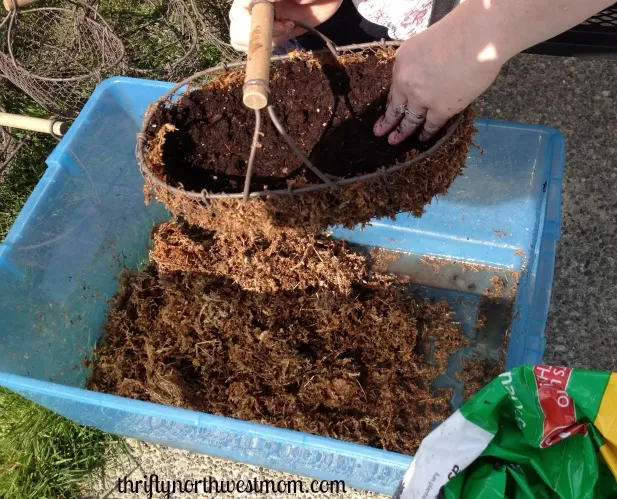
1) Spread out moss – First, like I said the moss is messy and it seems to multiply! My mom and I used a large empty rubber maid container to keep the moss in. This really helped-the first set of planters we did we tried to do them in the sink and it was a disaster! The Rubbermaid helped keep everything contained.
The directions on our bag of Sphagnum said to get the moss really wet before placing in the container. So we drenched the moss (we only used 1/3 of the bag at a time as to not waste it). The wet moss was much easier to work with.
2) Place moss in containers – After the moss is wet, we I would gather a handful, wring it out and then smash in the side of our container. Place the moist moss all around the openings (chicken wire). This took a little time to get it covered but not too thick.
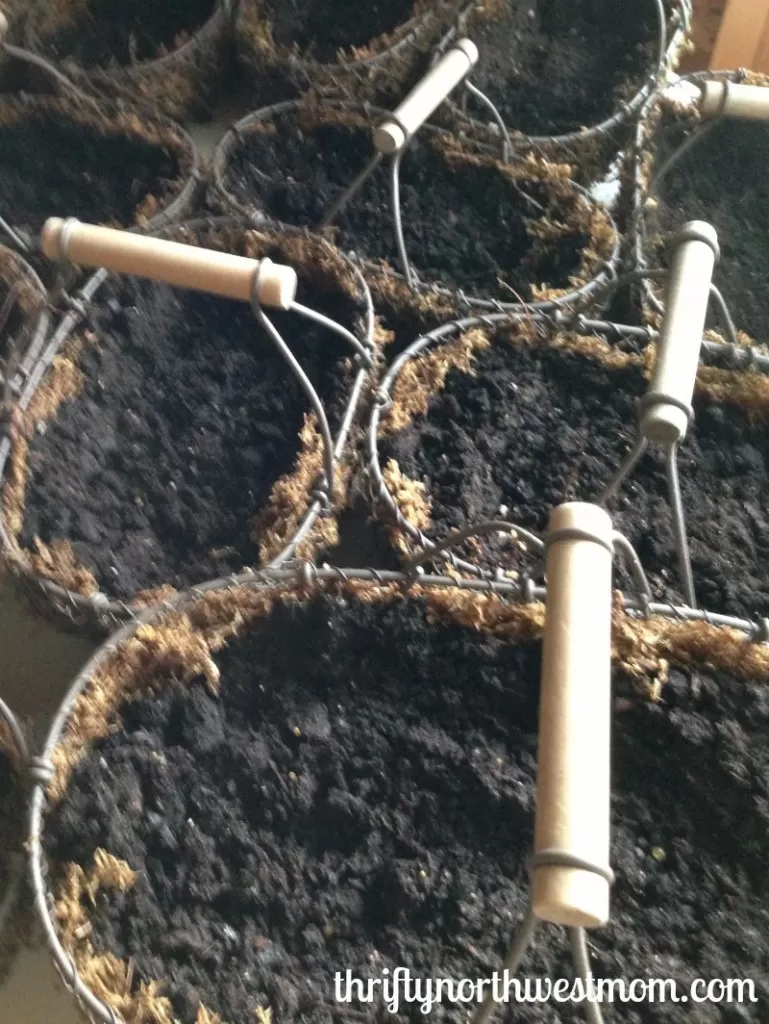
3) Add potting soil – After the moss lined the planter, we placed potting soil in the pots (we get ours every year at Costco-you can’t beat $7.99 for the huge 55 quart bag!)
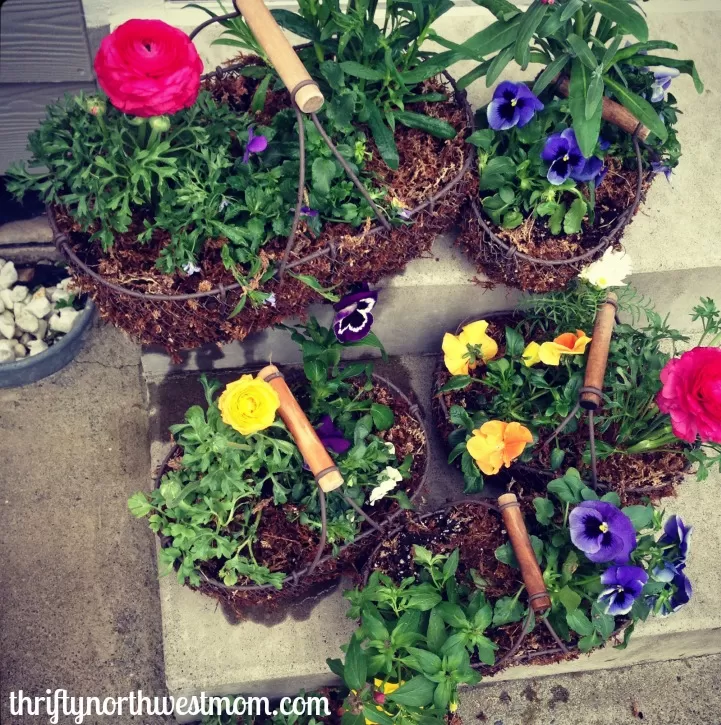
4) Add Flowers – Next, the fun part of adding flowers! Our first ones we created in early spring included daffodils and tulips, glacier pansies, and prim roses – these flowers can handle a chill. As the weather continues to warm, you can choose other annuals or perennials that do well with the warmer weather. When choosing flowers, I like to choose at least one with height (runaculas, carnation, tulip, daffodil, geranium) , one that trails or crawls (alyssum, lobelia, verbena) and a third that will fill out (get full-love pansies for this). My mom makes fun of me that I always do things in threes. :)
5) Moss over top of soil – Finally, we placed the sphagnum moss on the top of the soil-this not only makes it pretty but will help regulate the moisture and temperature for the plants.
We used our planters for Easter gifts and we are getting a few made up for Mother’s day. I love being able to find recycled containers such as old colanders , old bowls or baskets and not be limited to their holes. Any other ideas you have for items you have around your house to turn into flower planters?
Show us pictures of your container gardens or pots!! What are some tips you have for making a pretty container garden?
Here are a few more garden posts you might be interested in:
Here are more DIY posts you might be interested in:
- 5 Ways to Use Coconut Oil
- DIY: Homemade Laundry Detergent
- DIY: Homemade Dishwasher Soap & Rinsing Agent
- DIY: Liquid Handsoap
- DIY: Homemade Cleaners
- Homemade Espresso Drinks & Inexpensive Lattes
- Homemade Caramel Sauce
Find more frugal living recipes and DIY ideas here and a recipe database here.
By Contributor Sarah


