The 7 Best Mt Rainier Hikes Families & Beginners Will Love!
This post may contain affiliate links and I may be compensated for this post. Please read our disclosure policy here.
The 7 Best Mt Rainier Hikes Families & Beginners Will Love!
One of the top activities to do when you come visit Washington or for those of us locals living in Washington is to visit Mount Rainier National Park. Whenever we have people visit us from out of town, our first place we think to take them is for at least a day visit to Mount Rainier, whether it’s in the winter or summer or anytime in between. We just love to visit Mount Rainier any time of year, and have compiled a list of the 7 best Mt Rainier hikes to enjoy here. We have hiked these ones with our family, so can say they are especially wonderful for family hikes or beginning hikers, to enjoy the area.
Thankfully we live close to Mount Rainier, just an hour from the entrance of either Sunrise or Paradise sides, so it’s an hour & a half or two hours to get to most hikes, so we have gone up there frequently to check out the hikes.
Is Mt Rainier Easy To Hike?
If you are wondering if Mt Rainier is easy to hike, we have compiled a list of great starter hikes here to ease into things, but still see all the beauty this northwest mountain has to offer.
We get asked so often what are the best hikes at Mount Rainier, so we wanted to share 7 hikes that we think are really family-friendly, easier hikes to start with if you are new to hiking at Mount Rainier or just looking for more options of hikes to try the next time you visit. All of these 7 hikes are around 3 miles or less, so they are great hikes to start with.
Here are the Mount Rainier trails broken down by area of the park which is helpful to know which hikes are in the area of the park you are visiting or want to visit.
Make sure to check out the Visit Rainier site which also has a helpful chart for all the Mount Rainier hikes & the length of the trails, difficulty level, elevation gain, when it will be snow-free & more!
Don’t forget you will need a National Park pass for almost all of these listed – you can find out all the information about National Park passes here and you can either purchase online or when you head to the park (if you are visiting a trail located at the Sunrise or Paradise areas of the park).
Here’s more things to do at Mount Rainier too:
And if you want more hiking ideas in the Northwest for families be sure to check out the Denny Creek Trail and 9 waterfall hikes in the Seattle and Tacoma areas too.
Things to Know about Hikes at Mount Rainier:
Here are some tips you will want to know about when planning for hikes at Mount Rainier.
- Always make sure to check both road conditions & trail conditions before you leave. Often there is road construction in the summertime, so that’s good to know ahead of time & you want to see if there is anything to be aware of with trail conditions (especially during wildfire season). Find information on current conditions here.
- If you are entering the park through a main entrance, I’d always suggest stopping in to talk with the Rangers at the Ranger Station. They can tell you if there is anything to know about the hike you are planning (especially in non-summer months when you might have to deal with snow, they can tell you the conditions). They also have great advice for ways to extend your hike, other options of hikes in the area, etc.
- There are no pets allowed on the trails within Mount Rainier park boundary (they are only allowed in the car & parking lots) This includes the trails where you don’t necessarily go thru a park entrance, like the Tipsoo Lake area, but those are still Mount Rainier boundaries. This is why it’s critical to always look up trail conditions before you go & make sure you know what to expect.
- You’ll need to purchase a Mount Rainier National Park Pass to access these trails – you will need to pay for a Mount Rainier pass (good for 7 consecutive days) or if you anticipate going on a few hikes in the park over the course of a year, you might want to think about an annual pass or America the Beautiful pass for all federal lands. You can purchase the pass online before you go or you can purchase at the park entrance (if you are going to a Sunrise or Paradise area hike).
- Be prepared for crowds during peak weekends in the summer AND winter. If it’s a bluebird day in the winter (clear, blue skies) and the sledding area is open, chances are there could be waits to get in & the parking could get full. Get there early in the day or later in the day to have less crowds. Heading to Mount Rainier on a weekday in the summer is the best way to avoid crowds & early morning or evening work best too.
- During the winter, you are required to carry chains in your vehicle at all times & they will ask you at the gate when you enter at the Paradise / Longmire gate. If you do not have chains, Whittaker Mountaineering in Ashland does have chain rentals if you need them.
- Use Apps or Websites like All Trails & Washington Trails Association (WTA) to find the best trails AND to read trail conditions before you go. I always suggest reading the trail reports as well as the description to see if there are any new things to be aware of, specific ideas for directions, etc.
- Always bring the 10 essentials for hiking. This is true even if it’s just a short hike, you want to make sure you are always prepared . These are Navigation, Headlamp, Sun Protection, First Aid, Knife, Fire, Shelter, Extra Food, Extra Water, & extra clothes
7 of the Best Mt Rainier Hikes for Families & Beginners:
Sharing a few of our favorite Mount Rainier hikes for families! These are what I would consider the best Mt Rainier Hikes for families and beginniers, as you will get the views but they are on not too long or the terrain too difficult.
Naches Peak Loop Hike
Location: Chinook Pass (Hwy 410)
Miles: 3.2 miles
Elevation Gain: 600 ft
Pass Needed: Northwest Forest Pass
Parking: Large parking lot at Tipsoo Lake parking lot (this will fill up during busy summer wildflower season though)
Restrooms: There are restrooms in the Tipsoo Lake parking area
Pet Friendly: No (1/2 of the trail is on National Forest land & 1/2 of the trail is on National Park land. So technically your dog can go on half of the trail, but you would not be able to complete the trail if you bring your dog.
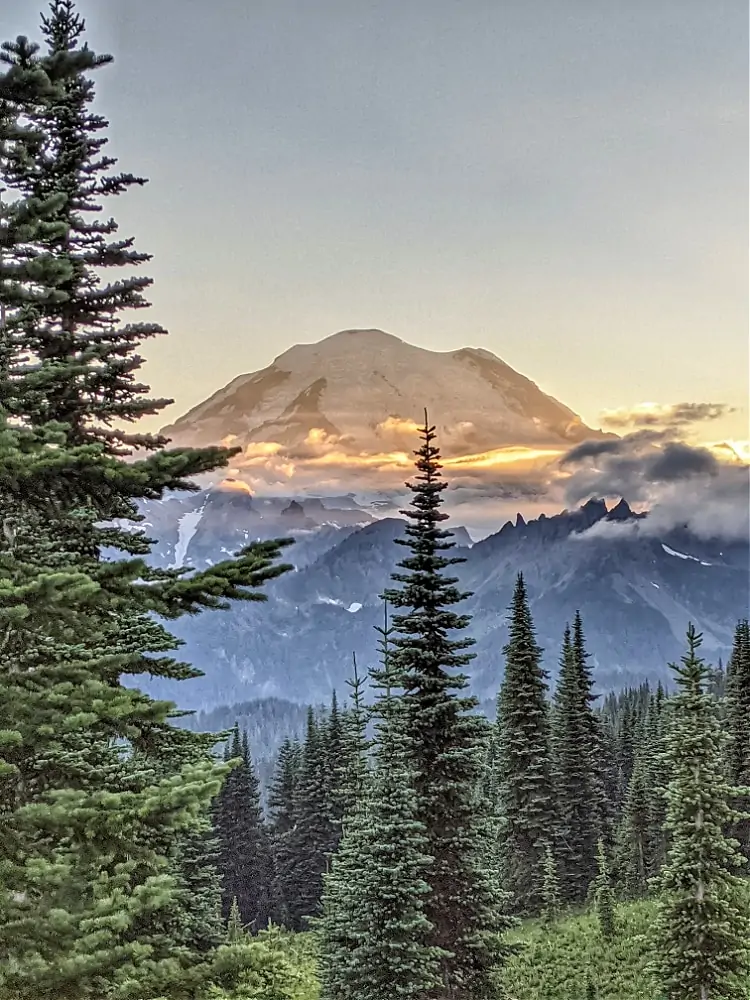
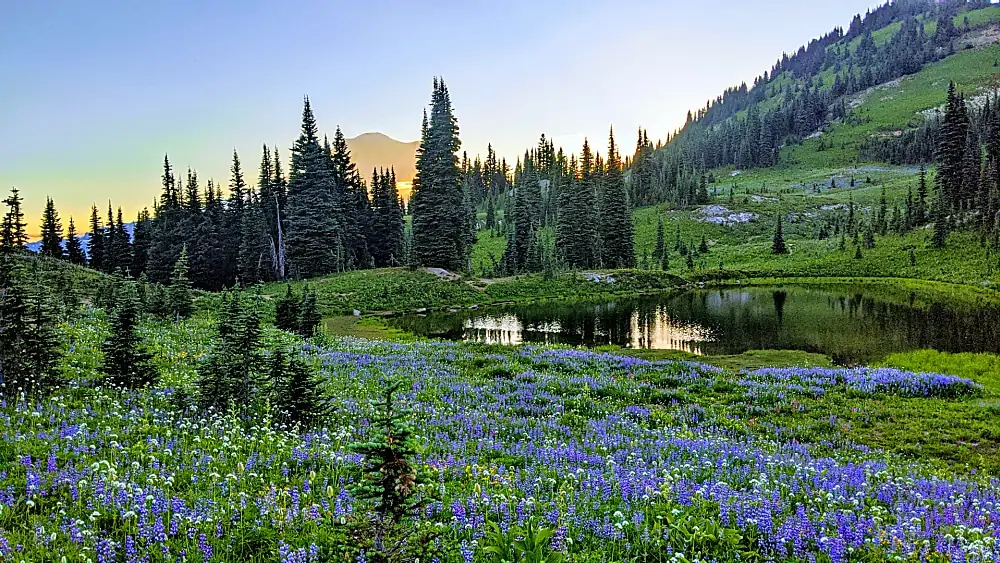
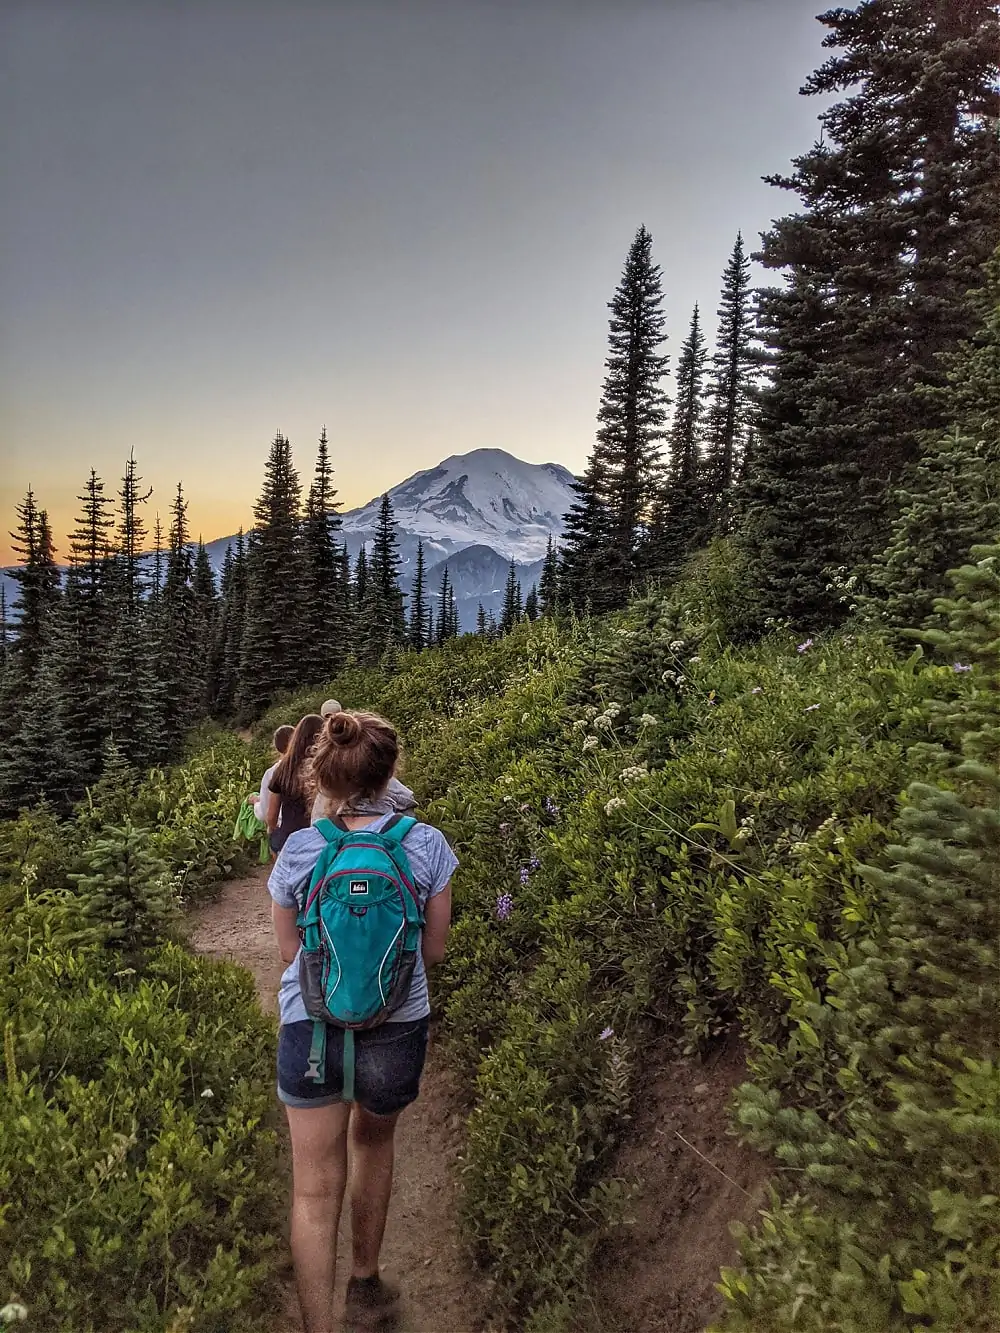
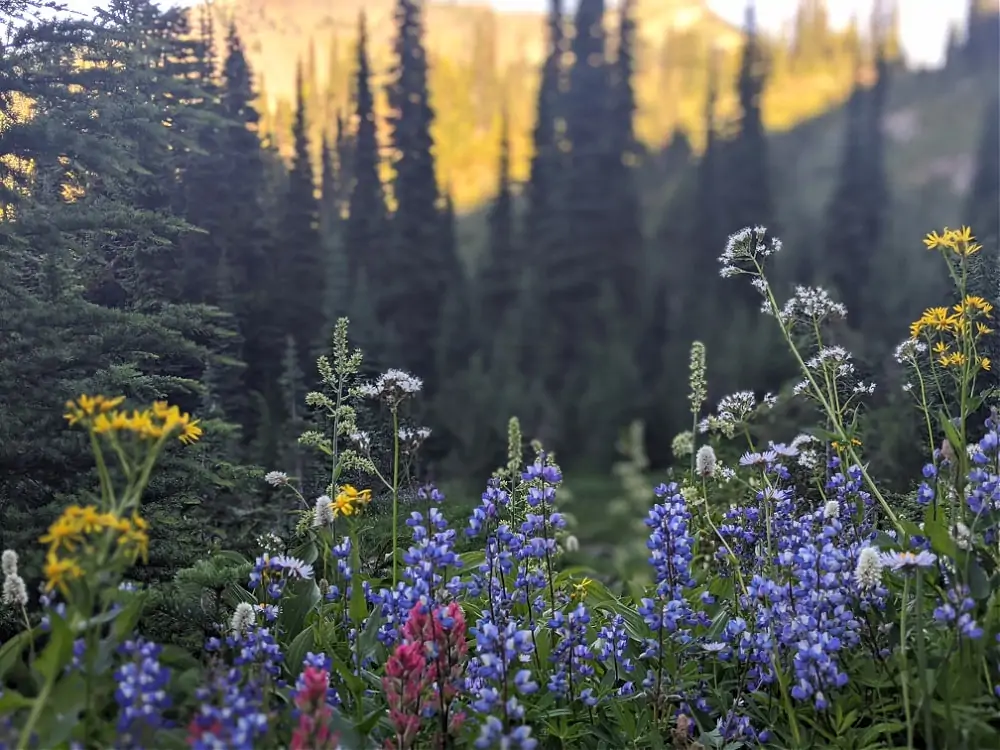
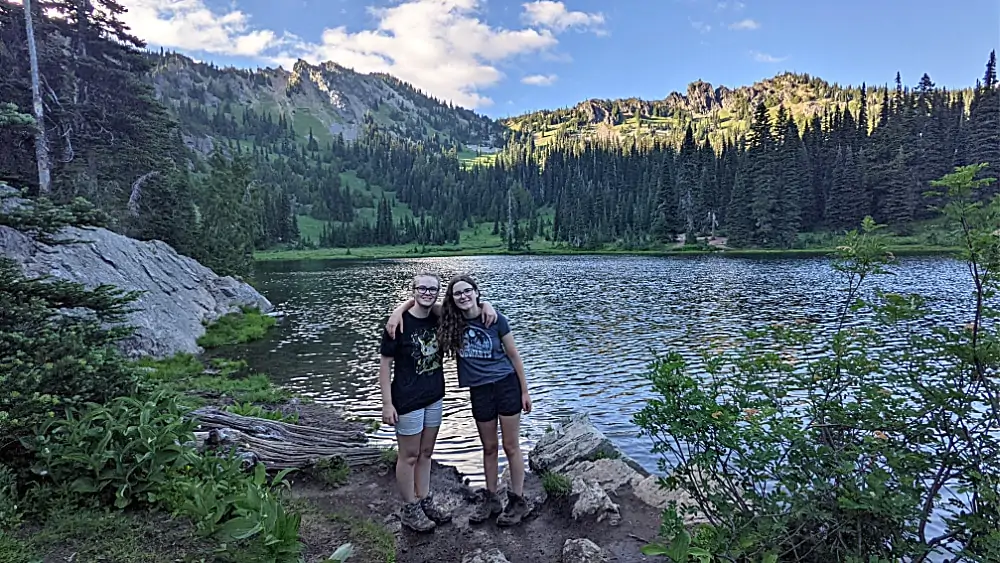
The Naches Peak Loop trail is one of my personal top 3 hikes in Washington during wildflower season due to the gorgeous views of Mount Rainier, the beautiful alpine lakes you will encounter along the way, & the over-abundance of wildflowers in every color filling the landscape if you time it right. It also is a trail that many families would enjoy as it’s a good length at 3.2 miles & even though it’s 600 elevation gain, that feels fairly gradual on the trail so it feels very doable. We visited in mid August, which was prime wildflower season when we visited, but I’d say anytime from late July to late August could have wildflowers, although it will always depend on the weather & when the snowpack melted as to how fast the wildflowers show up.
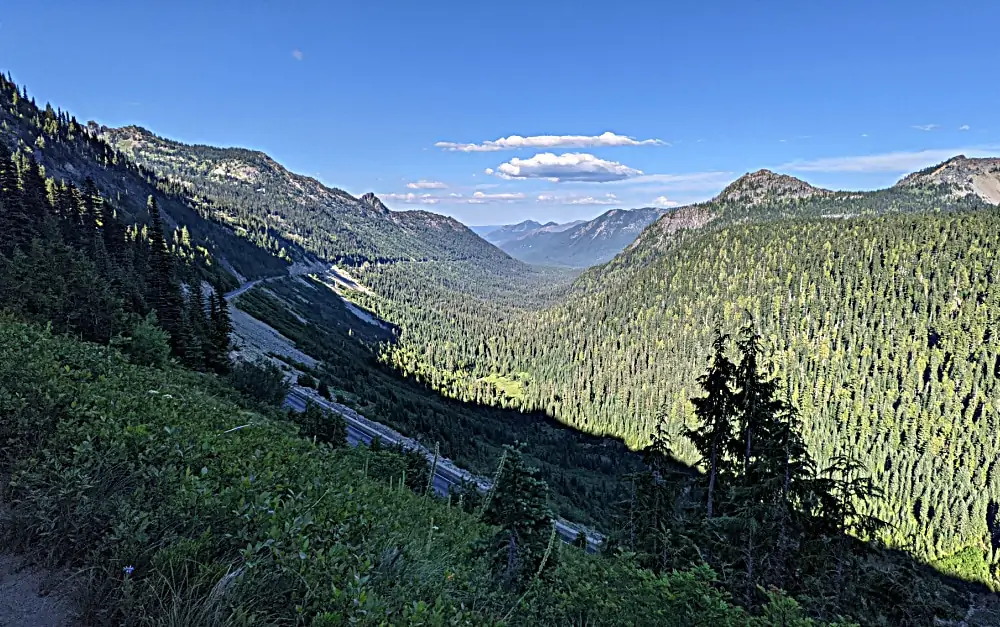
Definitely make sure to hike this trail clockwise as this will give you the best views of Mount Rainier so that you don’t have your back to Mount Rainier in all her glory. The first half of the trail will be viewing the hillside high above the Hwy 410 & Chinook Pass as you walk above a valley with wide, expansive views of the pass. This is part of the PCT (Pacific Crest Trail) that you will be hiking on for a short little bit. You’ll then come upon several different alpine lakes, the first of which we did take a trail to wander closer & get a better look.
You will wind around the east side of Naches Peak & then you’ll come to a viewpoint where you can see down to another beautiful blue alpine lake, Dewey Lake. If you’d like to add some length to your hike, you can take the trail down to this beautiful lake (about 600 ft elevation below, and then you can come back up the same way to finish the Naches Peak trail). Also, make sure to hike the gorgeous Tipsoo Lake, which is right next to the parking lot, the lake you can see from highway 410. It’s a very popular spot with photographers!
Once you pass the Dewey Lake trailhead, you will join up with the Mount Rainier National Park boundary & from here you will pass a lake on your right & you’ll have some absolutely incredible mountain views as you continue around the Naches peak. This trail does have some elevation, but honestly the inclines are more gradual, so it feels very doable. And there are no steep drop-off areas or anything like that to worry about with younger kids, which is always a plus in my book!
The biggest issue with this hike is the high number of crowds in August, prime wildflower season. However, if you get creative, you can find times without the crowds. We went on a weekday early evening (making sure to time it so we wouldn’t be hiking in the dark) & we only ran into a few people on the trail & there were tons of parking spots. However, if you go on a weekend, the parking may be filled & it will be very busy, so going very early or later in the day is your best bet or a weekday.
The other issue is the bugs – absolutely bring bug spray with you on this hike! You will need it – the bugs were out in force so we were thankful we were prepared for that! Unfortunately this hike is only available for a limited time as highway 410 is only open from around June – Oct/Nov & it’s one of the first to get snow as it’s right at the top of the pass. So, always make sure to check trail conditions & road conditions before you go.
Myrtle Falls Hike
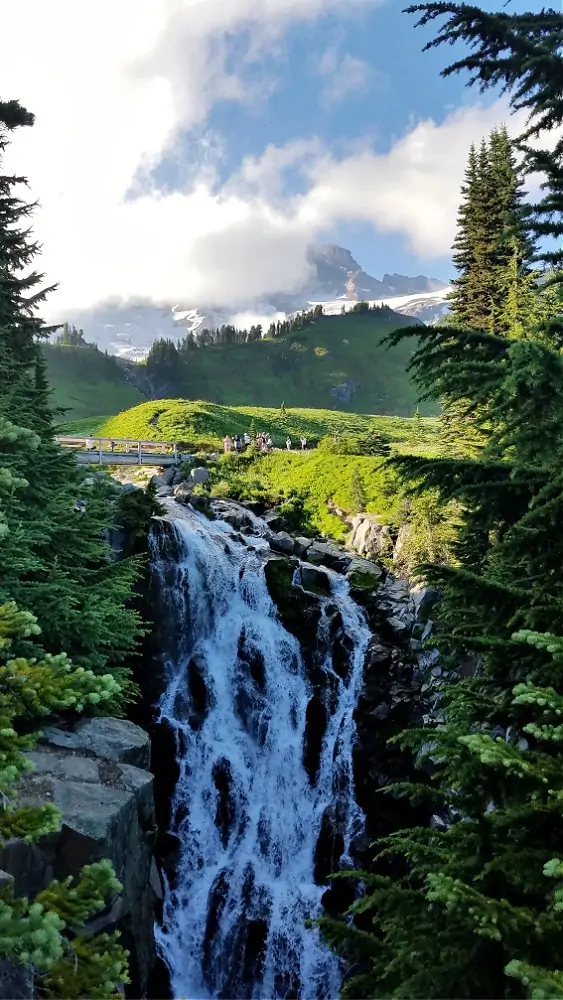
Mount Rainier hiding behind the waterfall
Location: Paradise Visitor Center area
Miles: .8 miles round-trip (out & back)
Elevation Gain: 150 ft
Pass Needed: National Park Pass
Parking: Parking in the Paradise Visitor Center or overflow parking
Restrooms: Plenty of restrooms in the Paradise Visitor Center building
Pet Friendly: No pets allowed on Mount Rainier National Park trails
When we have visitors from out of town, Myrtle Falls is the number one hike we take them on if we are headed to Mount Rainier. It’s the perfect flat, short hike for almost any ability level. And it provides the biggest “wow” factor for amazing Mount Rainier views + a beautiful waterfall for little effort. What we like, too, is that even if the Paradise area is packed with people, often you just head out on this trail for a bit & the crowds will often disperse more & it’s much quieter (this may not be the case as much on busy summer weekends, but the rest of the days & seasons, we have always found this the case)
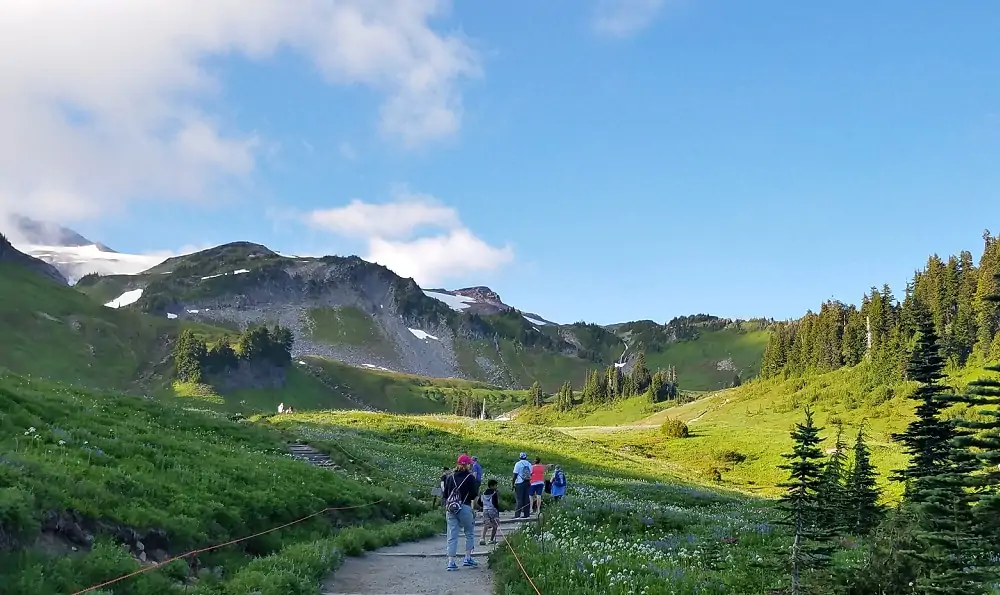
We like to hike this trail year-round, too – we often will snowshoe on this trail in the winter/spring time, although you can’t access the waterfall. But we love to still take the trail because the views of Mount Rainier & the meadows are just phenomenal. During the summer, this trail will bring you to meadows filled with so many varieties of wildflowers, it’s just incredible. And with those wildflowers, you’ll have jaw-dropping views of Mount Rainier.
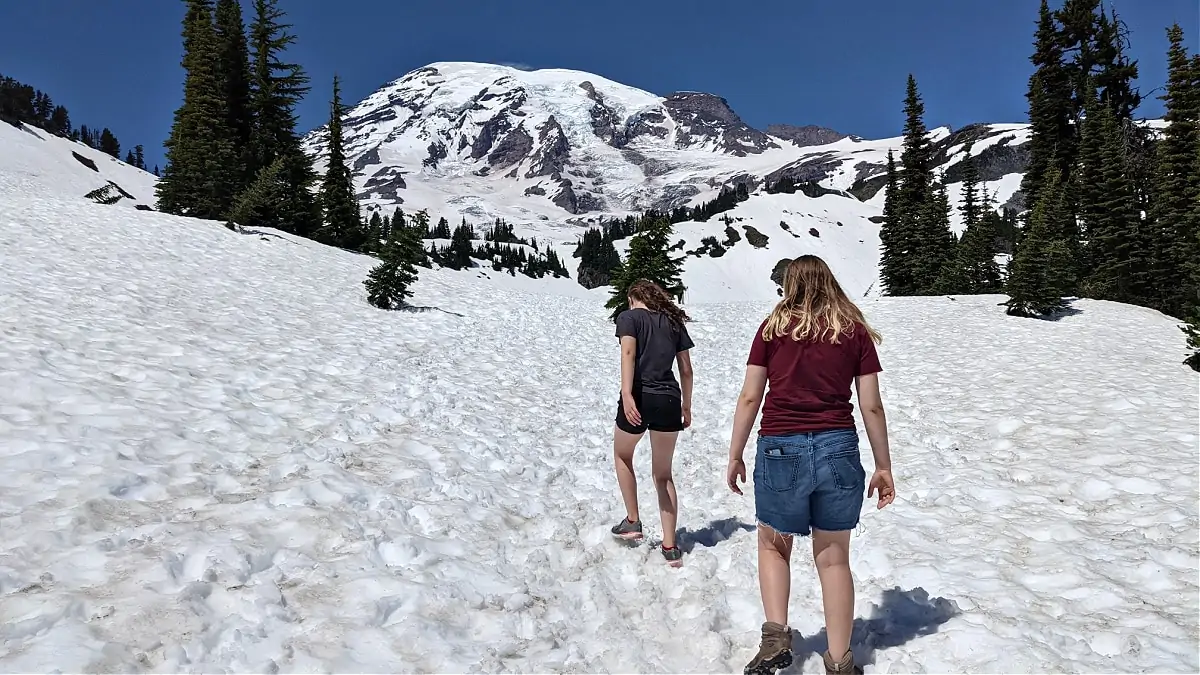
This trail is also great for families with young kids or for wheelchair accessible trails as it’s a paved trail. The only exception is that to get to the actual waterfall is not accessible as it is down some stairs at the end of the trail, but even without the waterfall view, the views of Mount Rainier are still absolutely worth it! Just be prepared for snow even through June – we visited in mid-late June this year & there was still a lot of snow on the trail (right before the big heat-wave).
This trail is a great trail that you can extend too & add more if you are wanting a longer hike – hike to Myrtle Falls & then from the falls & creek, you can either head to the left to the Golden Gate Loop trail (3.8 miles & 1000 ft elevation gain ) or the Skyline Loop Trail (5.5 miles & 1450 elevation gain)
Narada Falls Hike
Location: Just below Paradise Visitor Center (on the right side of the road to Paradise)
Miles: .2 miles RT
Elevation Gain: 100 ft
Pass Needed: National Park Pass
Parking: There is a large parking area for these waterfalls (around 40 cars)
Restrooms: There are restrooms across the bridge
Pet Friendly: No pets allowed on Mount Rainier National Park trails
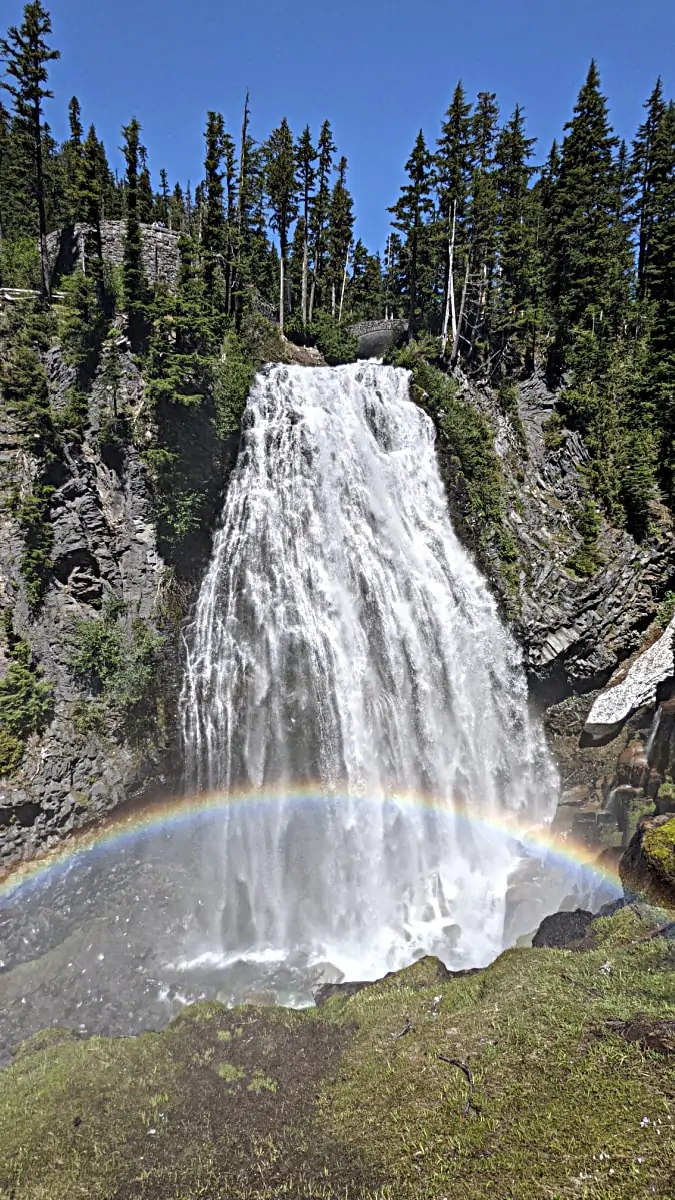
Narada Falls is not really a hike as it’s super short, but it’s definitely not to be overlooked as it’s a gorgeous, full waterfall. We have been going to Mount Rainier for years & just finally stopped & checked it out this summer. I can’t believe it took us this long as now that we have been there, it’s definitely one we will make sure to visit regularly. The waterfall is 168 ft tall and it’s stunning!
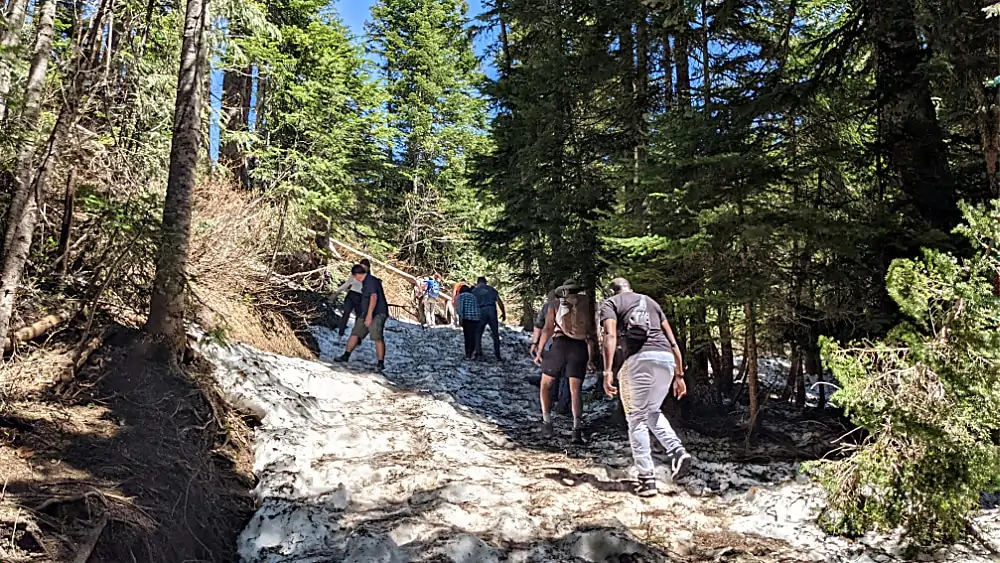
The trail starts after you cross the bridge. It is an out & back trail & even though it’s just 100 ft elevation gain, it’s such a short trail that it will feel a little steep. But it’s such a short distance, all ability levels can easily do it. We took a family member with no hiking experience & they did just fine. But, when we went in late June, the trail still had snow & was very muddy because of that. So make sure to have good footwear on to help prevent slipping.
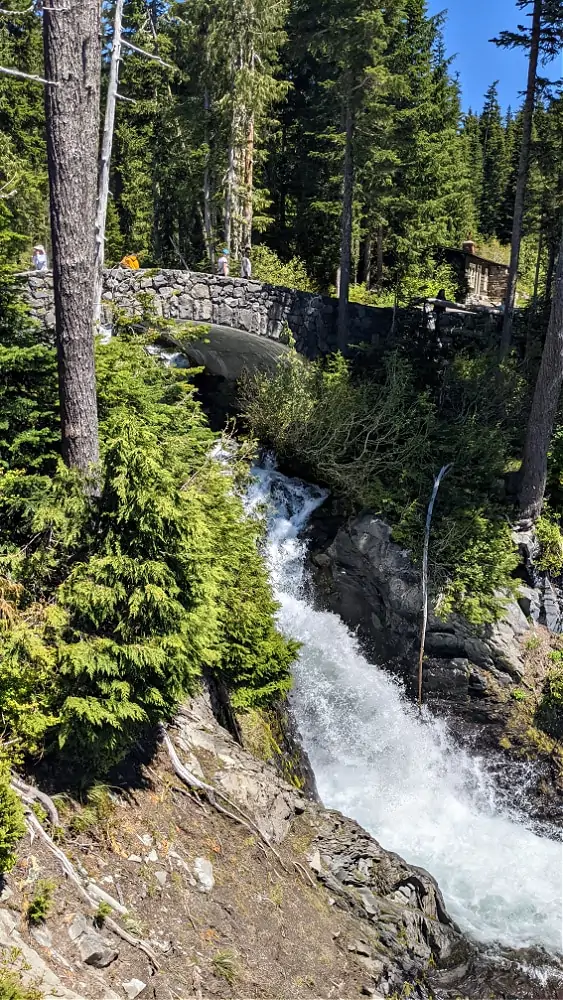
This parking lot is technically accessible all year long as the road to Paradise is open (weather-permitting), but this one would not be safe to do when there is too much snow. You could look at the top of the waterfall from the parking lot, though & could walk across the bridge to see it up close (see photo above for the view)
Grove of the Patriarchs Hike
Location: near the Ohanapecosh Mount Rainier Entrance along Stevens Canyon Rd
Miles: 1.5 miles
Elevation Gain: 50 ft
Pass Needed: National Park Pass
Parking: There is a parking lot but it does get very busy so be prepared for possibly parking on the shoulder if busy
Restrooms: There are restrooms at the trailhead
Pet Friendly: No pets allowed on Mount Rainier National Park trails
*Update: Unfortunately the Grove of Patriarchs trail is closed indefinitely due to major flooding in Fall of 2021 which significantly affected the suspension bridge to get across the river. It is not expected to be open for the 2022 or 2023 summer seasons sadly. Keep up to date on the closure here.
If you are coming from the Packwood/Randle area or the Mount Rainier Ohanepecosh area campgrounds, the Grove of the Patriarchs trail is definitely a beautiful trail with old-growth forest to check out. The Grove of the Patriarchs trail is such a great beginner trail if you are new to hiking or have little ones who want to do most of the hiking on their own. We took our girls here when they were just preschool/elementary age & it was the perfect hike for them as they loved the boardwalk part of the trail, the huge trees & most of all, the suspension bridge over the river. This is a peaceful loop walk in the forest grove after you cross the river filled with massive Douglas Firs, hemlocks & cedars, some of which are up to 300 ft tall & up to 40 ft in diameter.
What I really like about this hike, too, is that it’s the perfect hike for when it might be rainy or cloudy at Mount Rainier. You won’t see any mountain views from this hike, but you can enjoy the beautiful forest in the park. It’s also a good trail when you want to be cooled off thanks to the shade & you could even sit down by the river in the summer when it’s running lower. This trail is not accessible all year as the Ohanepecosh entrance does close in the fall until spring.
Silver Falls Hike
Photo Credit: My friend Heather
Location: Ohanepecosh Entrance of Mount Rainier
Miles: 3 mile loop RT
Elevation Gain: 600 ft
Pass Needed: National Park Pass
Parking: There is day use parking within the Ohanapecosh campground (there are also other possible parking options within the campground or by the ranger station. But this is a busy hike, so be prepared for a possible wait for parking)
Restrooms:
Pet Friendly: No pets allowed on Mount Rainier National Park trails
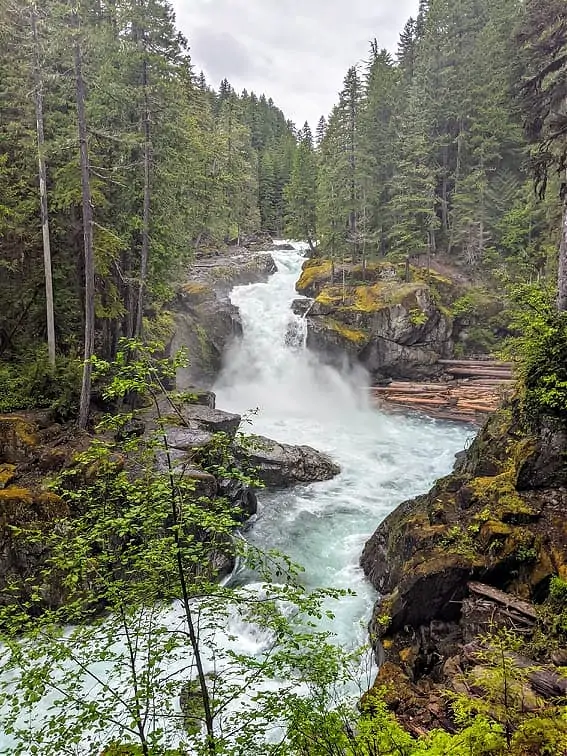
This trail is a fairly easy loop trail that is located very close to the Grove of the Patriarch’s trail (in fact, it would make for a fun day to combine these trails for a great day of hiking). The trail actually starts within the campground along the river & it will make a loop with the Silver Falls waterfalls right in the center & you’ll pass by some hot springs as well (unfortunately you cannot get in them, though)
Photo Credit: My friend, Heather
This trail has great variety with the old growth & mossy forest, following along the river, crossing bridges & then the stunning waterfalls as the highlight. It’s another great hike to do on a cloudy or rainy day, although it’s only available when the Ohanapecosh entrance is open (which is closed late Fall to spring). It’s another nice place to cool off in the summer with all the shade & being near the river.
Bench & Snow Lakes Hike
Location: Paradise area (just past Reflection Lake on Stevens Canyon Rd)
Miles: 2.5 miles RT (out & back)
Elevation Gain: 610 ft
Pass Needed: National Park Pass
Parking: Small Parking Lot (room for about 15-20 cars) – there are a few other pull-off parking lots beforehand you could try & then walk along the road to get to the trailhead)
Restrooms: None at trailhead; head to nearby Paradise Visitor Center before or after your hike for full restrooms there
Pet Friendly: No pets allowed on Mount Rainier National Park trails
We just discovered the Bench & Snow Lakes trail this year & it’s one of my new favorite hikes within Mount Rainier park as it combines stellar mountain views of Mount Rainier, nearby smaller mountain peaks & sparkling blue alpine lakes. This trail is one that can get crowded as you can only access it in summer months (even though it’s so close to Paradise Visitor Center, the Stevens Canyon Road closes every fall to late spring). We checked out this trail in early July & there were still a few snow patches up at the lake, so it definitely has a lot of snow even through early summer.
This hike is a nice length hike for a family hike, but be prepared that even though it’s only 600 elevation gain, that’s in a little over a mile, so it feels steeper than you’d expect. There is a lot of up & down & up & down again with stairs & hills. Even though I’ve done hikes with higher elevation, this one felt a bit more steep (as compared to Naches Peak trail for example) just because it was more continuous up & down, starting from the parking lot. It’s absolutely doable for families of any age, though, just be prepared for a bit of a workout if you are newer to hiking. I like this hike for any age, though, because there really aren’t any drop-off areas or areas you have to really watch little ones. There is one area which is off-trail, the overlook for Bench Lake, that has a little drop-off area, but that’s it.
You’ll definitely want the bug spray for this hike, too, especially if you go down to Bench Lake. We did not go down to this lake, but have heard the bugs are worse at this lake. But you are rewarded with Mount Rainier views along with the lake backdrop for awesome pictures. We went to the further lake, Snow Lake, which we just loved looking at the towering peaks surrounding it. Right past the lake, there is also a rock field that kids may have fun climbing on as well. Enjoy those Mount Rainier views as you hike back to your car!
Dege Peak Hike
Location: Sunrise Visitor Center area
Miles: 4 miles RT (out & back)
Elevation Gain: 600 ft
Pass Needed: National Park Pass
Parking: Large Sunrise parking lot
Restrooms: Use restrooms at Sunrise Visitor Center area
Pet Friendly: No pets allowed on Mount Rainier National Park trails
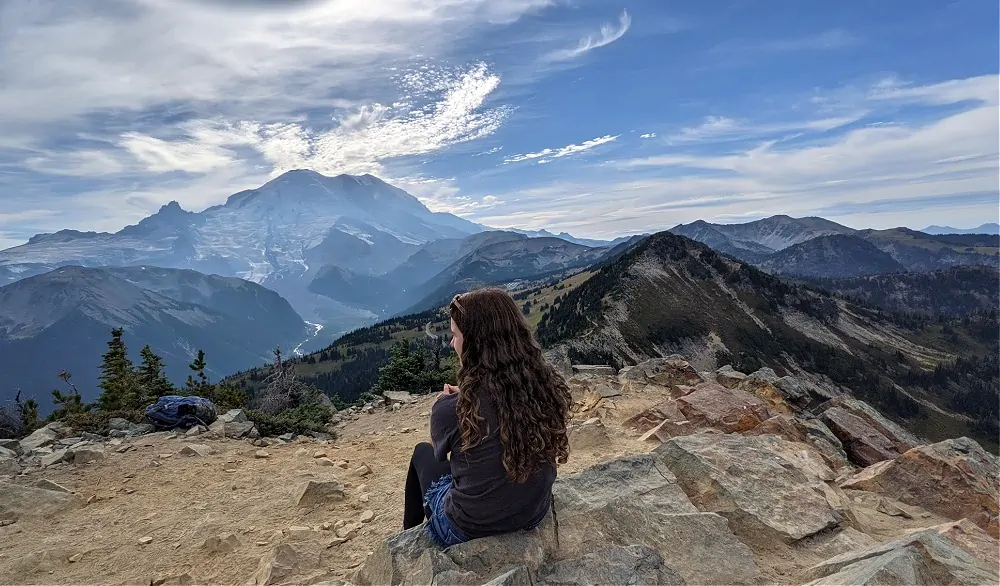
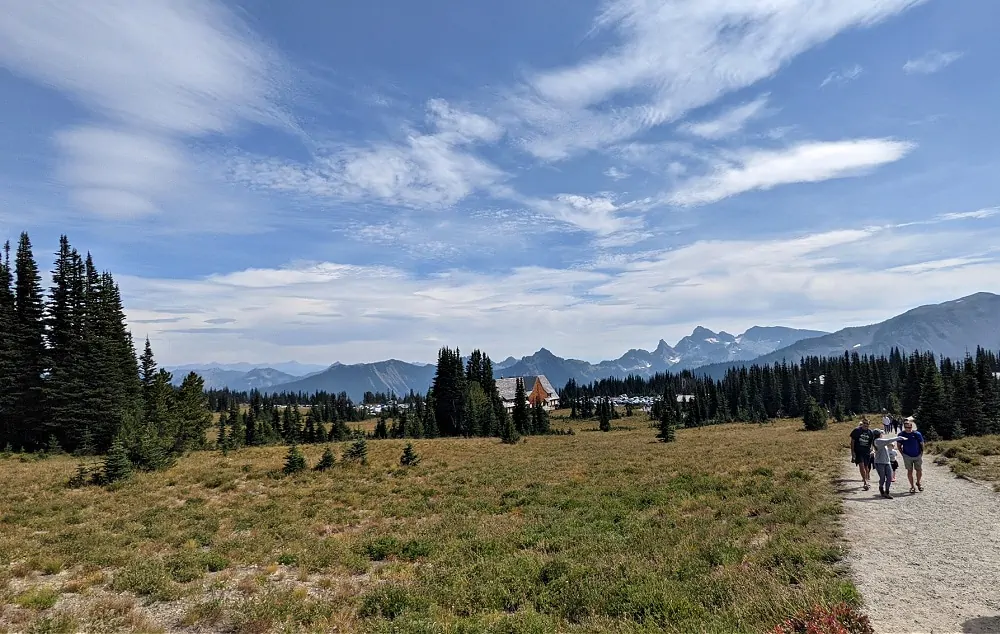
This hike is only accessible in the summertime months when the Sunrise Visitor Center is open. Typically, the road to Sunrise opens around late June/early July, but keep checking the Mount Rainier website to see when it will open. Once it opens, this is definitely an absolutely breathtaking hike to try to have full 360 views of Mount Rainier & the surrounding mountains from the summit & a good portion of the hike as you are hiking along the ridge.
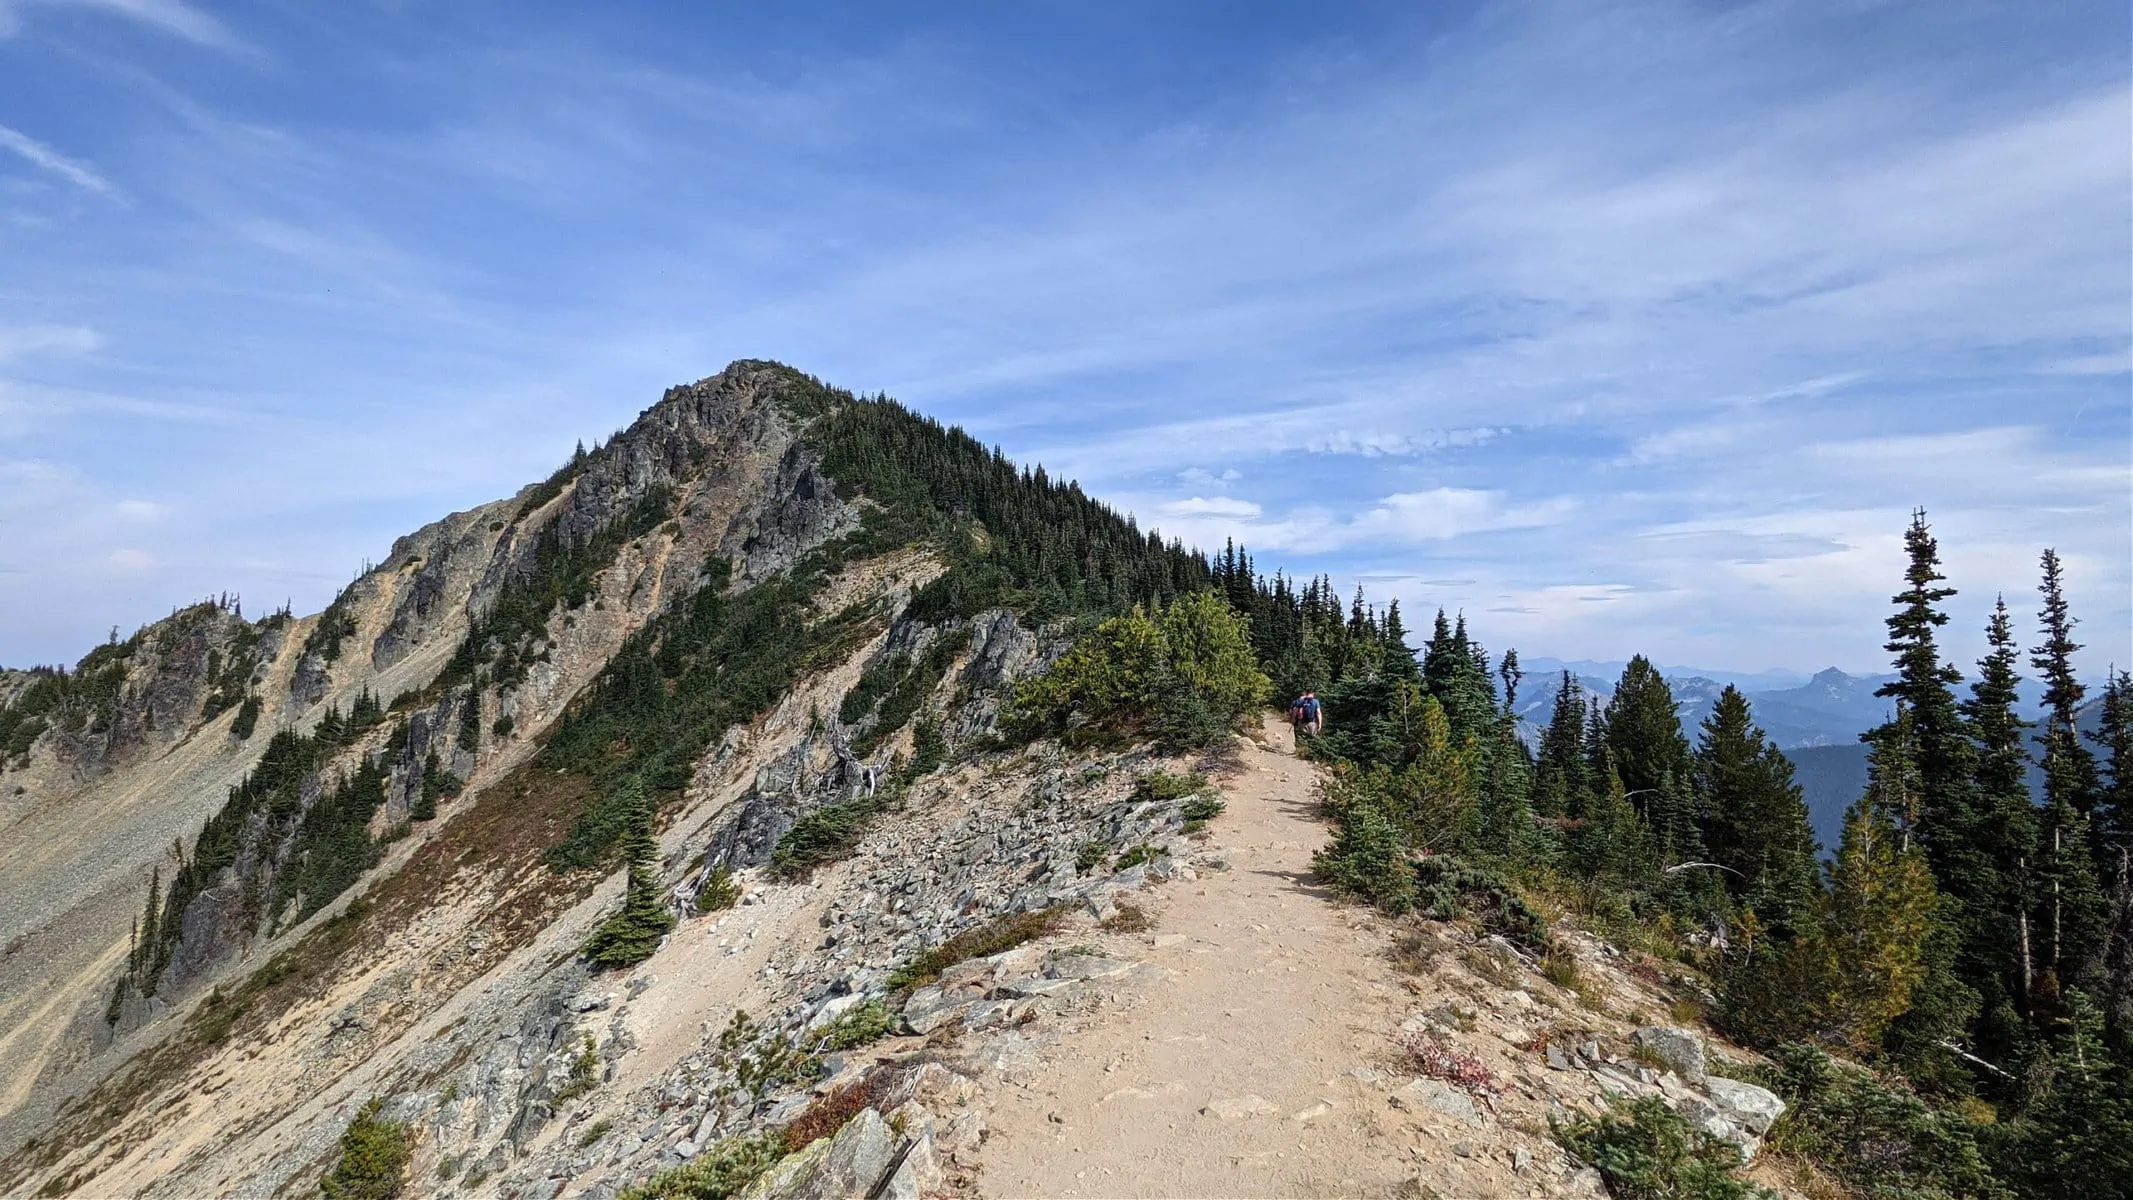
This hike is a bit different from the other Mount Rainier view hikes in that this hike actually goes in the opposite direction away from Mount Rainier when you start out from Sunrise Visitor Center. So you will actually hike on the ridge that is above the road coming in to Sunrise Visitor center for a little bit, and this ends up giving you a better perspective of Mount Rainier as it’s a little bit further away than heading right towards the mountain from the visitor center.
Dege Peak in the distance
This is a kid-friendly hike, but there are a few areas that I would hold hands of younger kids in a few ridge areas & at the top of the summit where there are some sloped drop-off areas. I included some pictures of those areas so you can see – I am one who has a fear of steep drop-offs & I felt comfortable on this hike, but I’d keep track of little ones in those areas. This hike is beautiful in August during the wildflower season too (the wildflower season is later as the snow melts later in this area).
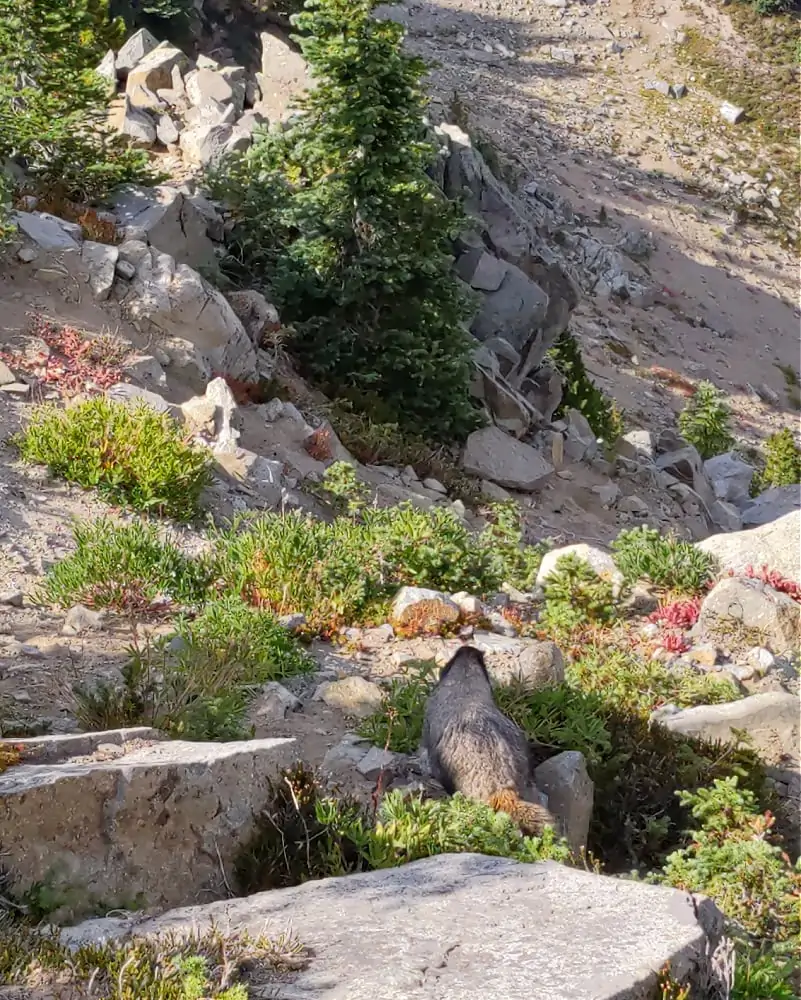
Once you hit the summit, it’s a complete 360 view of the amazing Mount Rainier & those views are something else! Definitely one of my very favorite hikes & one of my top favorite Mount Rainier hikes for sure! And keep an eye out for critters – we saw a marmot on the hike & it is definitely a hike well known for marmots. They do blend in so well with the vegetation, though, so you’ll need to keep a close eye out for them.
More Mt Rainier Hikes to Consider:
Sheep Lake
Location: Highway 410 / Tipsoo Lake area
Miles: 3.6 miles
Elevation Gain: 400 ft
Pass Needed: Northwest Forest Pass (or you can use the America the Beautiful Pass which covers all federal lands)
Parking: there is a large parking lot
Restrooms: Vault toilets
Pet Friendly: Yes (it’s not in the park boundary)
I am including the Sheep Lake hike in our post, but it’s technically not within Mount Rainier National Park, but it is very close to the park boundaries & just around the corner from Tipsoo Lake (Mount Rainier Park) on Highway 410 at Chinook Pass. The great thing about this is that you can still enjoy that area of the park, but you can bring your dog since it’s not National Park trails.
This trail doesn’t have the same “Wow” factor as the Naches Peak trail as Naches Peak mountain actually blocks the view of Mount Rainier, so you won’t see Mount Rainier from this hike except maybe a quick glimpse. But the trail runs high along the ridgeline above Chinook Pass for quite awhile before it cuts back into the forest to arrive at the beautiful Sheep Lake.
This is a family-friendly hike as it’s a gentle grade heading up to Sheep Lake (it’s pretty flat until you get to the point where it heads up into the forest to Sheep Lake. But I would let you know that since it does run along the ridgeline, this does have some more exposed areas, but they are not total drop-offs (like step-off, but more steep hillside with vegetation going down) but a few areas I would definitely watch kids more closely. If you have younger kids who are a bit more unstable, likely to want to run off, etc, this may not be the trail for you. {I have a fear of drop-offs but I was ok except maybe 1 section, which is not the case for me with some other Sunrise-area hikes that are more exposed}
This is a great hike to backpack as we saw several families setting up camp around the lake since it’s such a short, easy hike, but you have a beautiful spot to set up camp. And you can extend this hike by doing the Sheep Lake to Sourdough Gap trail which is 6 miles & 1100 elevation gain – basically you are going up on the ridgeline up above Sheep Lake, which sounds like an incredible view! I definitely want to go back & try that one!
Here’s a few more Mount Rainier hikes to check out:
We haven’t tried most of these, but hope to mark more off our list soon!
Nisqually Vista Loop – This is a very easy, flat trail perfect if you want quick views or just want a very easy hike. It’s 1.1 miles & 200 elevation gain, located at the lower parking lot (overflow lot) for the Paradise Visitor Center. We have snowshoed this trail & loved the views of the mountain once you get to the Vista. It makes for a great first-time snowshoe location (this is where they do the ranger-led snowshoe tours too). You’ll get a closer look at the Nisqually Glacier too, with some interpretive signs showing you what to look for.
Carter Falls – This trail has 2.8 miles & 660 ft elevation gain. Another great family-friendly option to see beautiful waterfalls. This should be open year-round as it’s closer to Longmire & Cougar Rock campground areas.
Comet Falls – This trail has 3.8 miles & 1250 elevation gain. The parking lot for this trail is about halfway between Longmire & Paradise, also accessible all year. It’s located near Christine Falls (which you can see from the road)
Dege Peak – This trail is next on my list – it’s 4 miles, 600 elevation gain at the Sunrise Visitor Center area. It will give you stunning 360 degree views of not just Mount Rainier, but Mount St Helens, Mount Adams, Mount Baker & Glacier Peak!
Fremont Lookout – This is a more moderate hike with 5.6 miles & 1200 elevation gain, starting from Sunrise Visitor Center, so it’s only accessible a few months a year. You’ll be hiking to a fire lookout with sweeping mountain views & there’s a good chance you’ll see mountain goats, too.
Tolmie Peak Lookout – This hike is located in the Mowich/Carbon Lake entrance area of Mount Rainier. It’s 7.5 miles & 1100 elevation gain. This is an old fire lookout which boasts gorgeous Mount Rainier views with the crystal blue waters of Eunice Lake.
Spray Park – this is another Mowich/ Carbon River trail to check out. It’s another moderate level hike with 8 miles round-trip & 1700 ft elevation gain.

