Make An Olaf Snowman (from Disneys Frozen) Using White Pumpkins!
This post may contain affiliate links and I may be compensated for this post. Please read our disclosure policy here.
Make An Olaf Snowman (from Disneys Frozen) Using White Pumpkins!
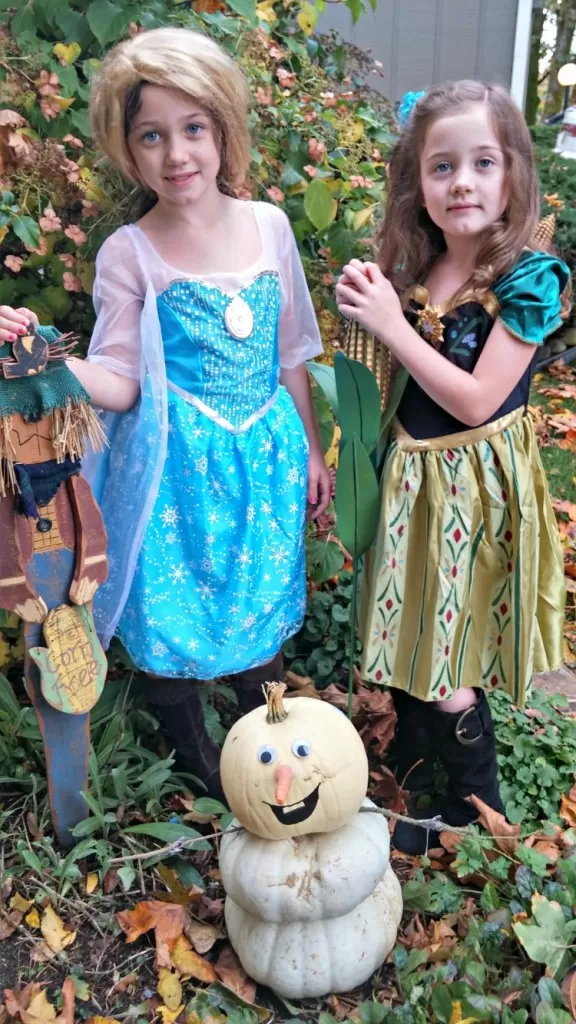
This is a pumpkin we made when the original Frozen came out, and my kids where obsessed with Olaf. Frozen 2 will be released next month, and I know there is renewed excitement around the movie, so we thought this might be a fun pumpkin sculpture you can make with your little Frozen fans this year!
We recently took the kids out to the pumpkin patch, and found so many beautiful pumpkins in all kids of shades of orange and white! Here is a fun idea on how you can use three white pumpkins to make a fun snowman for your front yard this fall. A good friend looked at the white pumpkins at the pumpkin patch, and had the brilliant idea of turning those into Olaf. He turned out so cute, and was so affordable to make that I thought some of you might want an Olaf for your front yard this Fall!
This is how we made our pumpkin snowman look like Olaf, but you could make yours to be any snowman. If you wanted more of a frosty look you could wrap a scarf around it, and add a black top hat from a thrift store. You could also use a button for the nose instead of a carrot. You can make large ones or small ones, depending on where you want to place it.
My kids loved coming home to olaf in the front yard. This year I think I will try to make one that looks more like frosty!
Supplies Needed:
- 3 white pumpkins (that will stack on each other like a snowman). We picked ours up at the Pumpkin Patch
- Googlie Eyes ( or you could just draw these on with a black sharpie paint pen too)
- Carrot for the nose
- Branches for the arms
- 3 Black Buttons (or again you could just draw these on). We skipped this step, but you could add them!
- Hot Glue Gun and glue sticks
To Make Olaf out of pumpkins:
1) Stack the three pumpkins on top of each other so they balance well and make a snowman figure.
2) Hot glue on the Googlie eyes to the top pumpkin (or you could draw them on, or if your kids love to carve pumpkins you could carve out the eyes and whole for a nose, and mouth from the top pumpkin).
3) Hot glue on the carrot for the nose to the top pumpkin (or insert into hole if you carved your pumpkin). This step was tricky in that the carrot had some moisture in it so it did not want to glue on directly. I ended up sticking a tack in the carrot and then attaching the glue to the tack and the pumpkin (and then gluing all around the carrot as seen in the picture above).
4) Either carve holes in the side of the 2nd pumpkin, and insert twigs for arms (or you could hot glue these too). I hot glued the arms to the top of the second pumpkin and then stacked the top pumpkin on top of the arms for added stability.
5) Glue or draw on the black buttons down the center of the 2nd pumpkin. Draw on the mouth of you want to include one of those. I used a paint pen, as the oils on the pumpkin can make it hard for markers to stick.
It’s that easy. My girls LOVE their Olaf pumpkin, and it was the easiest pumpkin project I have gotten away with (we opted not to carve this year), so it worked for us all!
More Fall Posts::
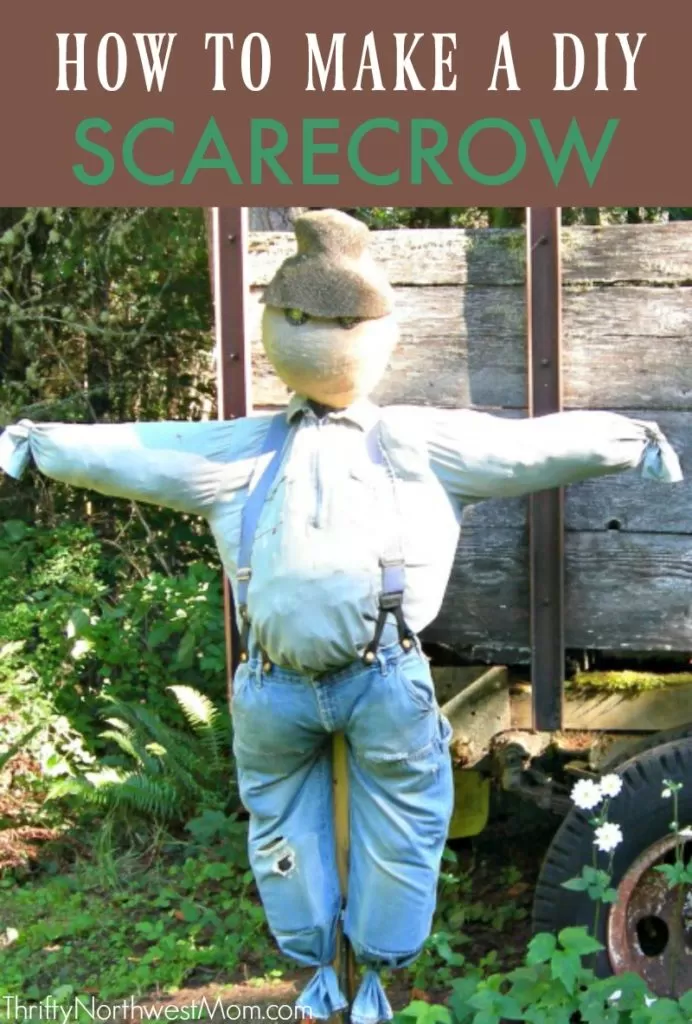
Fall DIY Projects here (like a homemade scarecrow)!
Fall Festivals, Pumpkin Patches & Cider Squeezes around the Northwest
Reviews of Northwest Pumpkin Patches


