How to Make Pumpkin Puree from Scratch in 5 Easy Steps!
This post may contain affiliate links and I may be compensated for this post. Please read our disclosure policy here.
How to Make Pumpkin Puree from Scratch in 5 Easy Steps!
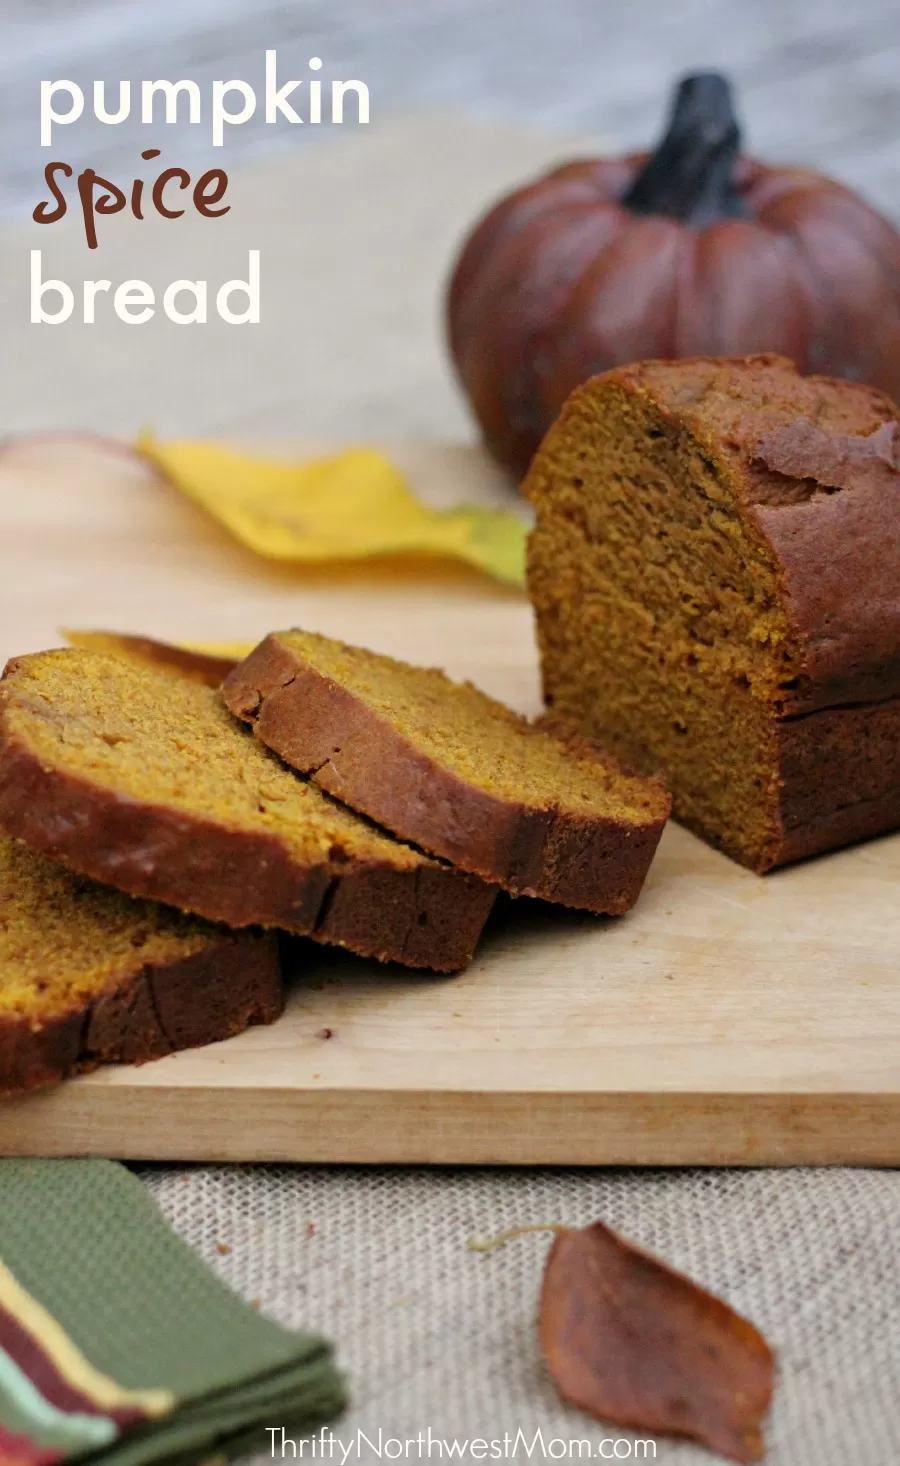
Making Pumpkin Puree from Scratch is easier then you might think, if you have never done it before. Here are 5 simple steps that will show you how to make pumpkin puree, and take you from a whole sugar pumpkin, to beautiful pumpkin puree in around a half hour. Once we started using our own pumpkin puree I have never been able to go back to canned. I find it cheaper, and as far as I am concerned the taste is so much better there is just no comparison. The color is a nice bright orange (vs that brown orange for pumpkin puree in the can). My husband agrees, he loves the desserts and coffee creamers we make with the homemade stuff as well. There really is a significant taste difference in my opinion.
Before I started roasting my own pumpkins, I was a bit intimidated by the process. I thought it was going to be alot of extra work. But its really not. Its 5 basic steps, and most of that is roasting time in the oven. It takes me about 5 minutes to prep my pumpkins, 40 minutes to roast and another 10 minutes or so to peel and mash. Thats it. Really. The most time consuming part is that I then spend the next week making homemade pumpkin pies, or pumpkin cakes and breads, or a family favorite this time of the year, pumpkin creamer!
Here are the 5 simple steps for How to Make Pumpkin Puree from scratch:
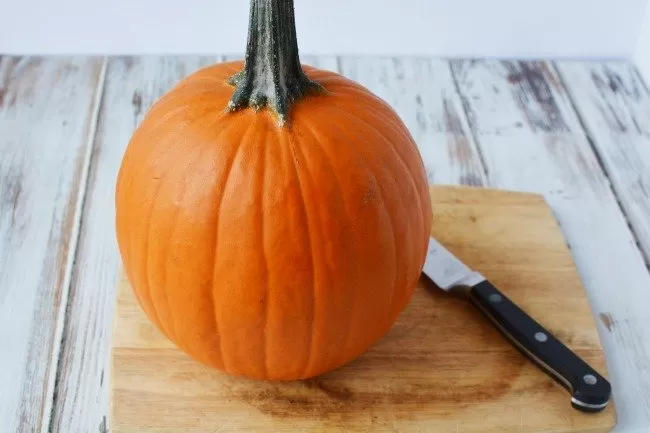
Start with sugar pumpkins. They are generally smaller then the carving pumpkins, and pretty easy to work with. I always like to start by giving the outside a nice washing since they have been sitting in the dirt. This is also a great time to pre-heat your oven to 350.
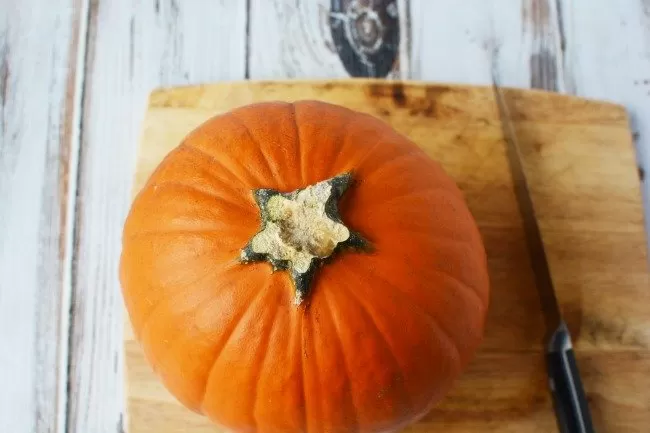
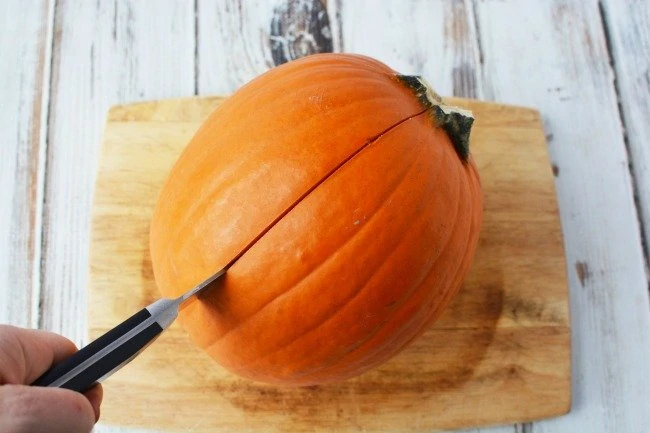
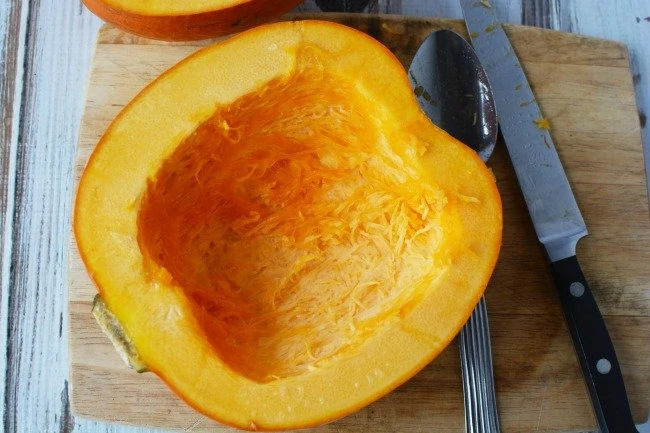
The next step is to break or cut off the stem, and then using a good knife, cut your sugar pumpkin in half.
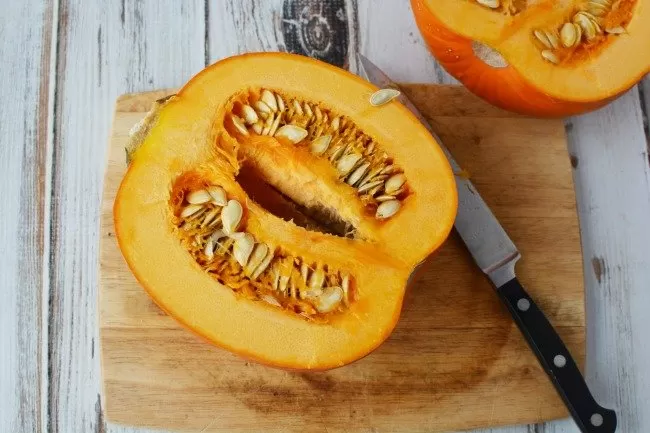
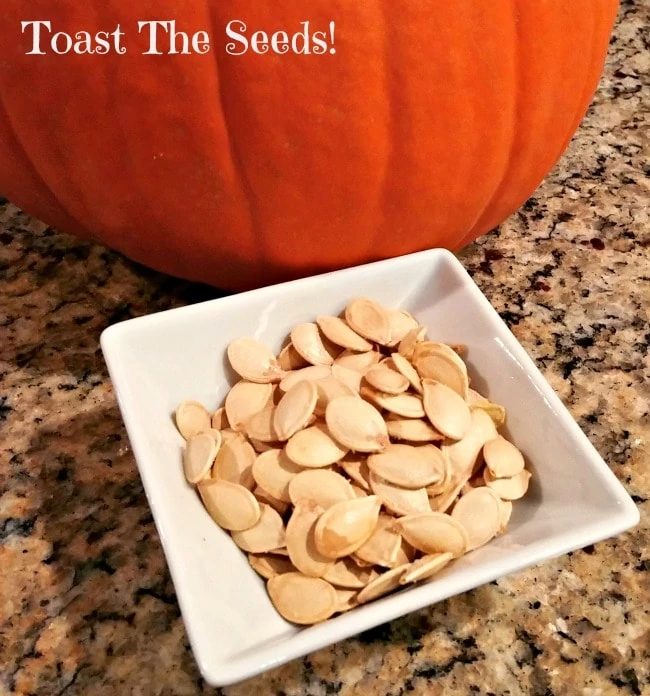
You will want to scoop out the insides, and give it a nice clean and hollowed out middle. I find the easiest thing to do here is to scoop it into a colander I have sitting in my sink. That way I can get all the pumpkin seeds out while the pumpkins are cooking, and roast those up later (we love roasted pumpkin seeds as a snack at my house!).
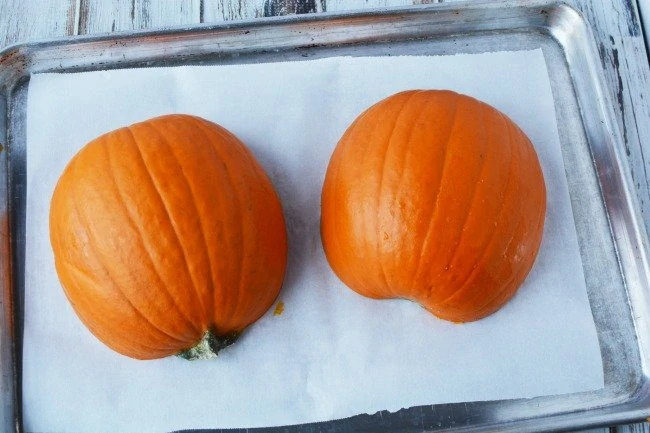
Once you have your pumpkins all cleaned out, put them skin side up on a baking sheet and place into the oven. Bake for approximately 40 minutes at 350 degrees. You will want to cook until a fork is easily inserted in your pumpkin (like you would check a baked potato).
Once your pumpkin is cooked, remove from the oven and let cool for about 10 minutes. You could let it cool for longer so that you are not working with warm pumpkin, but I find the skin easier to peel when its still warm.
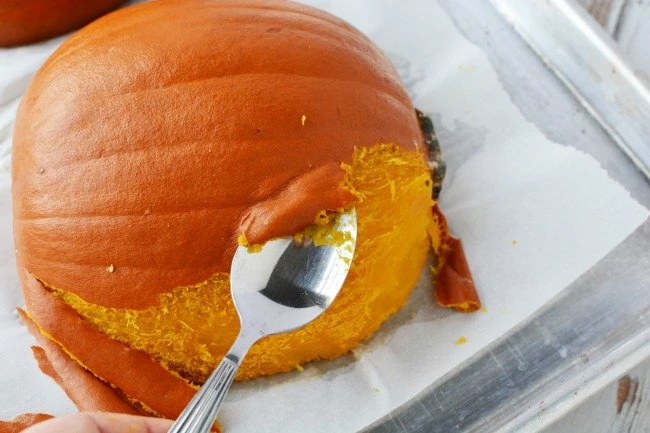
Next you will want to peel your pumpkins. I find the easiest way to do this is to just use a large spoon and gently pull back the skin. It should come off fairly easily if the pumpkin is cooked well.
Finish peeling all of the skin off until your pumpkins look like this!
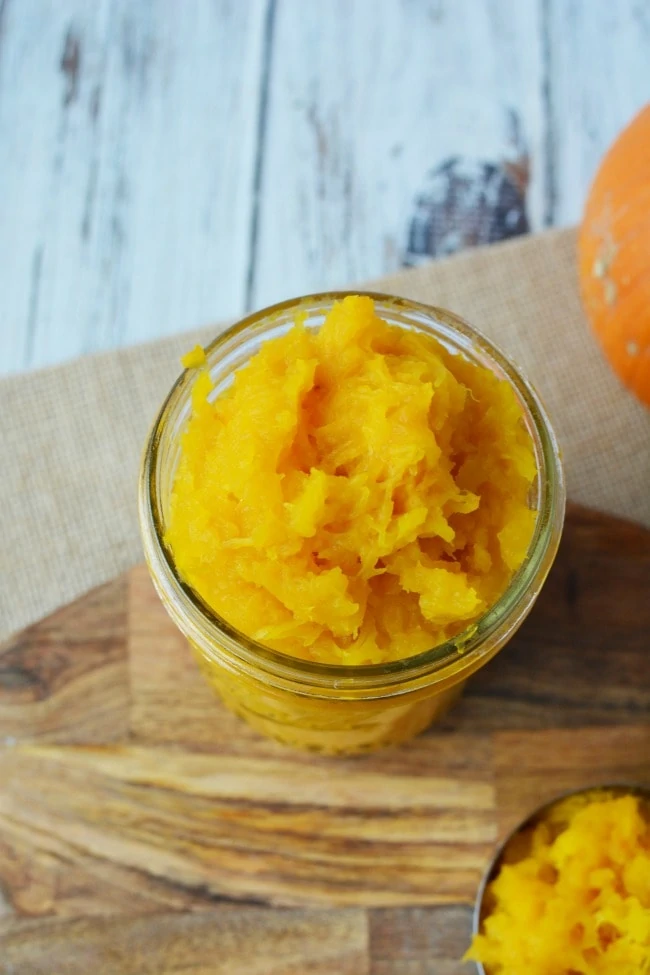
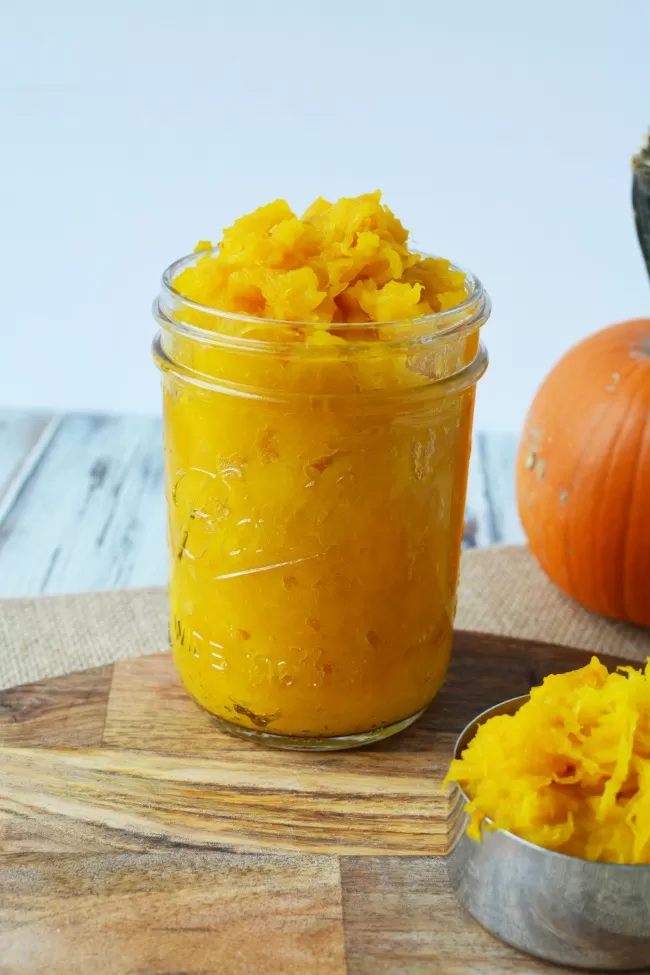
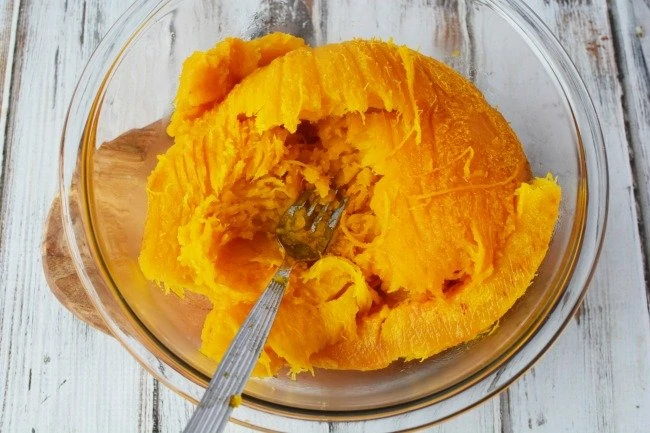
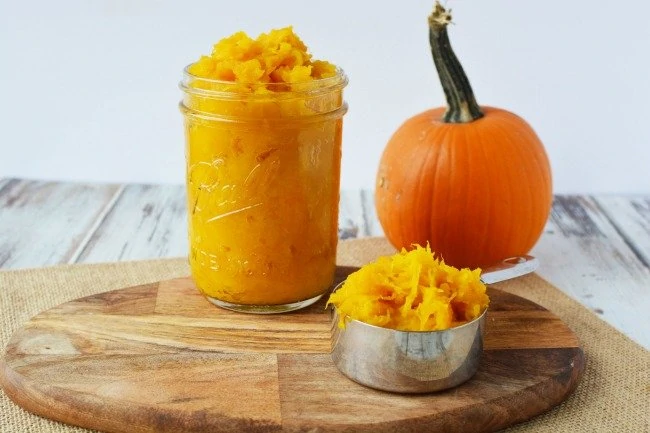
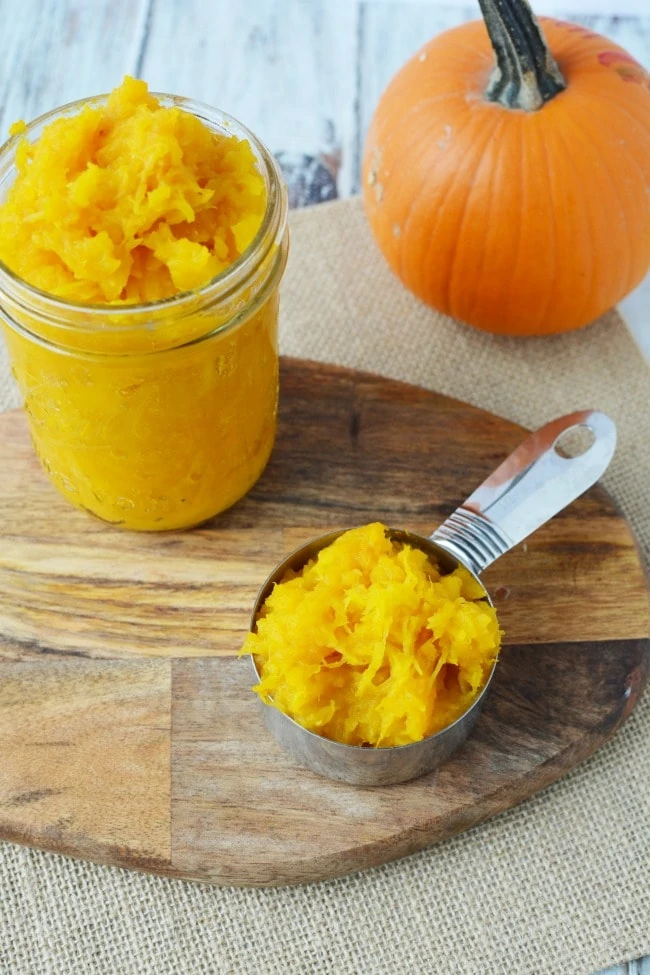
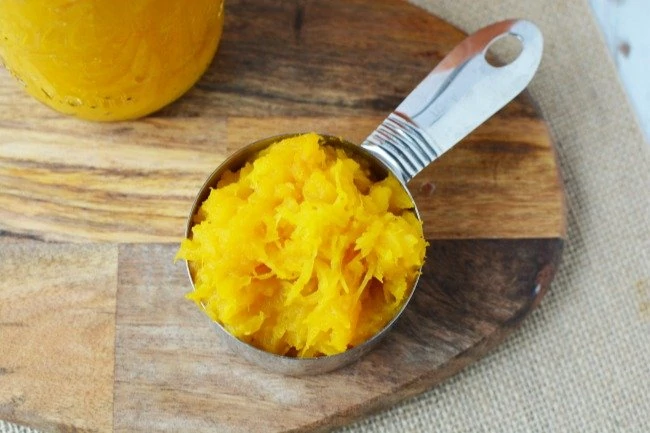
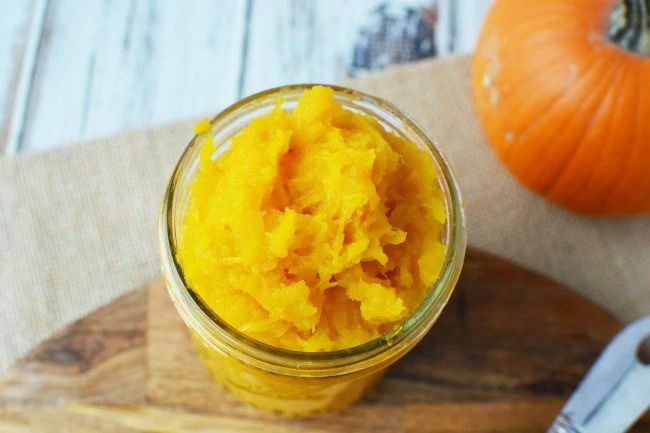
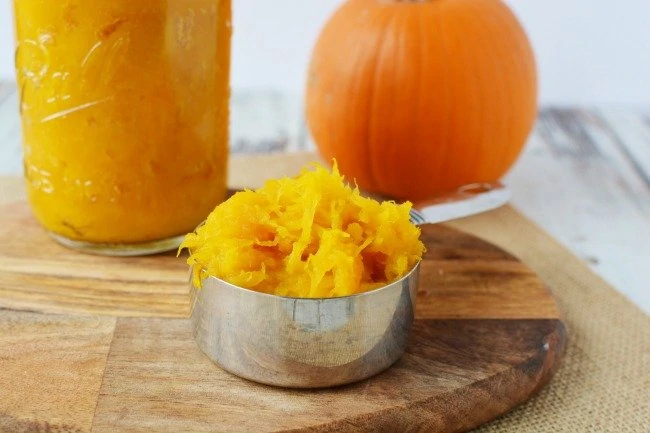
Once your pumpkins are peeled you are at the last step. Mash that puppy up! I find that if the pumpkin is cooked well I can mash it all by hand with a potato masher. If you prefer a much finer consistency you could add it to a food processor or blender, but its not required. The batch you see below is one I made with just a hand held potato masher.
Thats it. Now you have homemade pumpkin puree. An average size sugar pumpkin yielded more then the equivalent of 4 cans of pumpkin puree for me. Store it in an airtight container, or some tupperware in the refrigerator.
Now your ready to cook with it. Here is some additional information that might come in handy to help you turn your homemade pumpkin puree into other delicious delights.
How much homemade pumpkin puree equals an 12 oz can of puree?
According to Libbys site, they say this:
- An 8oz can of LIBBY’S ® 100% Pure Pumpkin contains about 1 cup of pumpkin.
- An 15-ounce can of LIBBYS ® 100% Pure Pumpkin contains 1 3/4 cups of pumpkin.
- A, 29-ounce can of LIBBYS ® 100% Pure Pumpkin contains 3 1/2 cups of pumpkin.
How long can you store pumpkin puree in your fridge?
Store in a plastic or glass container for about one week in the refrigerator (air tight containers will help it last longer).
You can store in a freezer container for up to a few months.
Printable Recipe for Pumpkin Puree:
How to Make Pumpkin Puree from Scratch in 5 Easy Steps!
Description
Check out this recipe for pumpkin puree made in just 5 easy steps!
Ingredients
Sugar pumpkins
Instructions
Preheat your oven to 350. The next step is to break or cut off the stem, and then using a good knife, cut your sugar pumpkin in half. You will want to scoop out the insides, and give it a nice clean and hollowed out middle. Once you have your pumpkins all cleaned out, put them skin side up on a baking sheet and place into the oven. Bake for approximately 40 minutes at 350 degrees. Once your pumpkin is cooked, remove from the oven and let cool for about 10 minutes. Next you will want to peel your pumpkins. I find the easiest way to do this is to just use a large spoon. Mash the pumpkin until pureed. Store in air tight container.
Recipes to use Pumpkin Puree:
Looking for pumpkin puree recipes that you can use your homemade pumpkin puree in? Try these!
Baked Gluten Free Pumpkin Donuts
Pumpkin Surprise Cake (like a dump cake, easy to make!)
Pumpkin Spice Cake Recipe With Rum Cream Cheese Frosting (So Easy)!
20 Pumpkin Spice Cookie Recipes
Slow Cooker Sausage & Pumpkin Chili (perfect for the Fall!)
And don’t forget about those delicious pumpkin seeds. Simply wash them off (and discard the rest of the insides you scooped out). Lay them out flat on a baking sheet. My favorite way to cook them up is to drizzle them with a little olive oil and sprinkle some coarse sea salt on top. Gently toss to coat them all, and then arrange in a single layer on sheet. Bake at 350 for approximately 10 minutes or until lightly golden brown. Let cool, and they are ready to snack on!








I use an immersion blender to help remove any clumps of pumpkin. Another website suggested straining the puree. I tried it and was surprised by how much water drained out. Glad I gave it a try.
That is a great tip Wendy – I will have to try that next time!