Hot Air Balloon Baskets To Use For Gifts
This post may contain affiliate links and I may be compensated for this post. Please read our disclosure policy here.
Hot Air Balloon Baskets To Use For Gifts
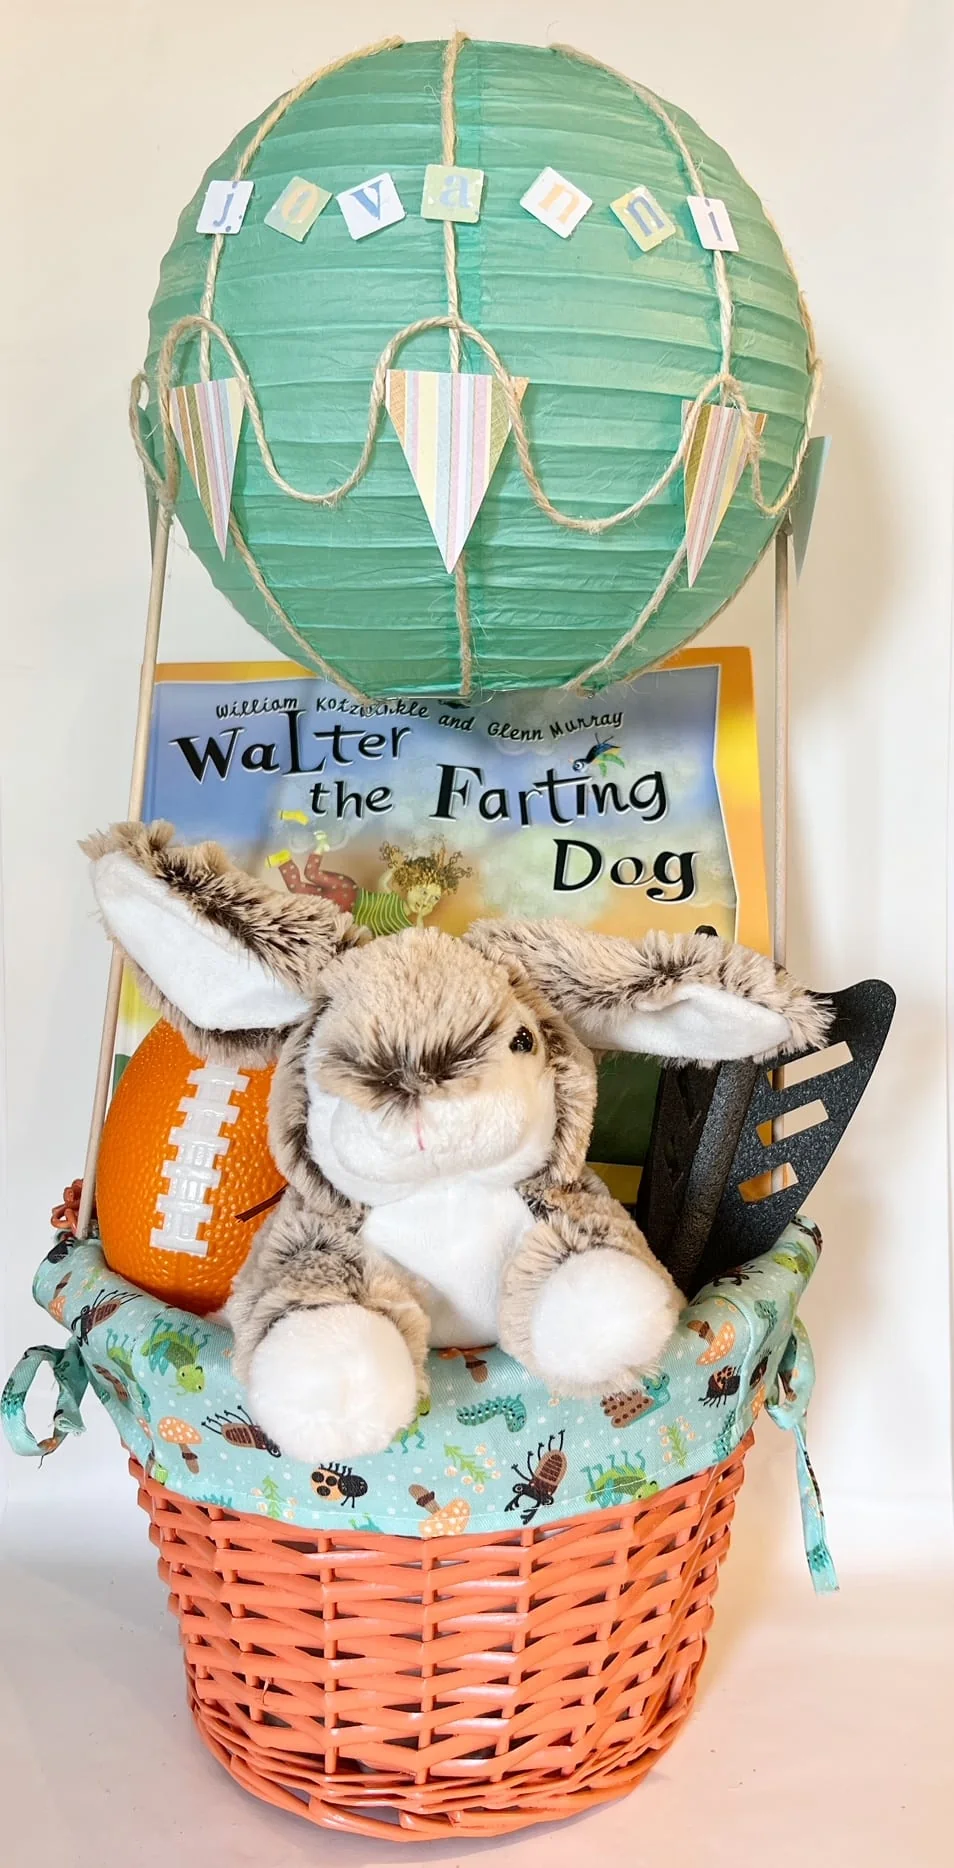
This idea for turning a regular gift basket into a hot air balloon basket is a super fun way to dress up any gift. These work great for baby showers or for kids birthdays, and even Easter baskets. It is both an affordable and pretty easy to make way to turn a gift basket from ordinary to something really special.
I recently made one for a kids birthday party I was attending, and it got lots of attention right away. The gift inside wasn’t much different from all the other gifts on the gift table, but everyone wanted to know about that hot air balloon basket! I had lots of fun making it, and wanted to share how you can make your own version here, and for so many different occasions. The really fun part is that you can customize the style of your basket with the colors and patterns that work for your event. I show you where I got my supplies below, but you can even get the supplies at the dollar store if you want to make it on a real budget!
Ways To Use Hot Air Balloon Baskets ::
As I mentioned above, I made mine as a way to showcase a birthday present for a young child’s birthday party. There are so many other ways to use these hot air balloon gift baskets though, from decor to gifts. Here are some of my favorite ideas.
- As baby shower gifts (fill the basket with things like baby wipes, baby clippers, baby shampoo, etc.).
- As gift baskets (this is what I made mine for, a one year old boys birthday present).
- Easter baskets (fill the basket with the Easter goodies)
- Table Centerpieces for a baby shower or other party – make a smaller version of this for that. You can get paper lanterns that light up inside and those would be fun to use if the event was an evening one.
- And you can make a baby diaper cake out of them (you would make a round cake at the bottom from diapers, and top it with this balloon topping). We show you how to make diaper cakes here if you want more info on that.
Supplies Needed to Make this DIY Hot Air Balloon ::
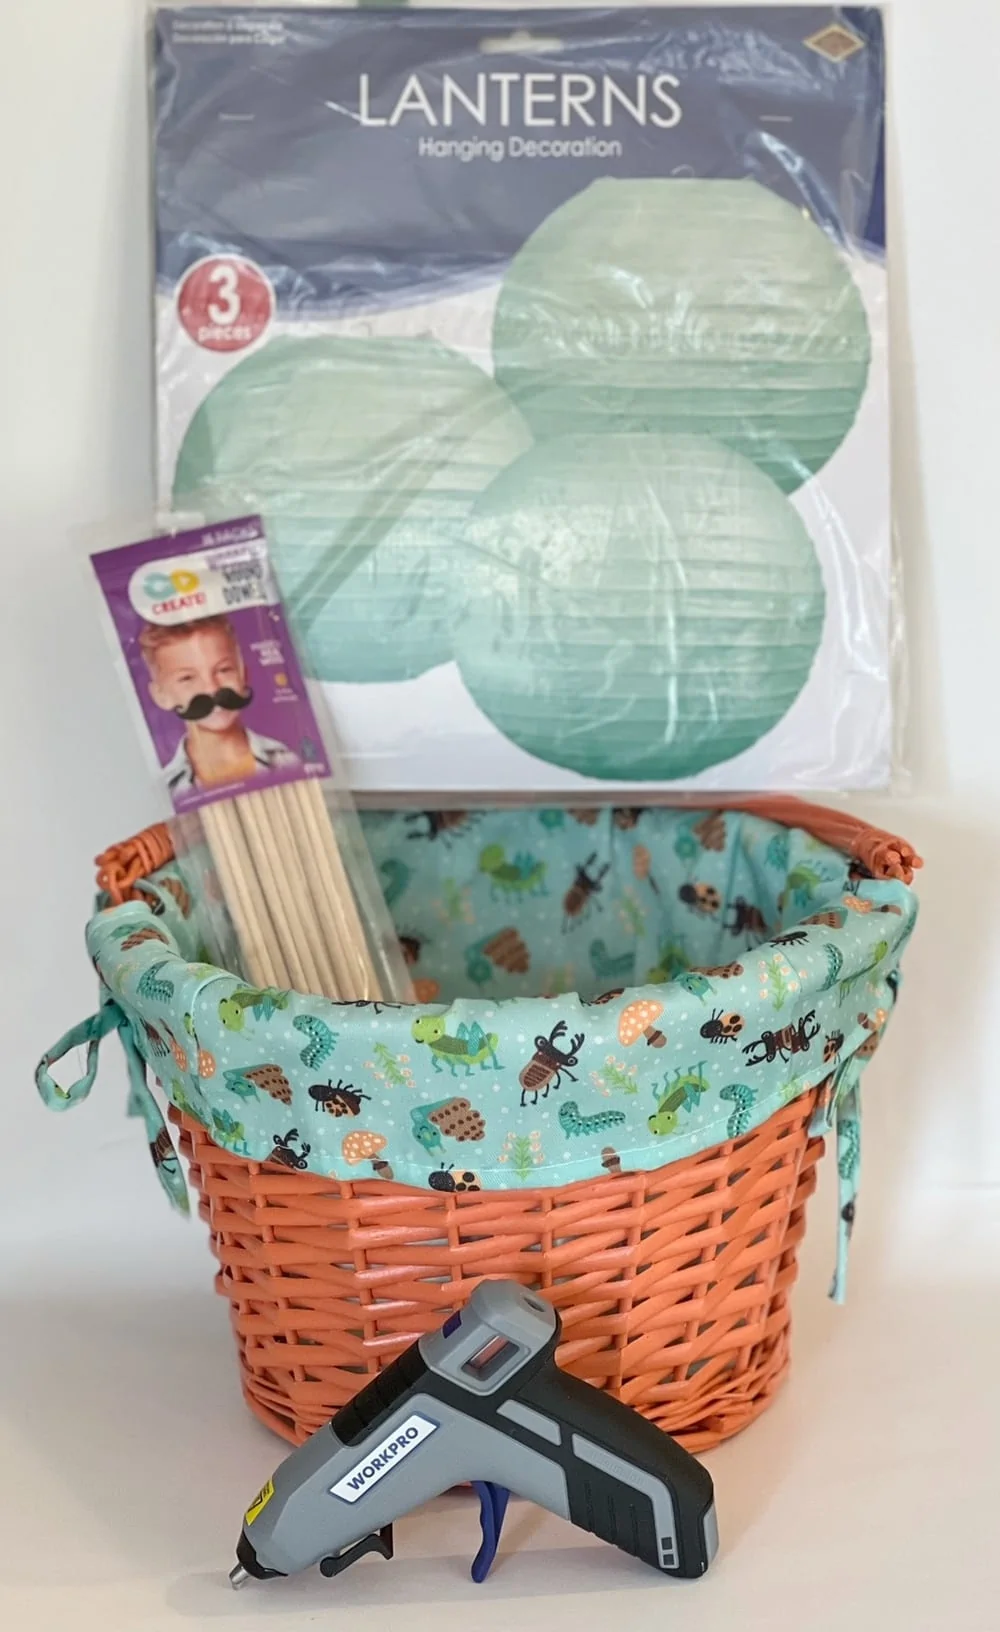
This project requires a few simple supplies. You can make it for a few dollars from supplies at your local dollar store, or splurge on the perfect basket and spend just a little more. The theme of the birthday party I was going to was “Wild One” so I loved the idea of getting a basket to match the theme. You choose what works best for your use of it, but here are the basic supplies you will need.
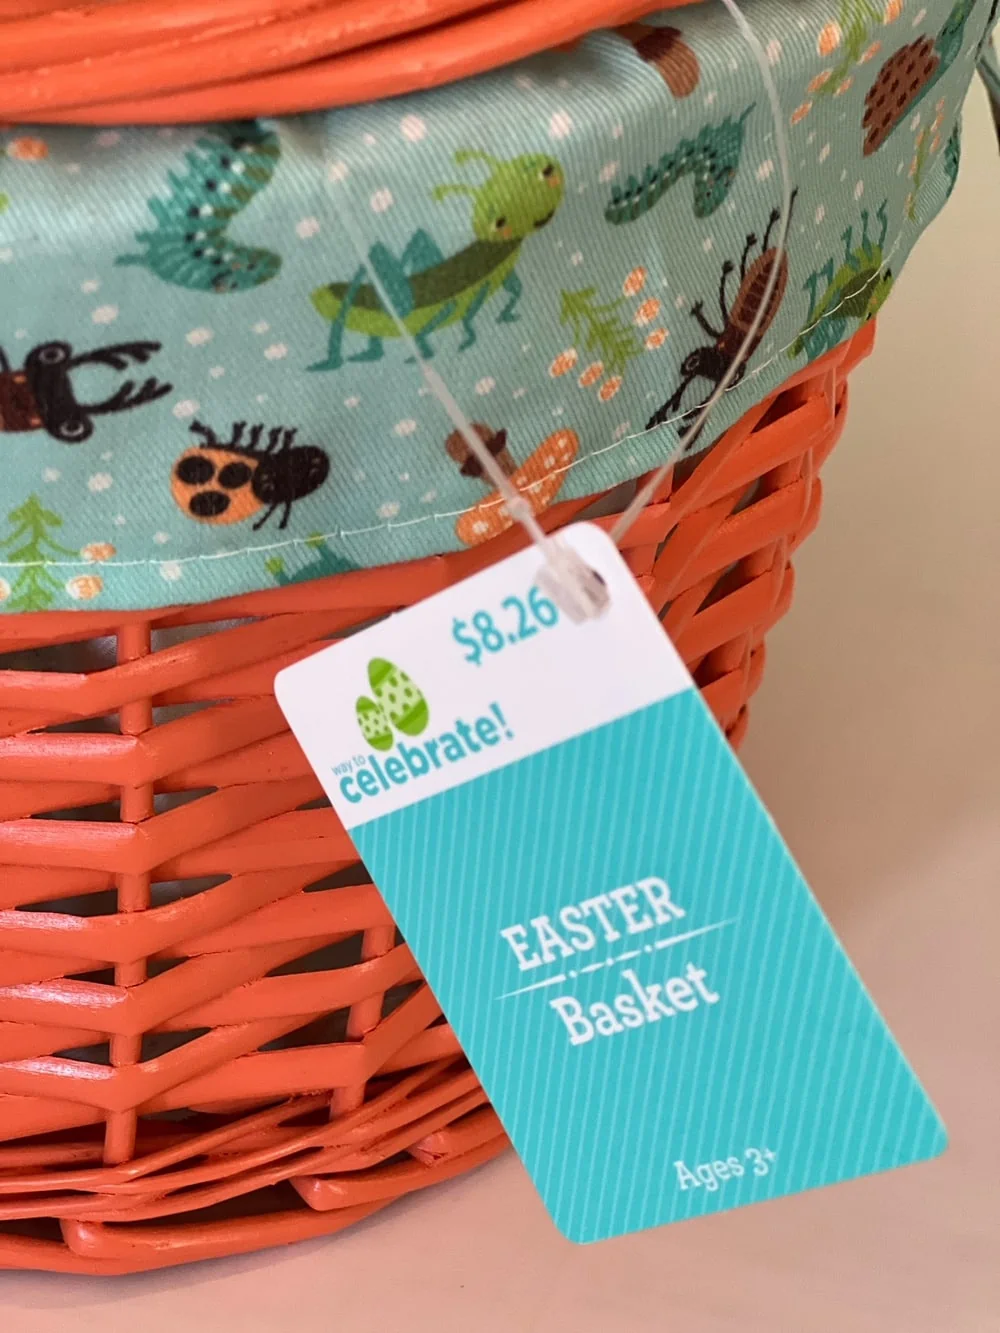
Walmart has these Way To Celebrate baskets for as low as $7.89 each for the medium sizes. I grabbed the critters one (or I grabbed the large size for $8.89 here).
- Basket or pail (you can get them for as low as $1 at the dollar store, or find the perfect basket to match your event.
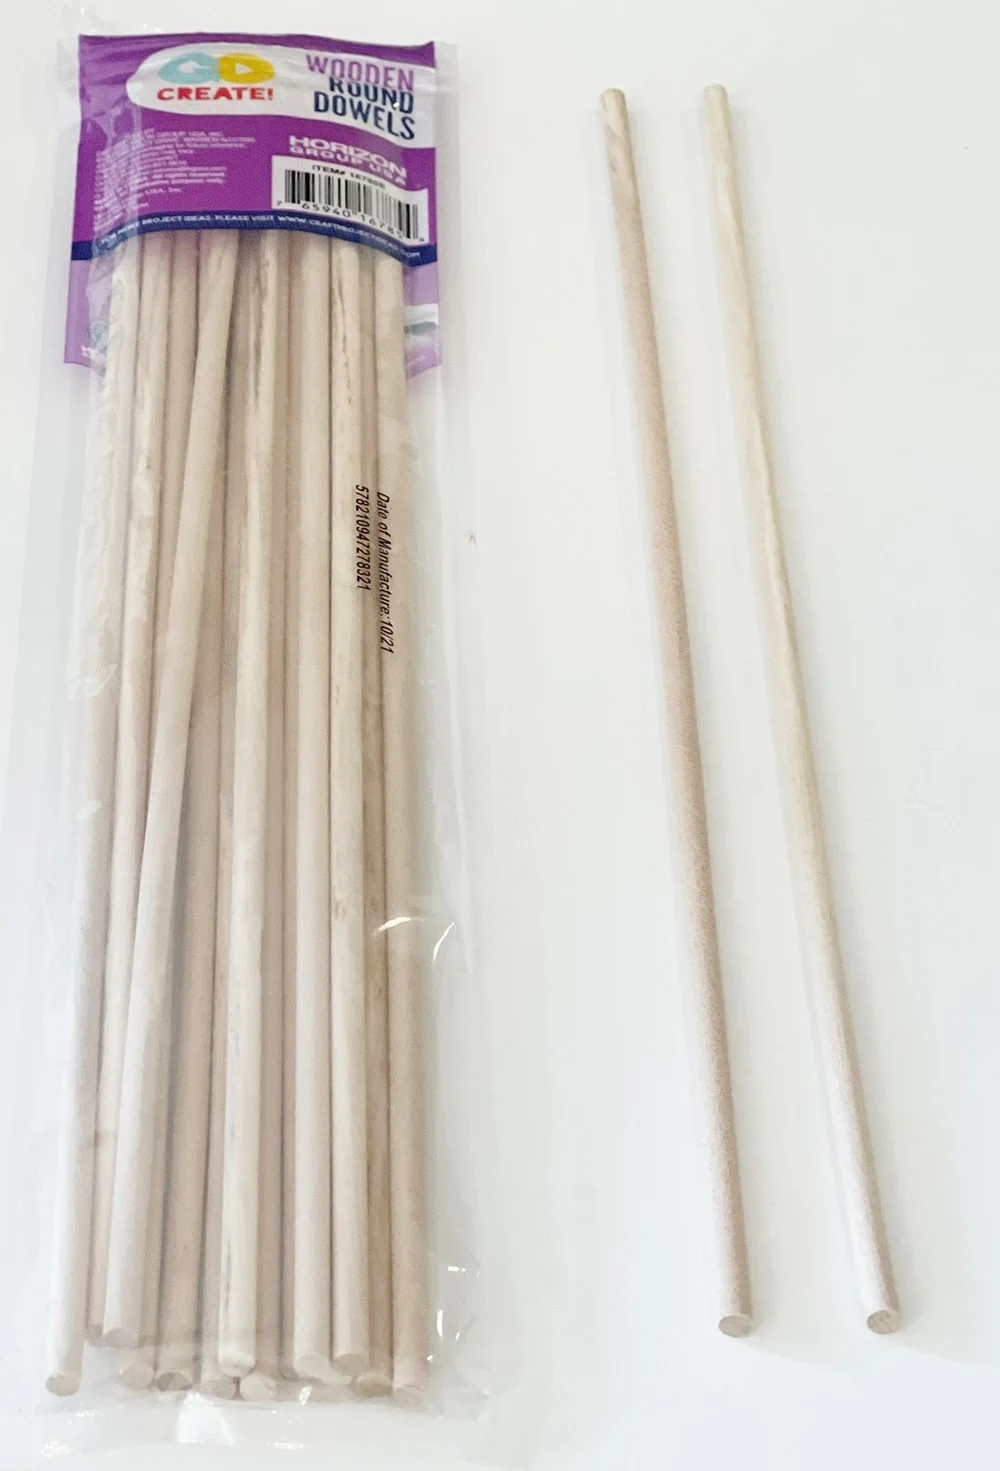
- Wood Dowels (I got this 16 pack at Walmart). You could also use cake pop sticks as well.
- Paper Lantern (I bought this 3 pack off of Amazon, but you can also often find them at the Dollar Tree – so keep your eyes peeled there. I bought the color I wanted to use, but you can always buy white and paint it too).
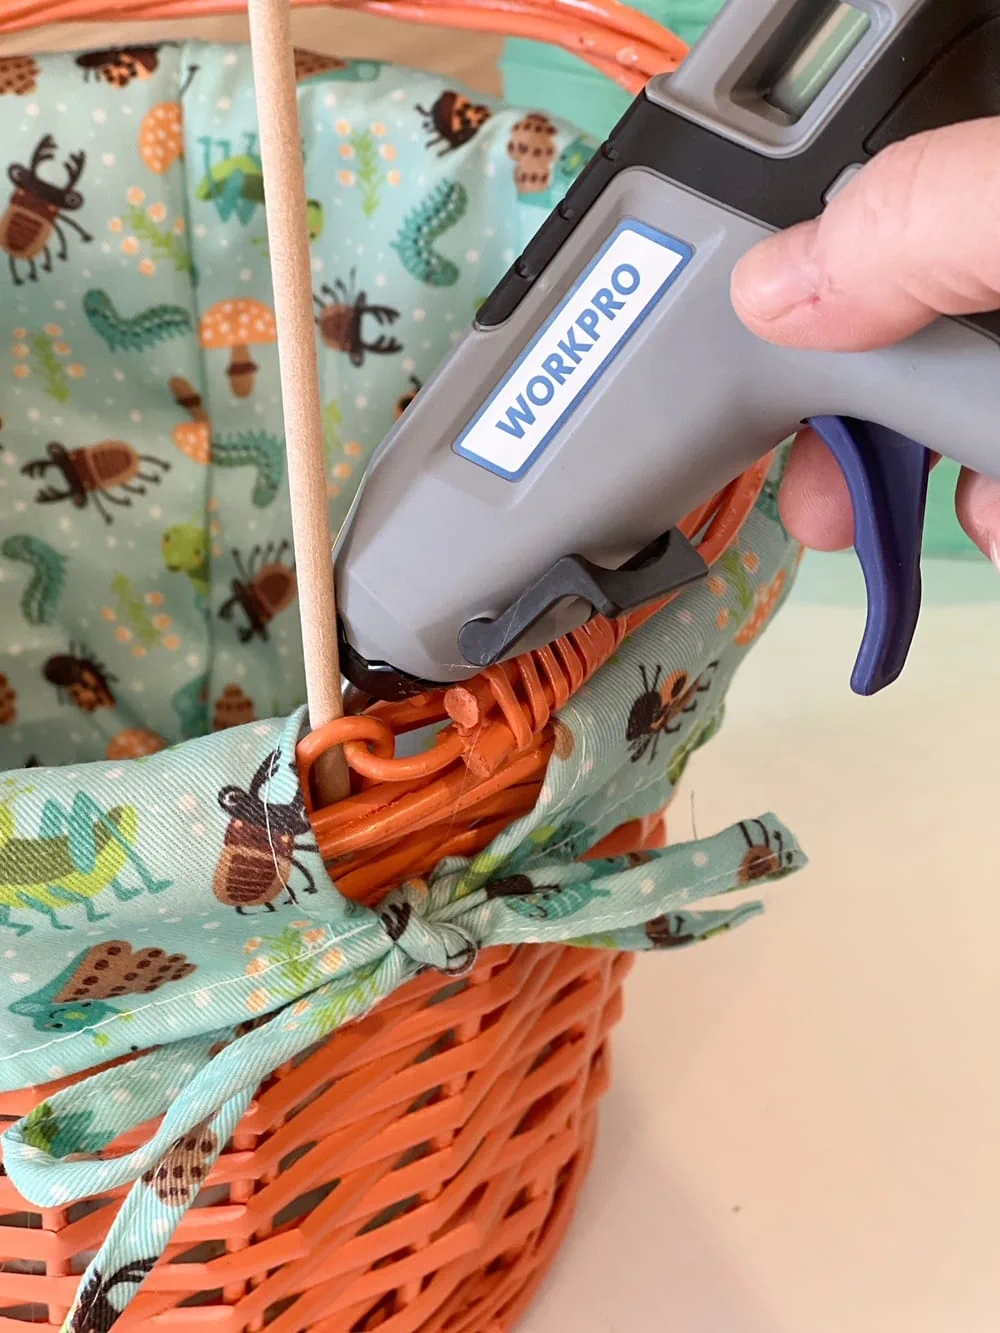
- Hot Glue Gun (I used my Workpro cordless hot glue gun. Not having a cord to get in the way makes things much easier on this project).
- Decorative Elements (optional) – I used simple twine to decorate it, and then cut out triangles from craft paper.
- Things to put inside your gift basket (if you are using it for a gift)
How To Make a Hot Air Balloon Basket ::
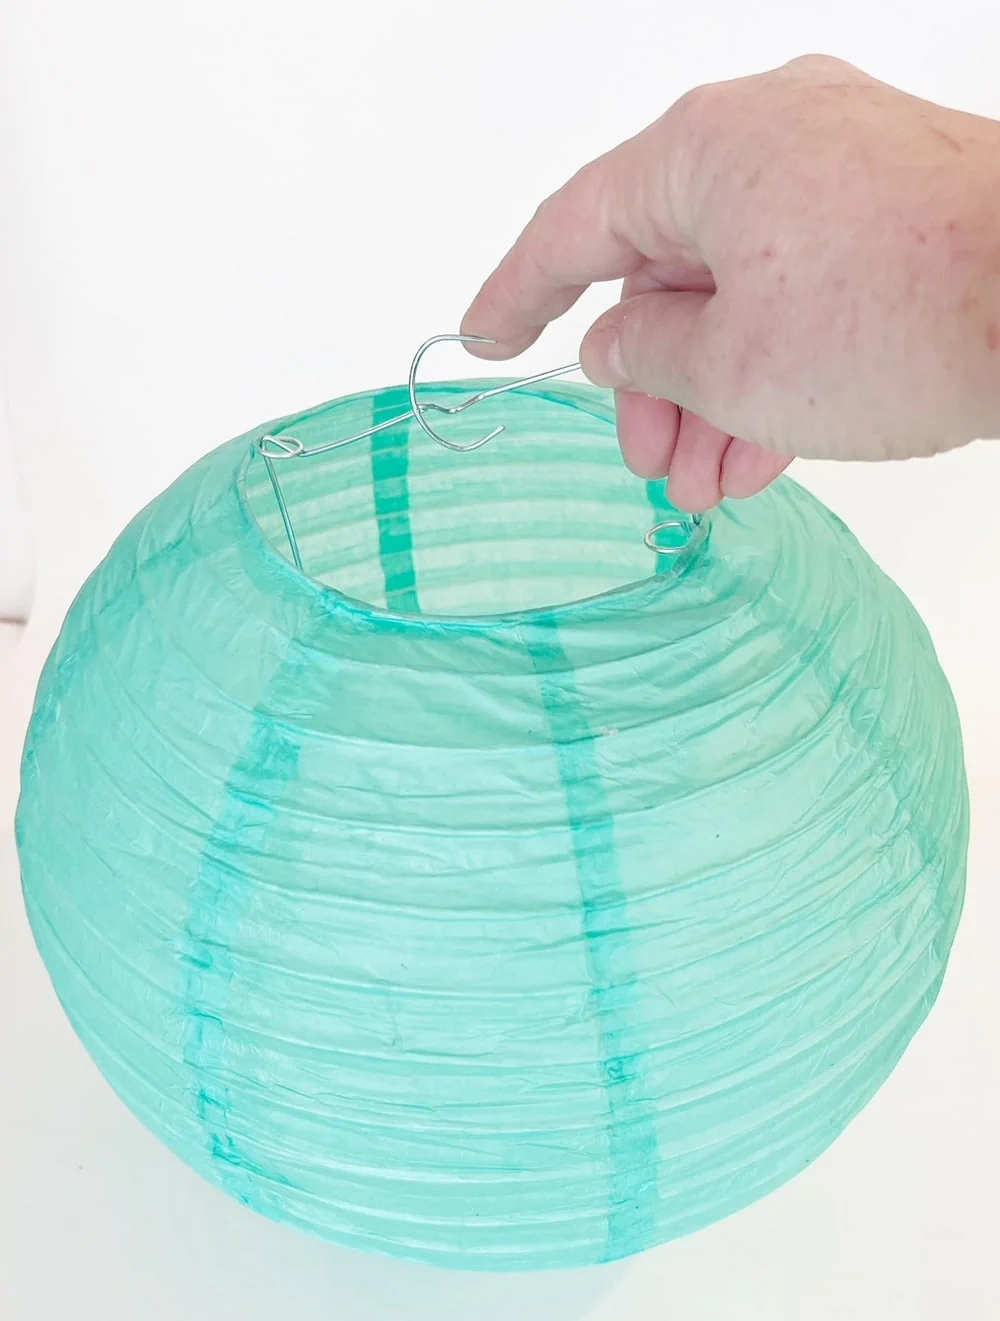
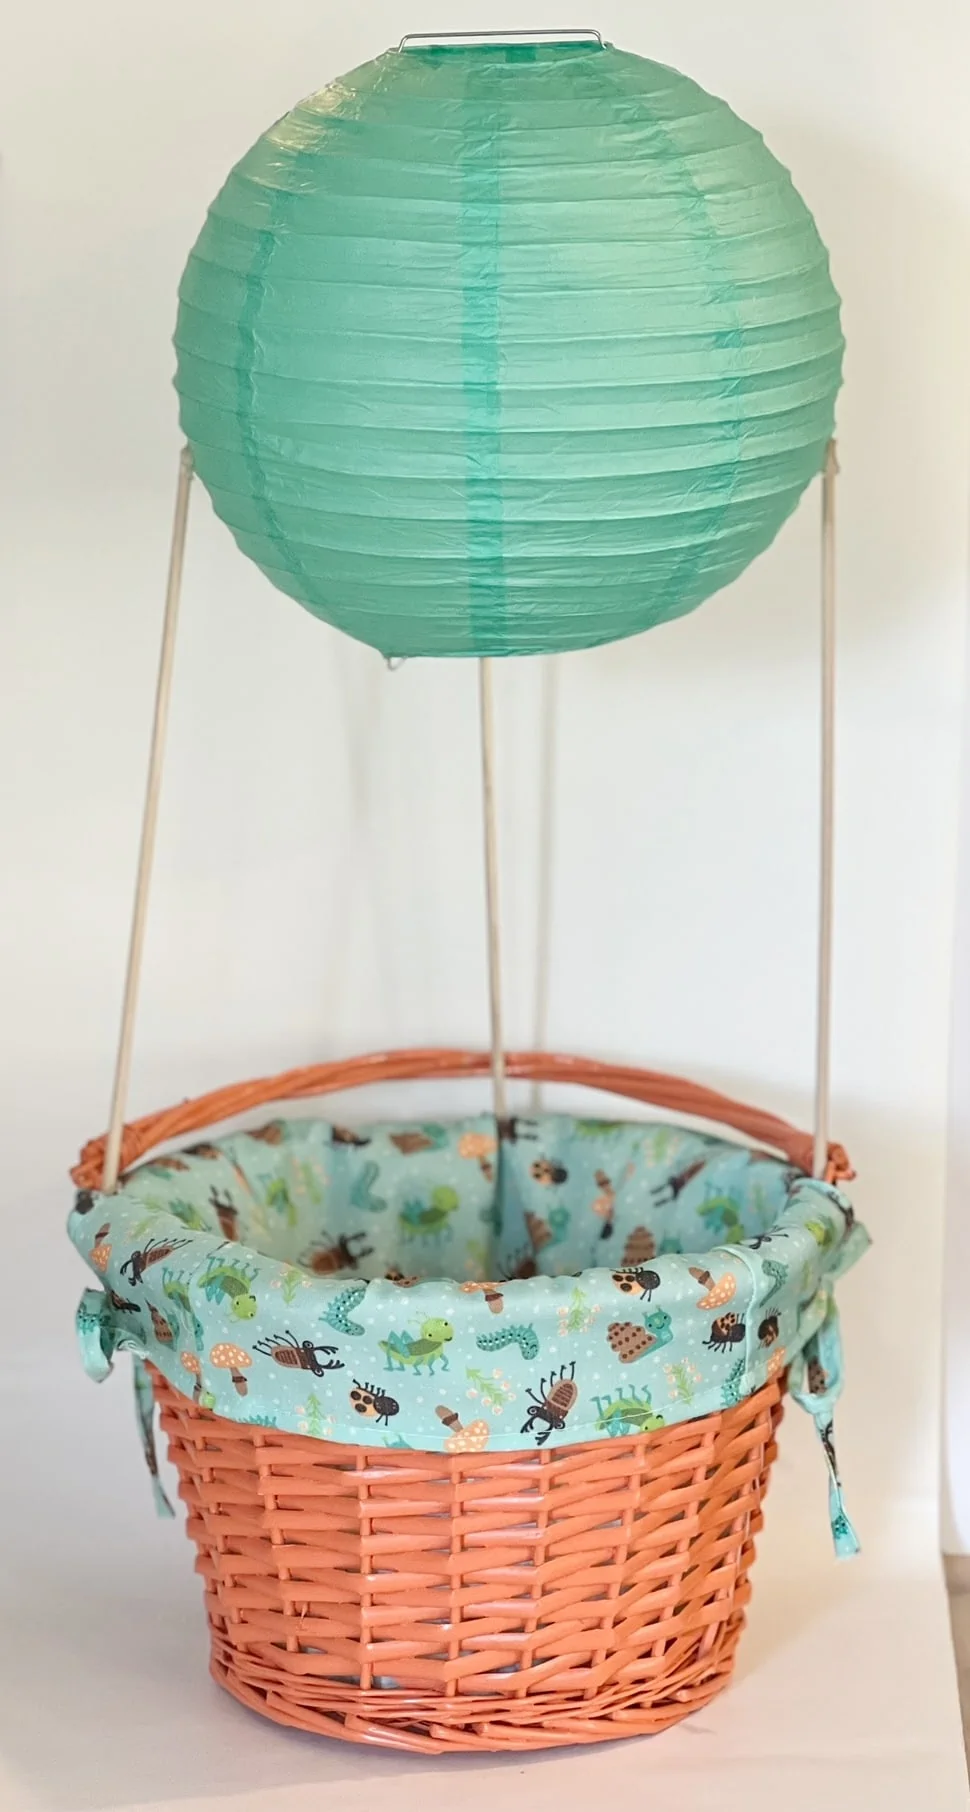
Step 1 – Get your Paper Lantern assembled per directions on package (they are pretty simple, you basically expand and add those metal frames in the middle of it).
Step 2 – Hot glue your wooden dowels to your basket first (I found it easier to start with the gluing here to make a sturdy base). I used regular hot glue, but if you want something to be more secure you could use Gorilla hot glue sticks instead.
I used three dowels for mine, as I wanted you to be able to see the gifts from the front view easily. It does make it a bit trickier trying to get the balloon top really straight with just three – and you could easily use four to make that process easier too.
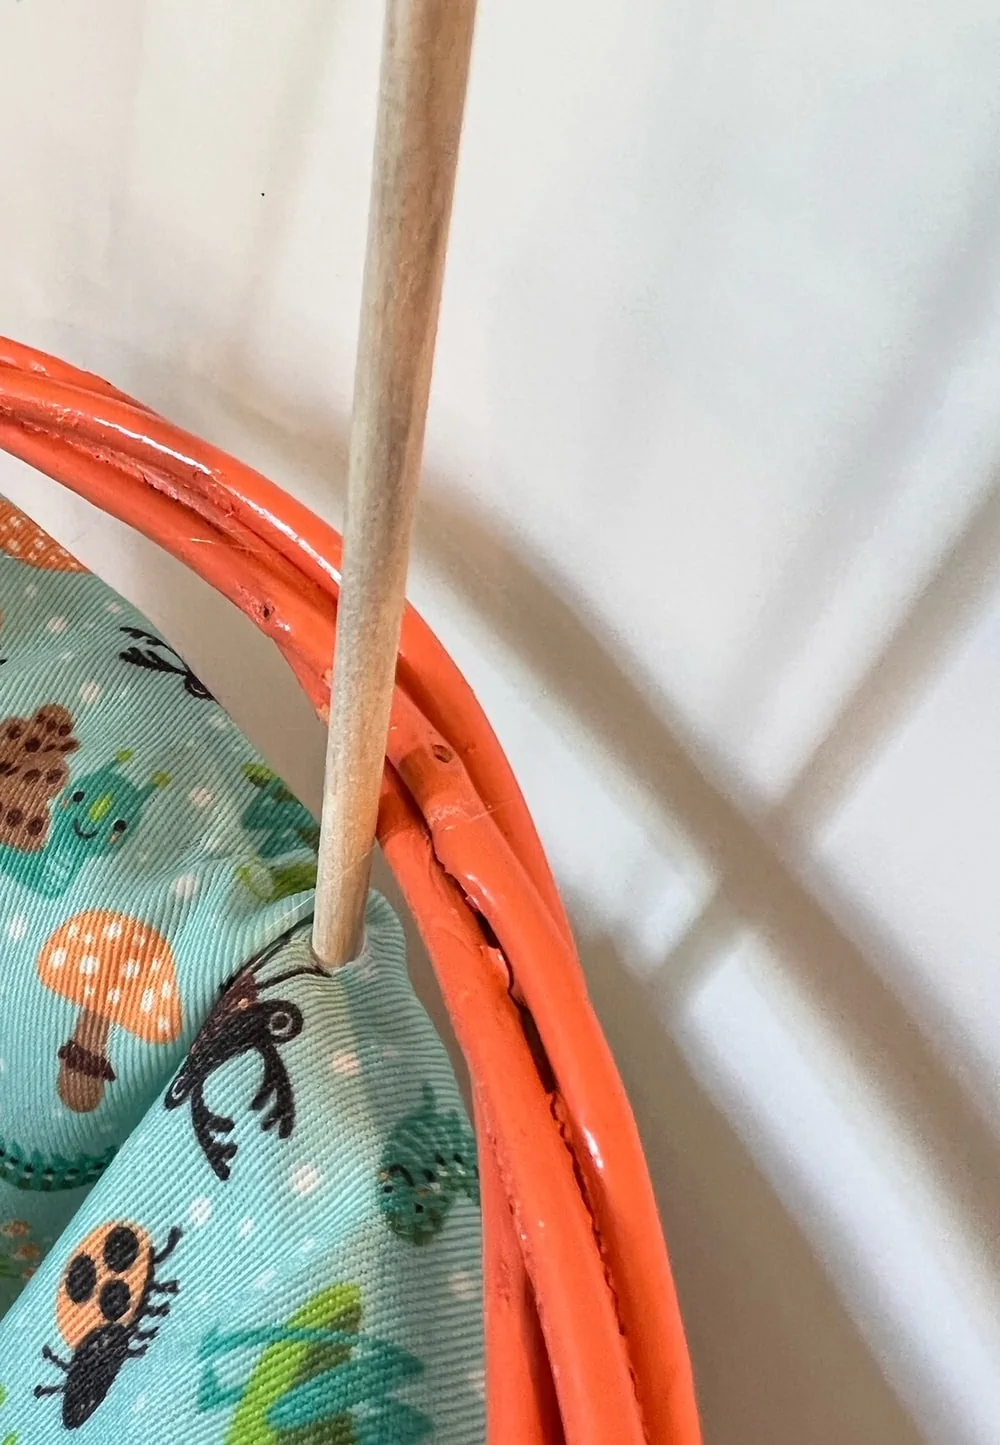
Where there was not already an opening in the material I cut a small hole that the dowel slid through, and hot glued it under that.
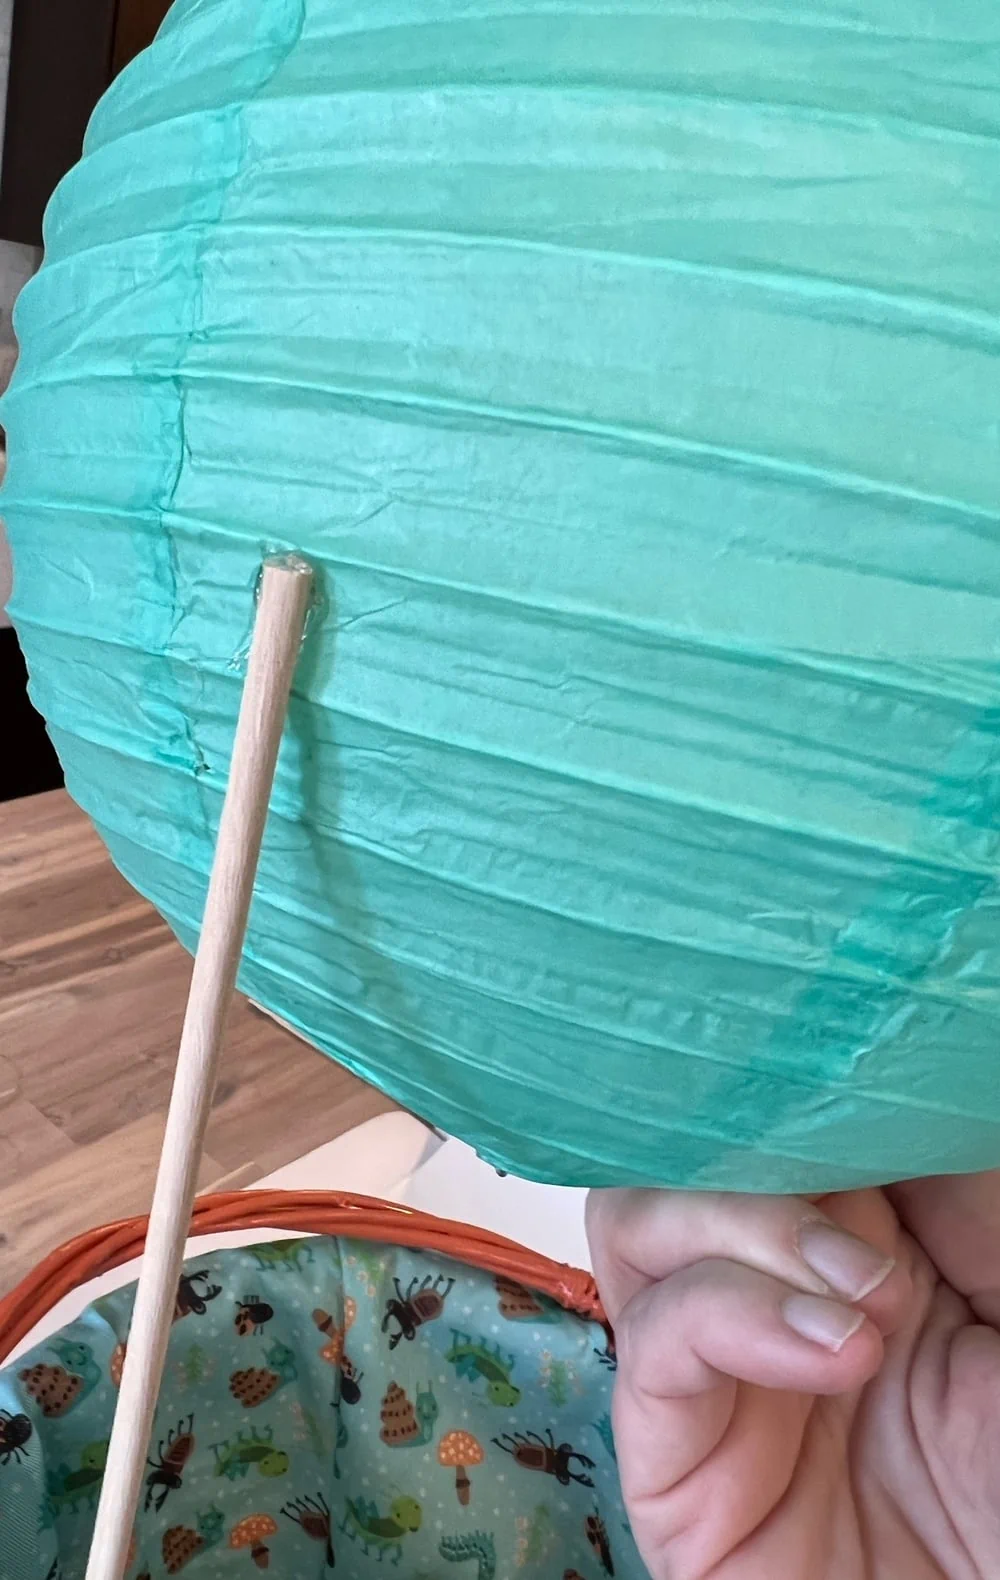
Step 3 – Hot glue the paper lantern to the wood dowels you glued to your basket. This step is the trickiest one, and it would be helpful to have a second set of hands to hold the balloon straight while you are gluing and it is drying. I did it by myself, so it is doable, but would just be easier if you had a helper for this step.
I found that what worked best here was to:
a) position your paper lantern on the dowels and make sure you like the look
b) Glue them one at a time, and let dry before moving to the next one so it does not slide around.
c) I liked to start by adding the glue to the dowel first, and then attaching it to the paper lantern (I was concerned the hot glue might burn a hole through the paper lantern, but I did not run into any issues with that).
d) Once you have all the dowels glued on and dried, you can go back and add a little more glue to each one to make sure it is plenty secure.
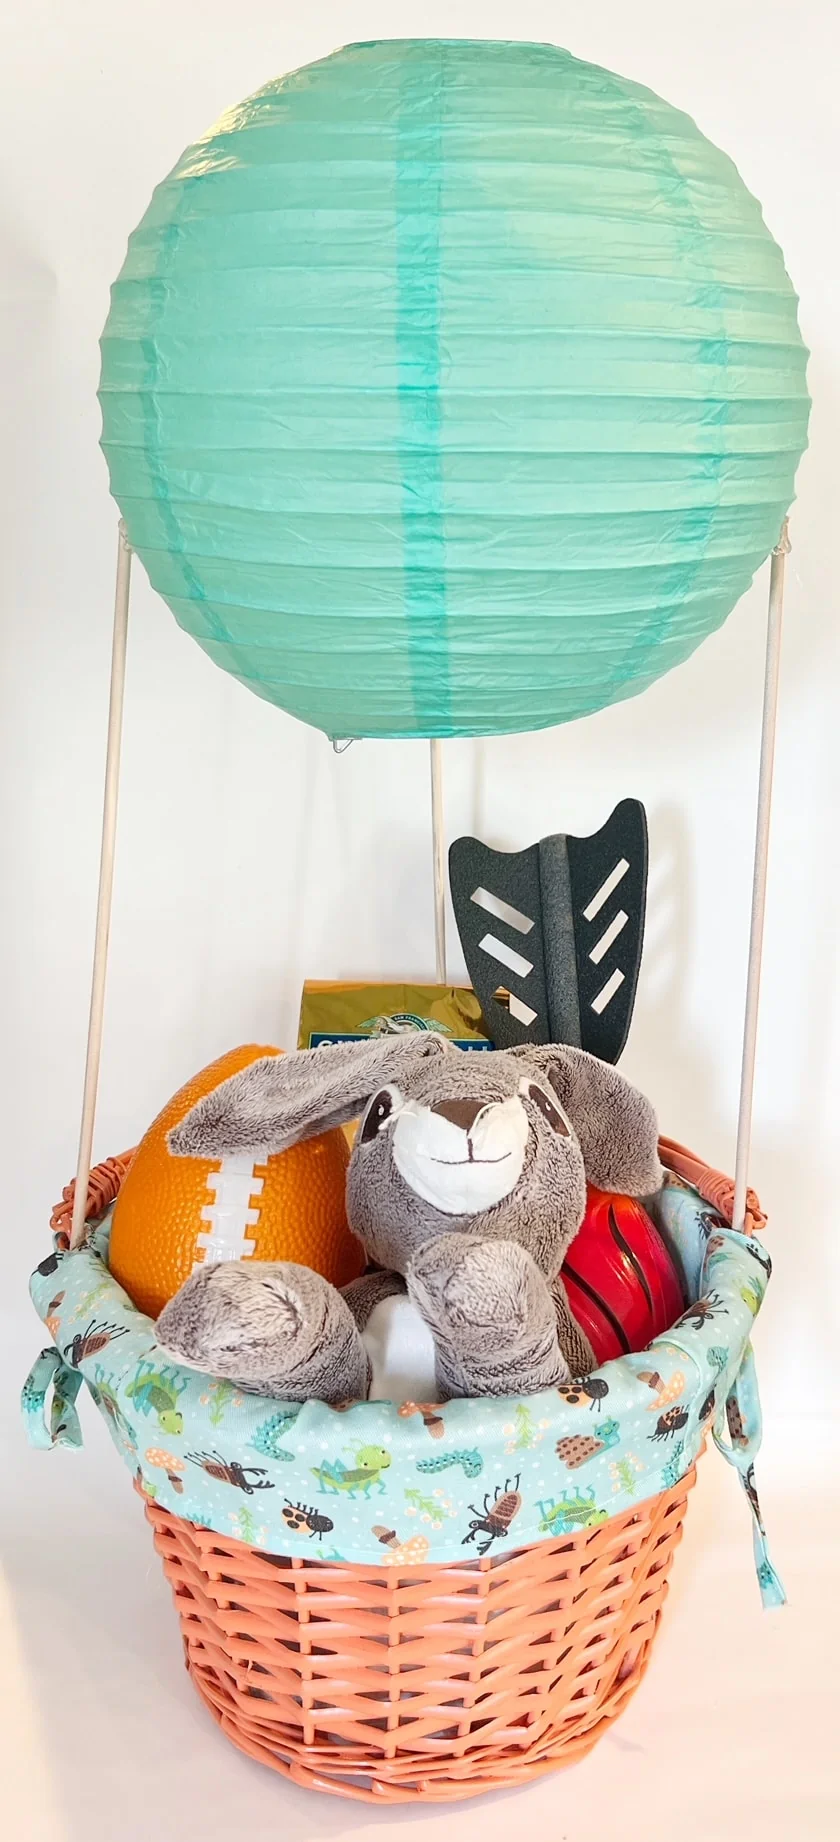
Now you have all the basics put together for your Hot Air Balloon Gift Basket. It is ready to use at this point, or you can do some more decorating on it, to take it to the next level!
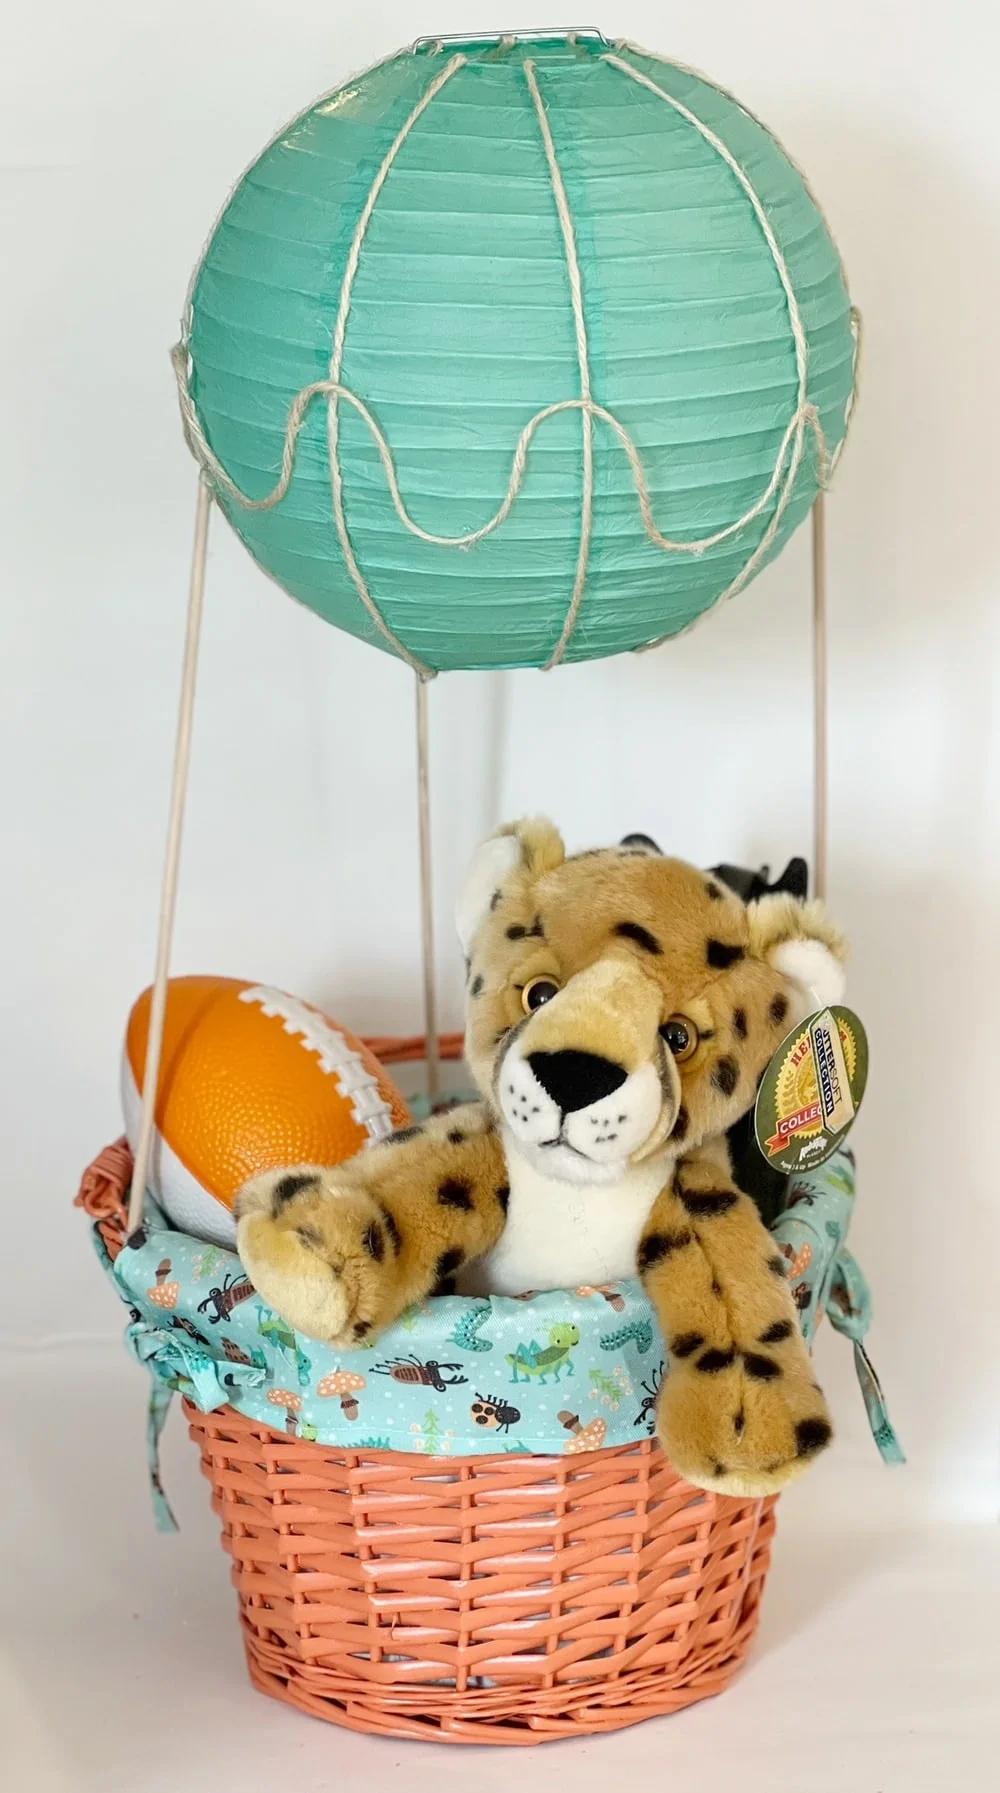
Here is an example of what it will look like if you use it as a gift basket at this stage.
I chose to decorate mine further by hot gluing some twine on, and adding some paper decoration elements as well.
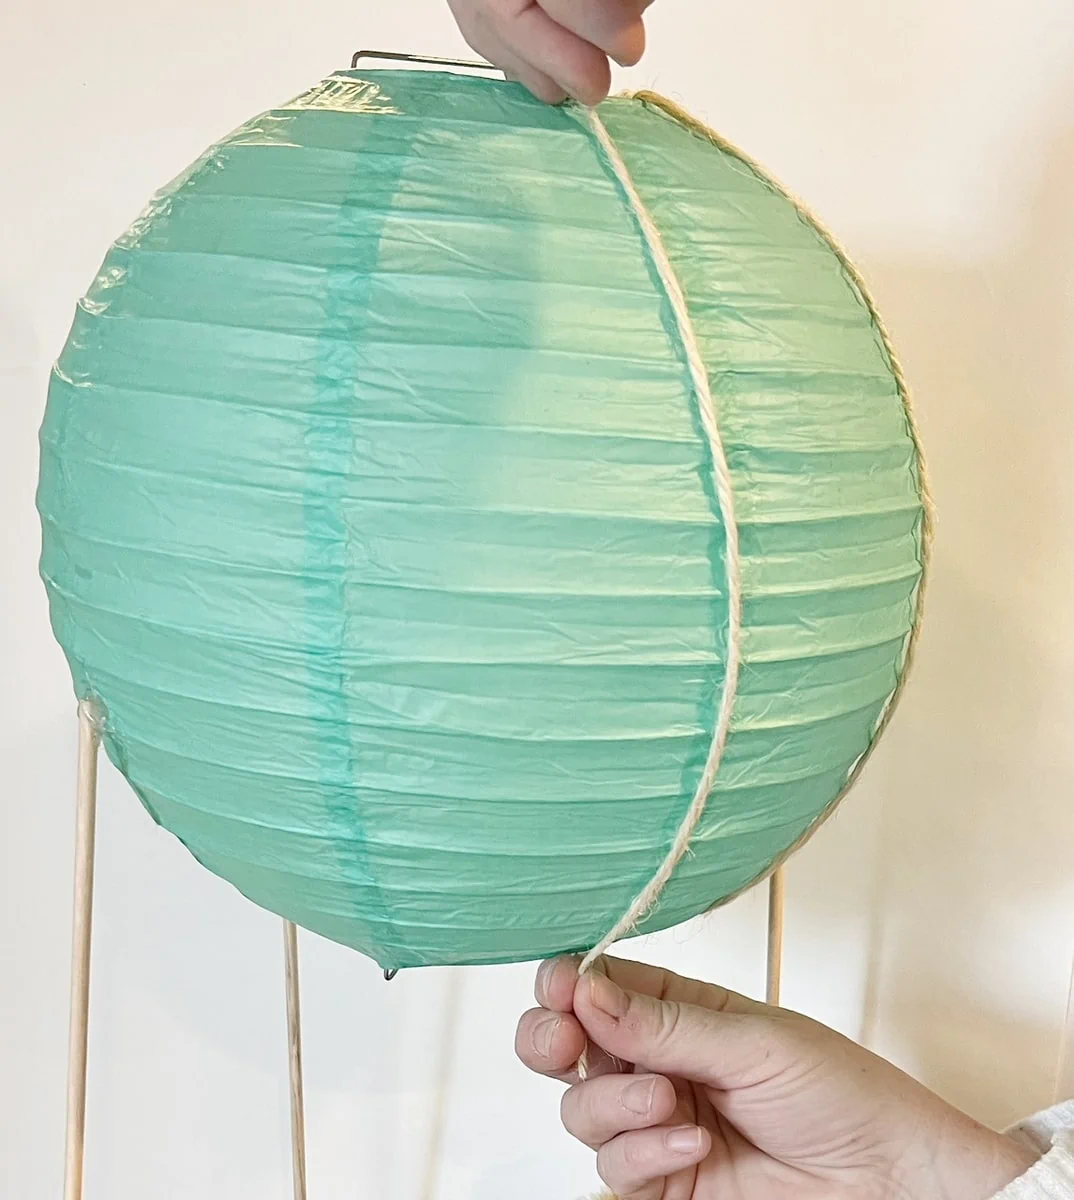
The first thing I did was to hot glue a string of twine down each area of the paper lantern where you saw a vertical line already on the lantern (as shown above). I cut all the pieces I needed to length, and then added a dab of hot glue to the top and bottom of each piece, securing them just inside of the lantern.
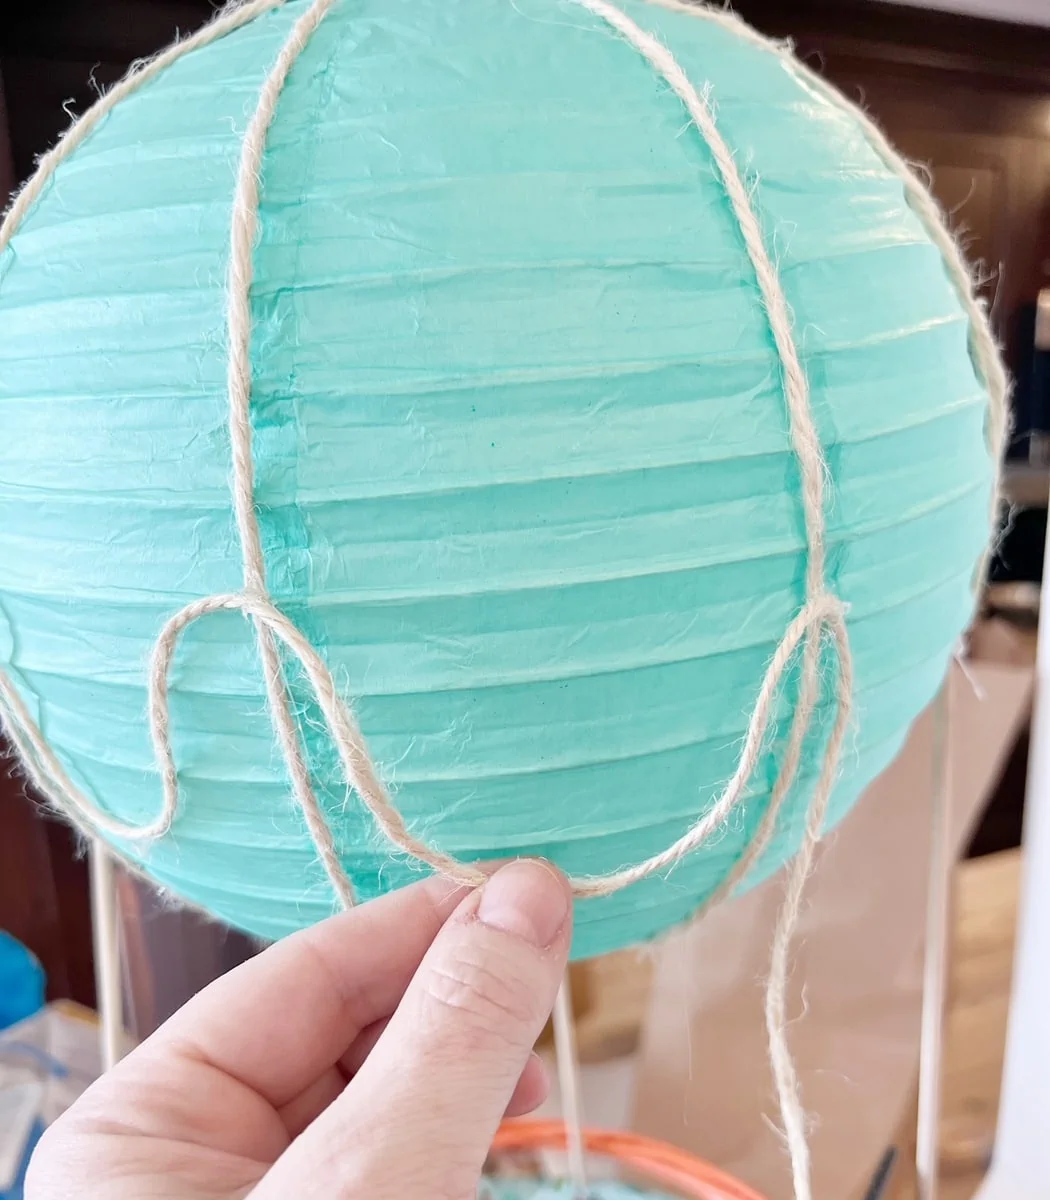
Once I had all my vertical twine pieces in place, I added a horizontal design. To do this, I cut a piece of twine long enough to go around the circumference of the paper lantern (with extra room to swag it down between each of the vertical lines).
To attach I put a small dot of the hot glue on each of the vertical pieces of twine at the height I wanted it. Then I would swag it down and attach it to the next vertical piece of twine. The last step was to add a dot of glue a the bottom of the swagged piece and attach that to the balloon. I found that I got a better look if I did this last step after it was attached on both sides (as shown above).
Here is what the basket looked like after adding the twine decorative elements, but before adding paper flags.
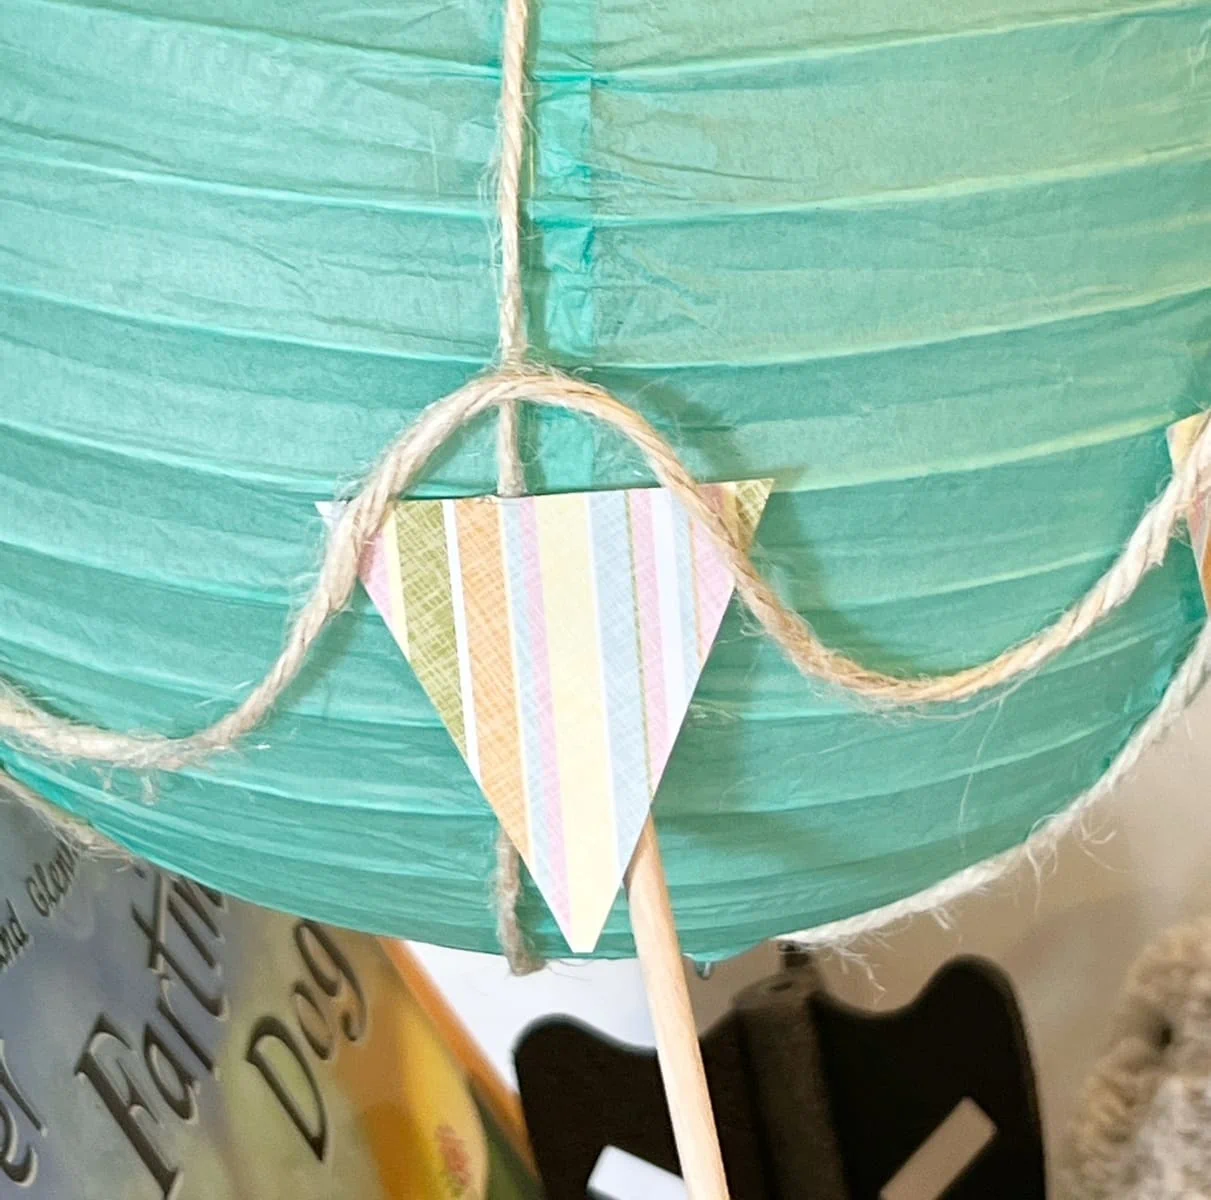
Next I added some triangle paper pieces to look like little flags. The purpose of this was to cover the area that I glued the wood dowels to the paper lantern, as well as add one more decorative element. If you have a Cricut you can use that to cut your triangles, but I just did them by hand.
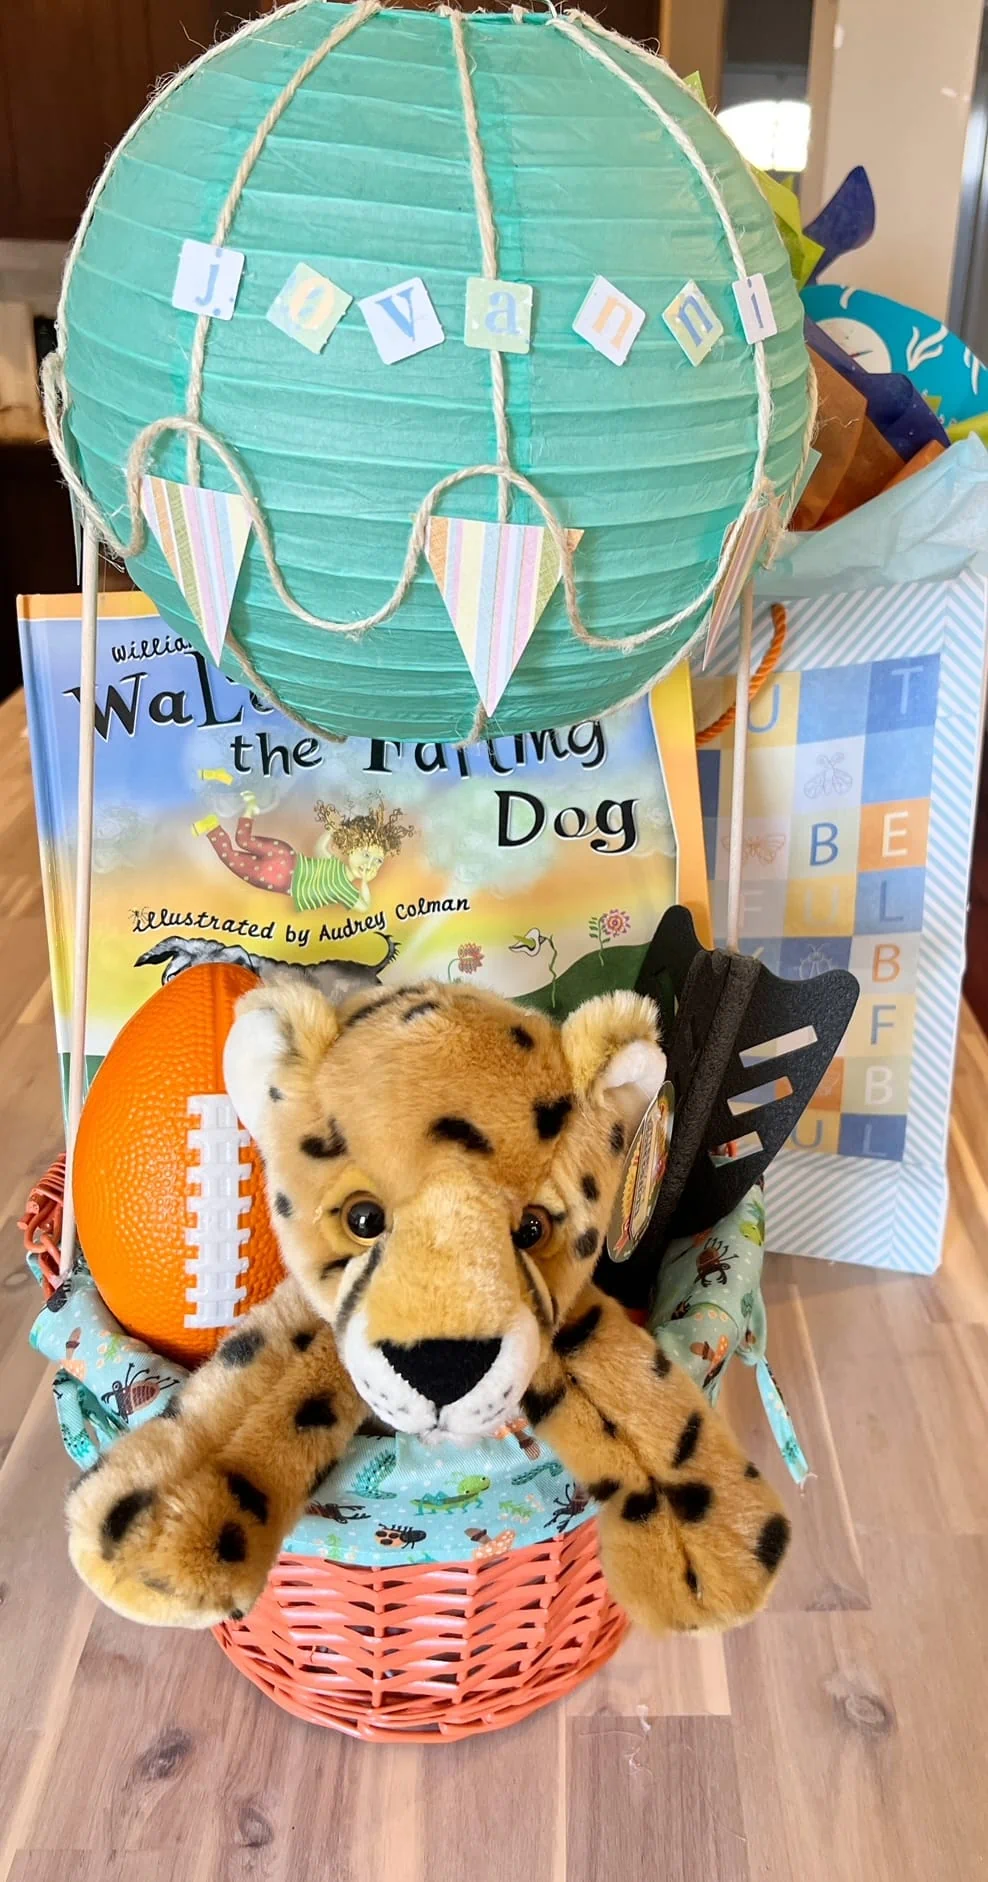
Since I was giving mine as a gift, I added a name to the front of the balloon too. This is also a step you can use your Cricut for, or just look for little letter scrap booking papers at your local craft store or dollar store. I used some I had on hand to show you how it can easily be done without a Cricut machine too.
If you do not want to make your own hot air balloon basket, you can find lots of options for hot air balloon baskets for sale on Etsy here instead.

