Floral Tea Towels Made With Cricut & Iron On Vinyl
This post may contain affiliate links and I may be compensated for this post. Please read our disclosure policy here.
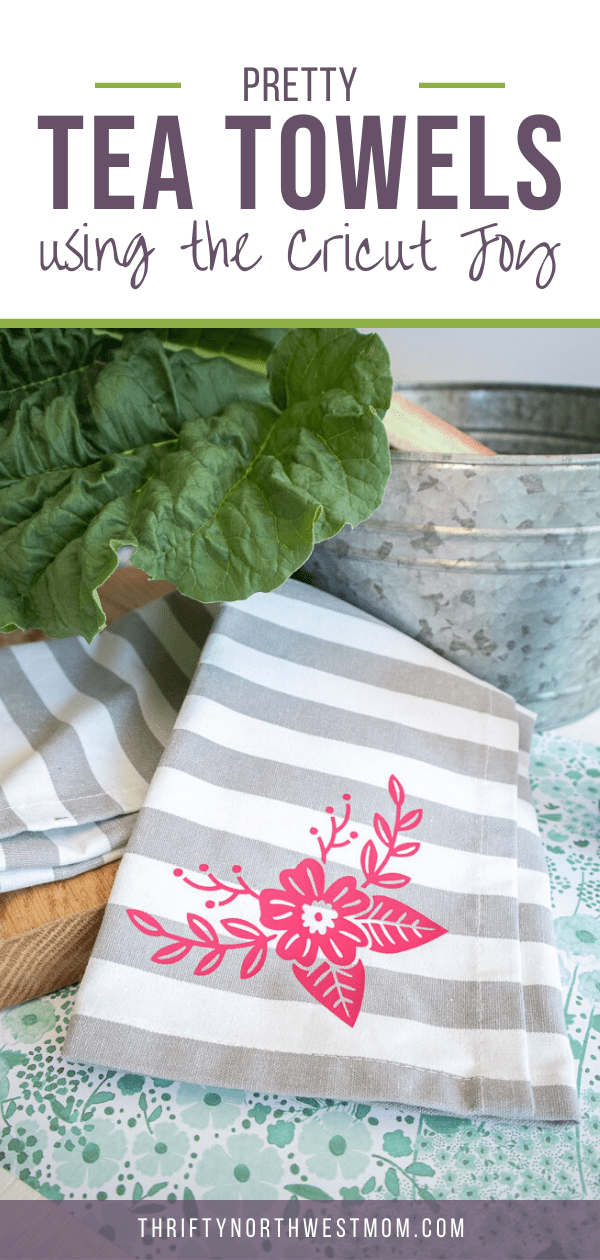
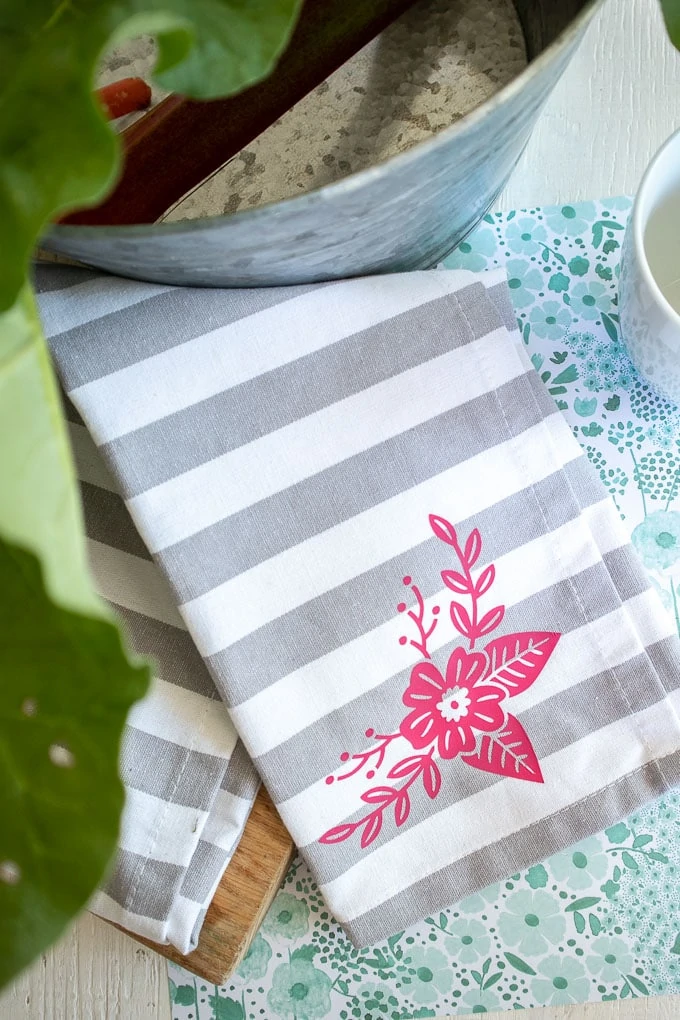
Floral Tea Towels with Cricut & Iron On Vinyl
I love how easy it is to create beautiful, personalized gifts or items for your home with the Cricut. You can create pretty items for the season for your home decor & personalize gifts you give others by using their favorite colors, patterns, items, etc. so easily when you use the Cricut (you can also use a Silhouette machine too!)
Now that the Cricut Joy is available, this is an even faster & easier way to make gifts & items for your home because it is so convenient.
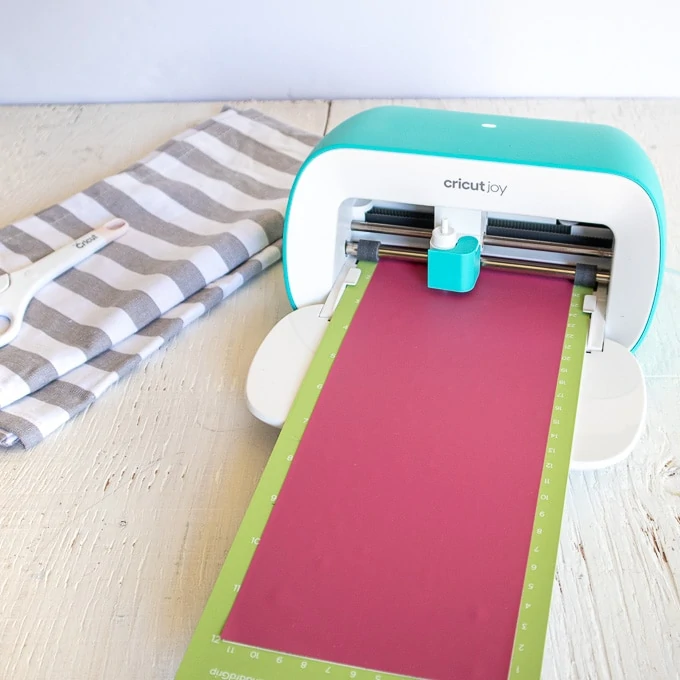
The Cricut Joy is the perfect little cutting machine that can help you achieve beautiful projects in just minutes. Because it is so compact, you can keep it & the supplies closer where you can easily access everything because it is so small & takes up little space & so you can create fun, little projects like this tea towel using iron on vinyl.
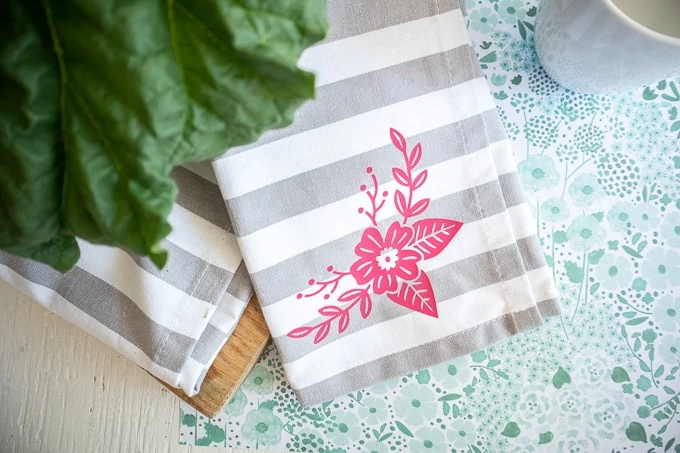
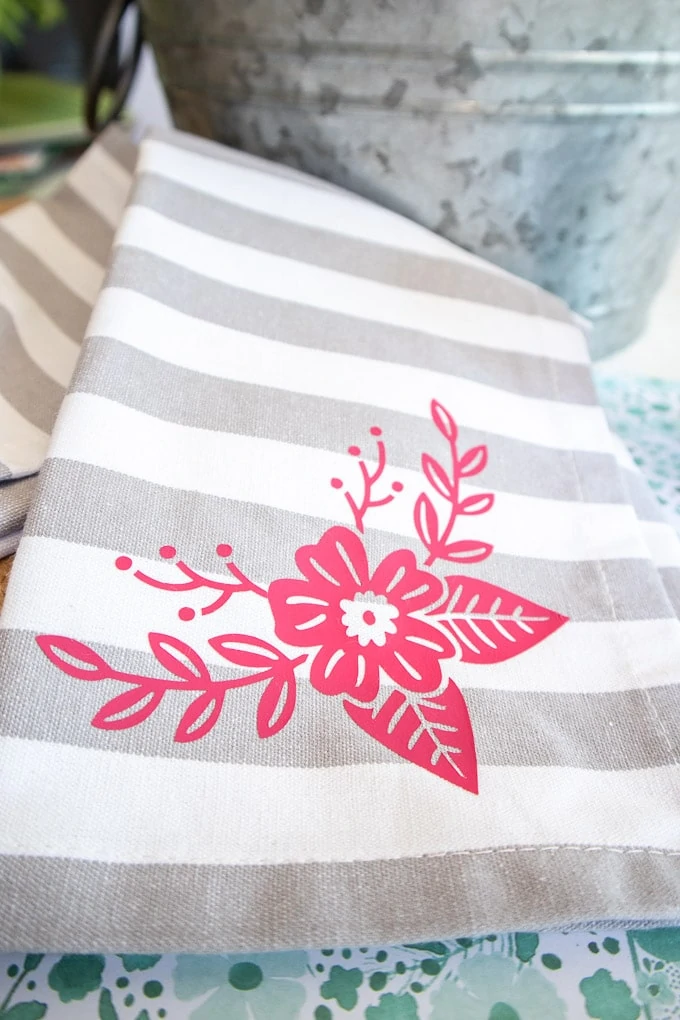
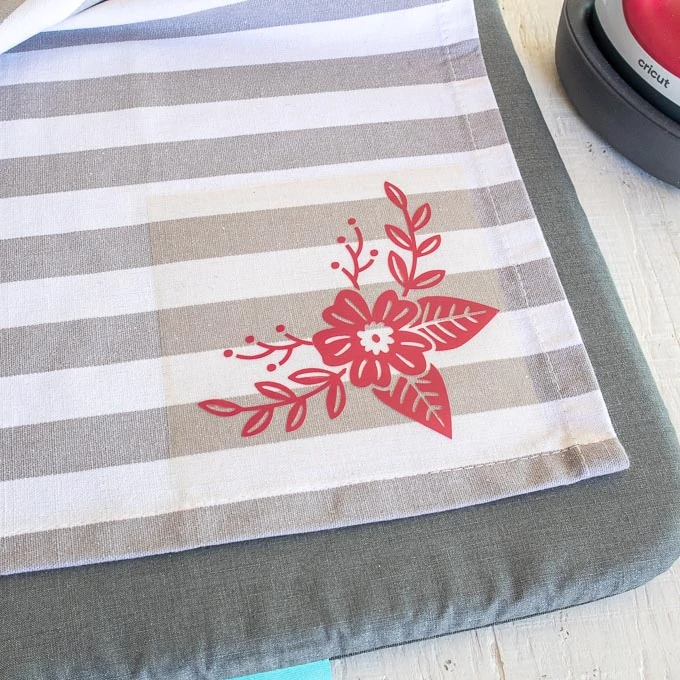
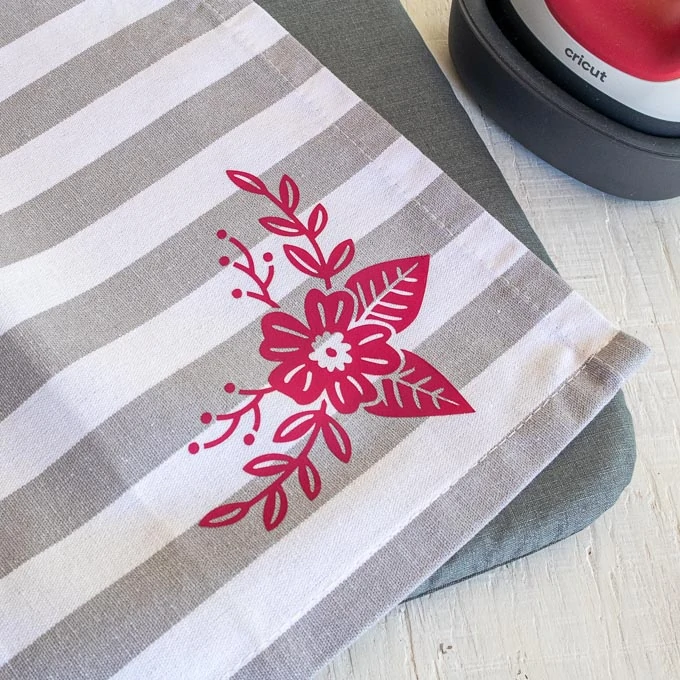
These floral tea towels made with a Cricut would be a great addition to your spring or summer decor or make it as a gift for a friend or neighbor.
(These tea towels can be made with any cutting Machine – Cricut or Silhouette!)
Check out all of the ways to save on Cricut machines:
Cricut Machines, Materials, Tools & more – Sales, Discounts & Projects
Cricut Maker Sales & Discounts
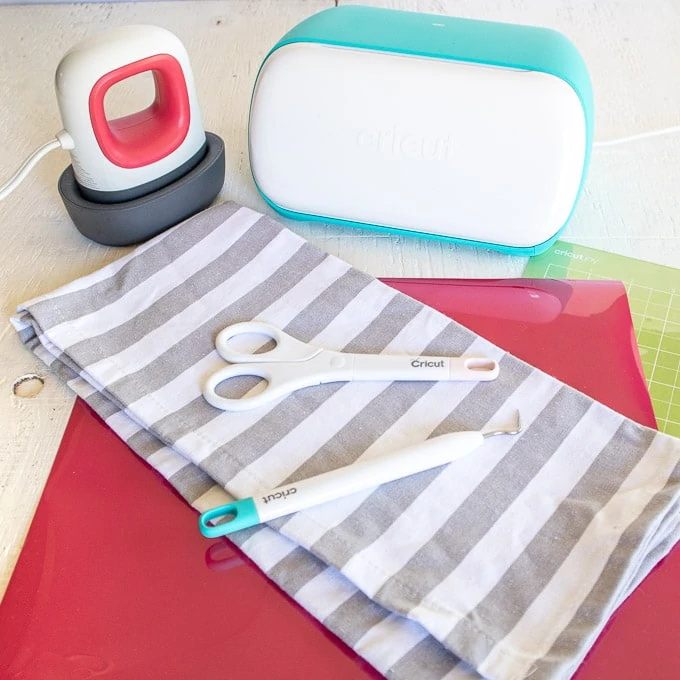
Materials Needed:
–Cricut Design Space Floral and Leaf Image #M14791A14 (you can also sign up for monthly Cricut Access)
-Tea Towel (look here for similar grey/white striped tea towels or general tea towels)
–Cricut Joy with Fine Point Blade
–Everyday Iron On Vinyl, Raspberry
–Cricut Joy Standard Grip Mat (or any Cricut mat if you are using a regular Cricut)
–EasyPress Mini (or any Easy Press or you can use an iron, too)
–EasyPress Mat or Towel
Instructions:
Pre-Work:
- Prewash and dry the tea towel. Iron out all wrinkles and creases.
Preparing the Image:
- Open Cricut Design Space.
- Click on the “+” sign to start a new project, opening up a blank canvas.
- Click on the Images button from the toolbar.
- Search Floral and Leaf Image #M14791A14 and then click on the image to insert it on the canvas.
- Adjust the size by highlighting the image and clicking on the size box in the top toolbar. Change the measurement to 4.25” high by 4.376” wide.
Cutting the Iron-On Vinyl:
- Select “Make It” in the upper right corner to proceed with cutting.
- Choose “With Mat” unless you are using a non Cricut Joy Smart Vinyl.
- Click the “Mirror” toggle button to on. This is necessary for ALL iron on vinyl cuts.
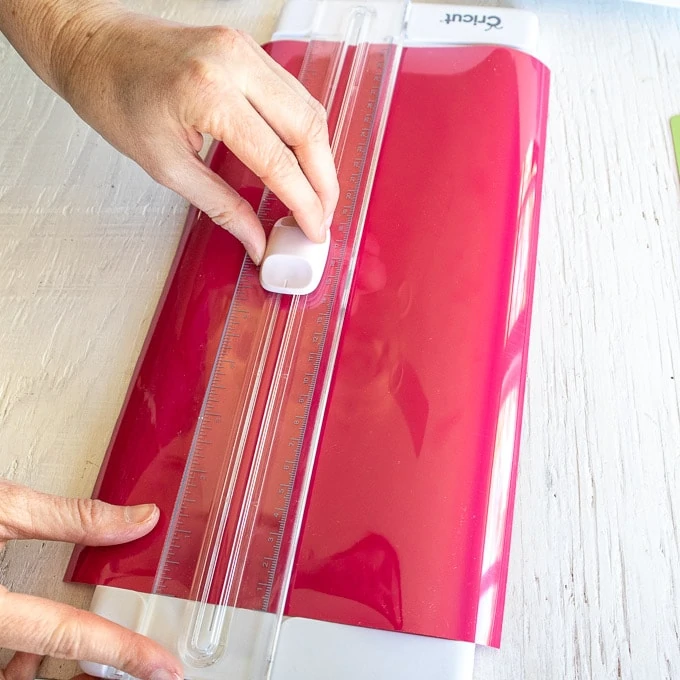
4. Cut the Everyday Iron-On Vinyl width to 4.5” to fit on the Cricut Joy grip mat (or any Cricut mat). Press continue.
5. Choose Everyday Iron-On Vinyl from the list of options in the drop down menu.
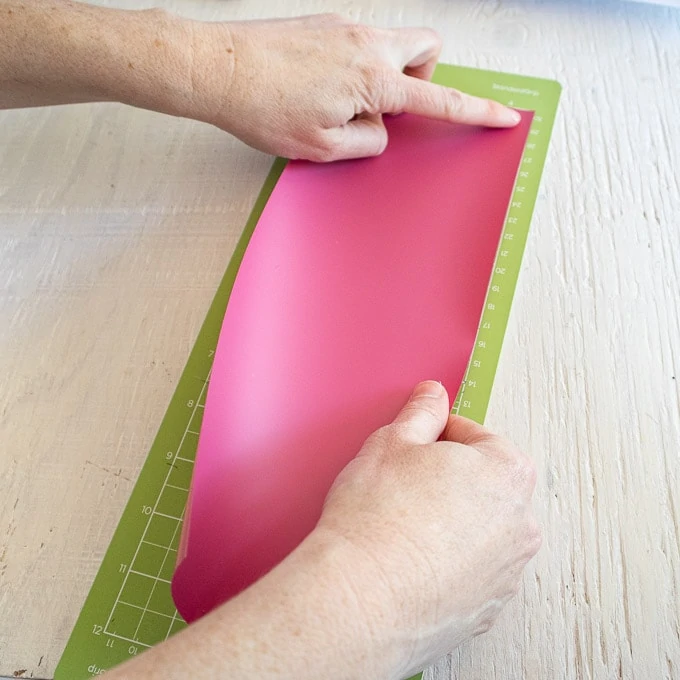
6. Place the Iron-On vinyl directly onto the standard grip Cricut mat with the SHINY SIDE DOWN.
7. Following the instructions prompted on the screen, cut out the vinyl.
Preparing the Cut Image:
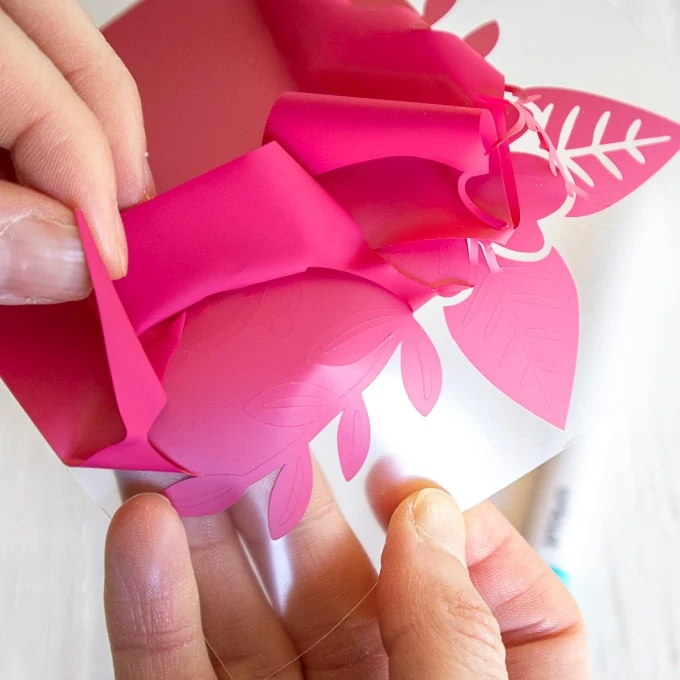
- Remove the Everyday Iron-On Vinyl from the mat.
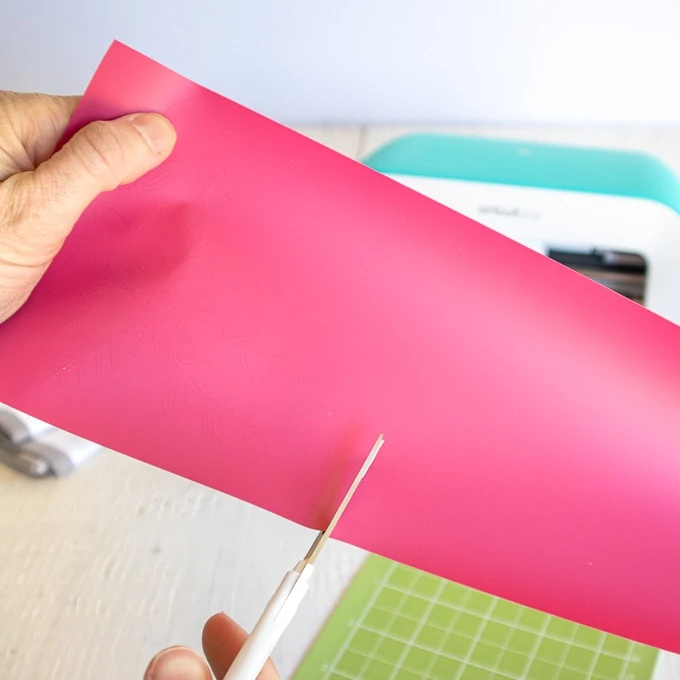
2. Cut around the image and put aside the left over vinyl for another project.
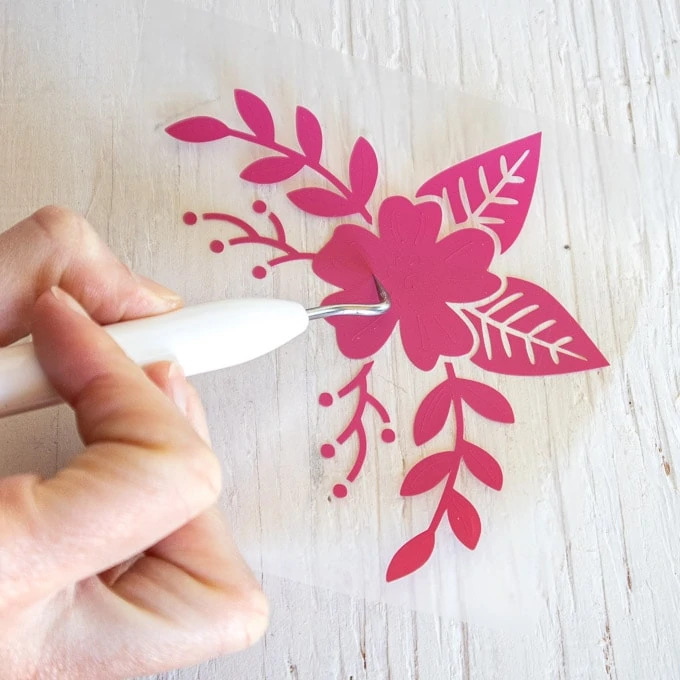
3. Using a weeding tool, peel away the excess vinyl leaving only the floral image.
Applying the Image with the Cricut EasyPress Mini
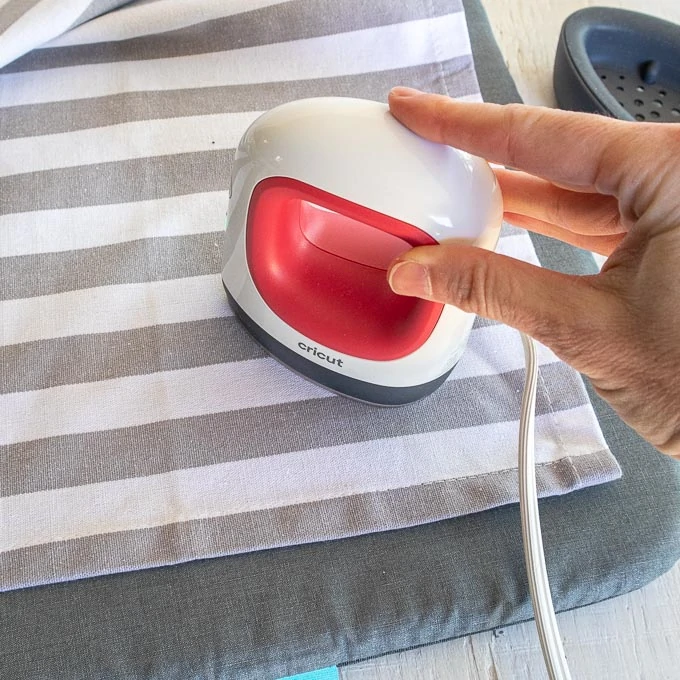
- Position the mat or a towel on a flat surface.
- Set the temperature and time on the machine following the chart for the type of vinyl and material being used or use this EasyPress Interactive Quick Reference Guide (https://home.cricut.com/easypress-heat-settings-guide).
- For a 100% Cotton apron and Everyday Iron-On Vinyl, set the EasyPress Mini to medium heat.
*This can be used with any Cricut Easy Press tool or an iron to iron on the vinyl
4. Determine where you will be placing the image and preheat the tea towel in that spot for 5 seconds. This will prep the fabric for the vinyl, removing all excess moisture as well as help to remove any creases and wrinkles from the fabric.
5. Place the cut image on to the tea towel with the shiny side up.
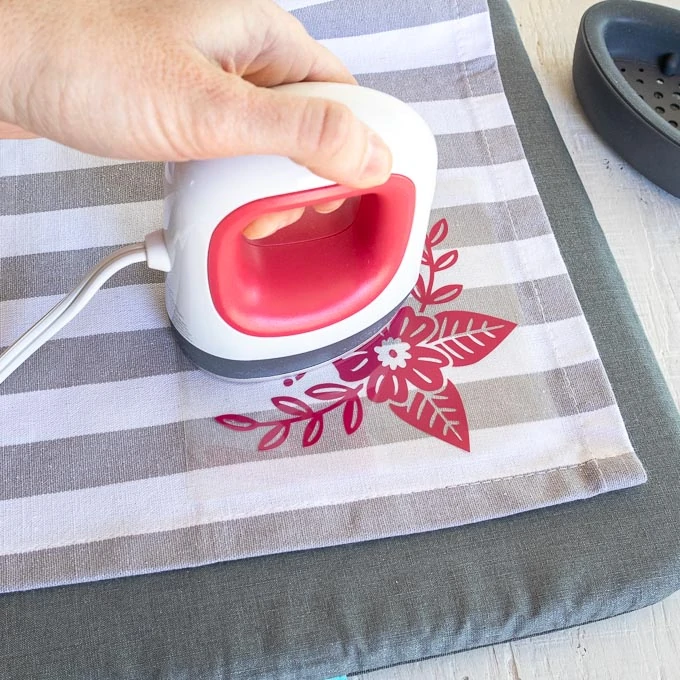
6. Press the image on to the tea towel for 25 seconds, constantly moving EasyPress Mini as you press.
7. Turn the apron upside down and apply heat for another 15 seconds.
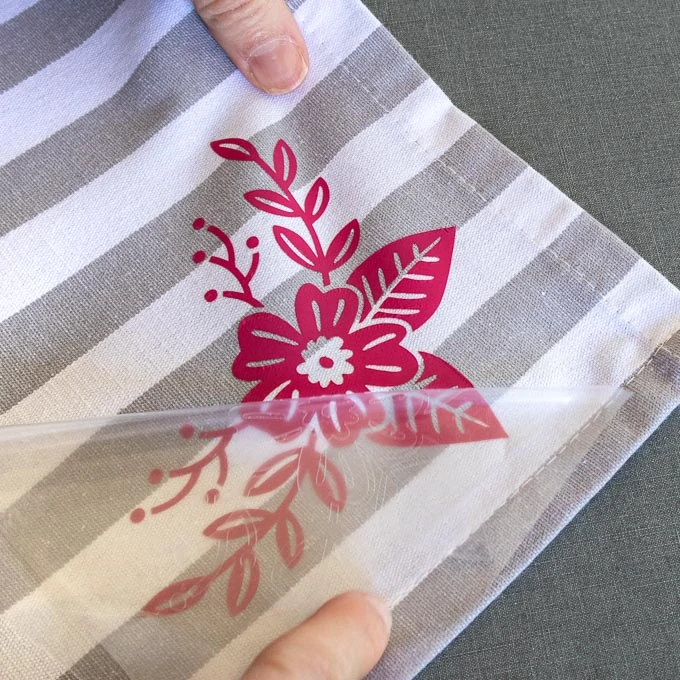
8. While vinyl is still warm, peel the plastic part of the vinyl off carefully and discard.
9. Make sure you do not place an iron or the EasyPress Mini directly over the vinyl without the protective plastic cover.
More Cricut Projects:
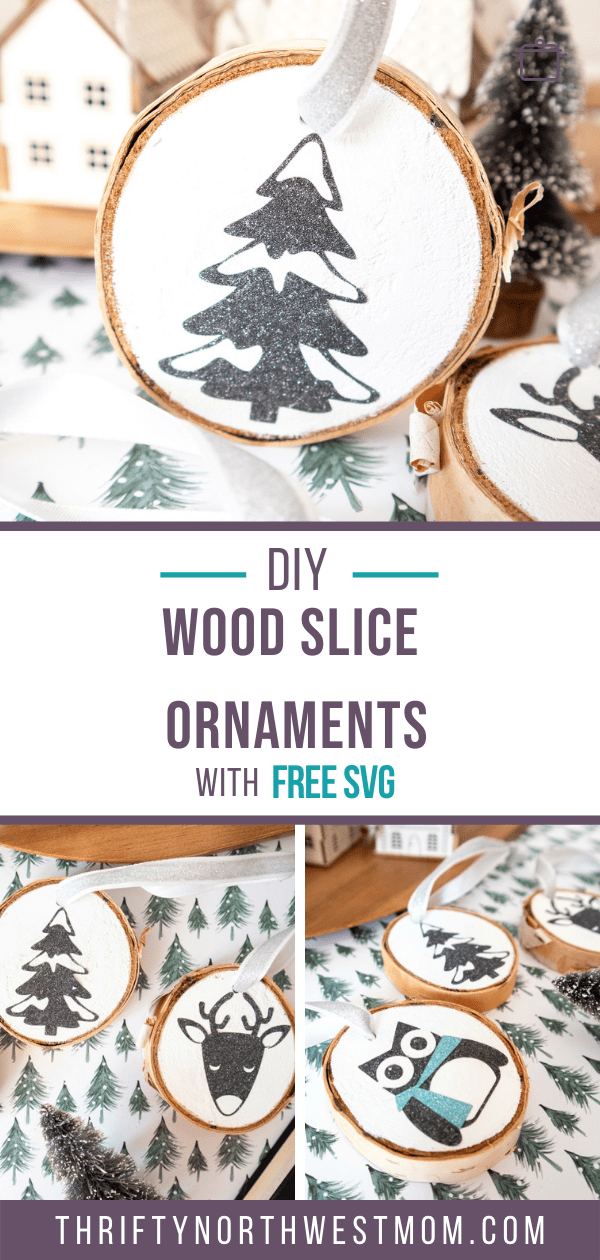
DIY Wood Slice Ornaments using the Cricut
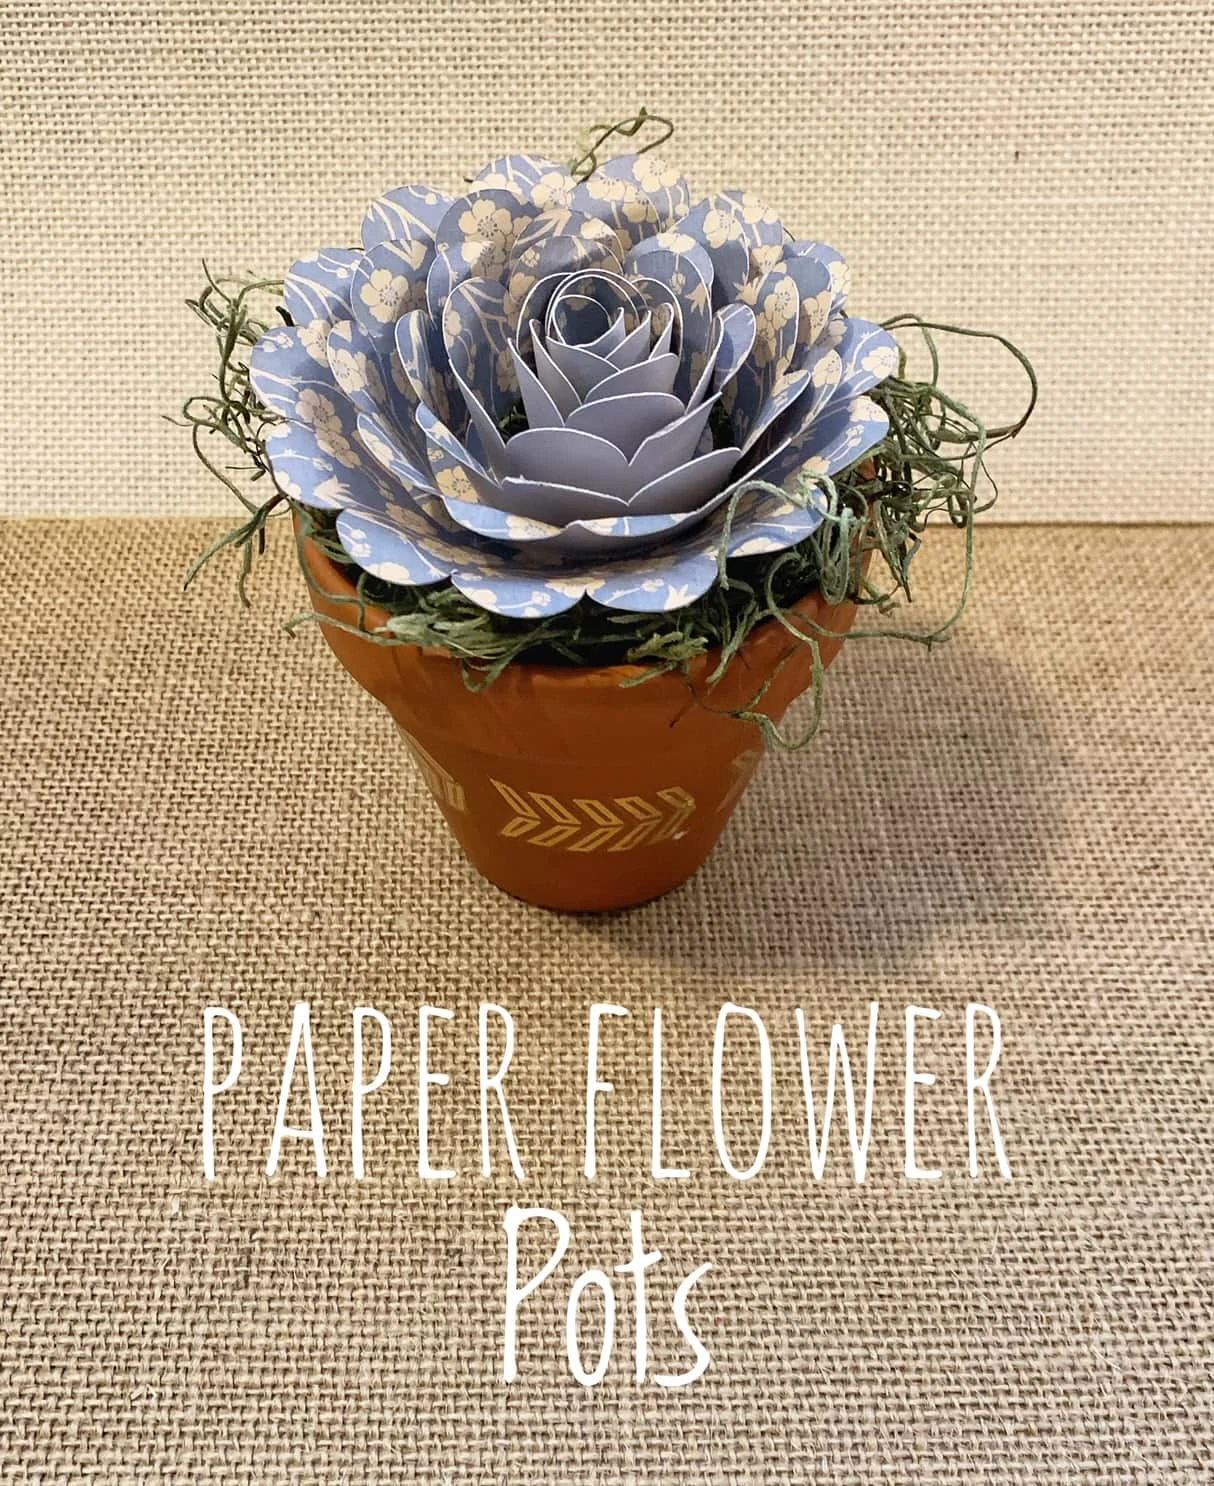
Mini Spring Flower Pots with Paper Flowers made by Cricut

