Valentines Charcuterie Board – Perfect Dessert Board for Valentines Day!
This post may contain affiliate links and I may be compensated for this post. Please read our disclosure policy here.
Valentines Charcuterie Board – Perfect Dessert Board for Valentines Day!
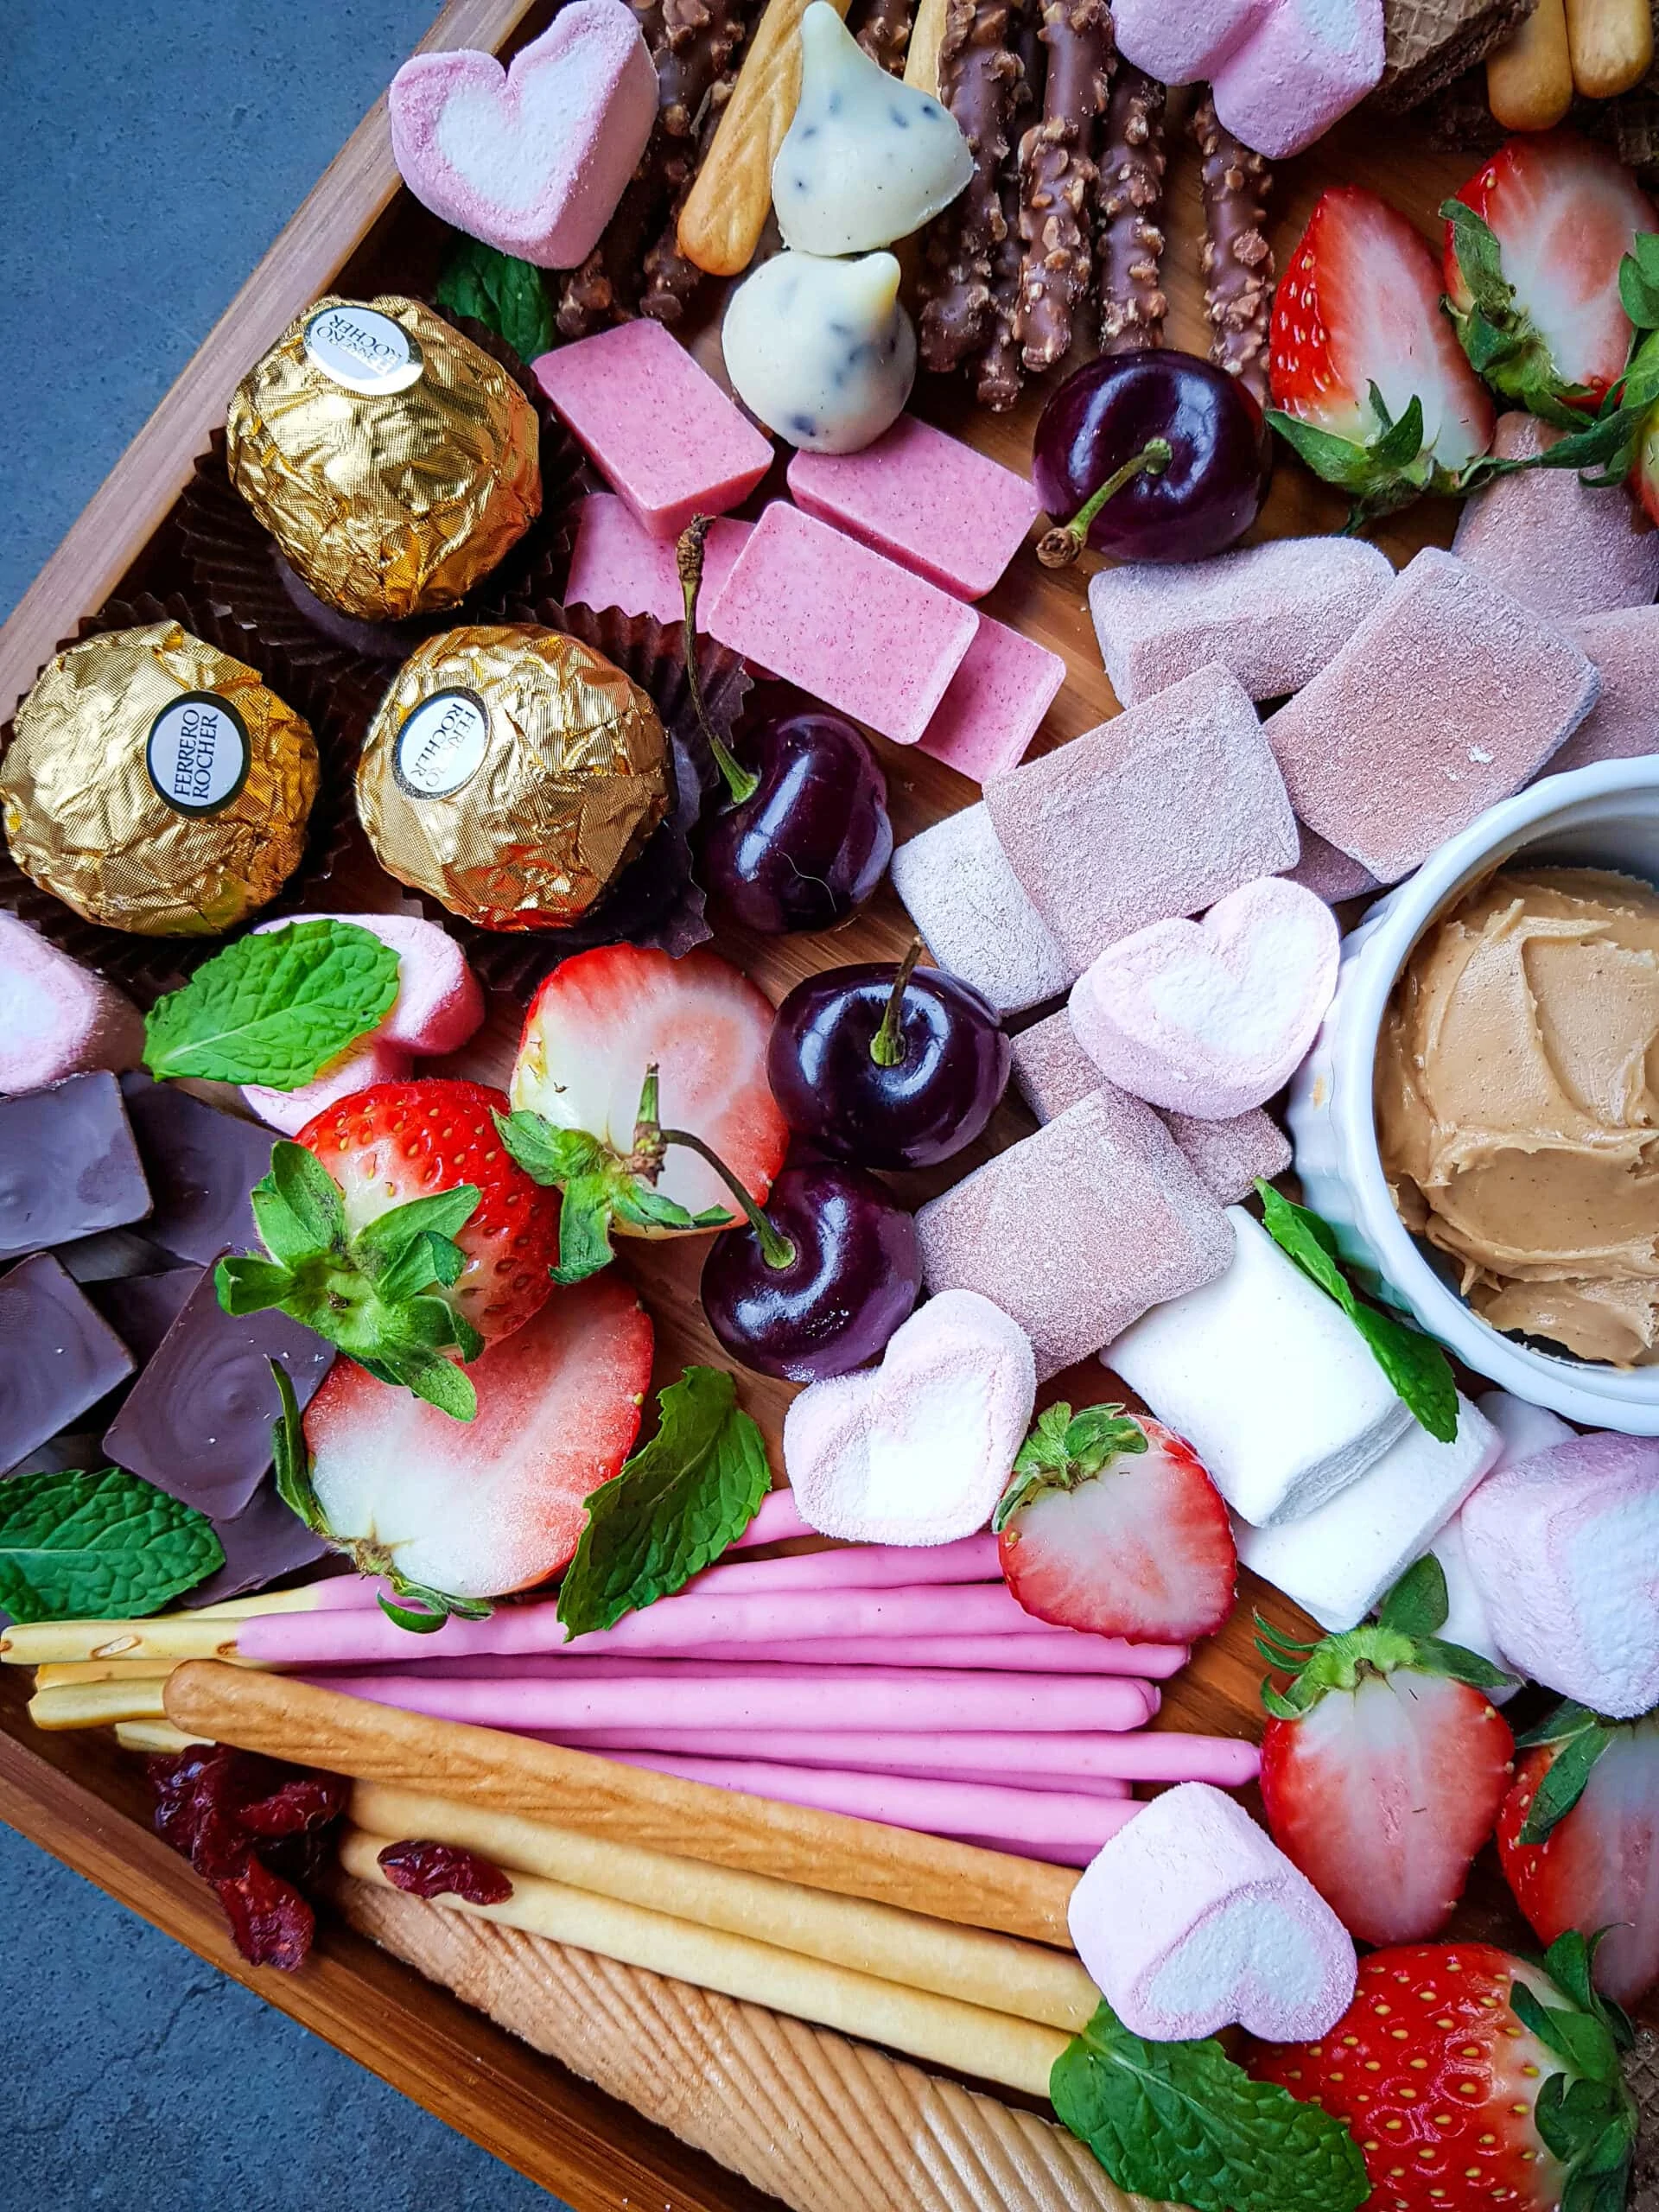
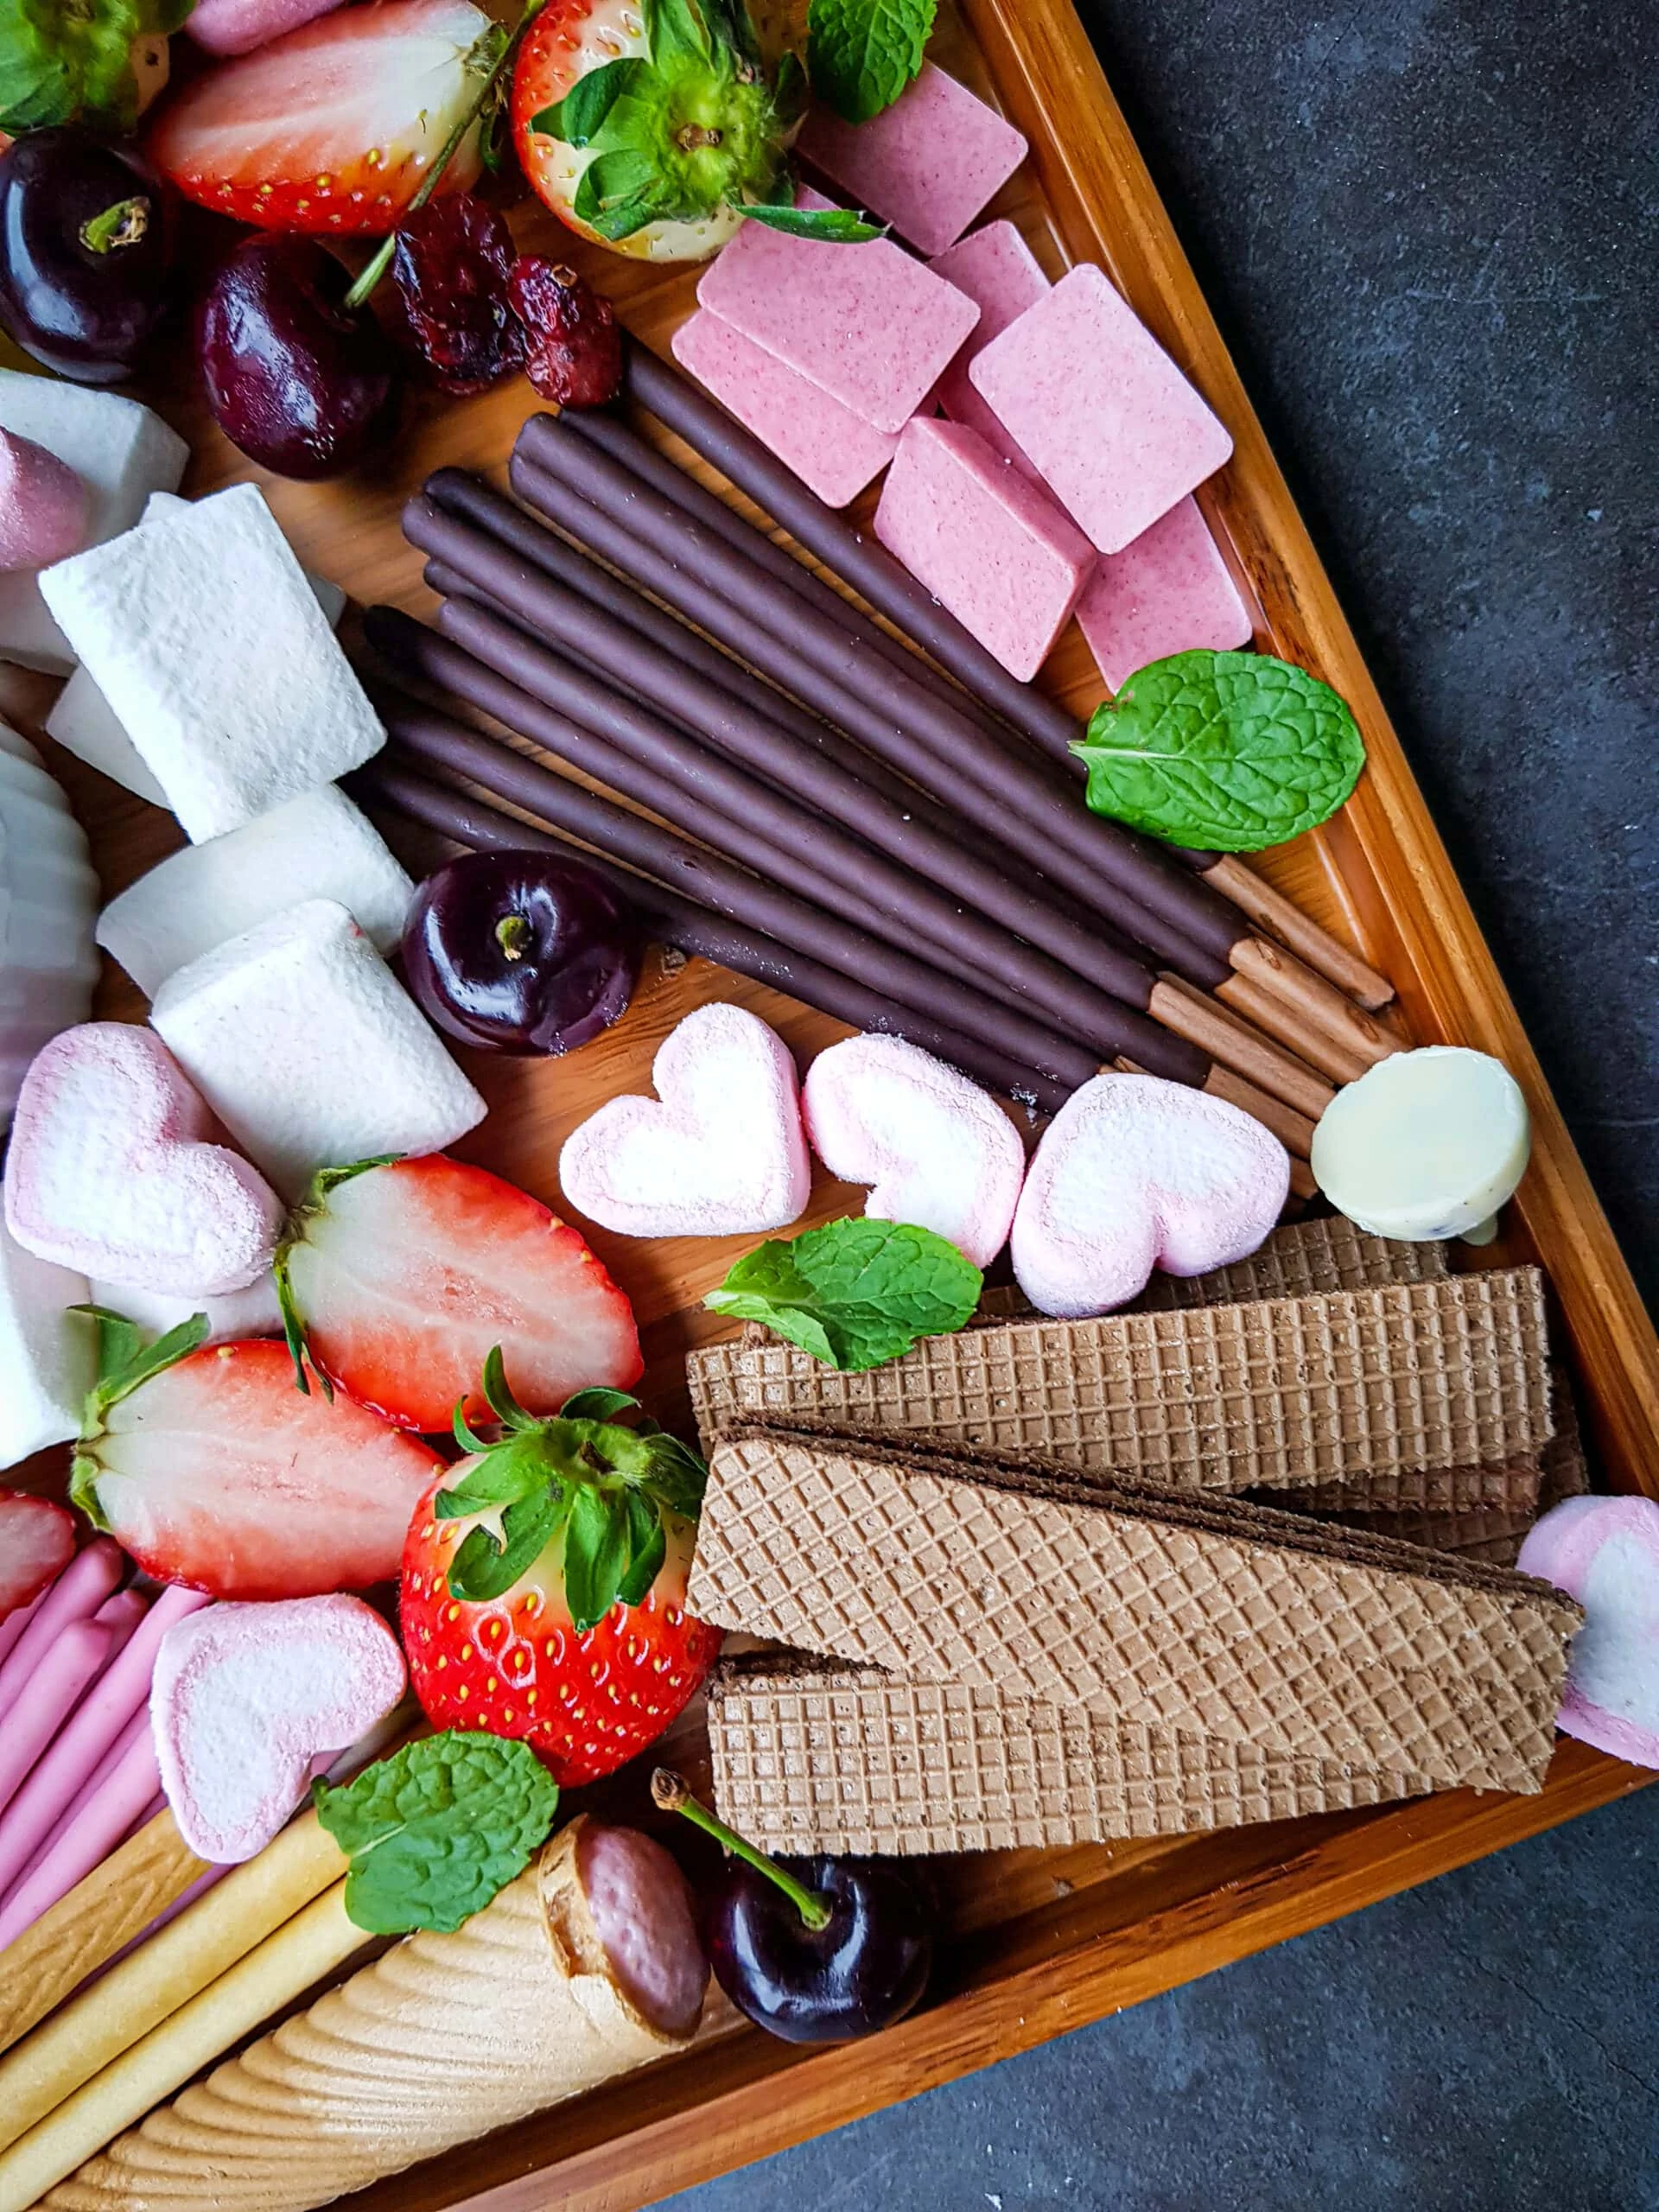
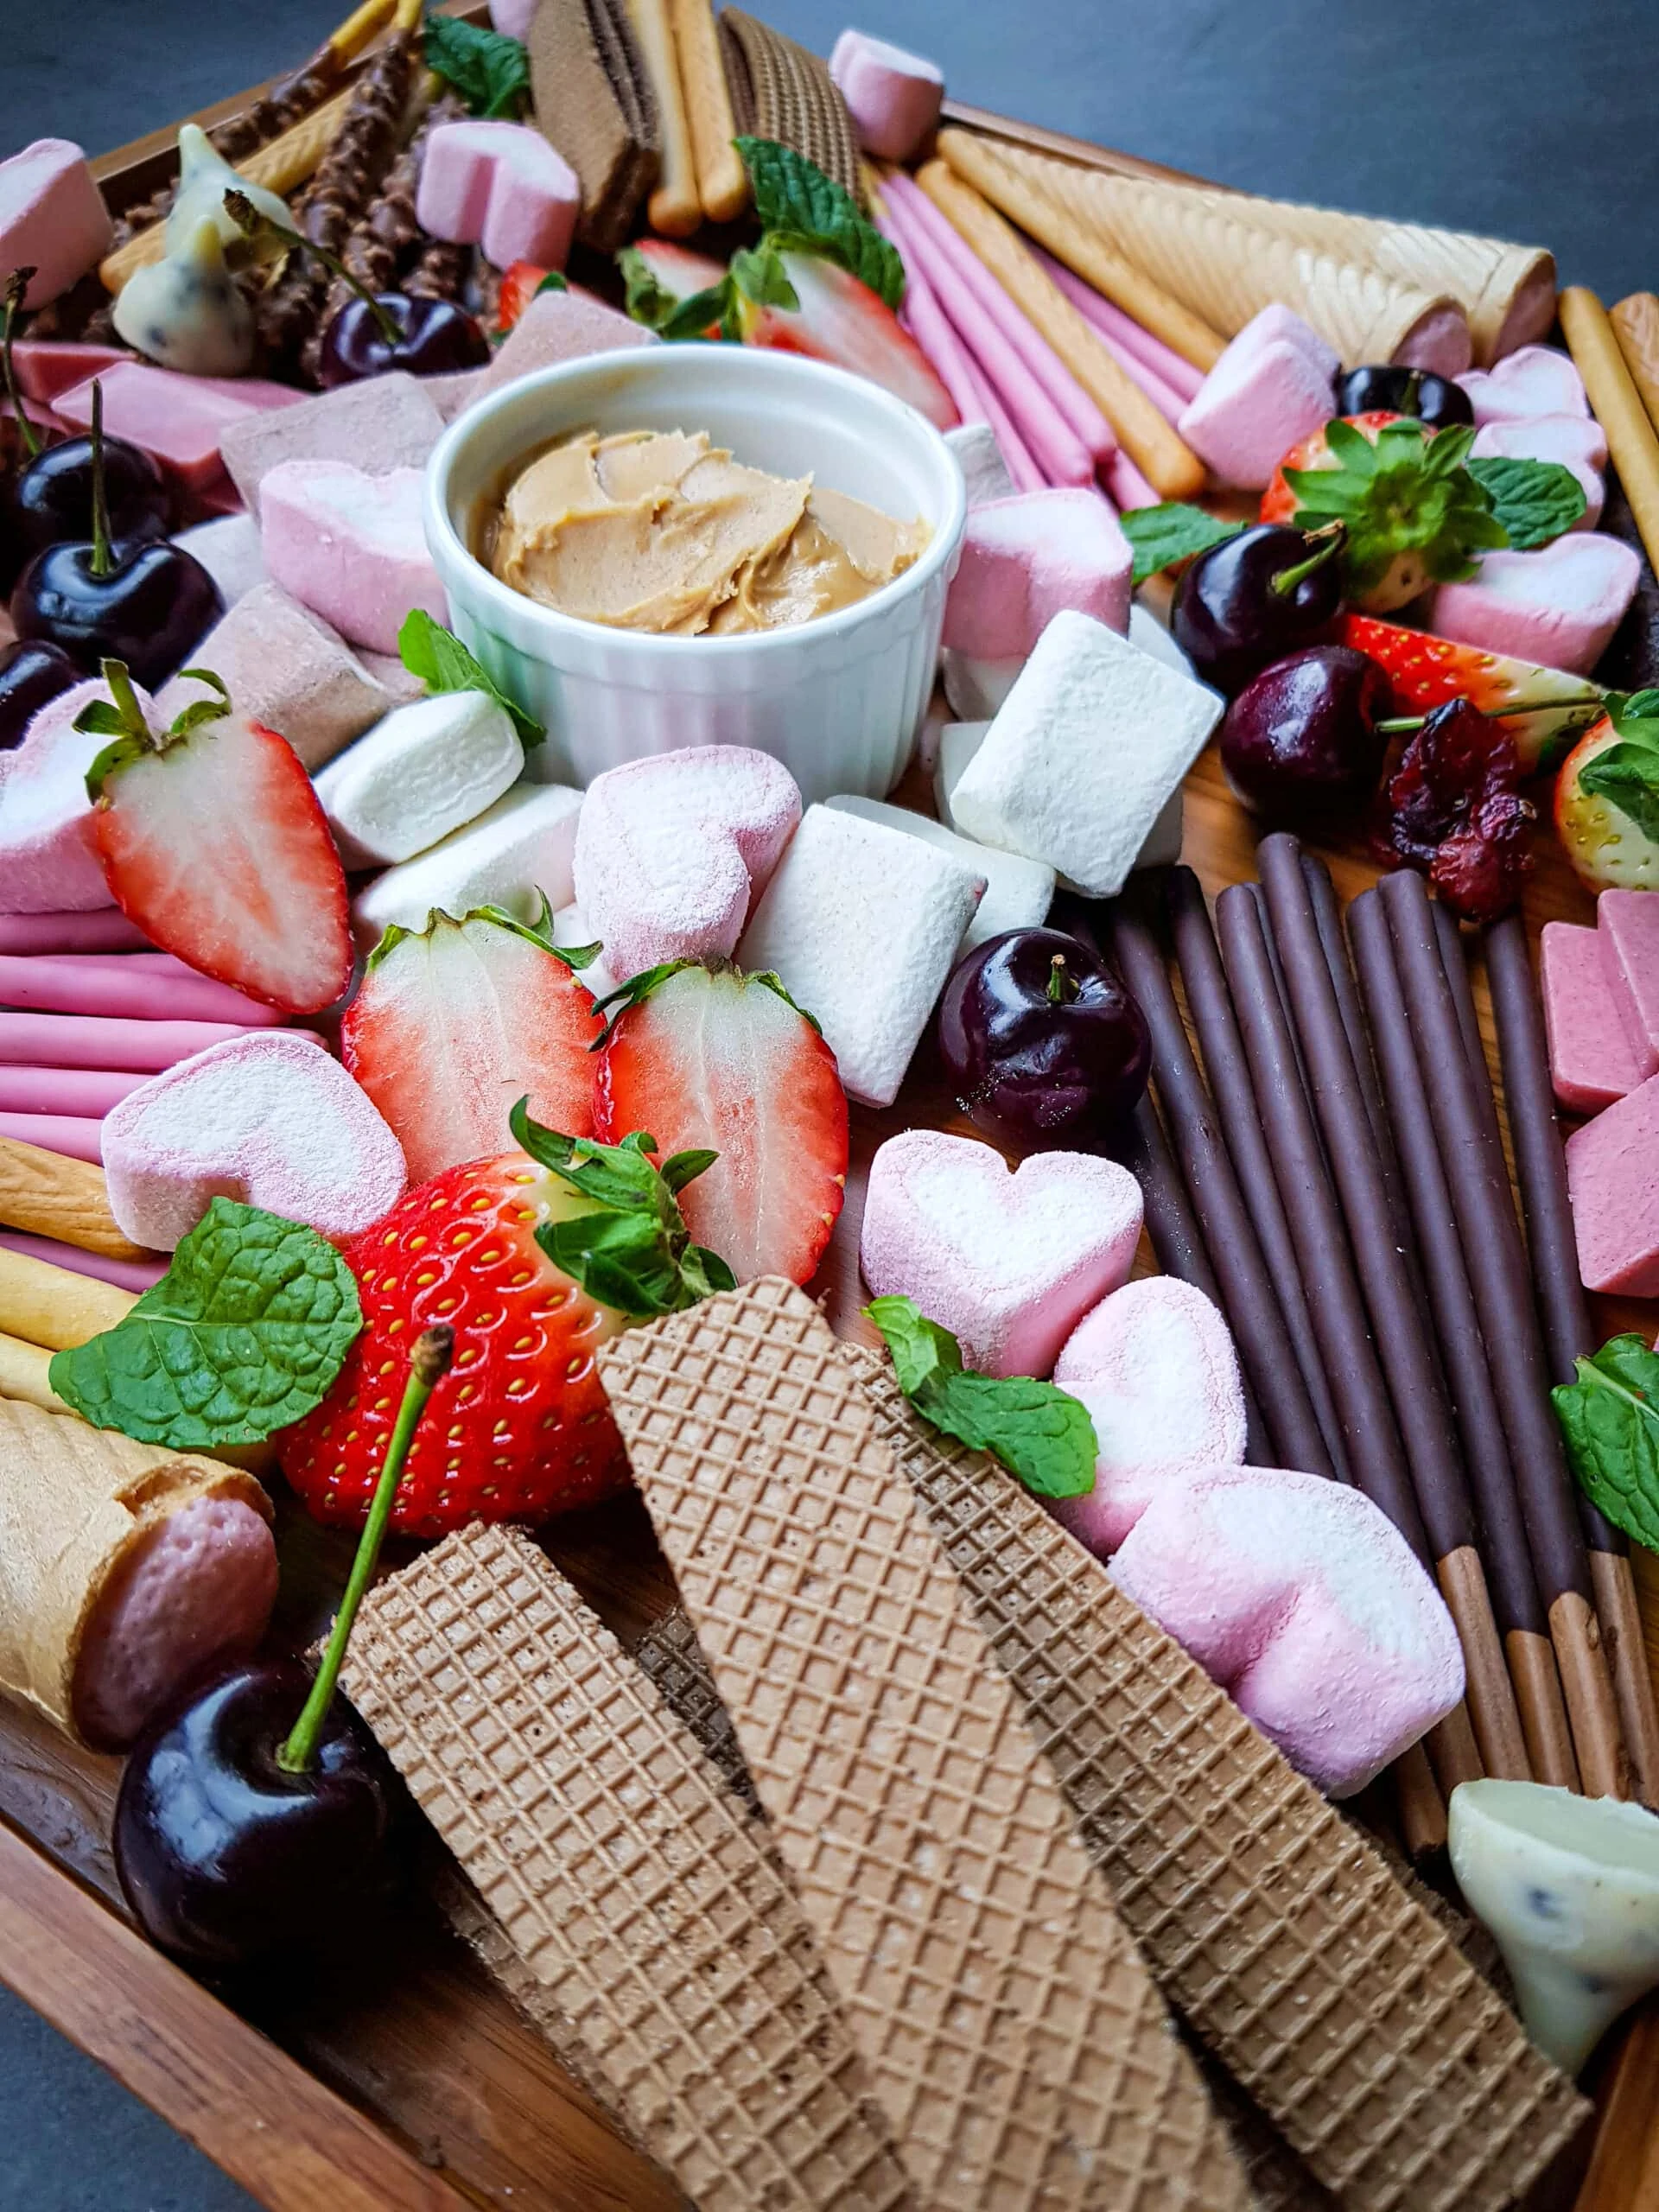
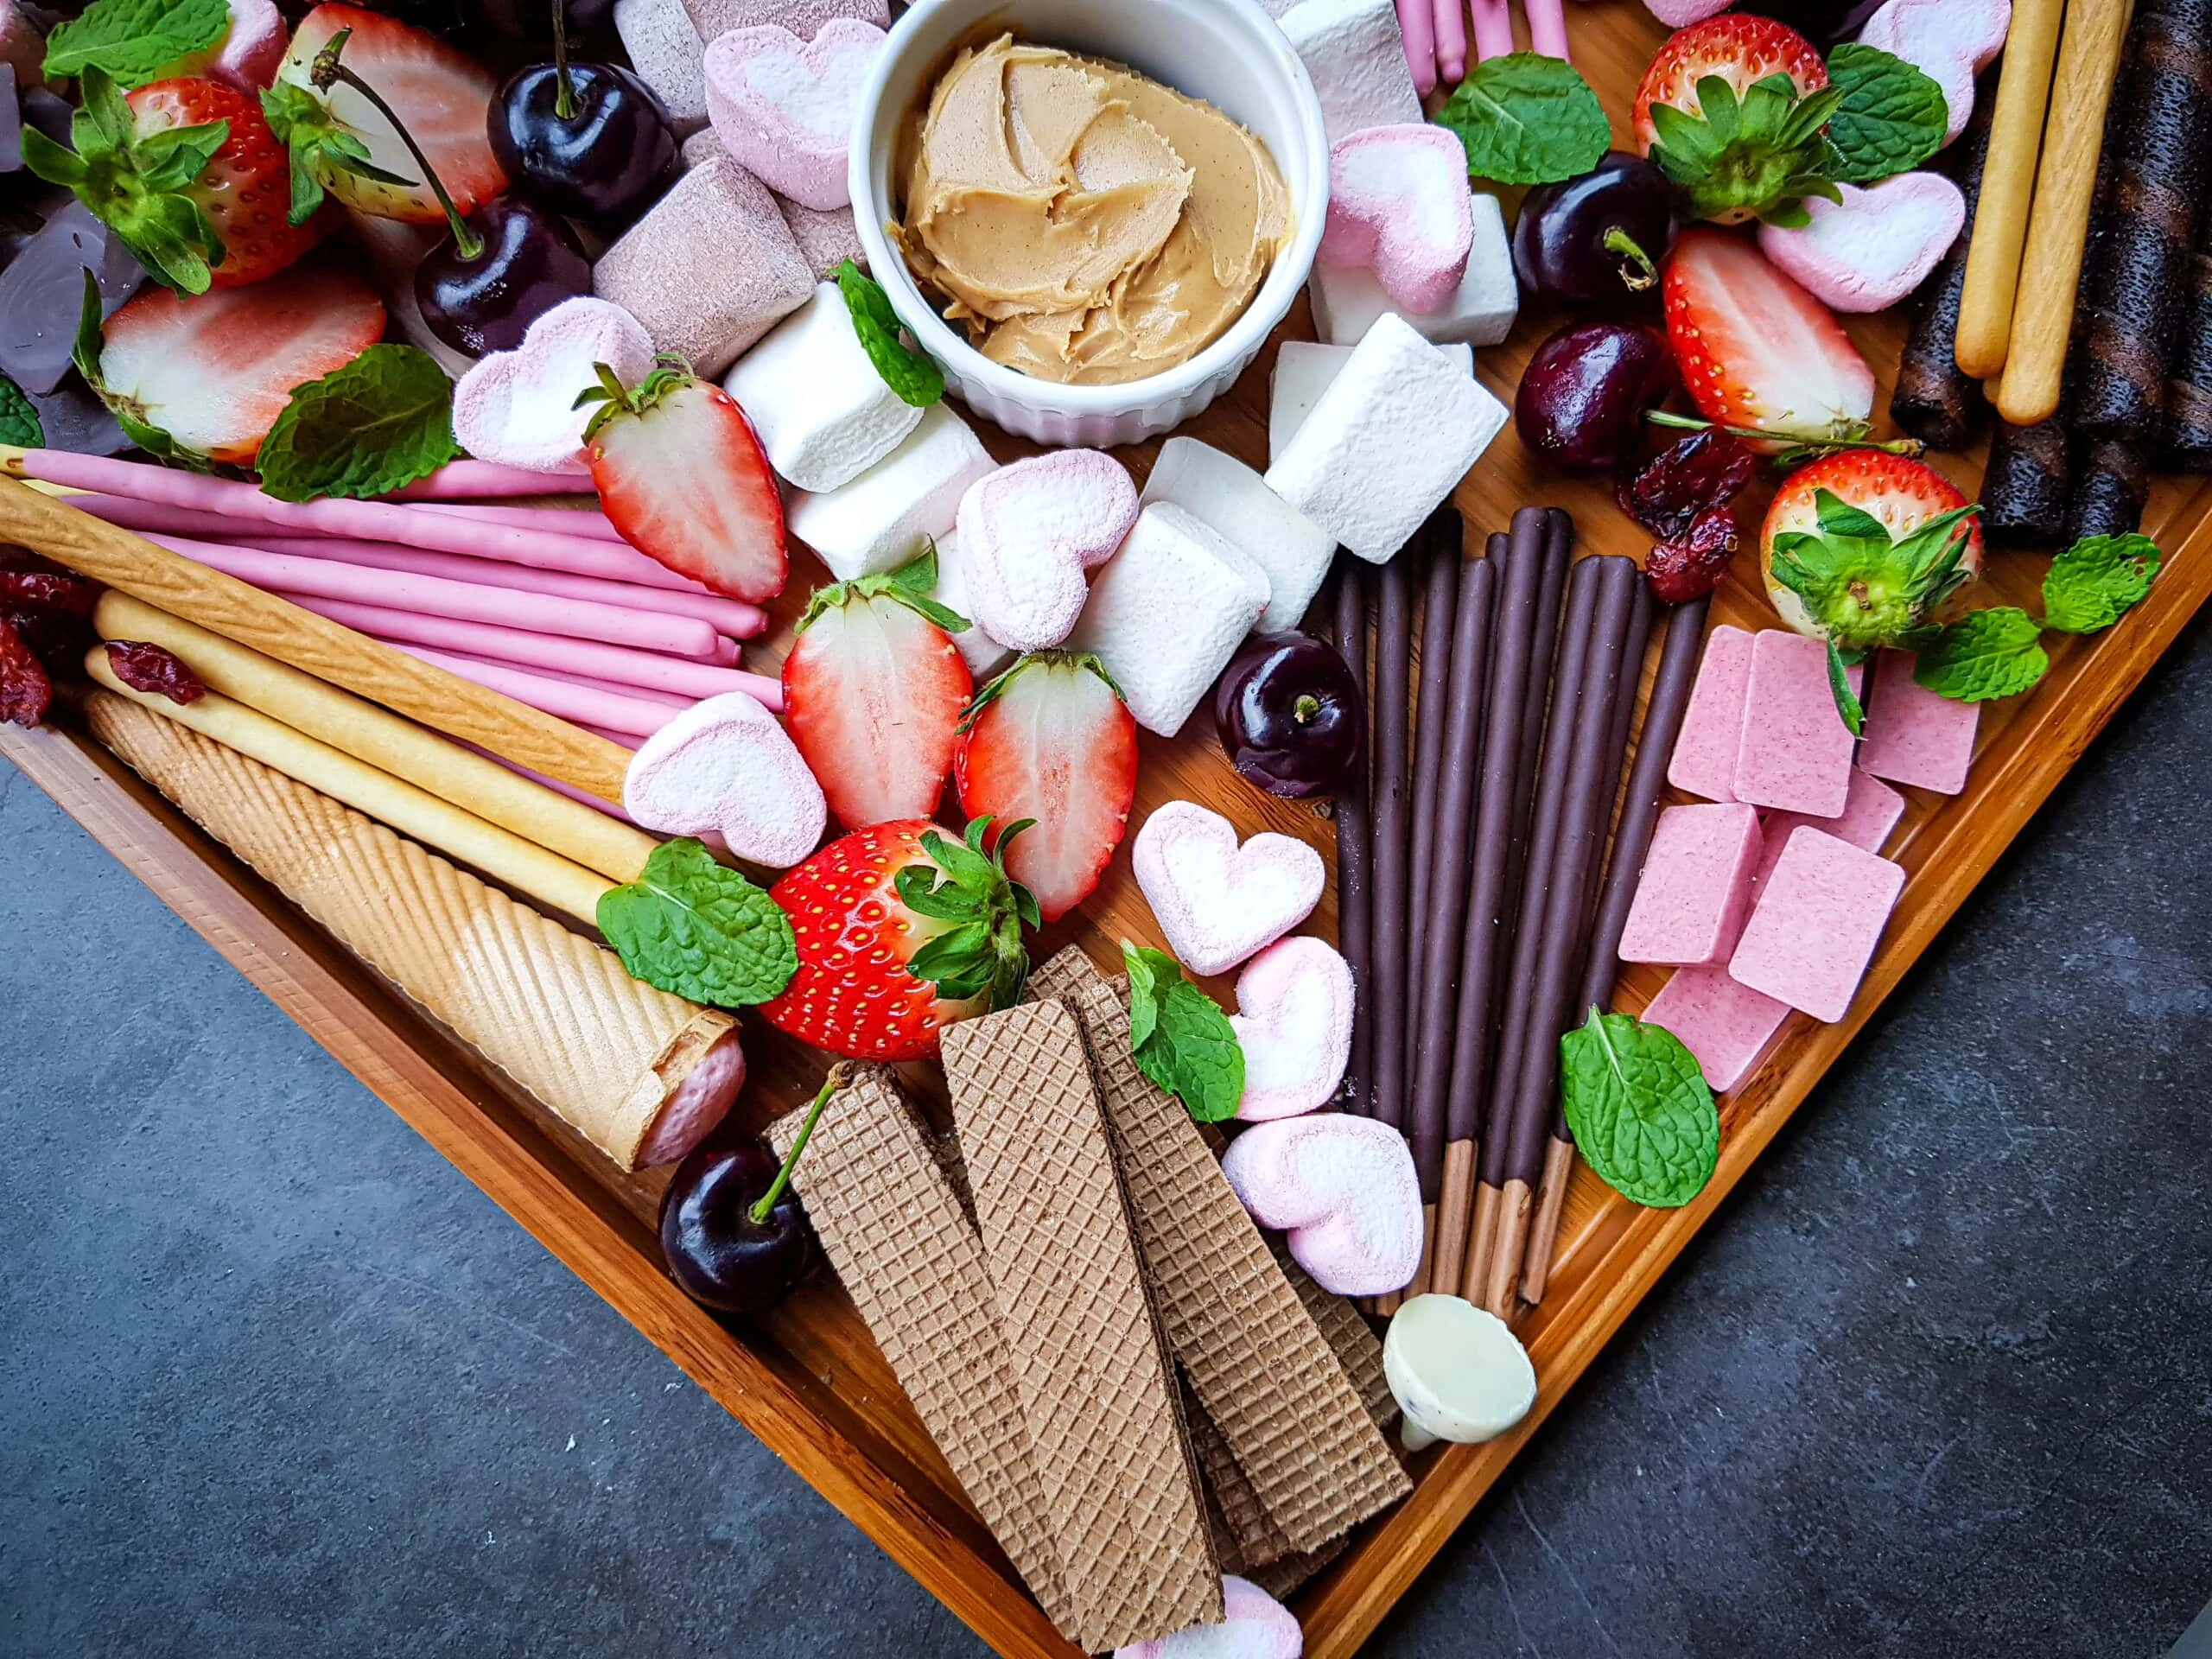
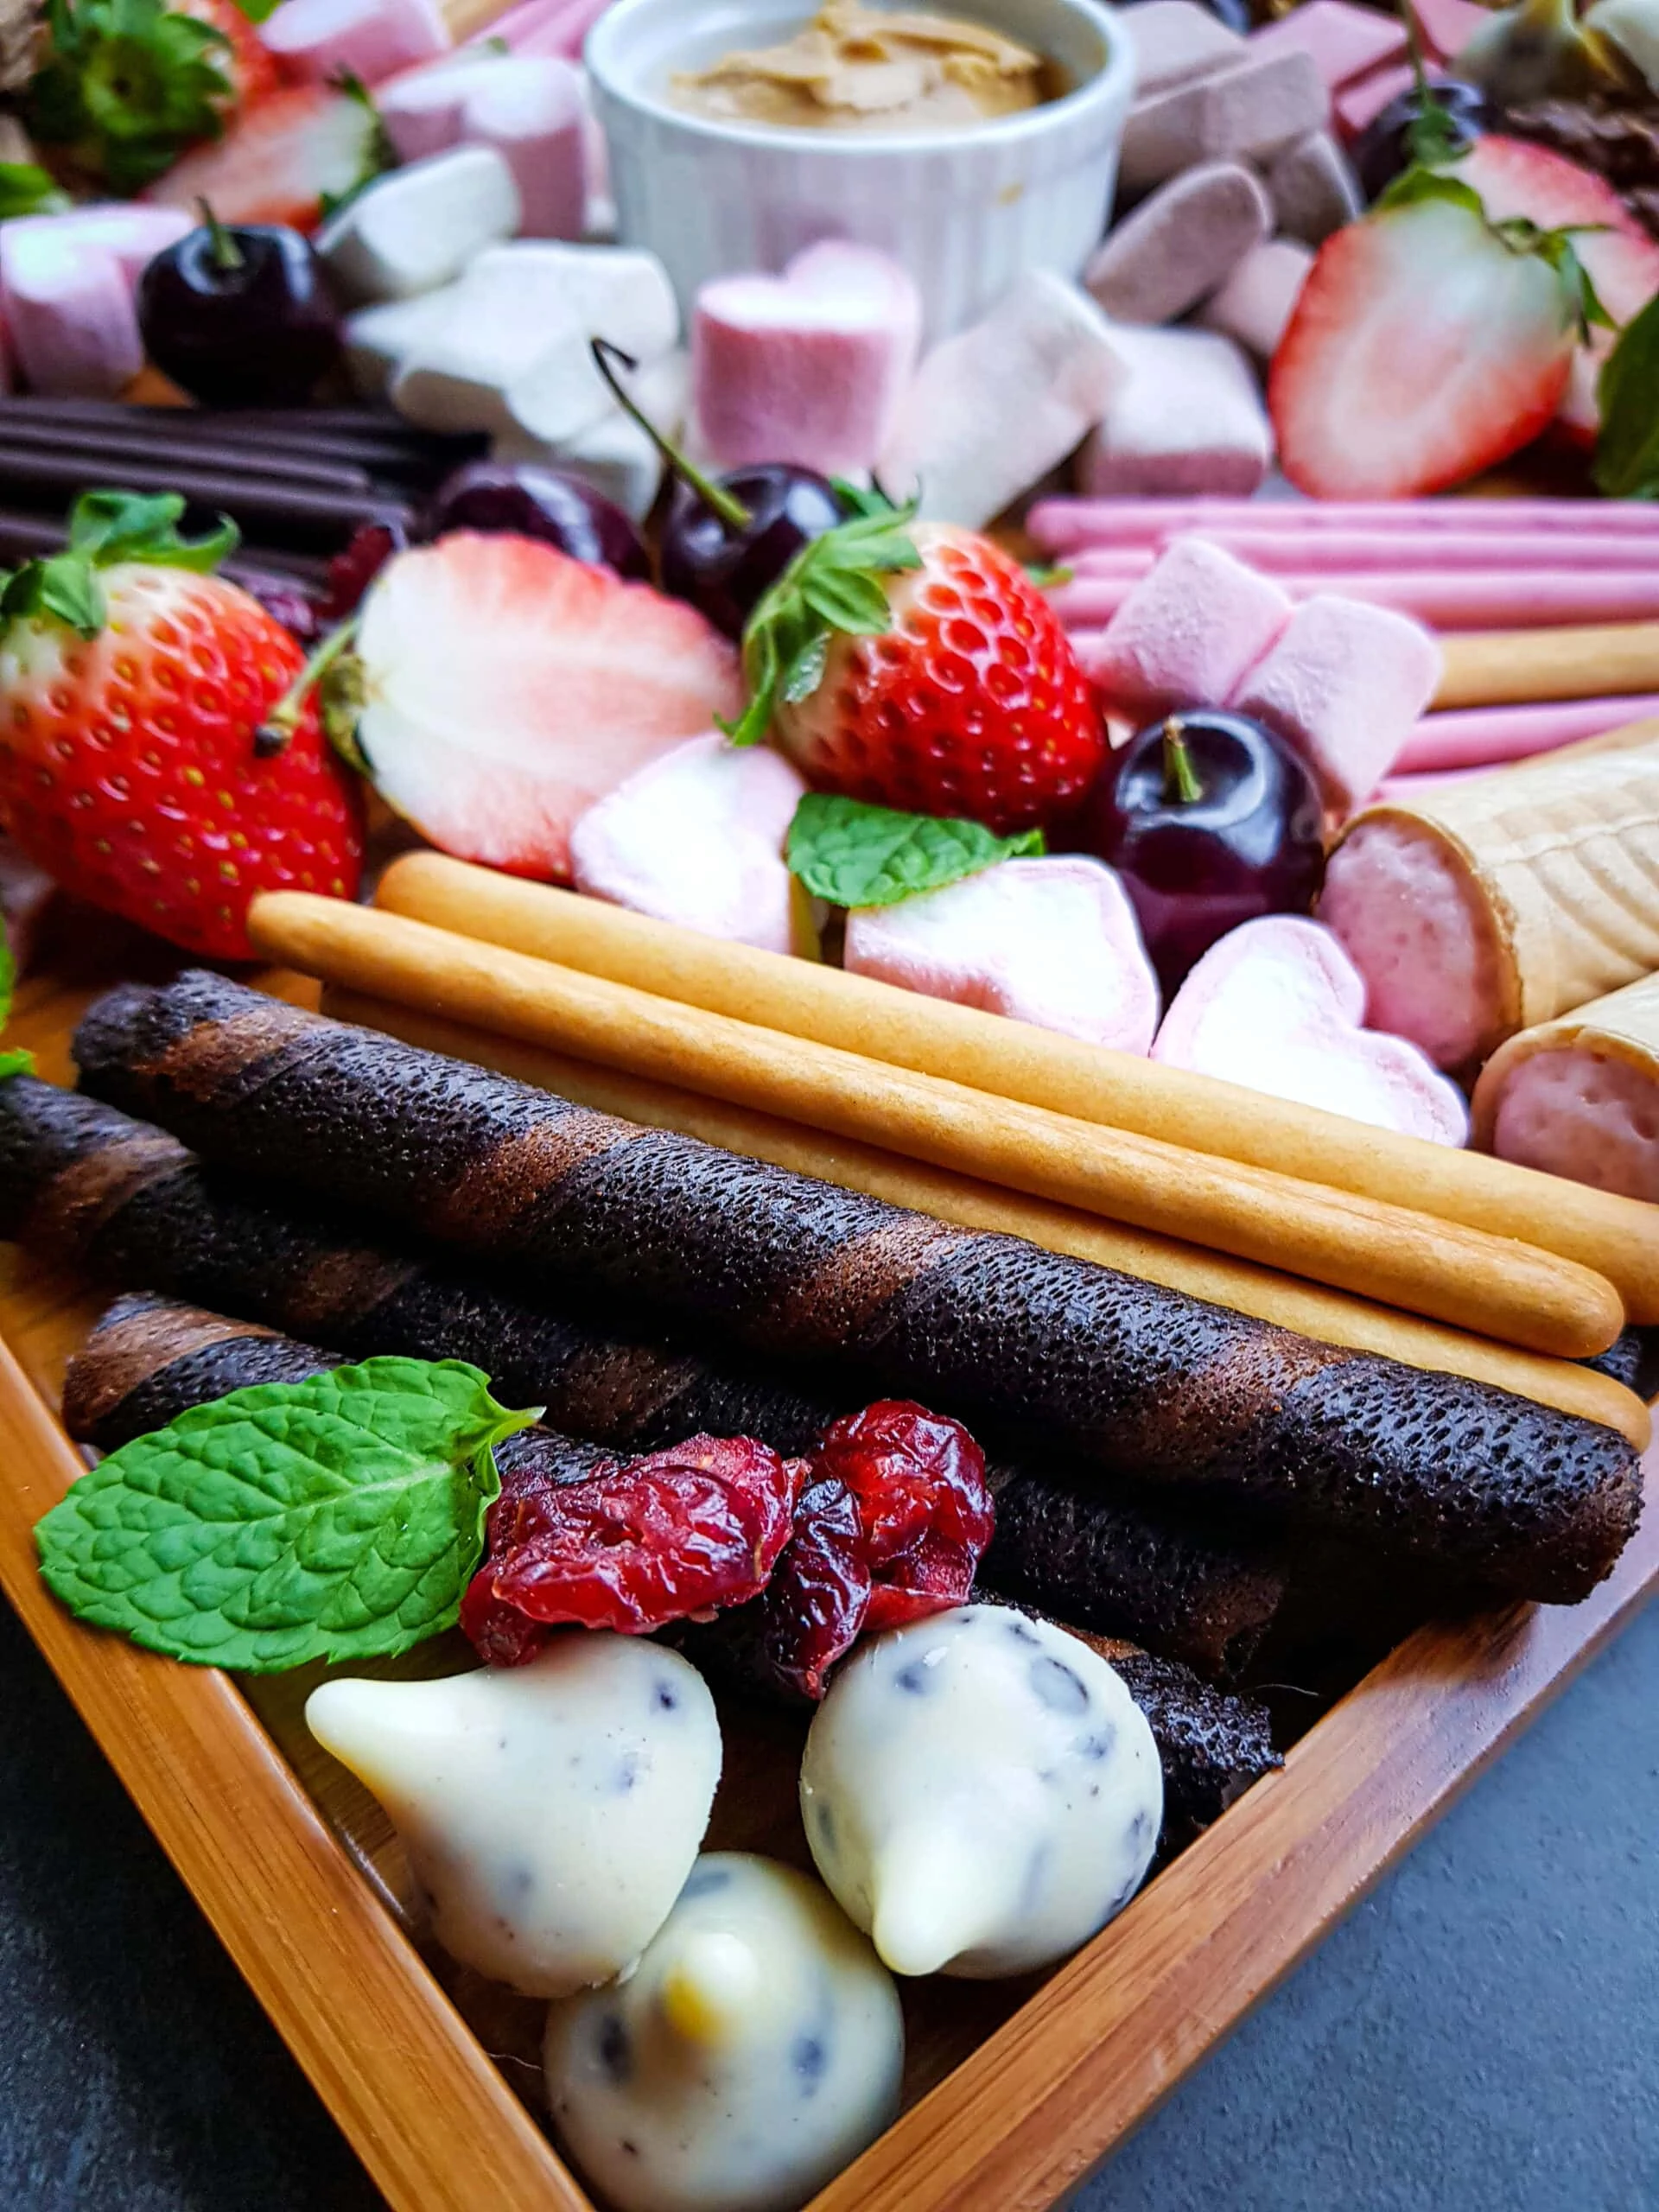
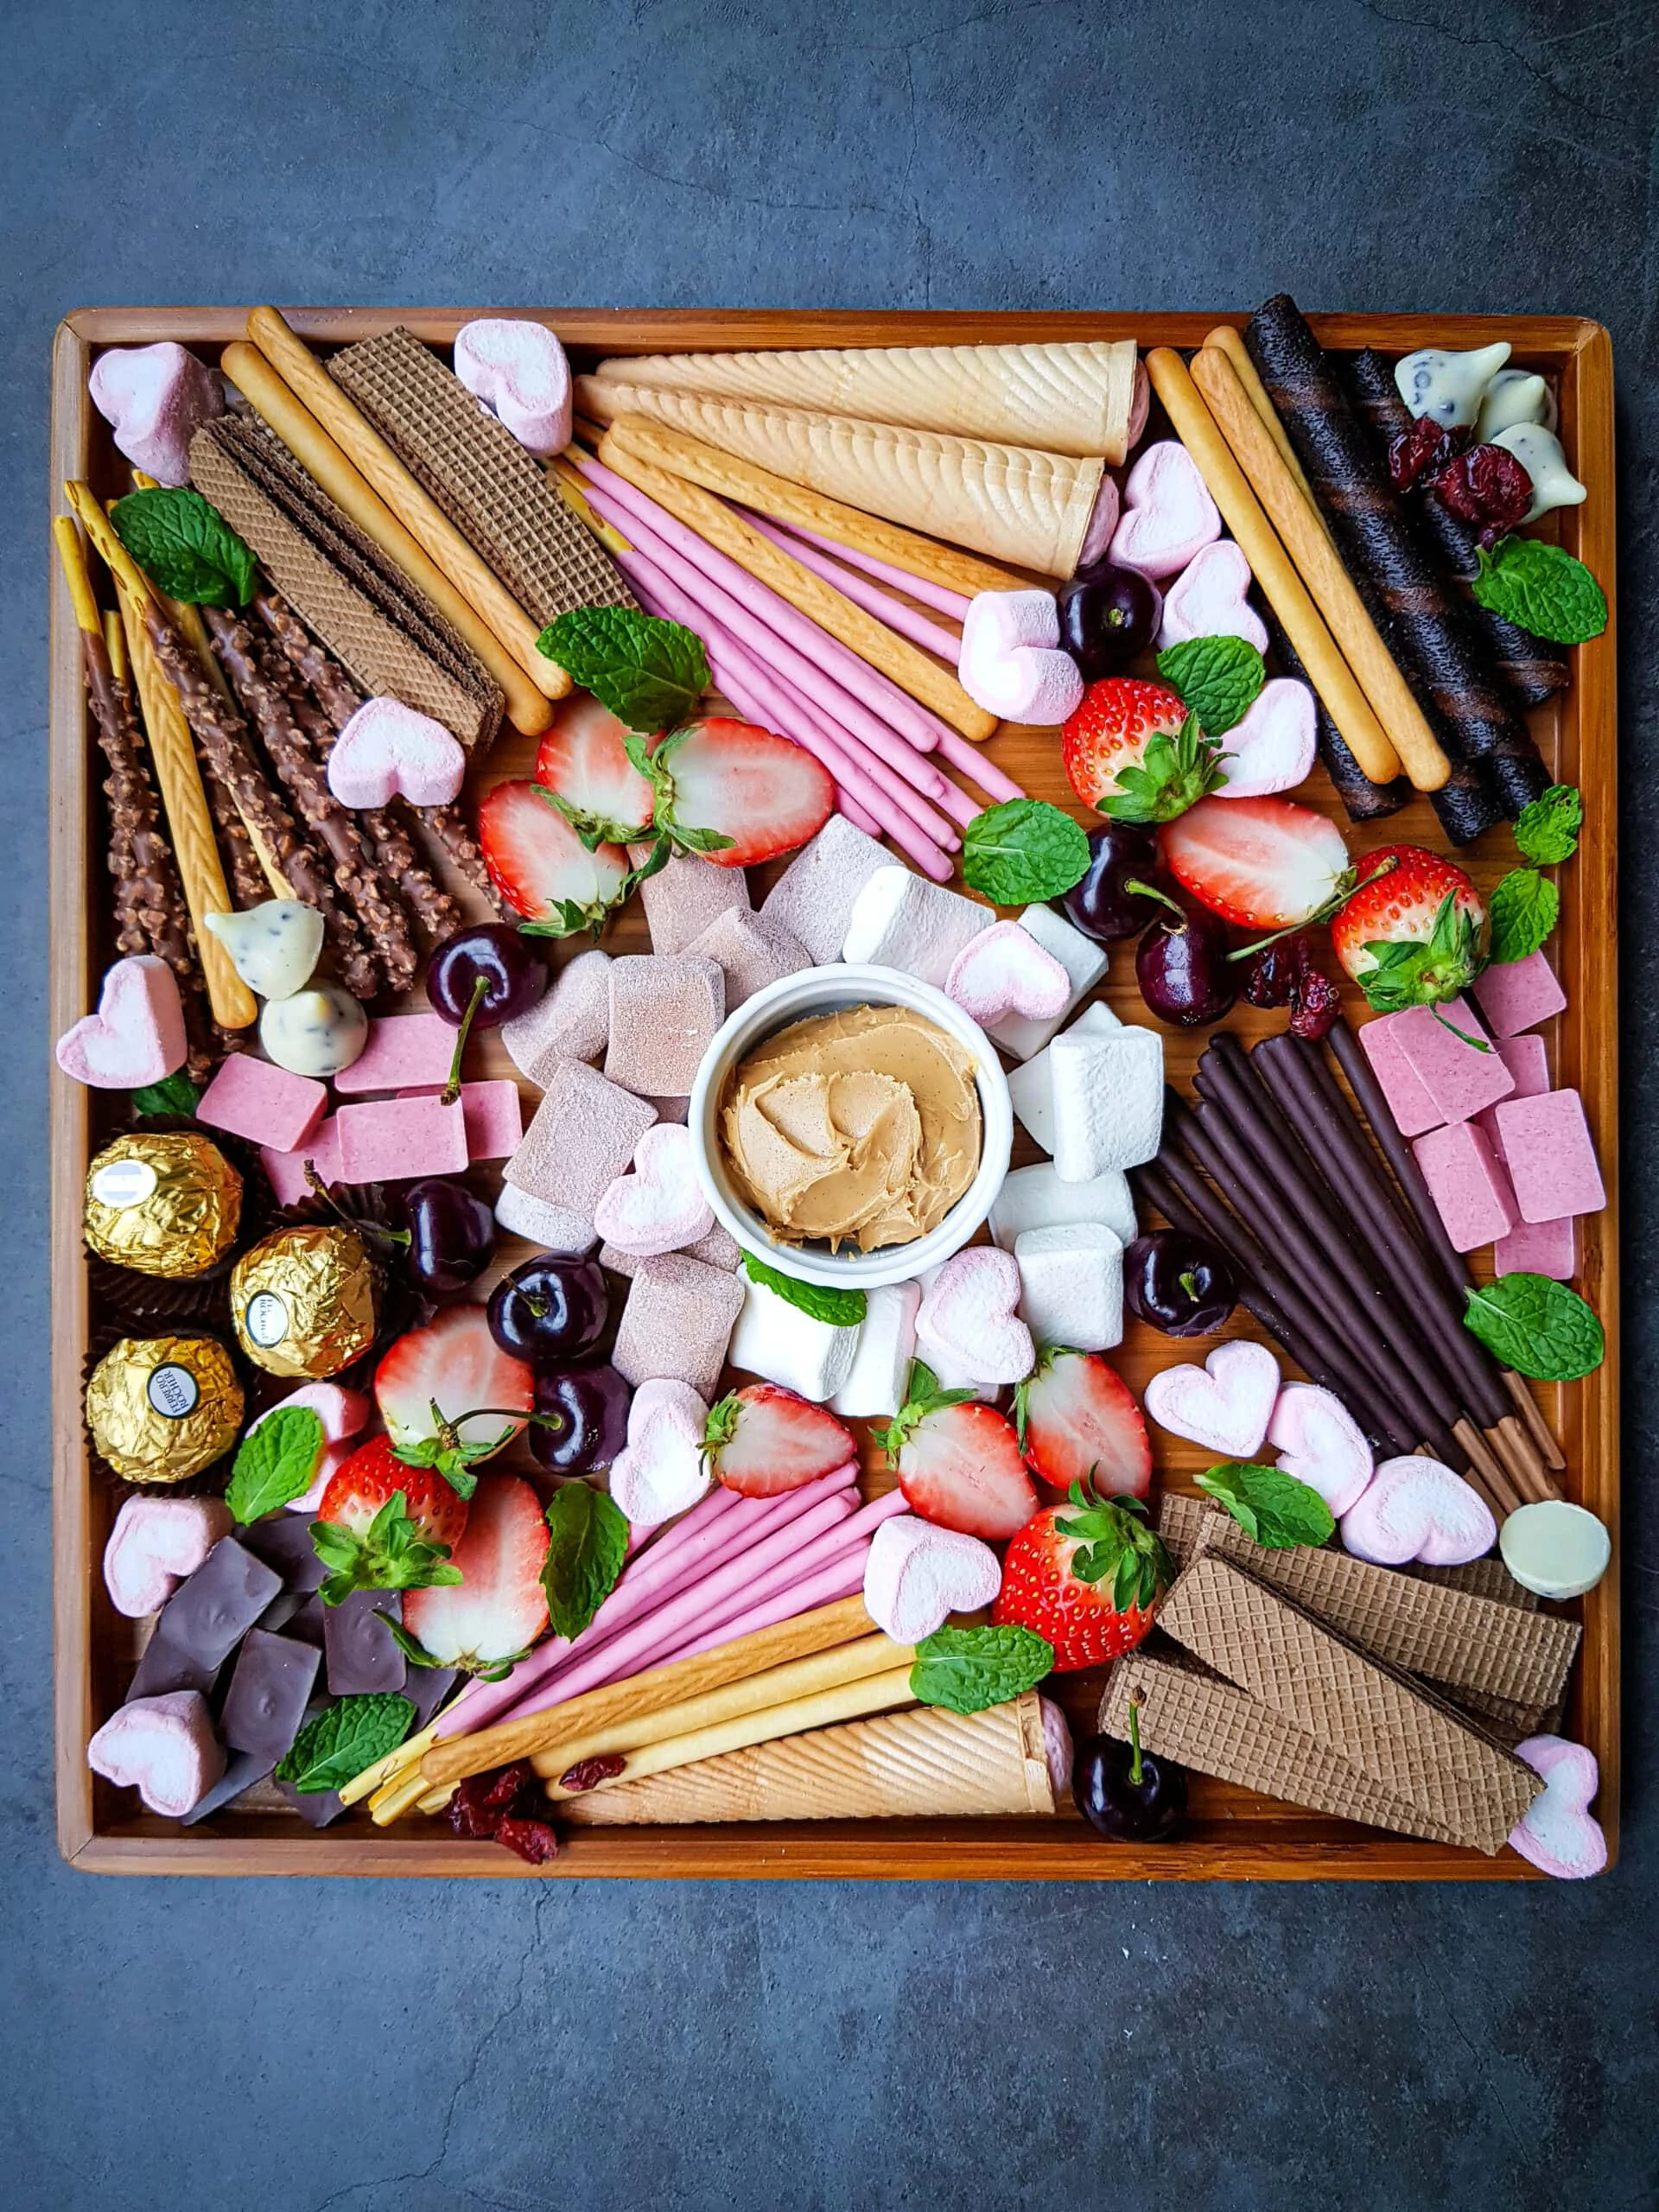
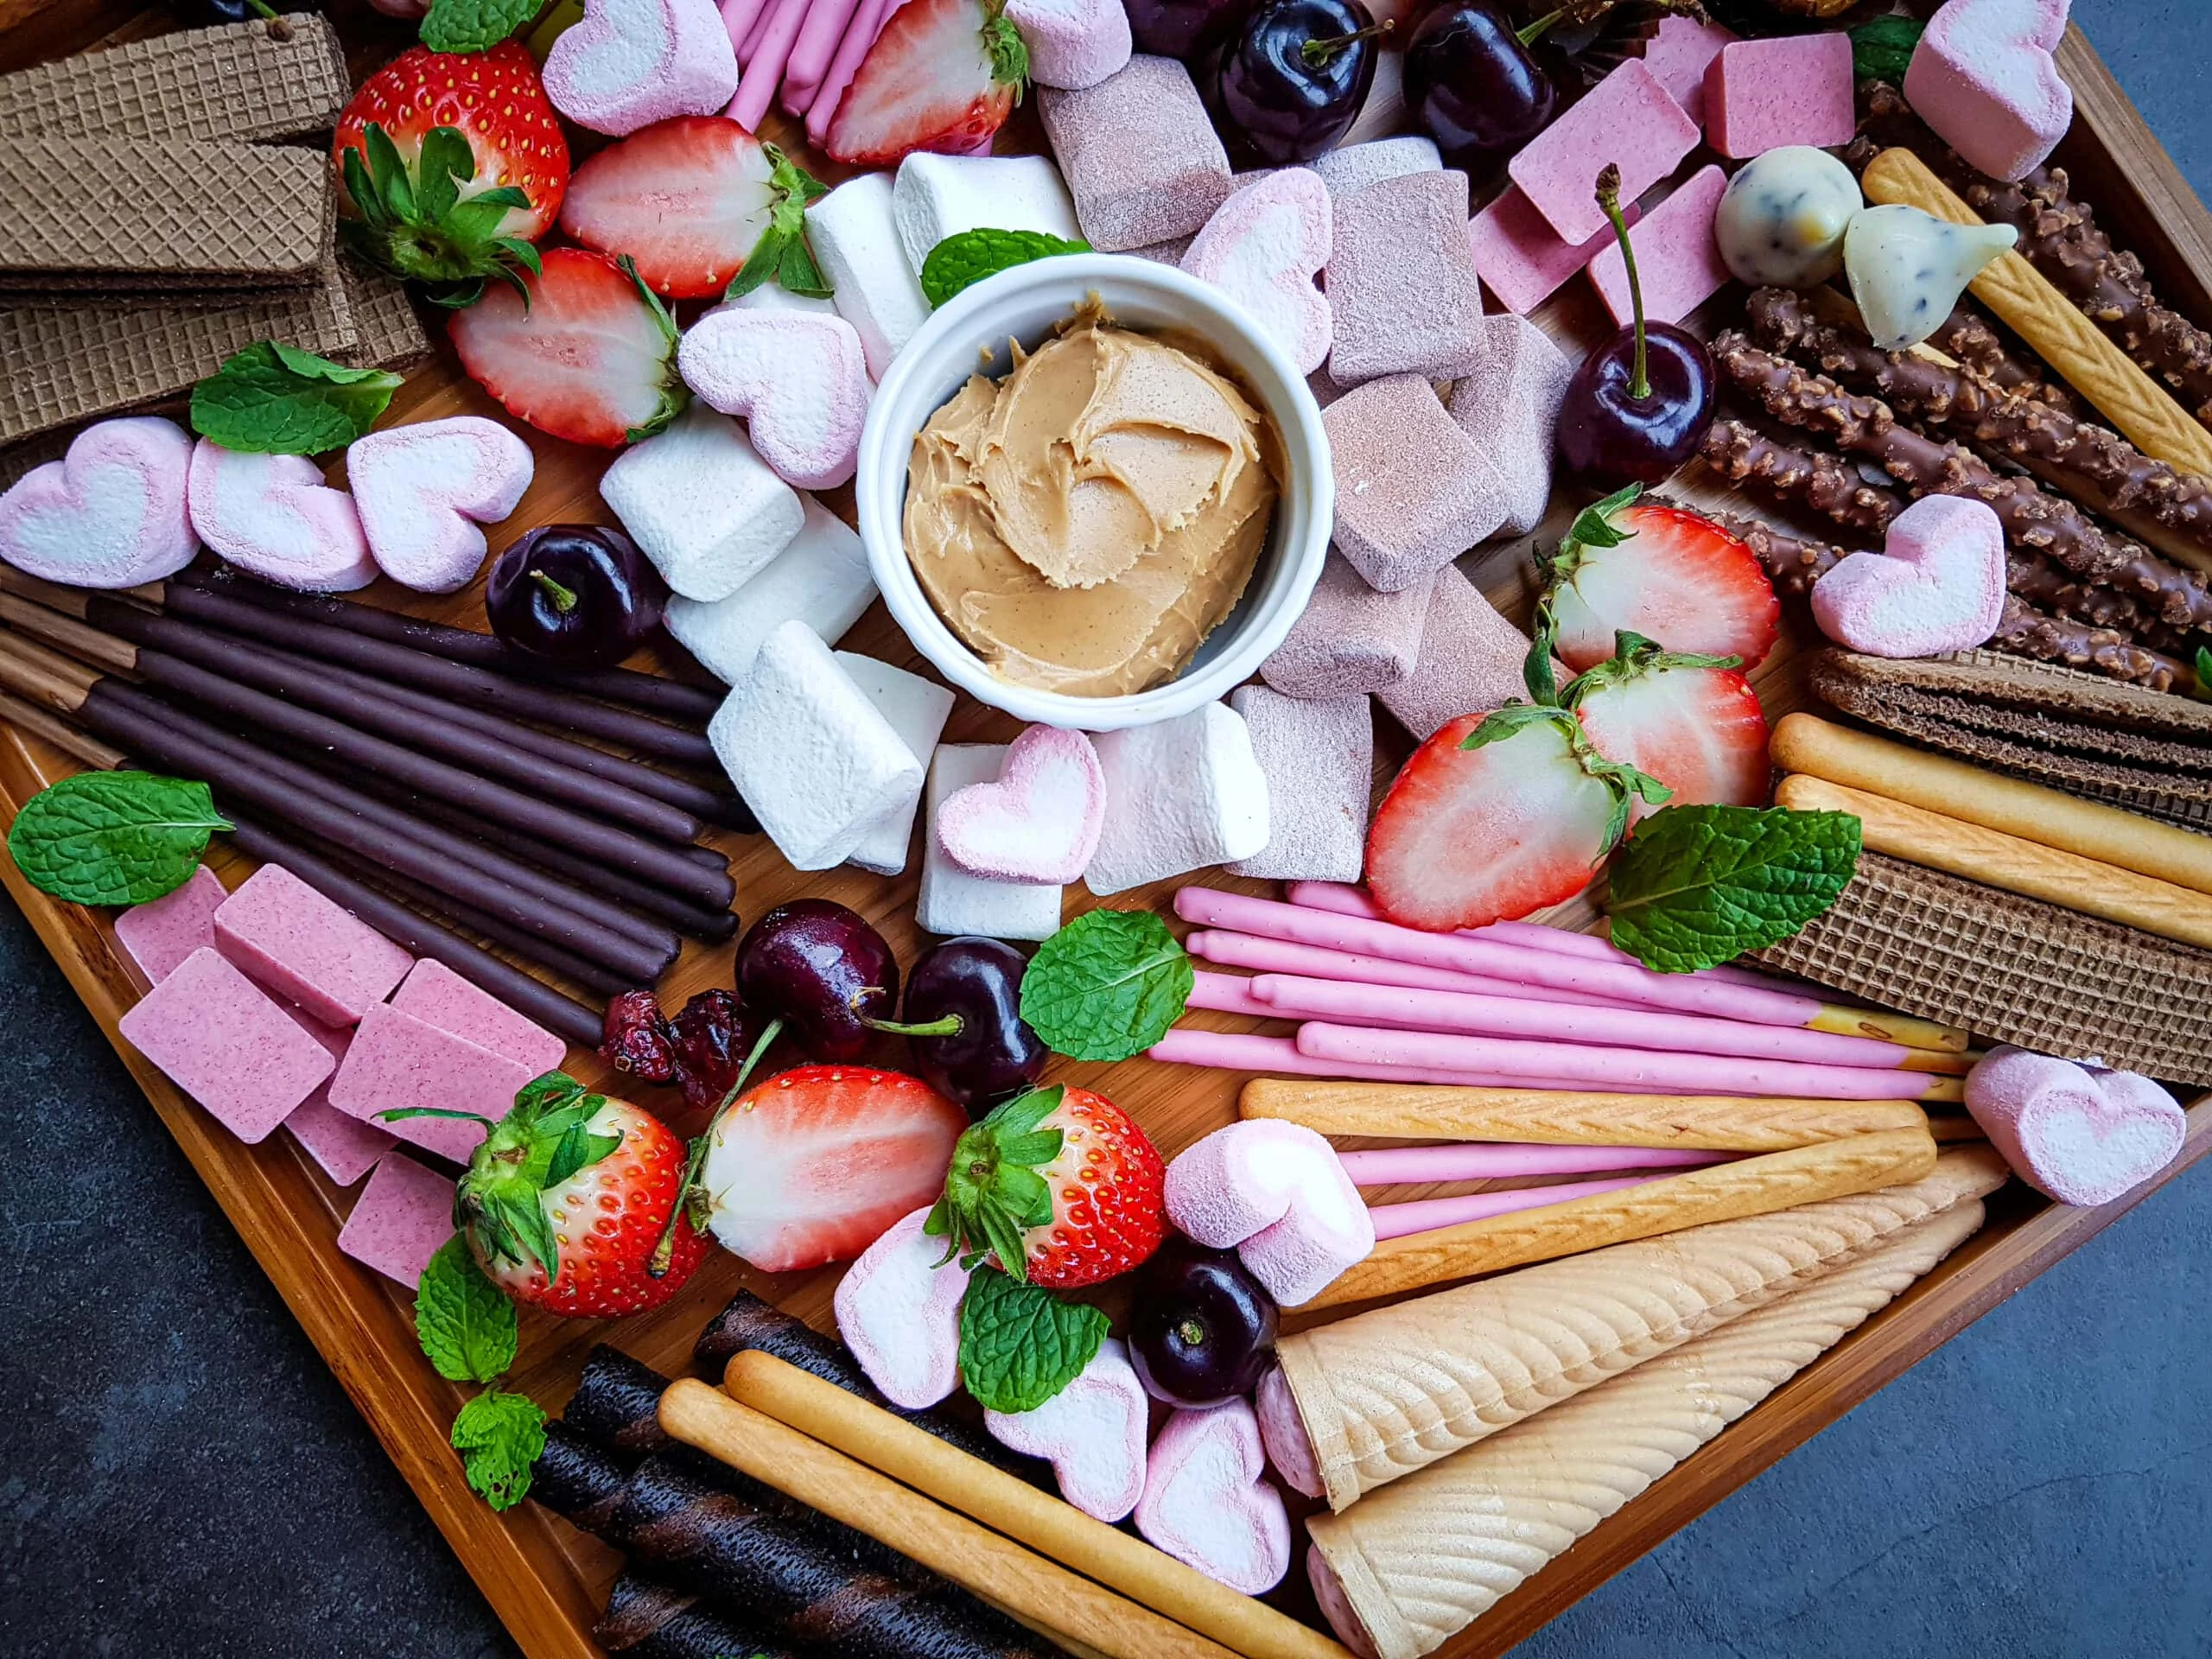
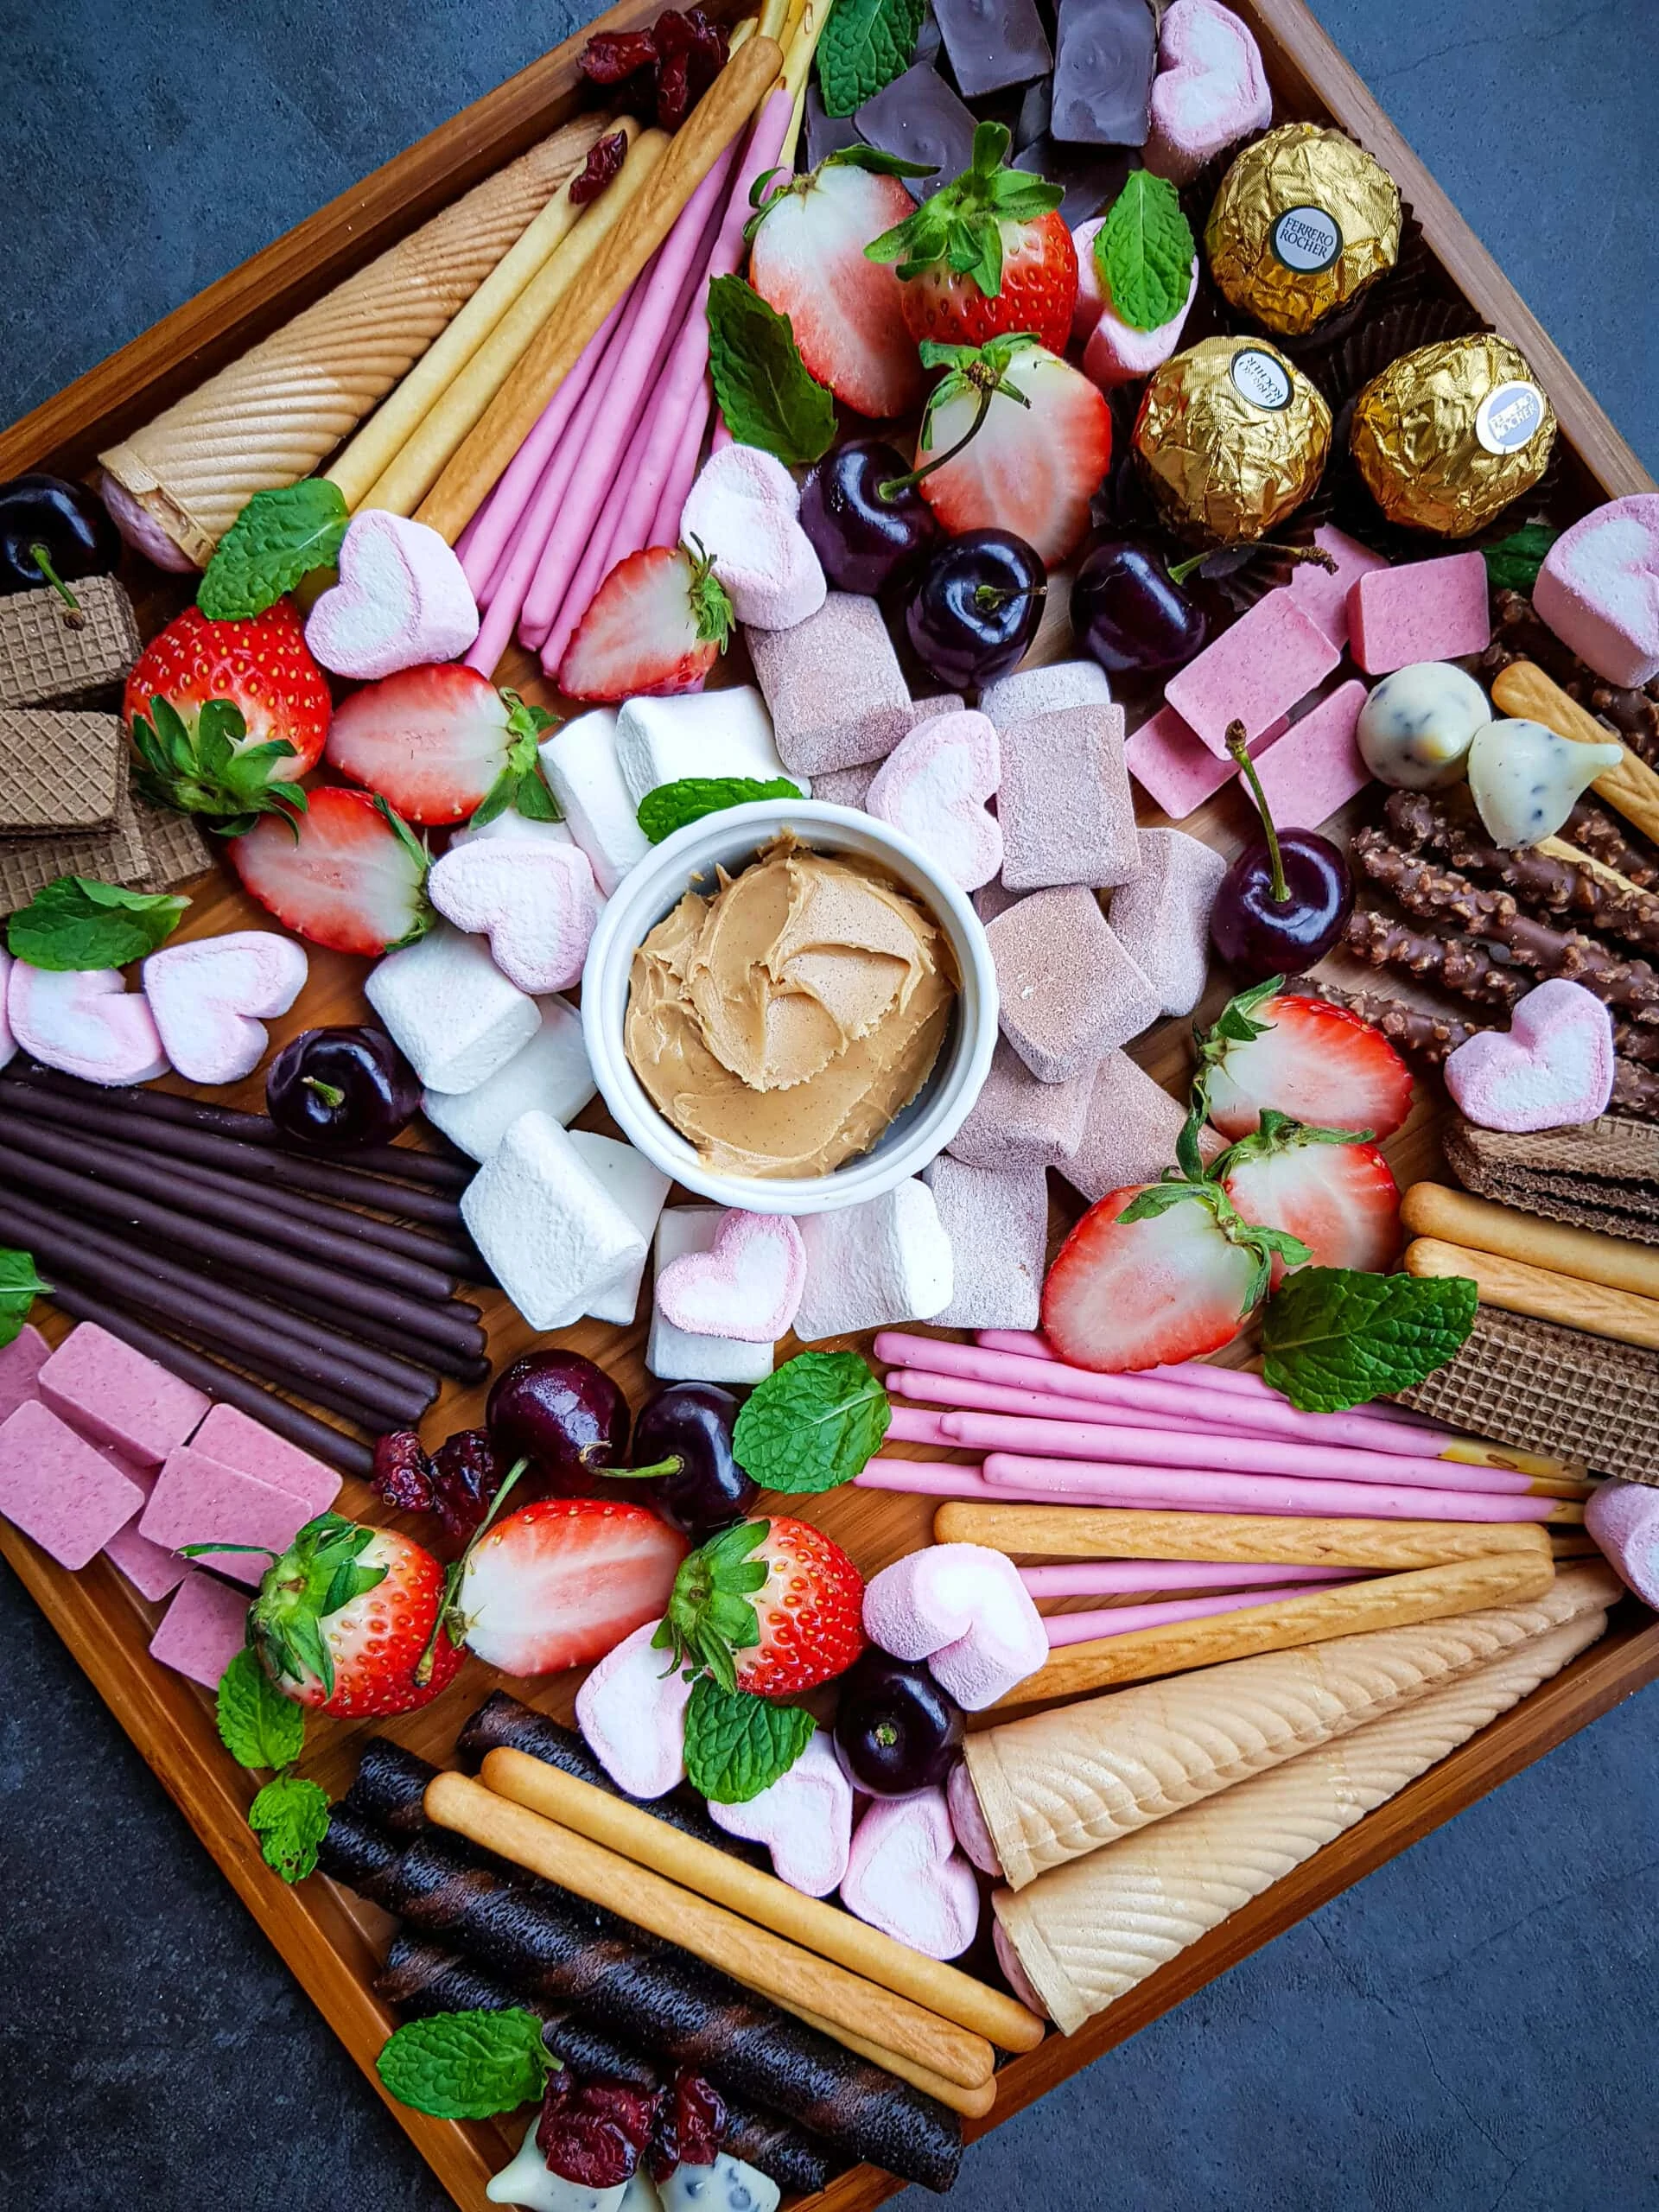
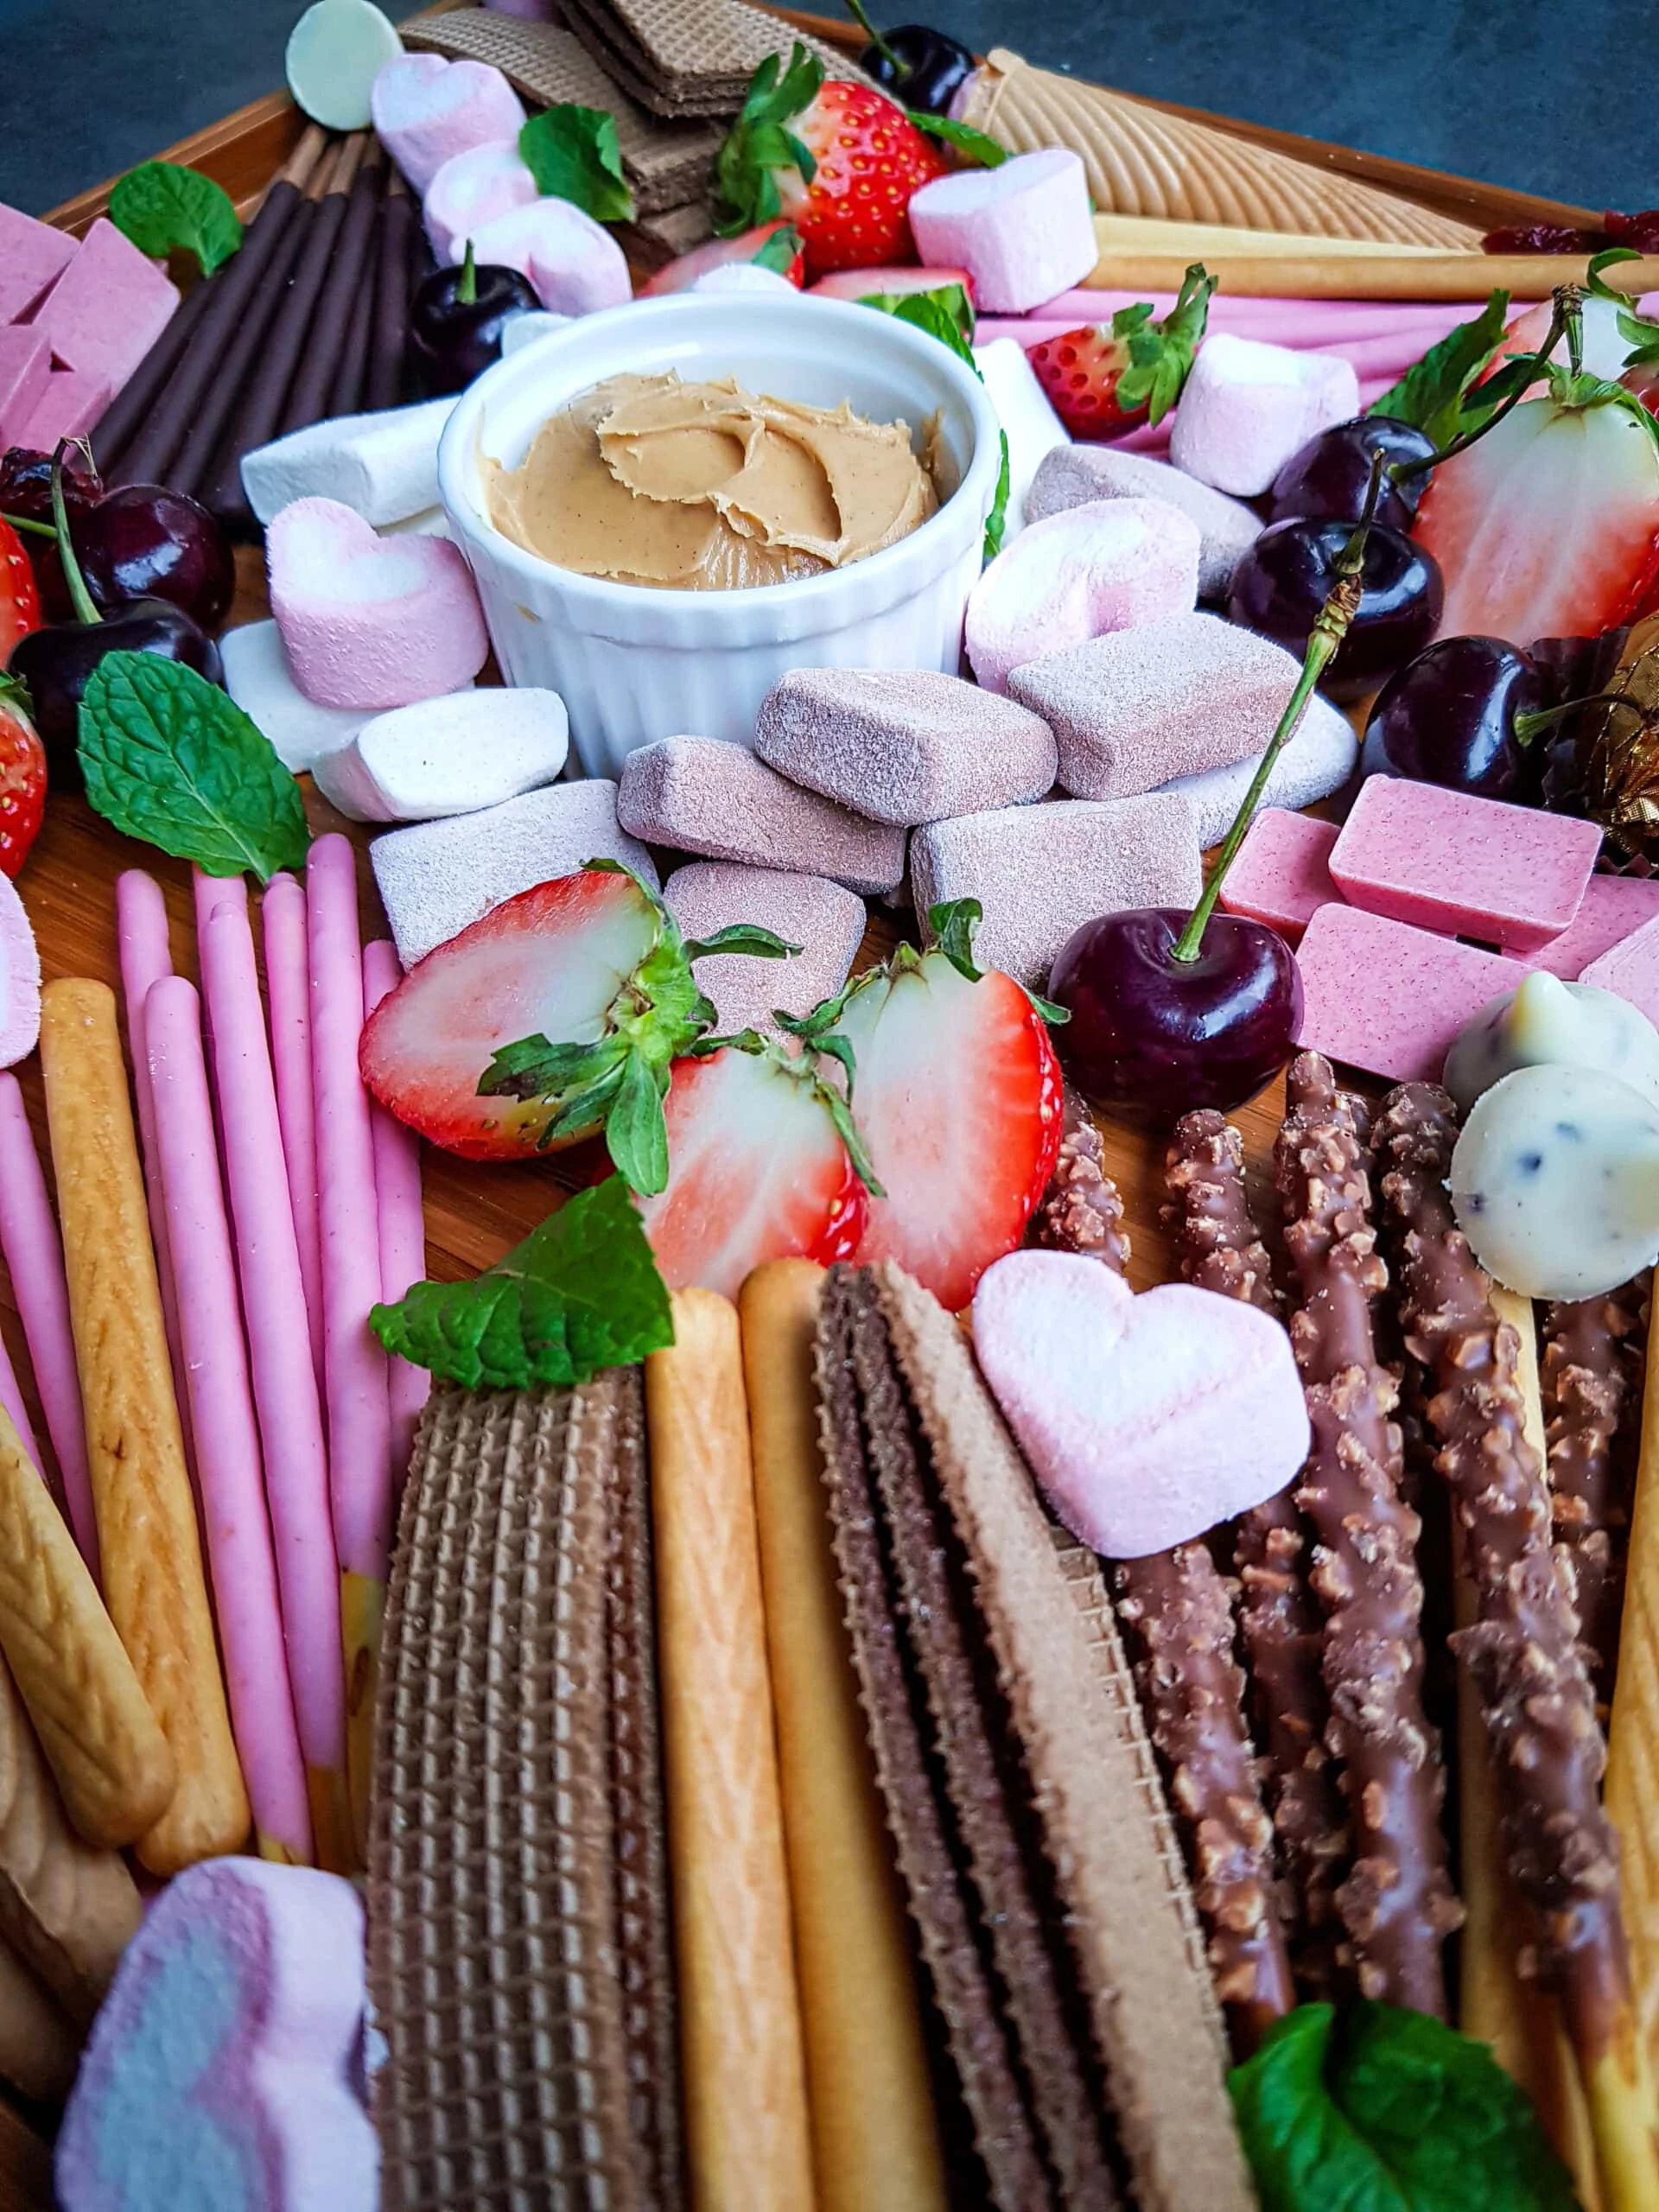
If you are looking for a fun, and simple way to make Valentines Day special this year, try this Dessert Valentines Charcuterie Board. It is full of simple ideas in fun pinks, reds and chocolates, that require very little work but looks gorgeous (and tastes great too).
I especially love this Dessert Charcuterie Board because it works great for both kids and adults. That means you can use it for just about any celebration, and it is a particularly great option if you will have mixed ages present. The other thing is that it is so simple to put together, uses affordable ingredients – so it should not break the bank – and you can make it your own by customizing it with things you love too.
What is usually on a dessert charcuterie board?
A traditional charcuterie board typically is a mix of cured meats and cheese with some other items (like crackers, spreads and olives for example). In this case we are making a dessert charcuterie board, and these usually include a variety of sweets and spreads. Because we are doing this one for Valentines day, we included sweets and fruits that tie in to that theme here.
Can you make a dessert charcuterie board the night before?
One thing I love about the dessert charcuterie boards is that they can easily be made the night before. We have included instructions below on how to do that. The key here is to not use items that brown (like cut fruits) or put those items on last minute. We recommend doing the dry ingredients and wrapping ahead of time, then you can add things like fruits and spreads to the board day of. It is still a good idea to use things like grapes, cherries and whole strawberries (vs cut apples or bananas) to keep it looking fresh.
Here is how we made our Dessert Valentines Charcuterie Board, perfect for Valentines celebrations.
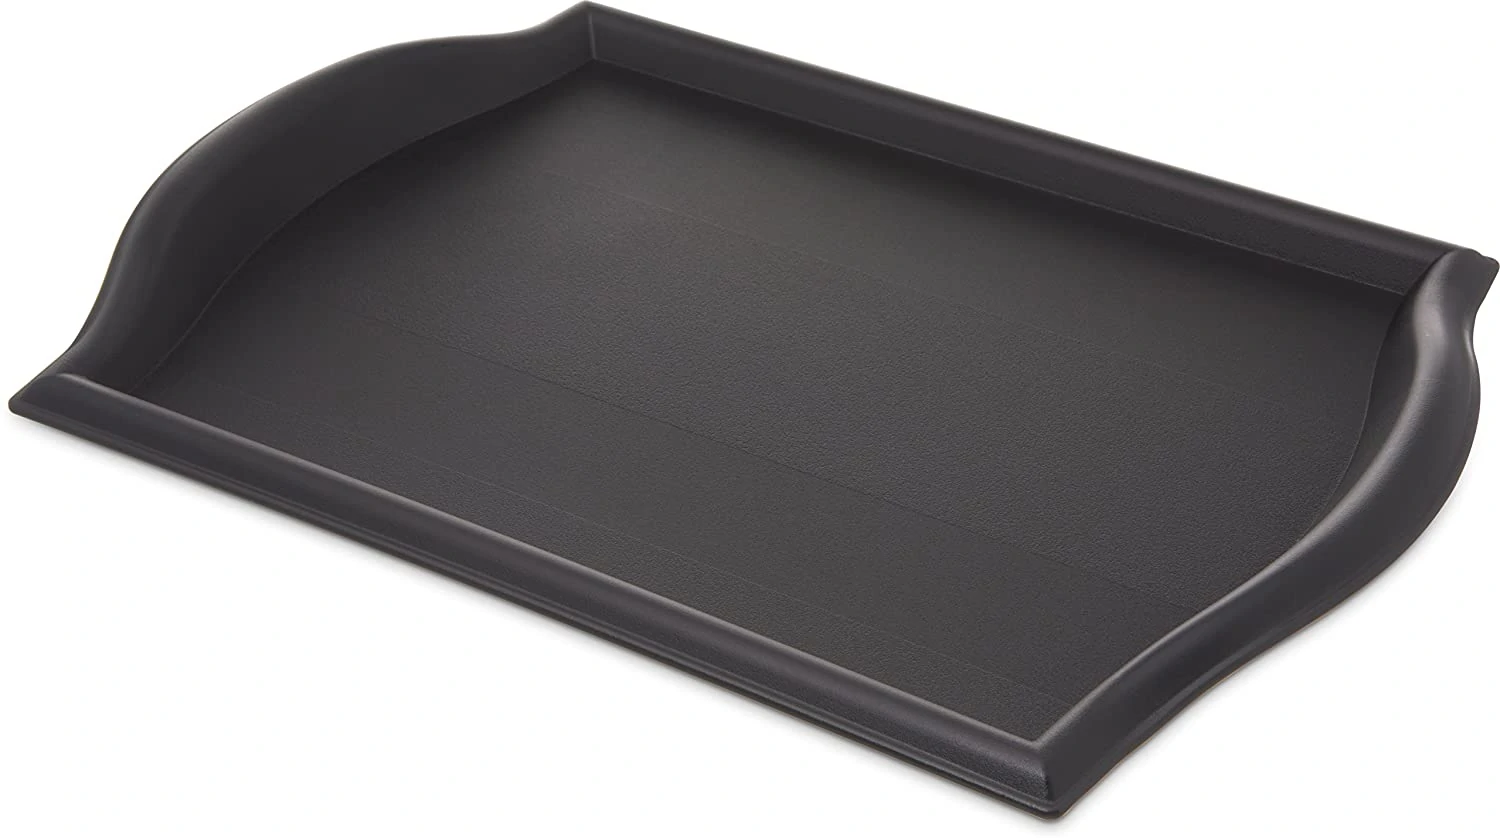
Start with a tray or board you want to serve it in. I love to hit my local thrift store to find serving sized platters for just a few dollars.
You can also find this 12×17 size on Amazon, if you need one (this would be a good size for a dessert board).
Once you have decided on the tray you want to use, it is time to start gathering your ingredients for your dessert board.
Things Needed for this Dessert Valentines Charcuterie Board
- Small candies of choice
- we used Hershey kisses cookies and cream
- Dars milk chocolate
- Kitkat with strawberry chocolate
- and Ferrero Rocher (Lindor Strawberry Truffles would work well here too)
- Chocolate wafer rolls
- Chocolate wafers
- Pocky strawberry sticks
- Pocky chocolate sticks
- Pocky chocolate almond sticks
- Strawberry cones
- Strawberry shapes marshmallow
- Original & chocolate marshmallow
- Fruits (like strawberries, cherries and dried cranberries)
- Creamy peanut butter (make your own with one of these DIY nut butter recipes here, or use store bought)
- or you can use Hershey chocolate syrup
- Board to display them on
- Small dish for center of board
Once you have decided what items you want to include, it is just a matter of arranging them to make them pretty and easy to get for your guests.
To Assemble Your Dessert Charcuterie Board –
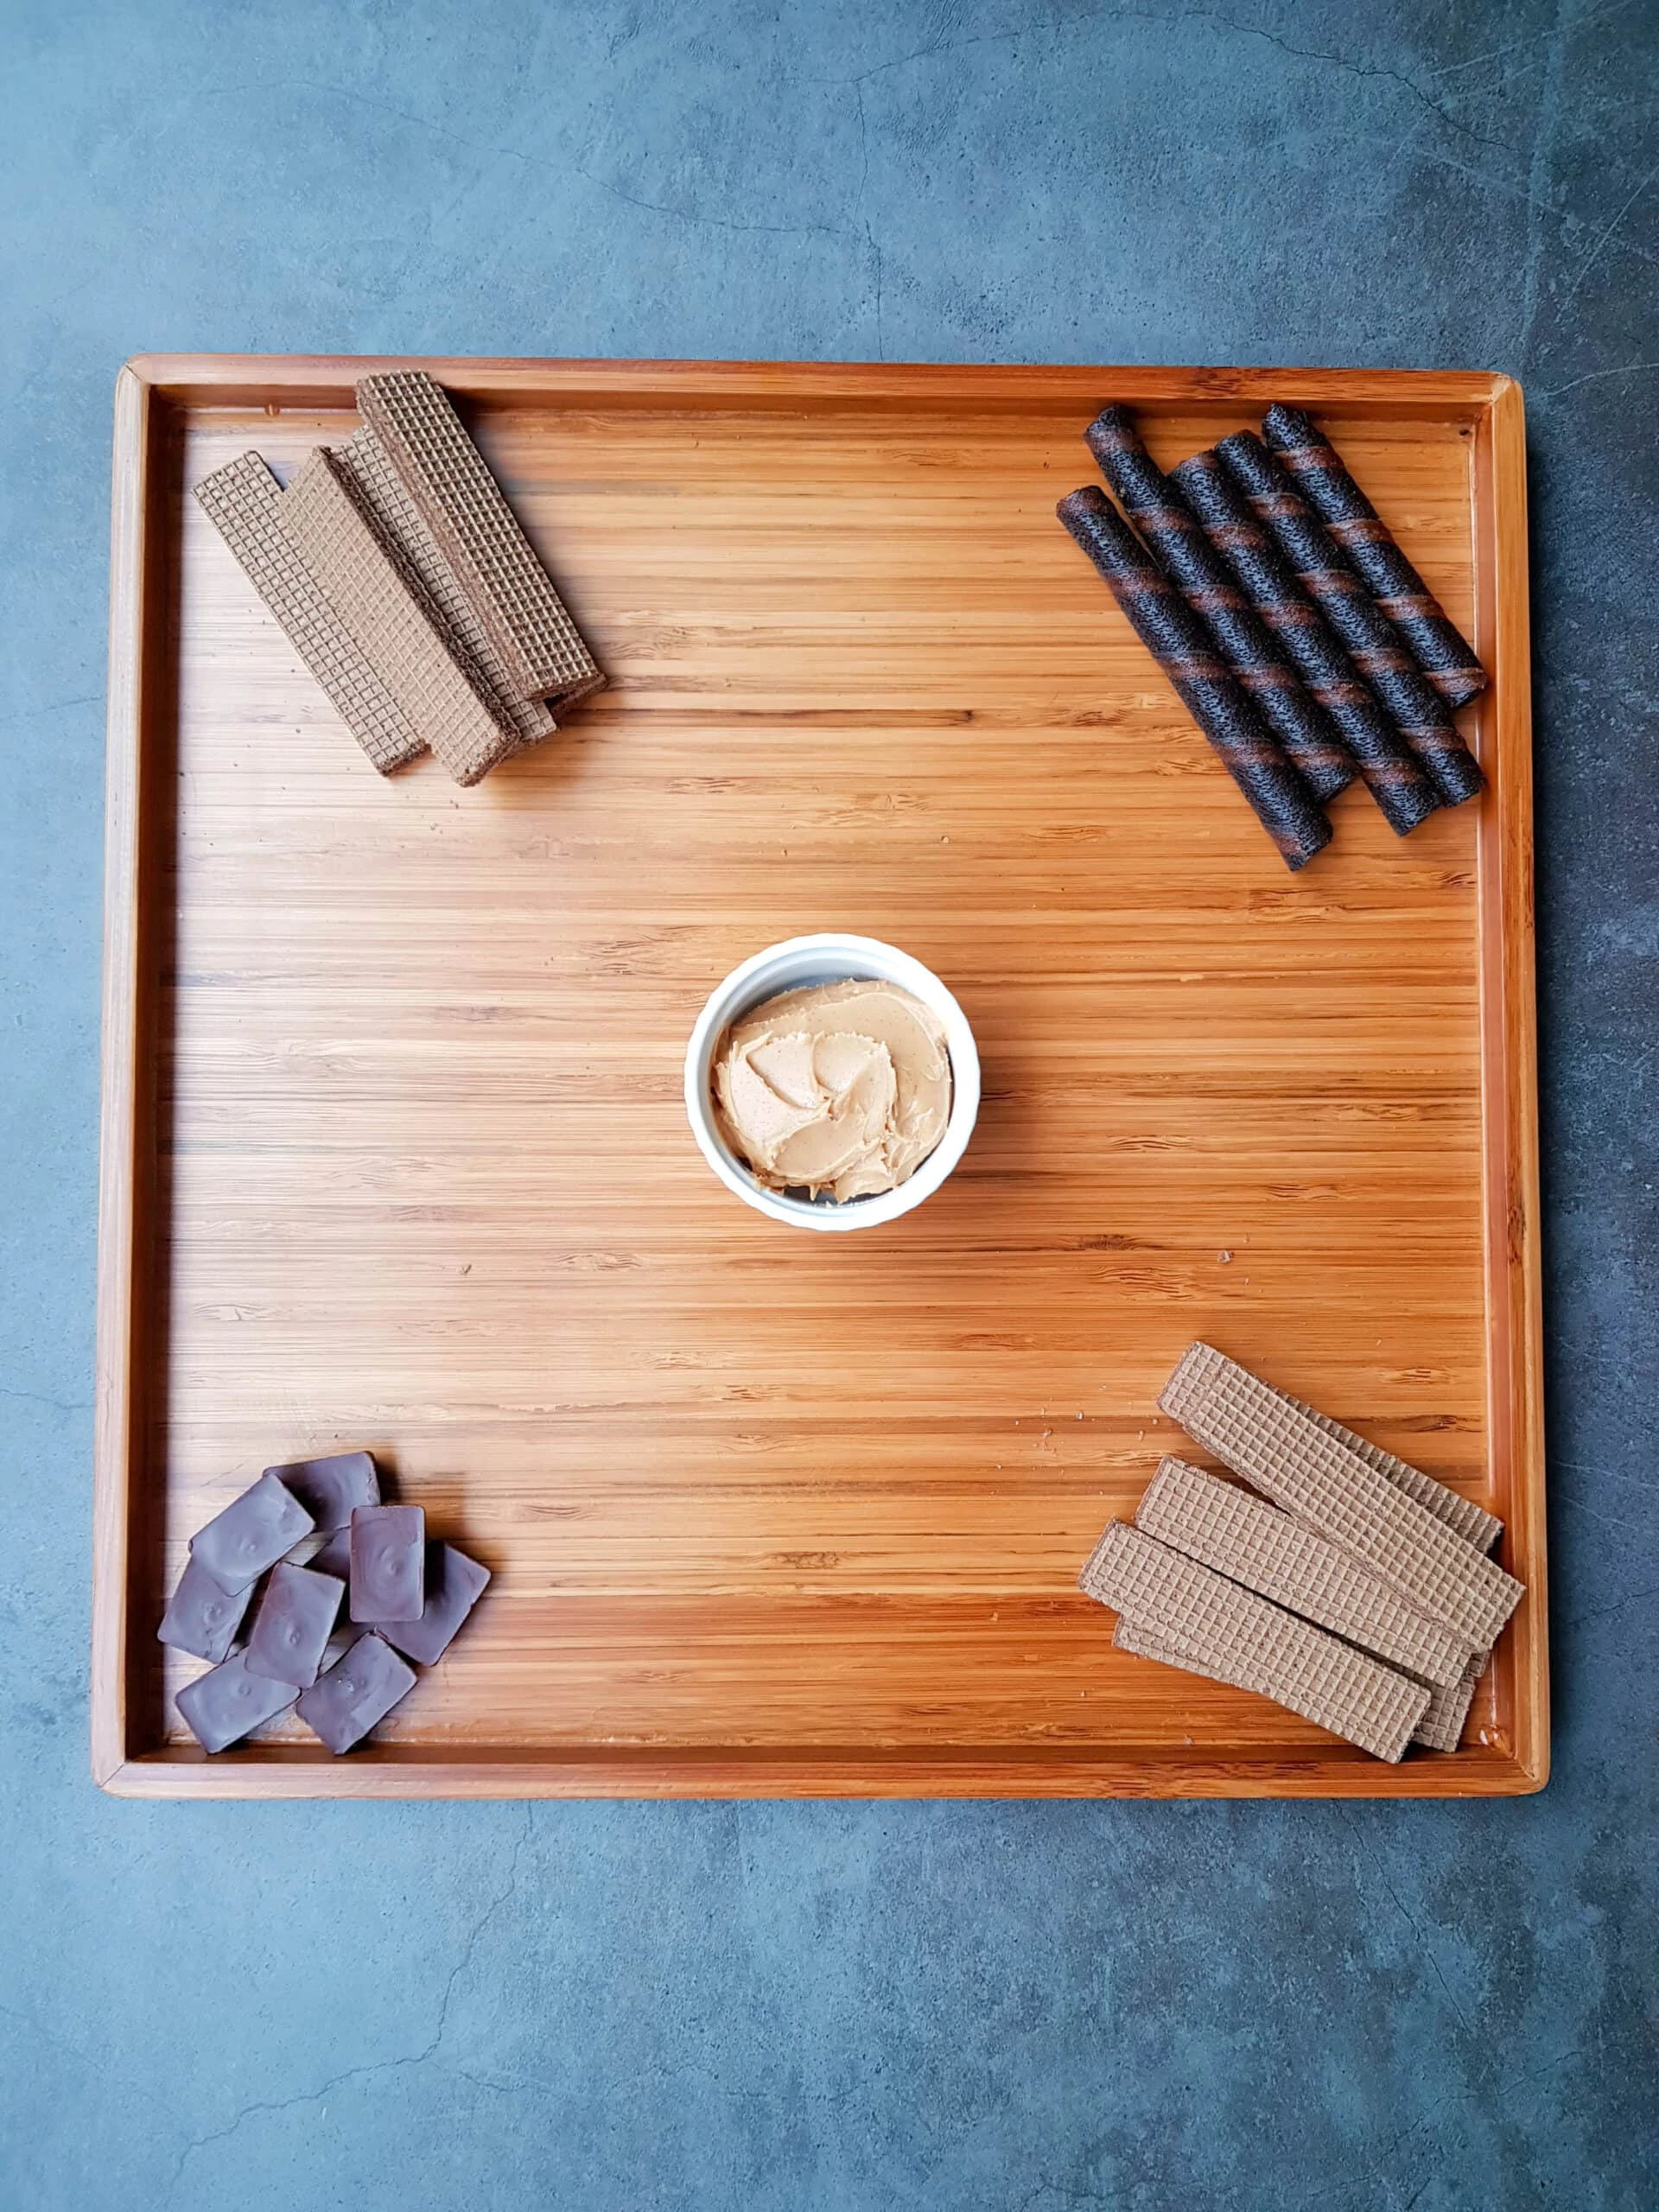
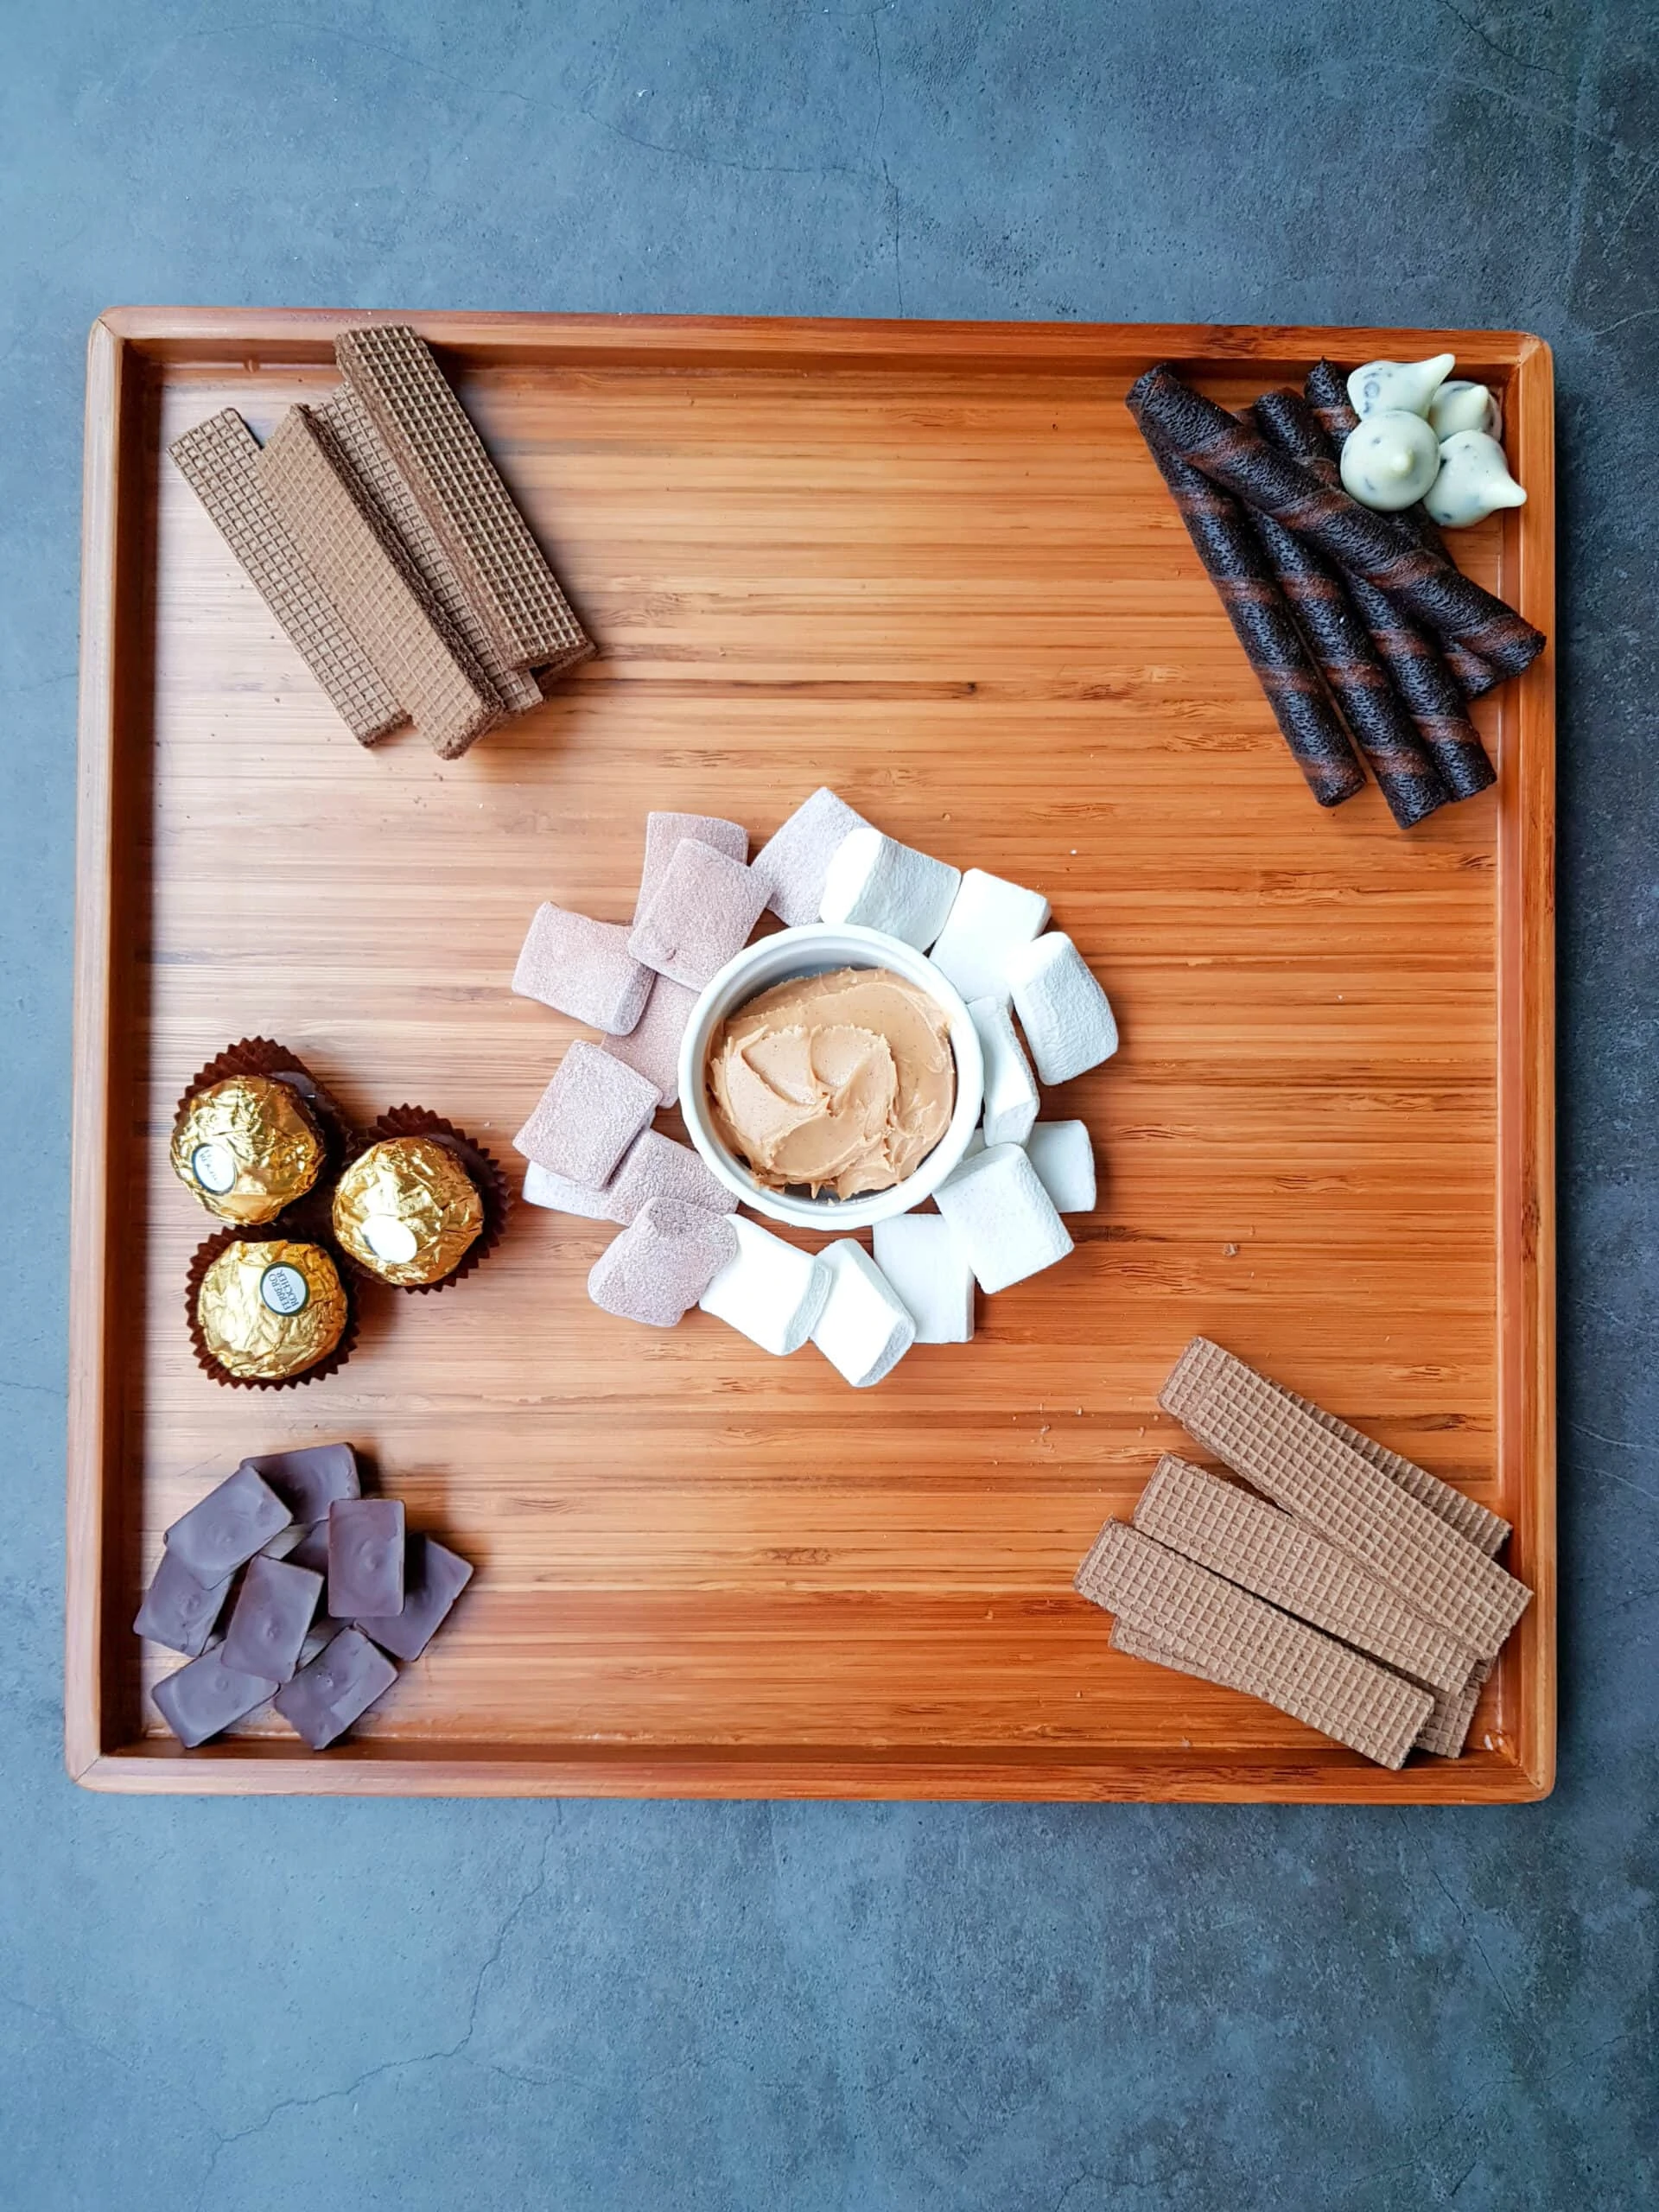
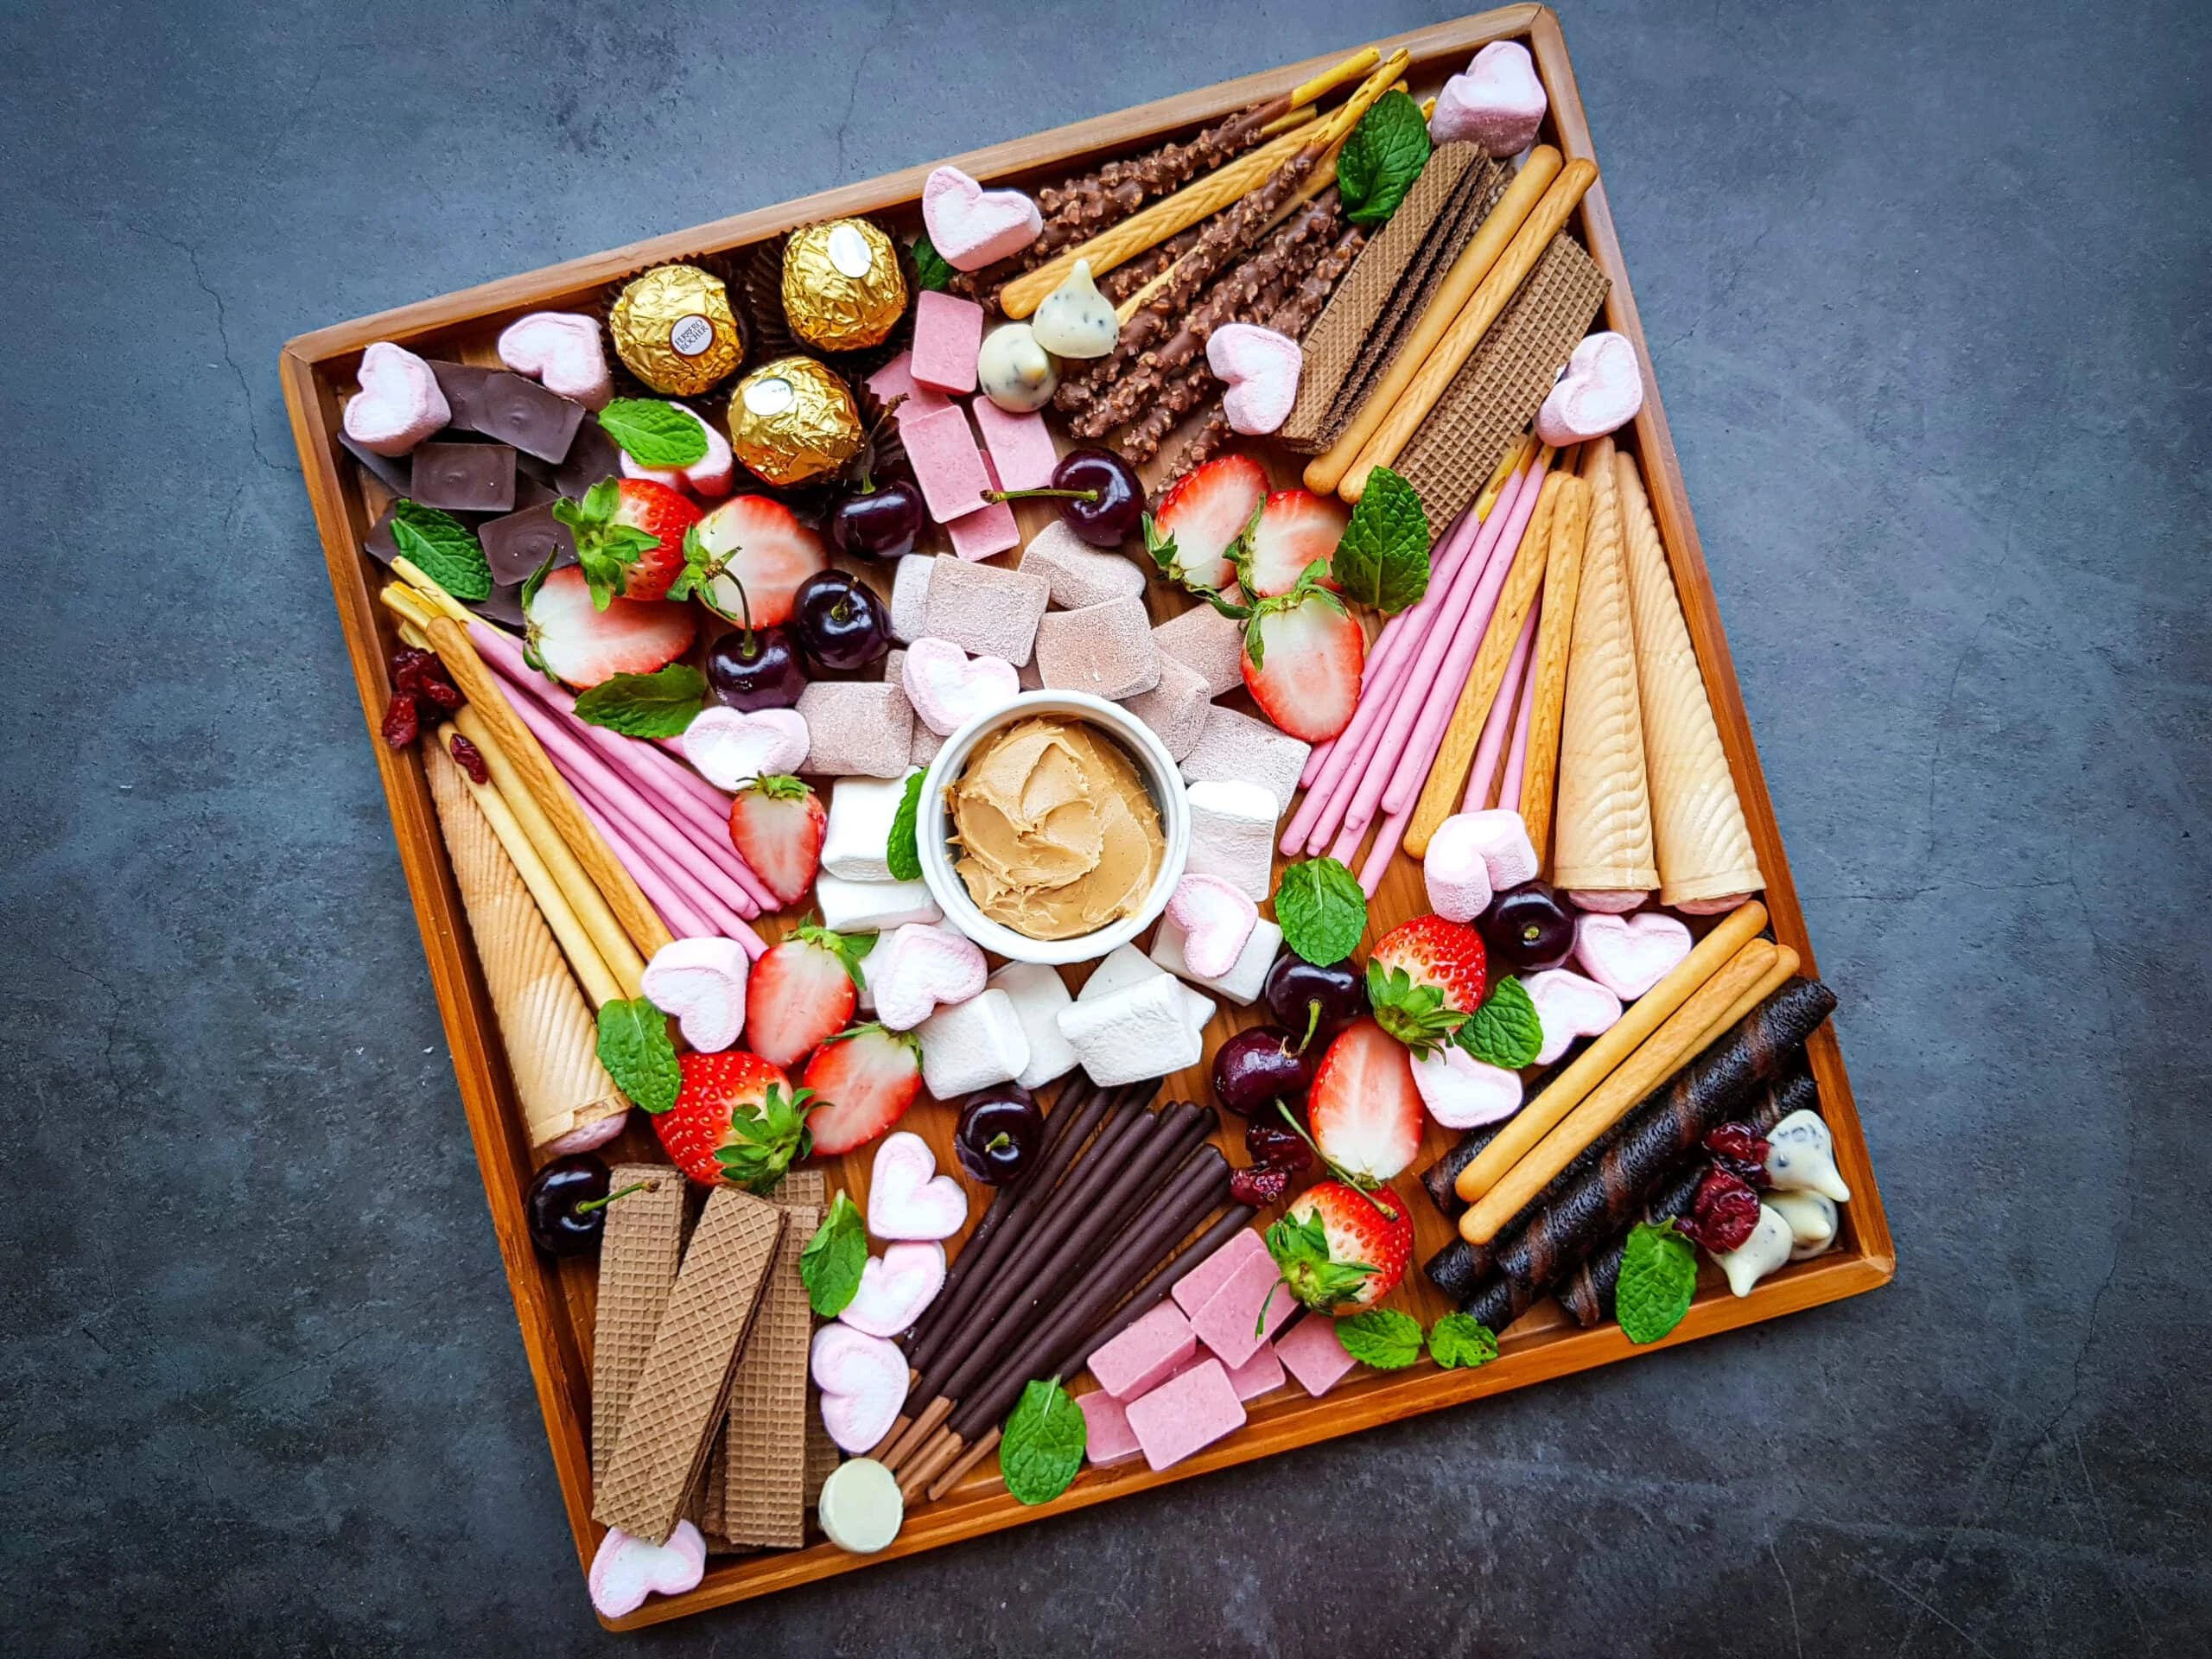
Start by centering your dish of peanut butter, or chocolate dip (or both) in the middle of your tray.
Then add a handful of 4 different items to the 4 corners of your tray. We used chocolate wafer cookies in two corners opposite each other, then chocolate wafer rolls and chocolate bars in the other two corners.
Surround your centerpiece with a round of flavored marshmallows, to encircle it.
Then start to add small groupings of other treats elsewhere on the platter (we added a grouping of Ferrero Rocher and some Hershey kisses in one corner).
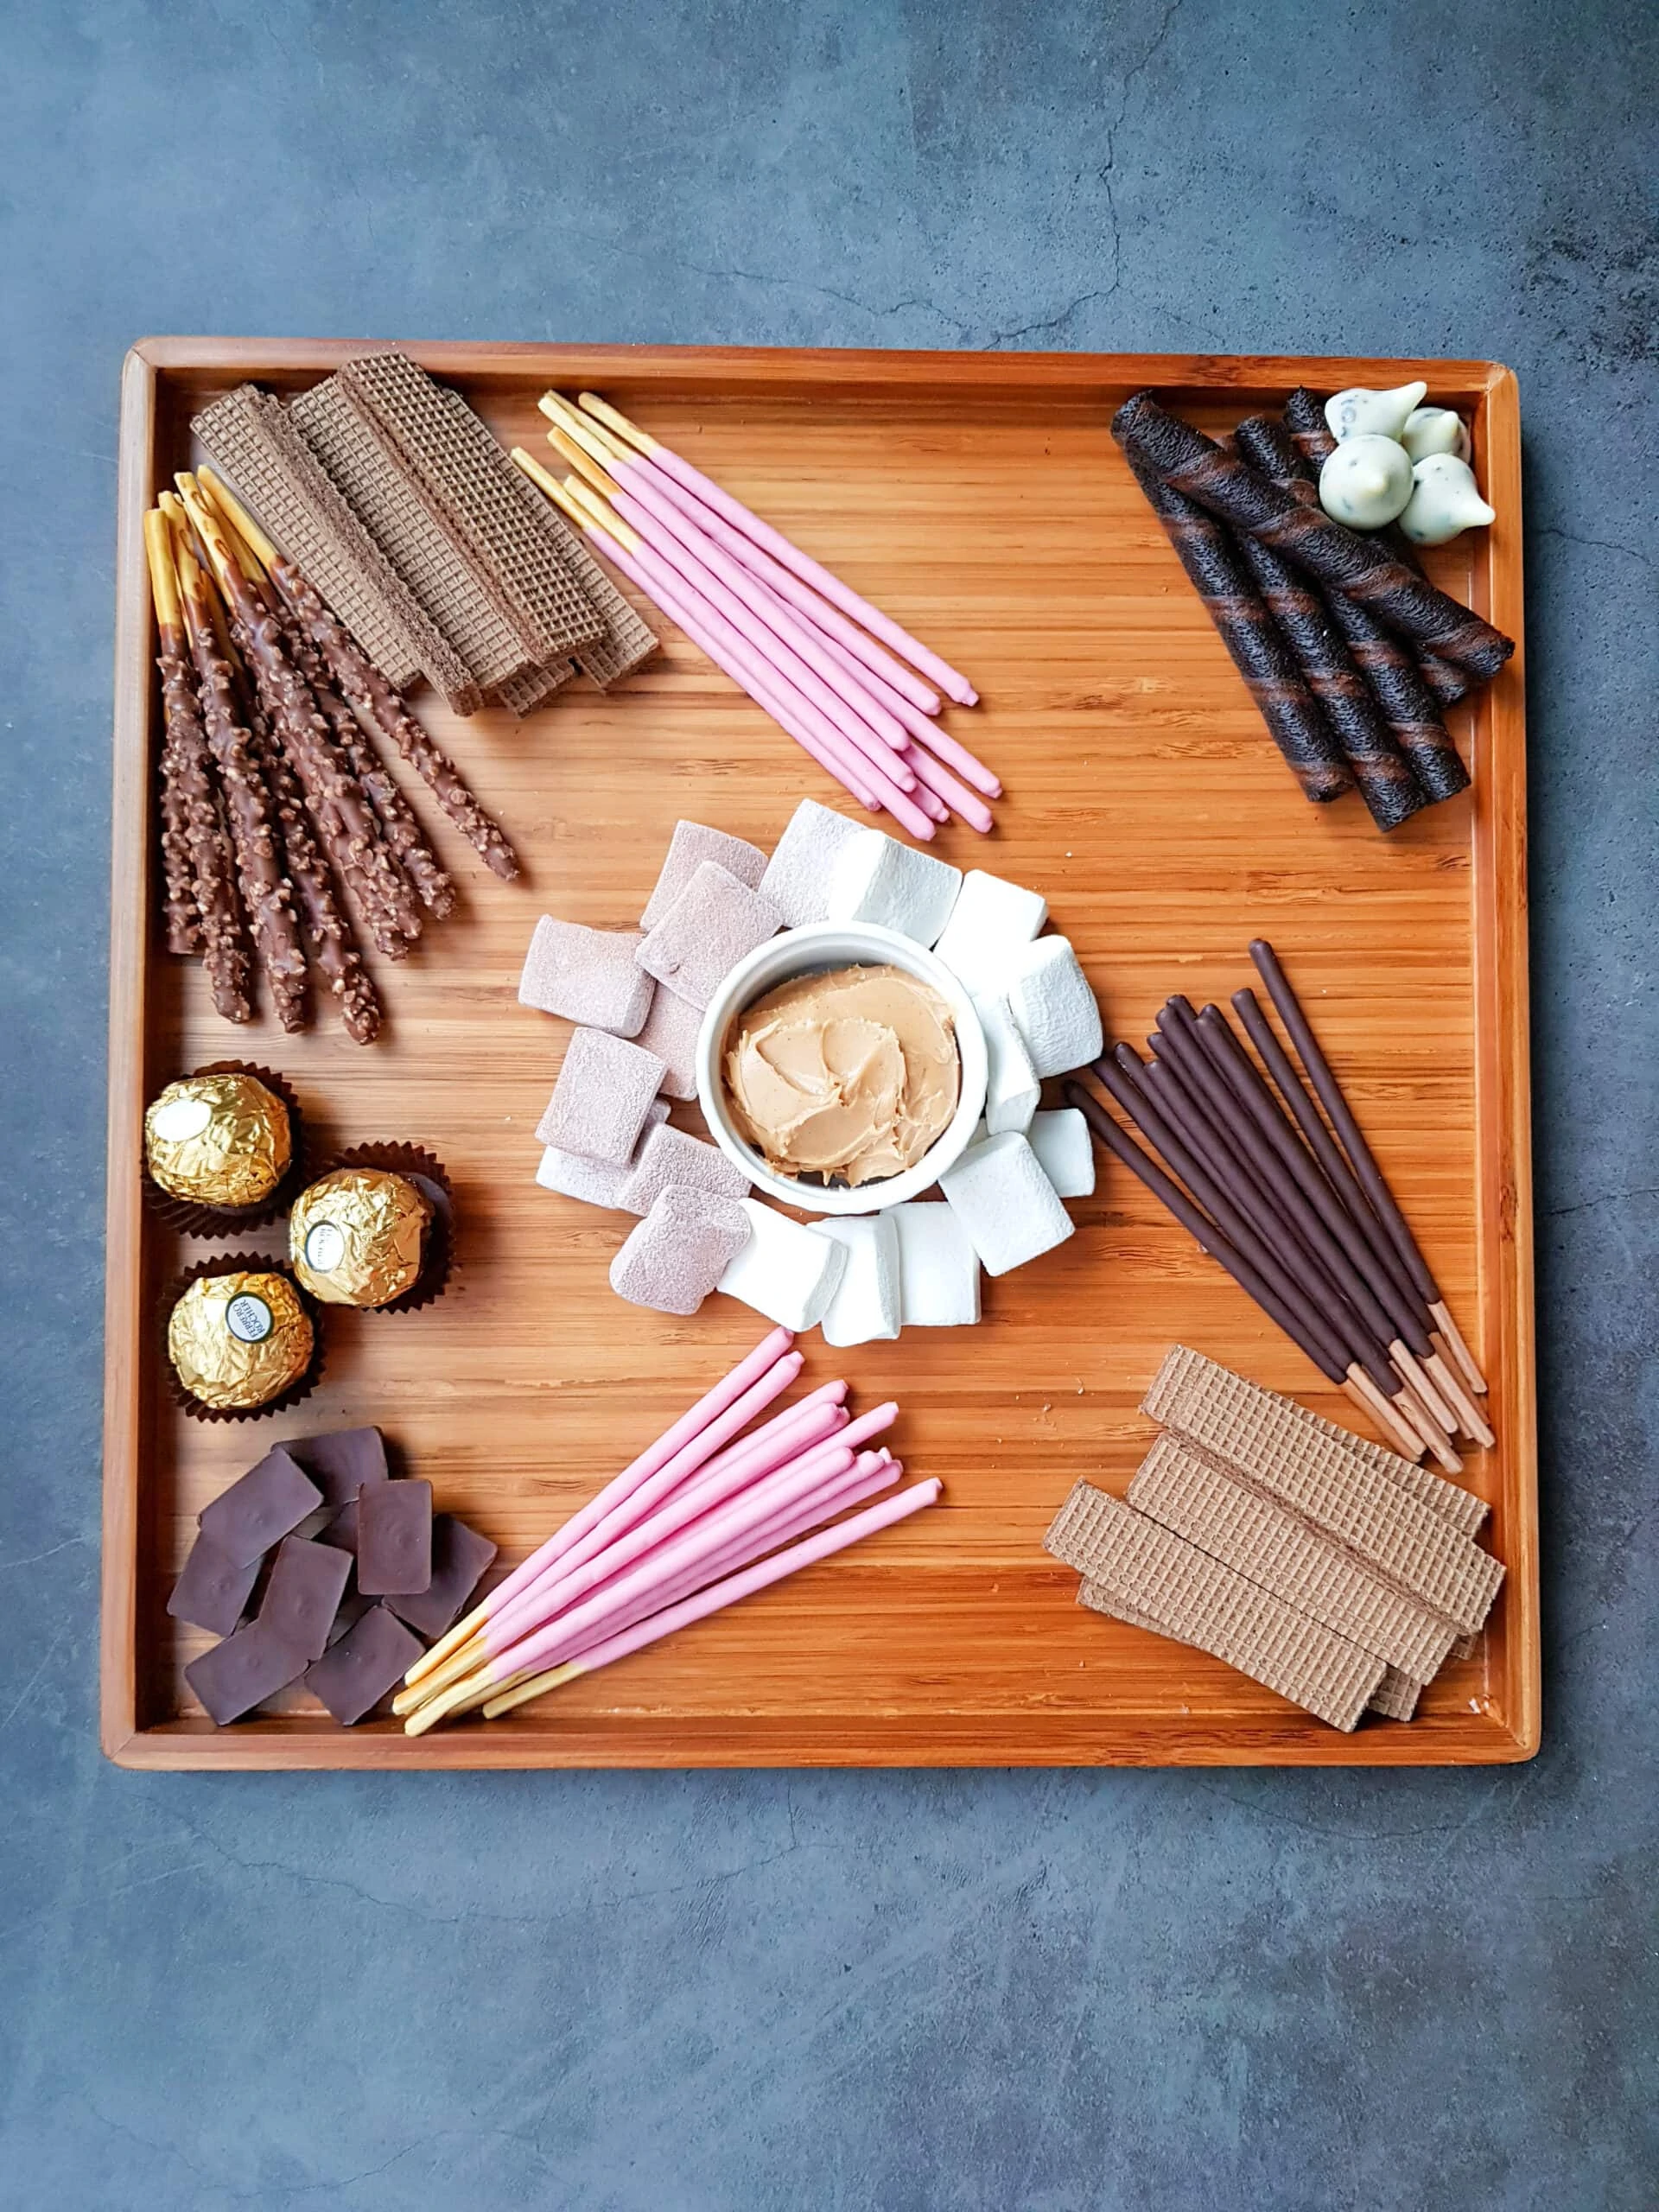
Add a small stack of the different flavored Pocky Sticks in 4 areas around the tray at this point.
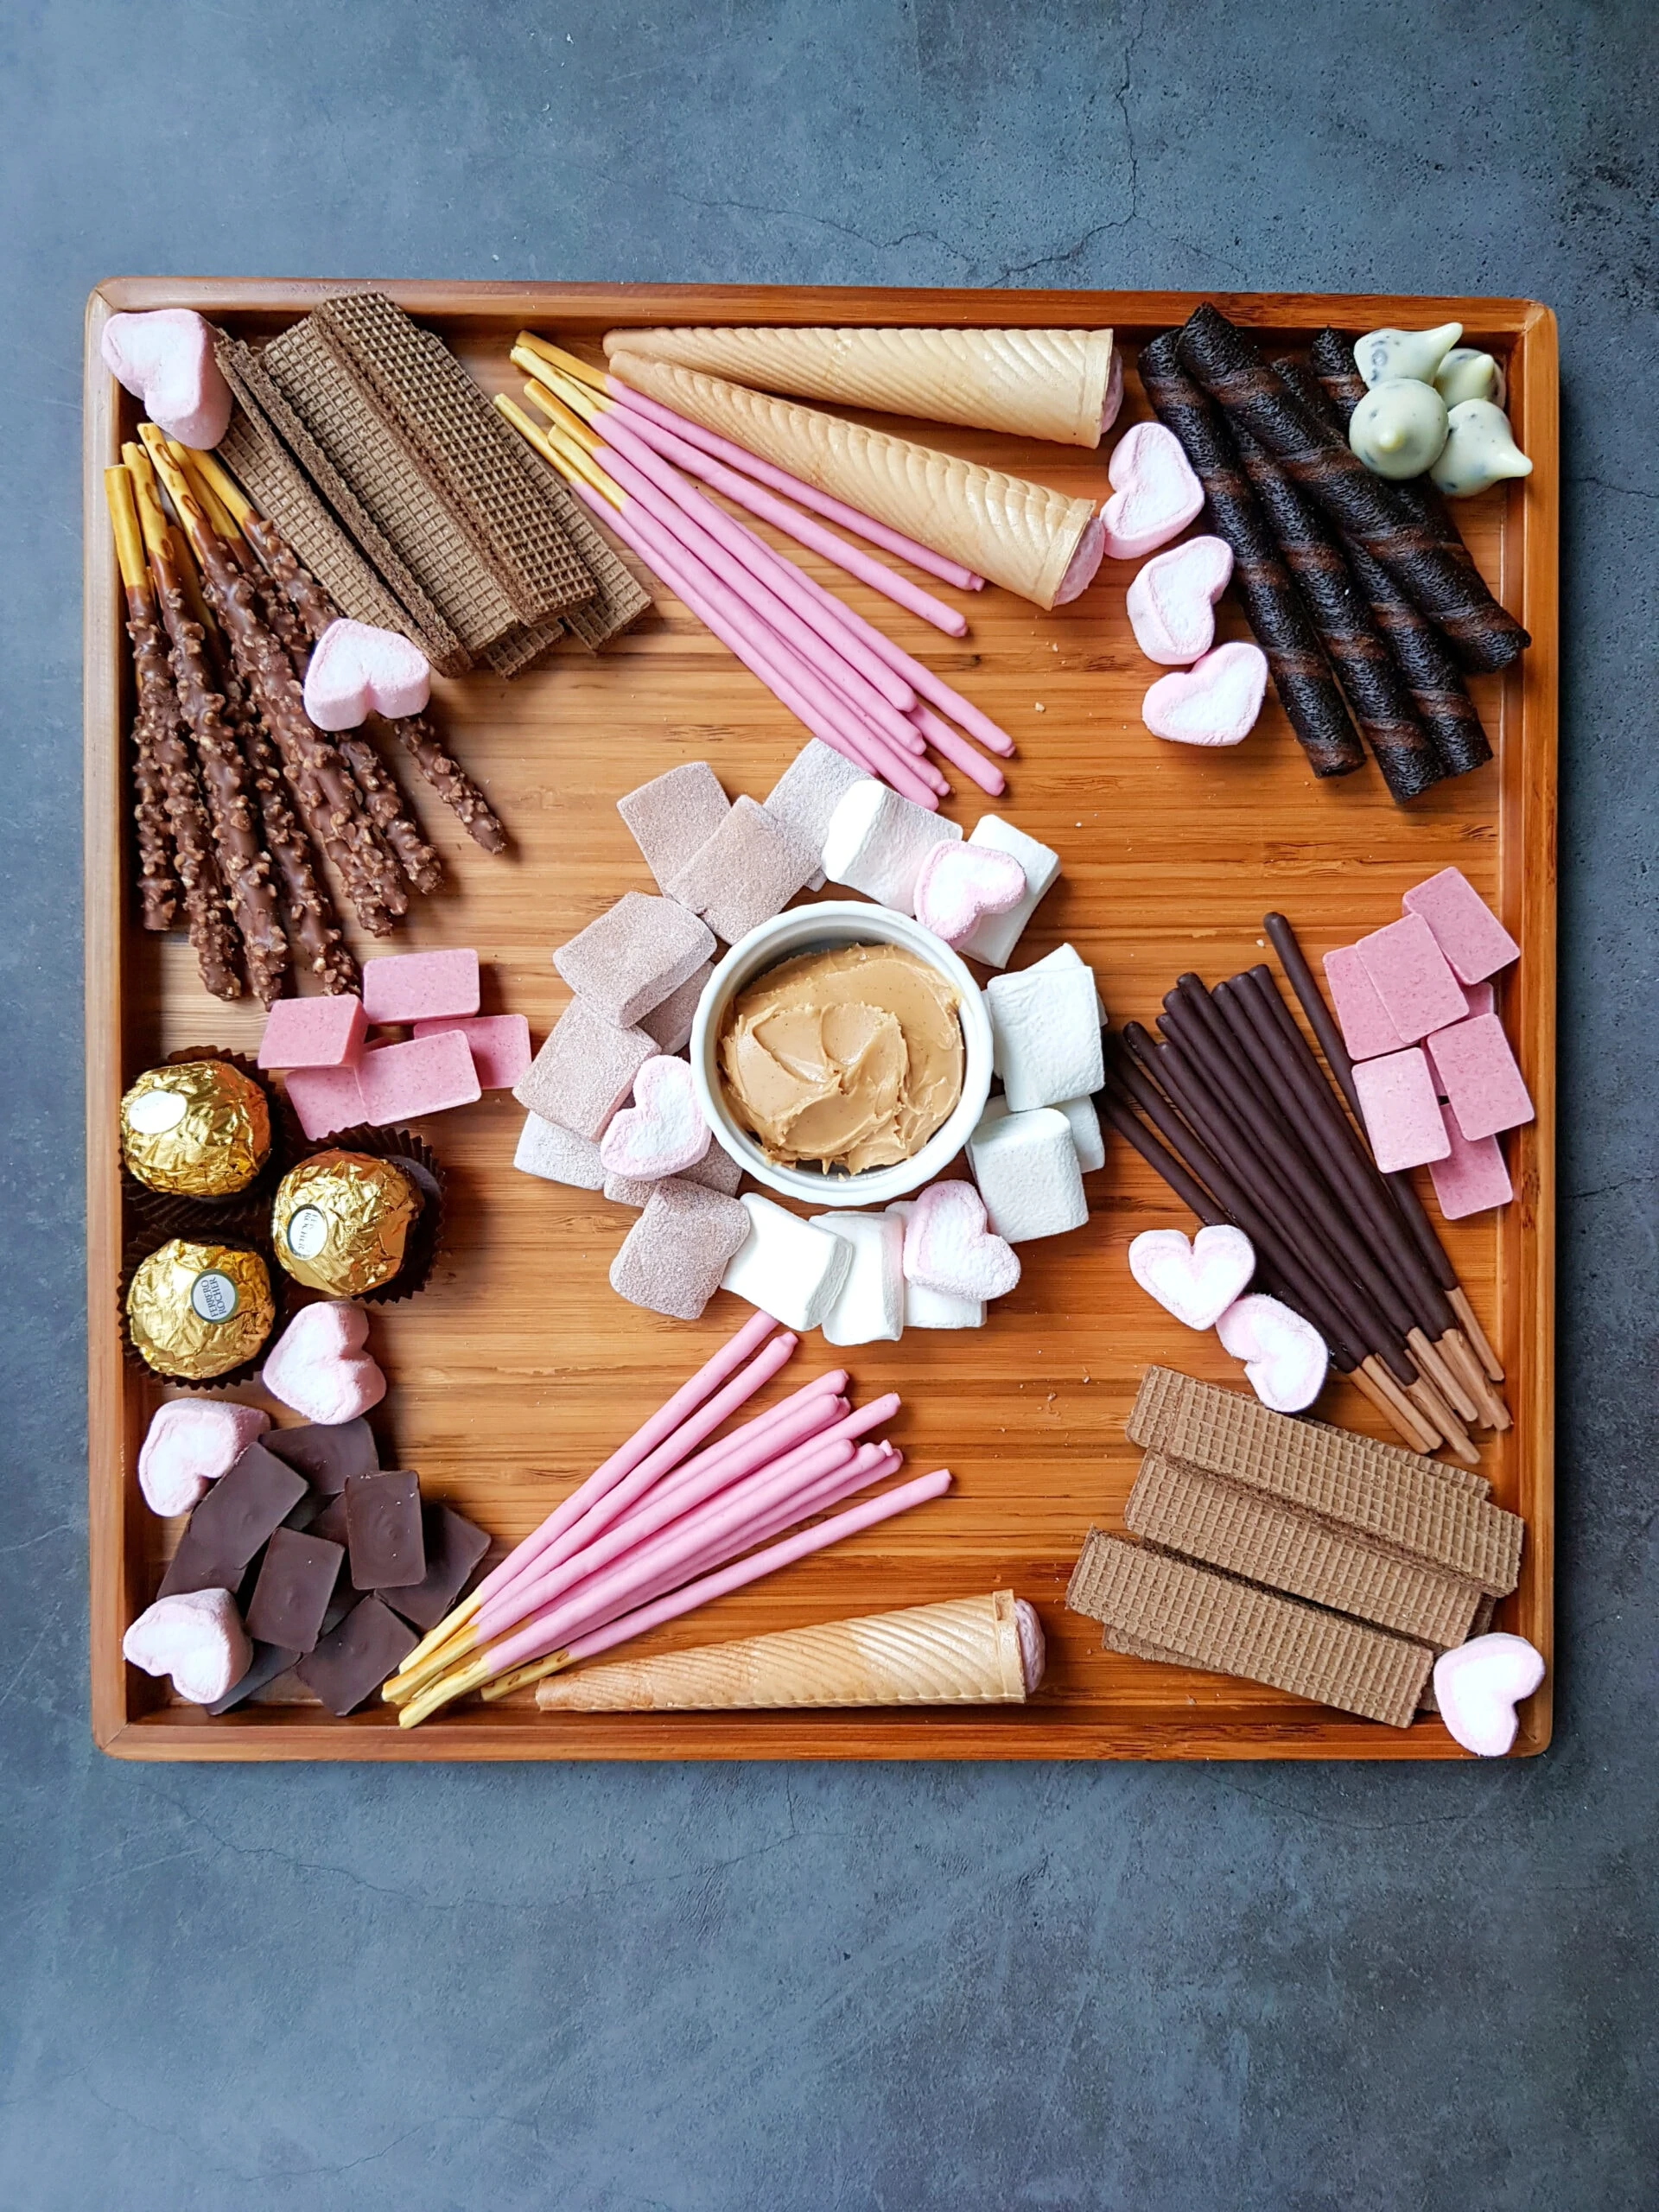
Now you are just filling in the empty spots. Start with your larger items like the cones, to fill all the open areas.
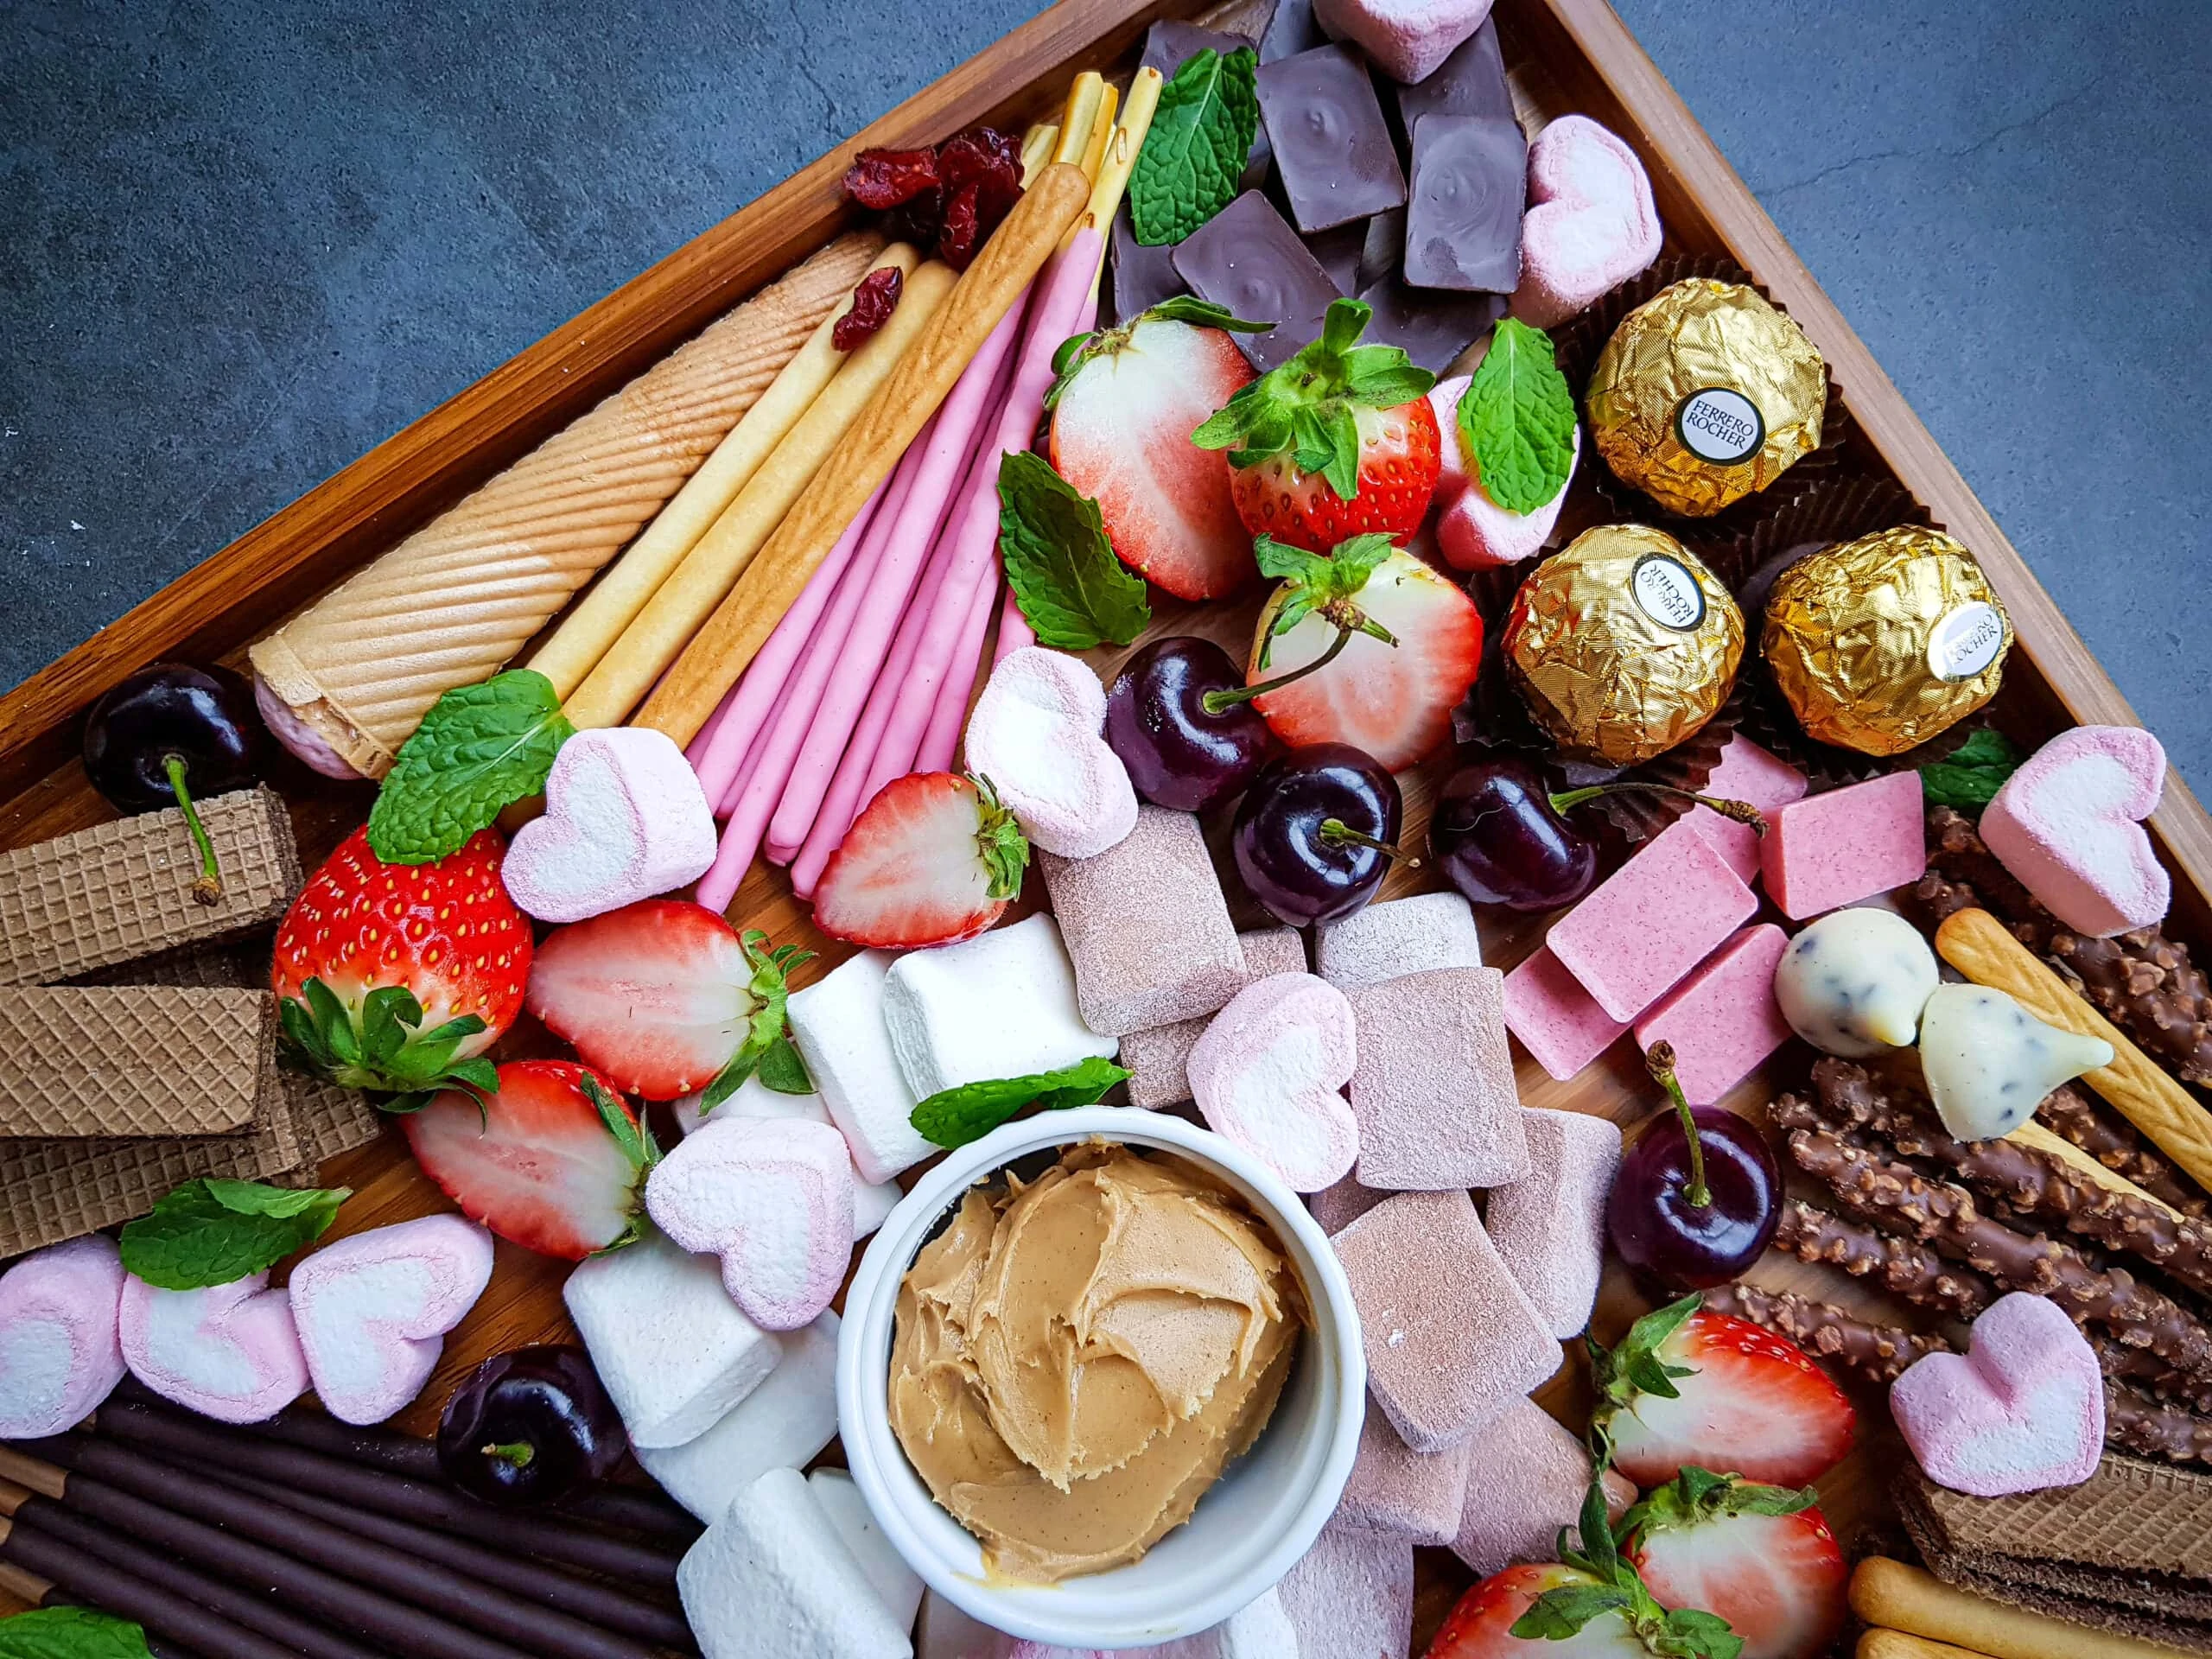
Now you can start stacking. Add the fruits throughout the tray, and extra marshmallows and candies until it all looks like you want it to look.
No need to overcrowd, as you can replenish the board as it gets eaten, with any leftover items. For the first round, just put it together to the point you love the way it looks.
If you want to make the dessert board ahead of time, you can add everything in but the fruit and cover it tightly with plastic wrap to keep fresh until you are ready to serve. Right before serving you can unwrap and add the fresh fruit to the platter.
More Valentines Day Recipes You Might Like:
Nutella Recipes perfect for Valentines Day!


