DIY: Pottery Barn Inspired Growth Chart – Frugal Version!
This post may contain affiliate links and I may be compensated for this post. Please read our disclosure policy here.
I love looking through the pottery barn catalog – not that I can ever afford anything in them, but they provide such great inspiration and decorating ideas! A few years ago, they had a giant ruler that caught my eye! Apparently it caught a number of other folk’s eyes as well. I saw numerous knock-offs and people creating their own version of the wall art.
I decided last summer to try my hand at making my own. I have to say it was super easy!! Now I get accused of thinking any craft is easy and my non-crafter friends can get a little irritated and tell me it really isn’t that simple, but I assure you this is really one of the simpler crafts and so cheap especially in comparison to Pottery Barn’s $129.00 price tag. My knock off version cost a total of $9.25. (I did already have the stain, sandpaper, clear coat poly or acrylic sealer and sharpie). The wood cost me $8.00 and the brush $1.25 at Ace Hardware.
Supplies:
- Wood (7’by 6’)
- Wood stain (small jar)
- Black sharpie
- Brush
- Clear coat sealer
- Sandpaper
- Ruler, tape measure or yardstick
- Access to a computer to print off the numbers
- Ballpoint pen
Directions:
First, I picked out my wood. I like shopping at my local Ace for two reasons, they are never super busy and they are extremely helpful and I am usually shopping with my two boys so both of those things make me HAPPY because I can be in and out!
When picking out your wood check for no major split, cracks or defects. I also like to make sure there are no major store markings such as the bright colored markers some other stores use to mark wood-these are take more time to sand out before you can stain. That makes three reasons I like Ace-they don’t use the bright pink marker all over the wood to mark it!
Next get your stain, brush (cheap sponge or bristle brush works great-one you can toss when your done), get sandpaper, a large black sharpie, poly or acrylic sealer (my favorite is poly wipe by minwax, but any brand will do), a wood stain (I used dark walnut for one and for a different one I used natural pine), if you don’t have a ruler of some sort or yardstick get one of those too.
Step one: Sand the wood. After getting your wood you want to sand any rough edges, corners, or knots in the wood-just sand so you won’t get splinters-doesn’t have to be perfect a light sanding will do. If there are any of those annoying color markings, be sure to sand them off completely.
Step two: Stain the wood. Make sure to stain your wood in garage or a place with good air flow. This process takes the longest mostly because you want to stain all the sides and make sure the stain is completely dry before moving on to the next step. Put as much or as little stain on the wood as you like. For my first one, I did a light stain because I wanted to be sure we could see the boys measurements when we wrote on the board, but you can do whatever color you like. I have thought it would be fun to use one of the colored deck stains they have -maybe a pretty aqua or a fun red! Hmm, maybe another project!!
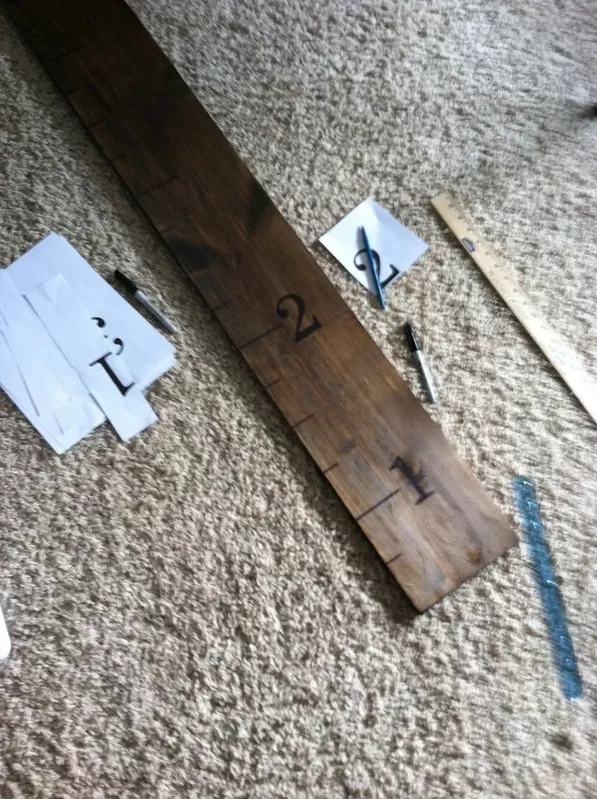
Step three: Print our your numbers. I used the Century font in size 200-350. The size will depend on how large you want to print your numbers. After printing the number, mark along your board every foot, half foot, and quarter foot.
Now this is where it can get a little tricky – you want to start your first foot marking 6” from the bottom of the board. You want to do this for two reasons:
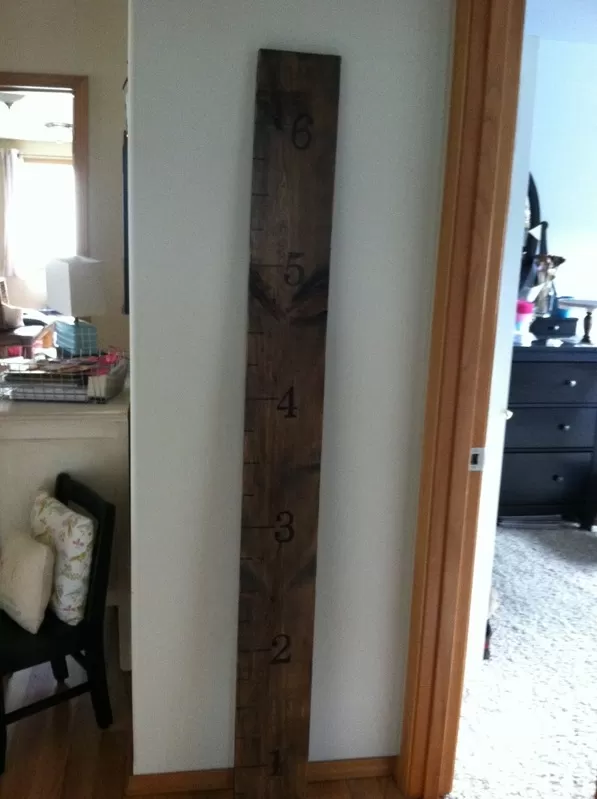
1. So when you hang the ruler you want to hang it 6” from the floor that way it will be accurate.
2- you want to have all the numbers on the board for “cuteness sake.” So at the top of the board and the bottom of the board you will have 6” before your numbers start. For the foot mark I made my line 3” long, the half foot mark is 2” long and the quarter mark is 1” long. I recommend starting from the top and moving down so your lines don’t smear.
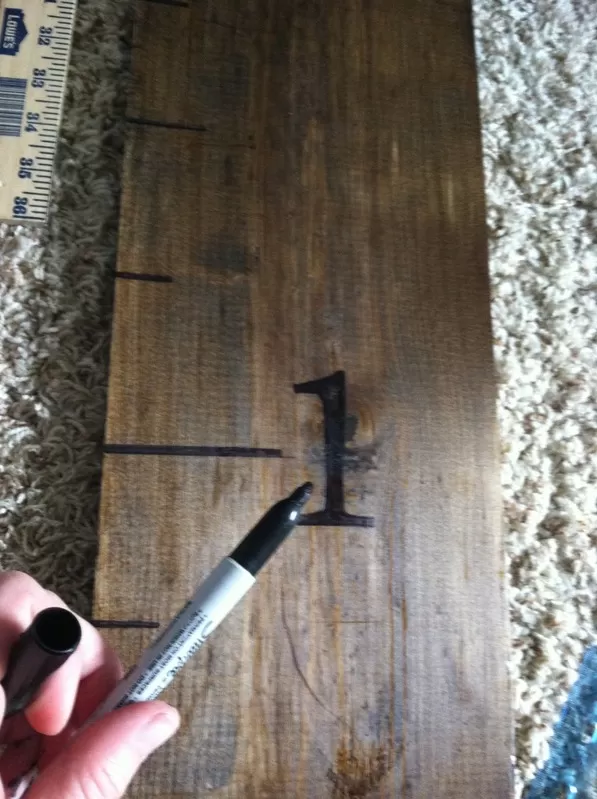
Step four: Trace over the numbers. Line your numbers up where you want them in the center of the foot markings starting with 1 at the bottom. Then using the ballpoint pen press down and trace over the number. After you remove the paper you will have little grooves where the number was to fill in with a sharpie (or paint). Keep going & add numbers 1-6.
Step five: Seal the Ruler. Using any type of acrylic or polyurethane sealer to seal the board. This step can also take a little bit of time because it can take sometimes a day or two to dry really well. I like to do mine inside so it will dry faster, but the fumes can be a little strong!
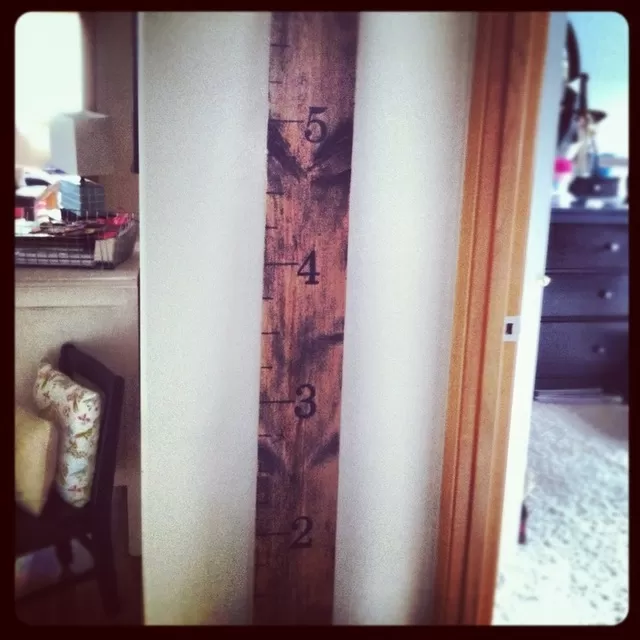
And there you have it!!! A cool growth chart to mark you kiddos height without marking up your walls!! You can also take it with you when you move!
Have you made any fun DIY Knock-off’s?
By Contributor Sarah


