DIY Mothers Day Gift Idea – Farmhouse Milk Crate To Hold Flowers
This post may contain affiliate links and I may be compensated for this post. Please read our disclosure policy here.
DIY Mothers Day Gift Idea – Farmhouse Milk Crate To Hold Flowers
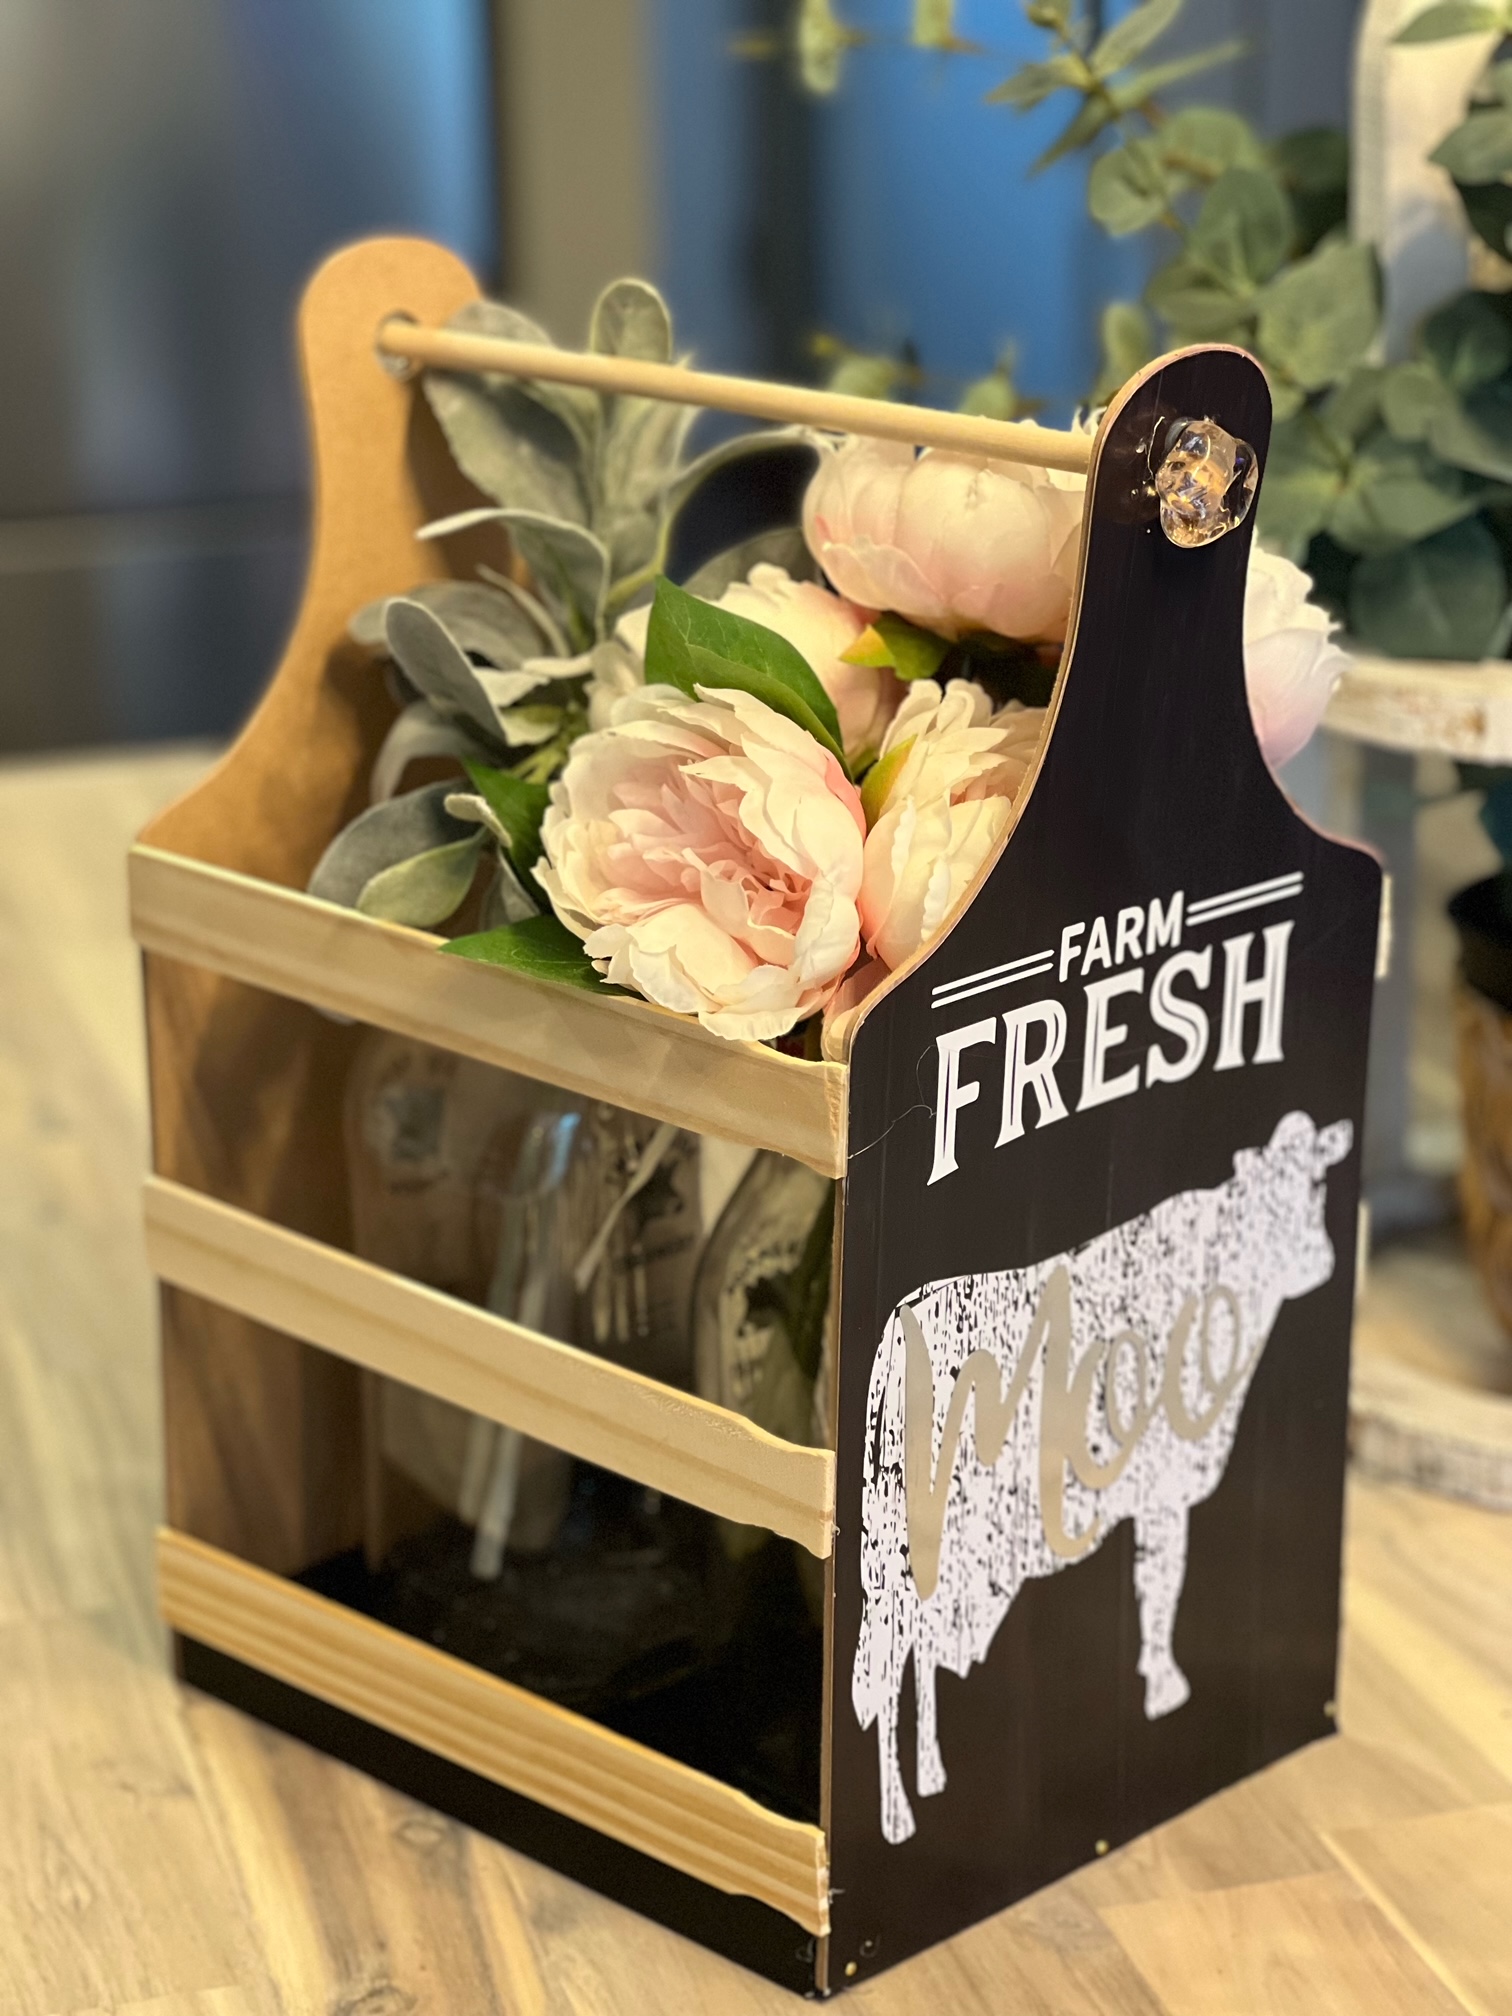
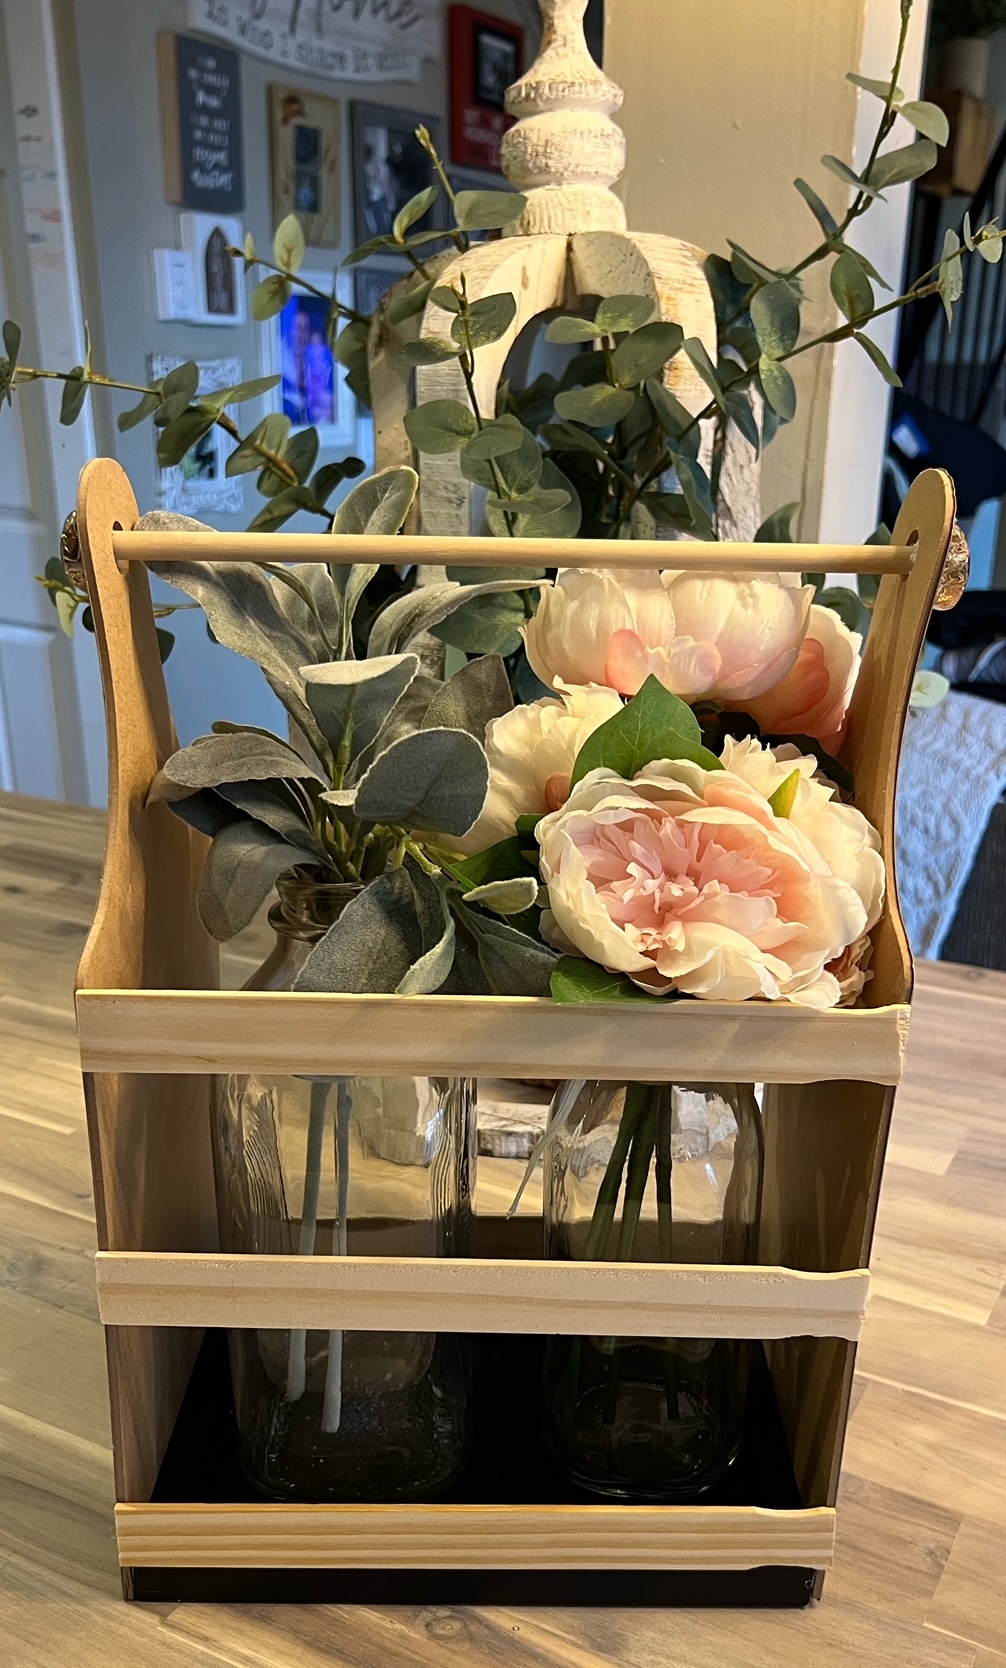
Here is a simple wooden milk crates craft you can make from Dollar tree supplies. I love to make faux milk crates to gift flowers and many other items, and it is especially nice as a DIY Mothers Day Gift Idea. While I like to fill mine with flowers, you could use it as a gift basket to put many things moms might like in there. I share more ideas on this below.
These are decorative, in the sense that they are not going to hold really heavy weight items (and should be carried from the bottom, not the dowel bar), but they make such a cute crate to hold special gifts in. I think they are especially perfect for a DIY Mothers Day Gift Idea!
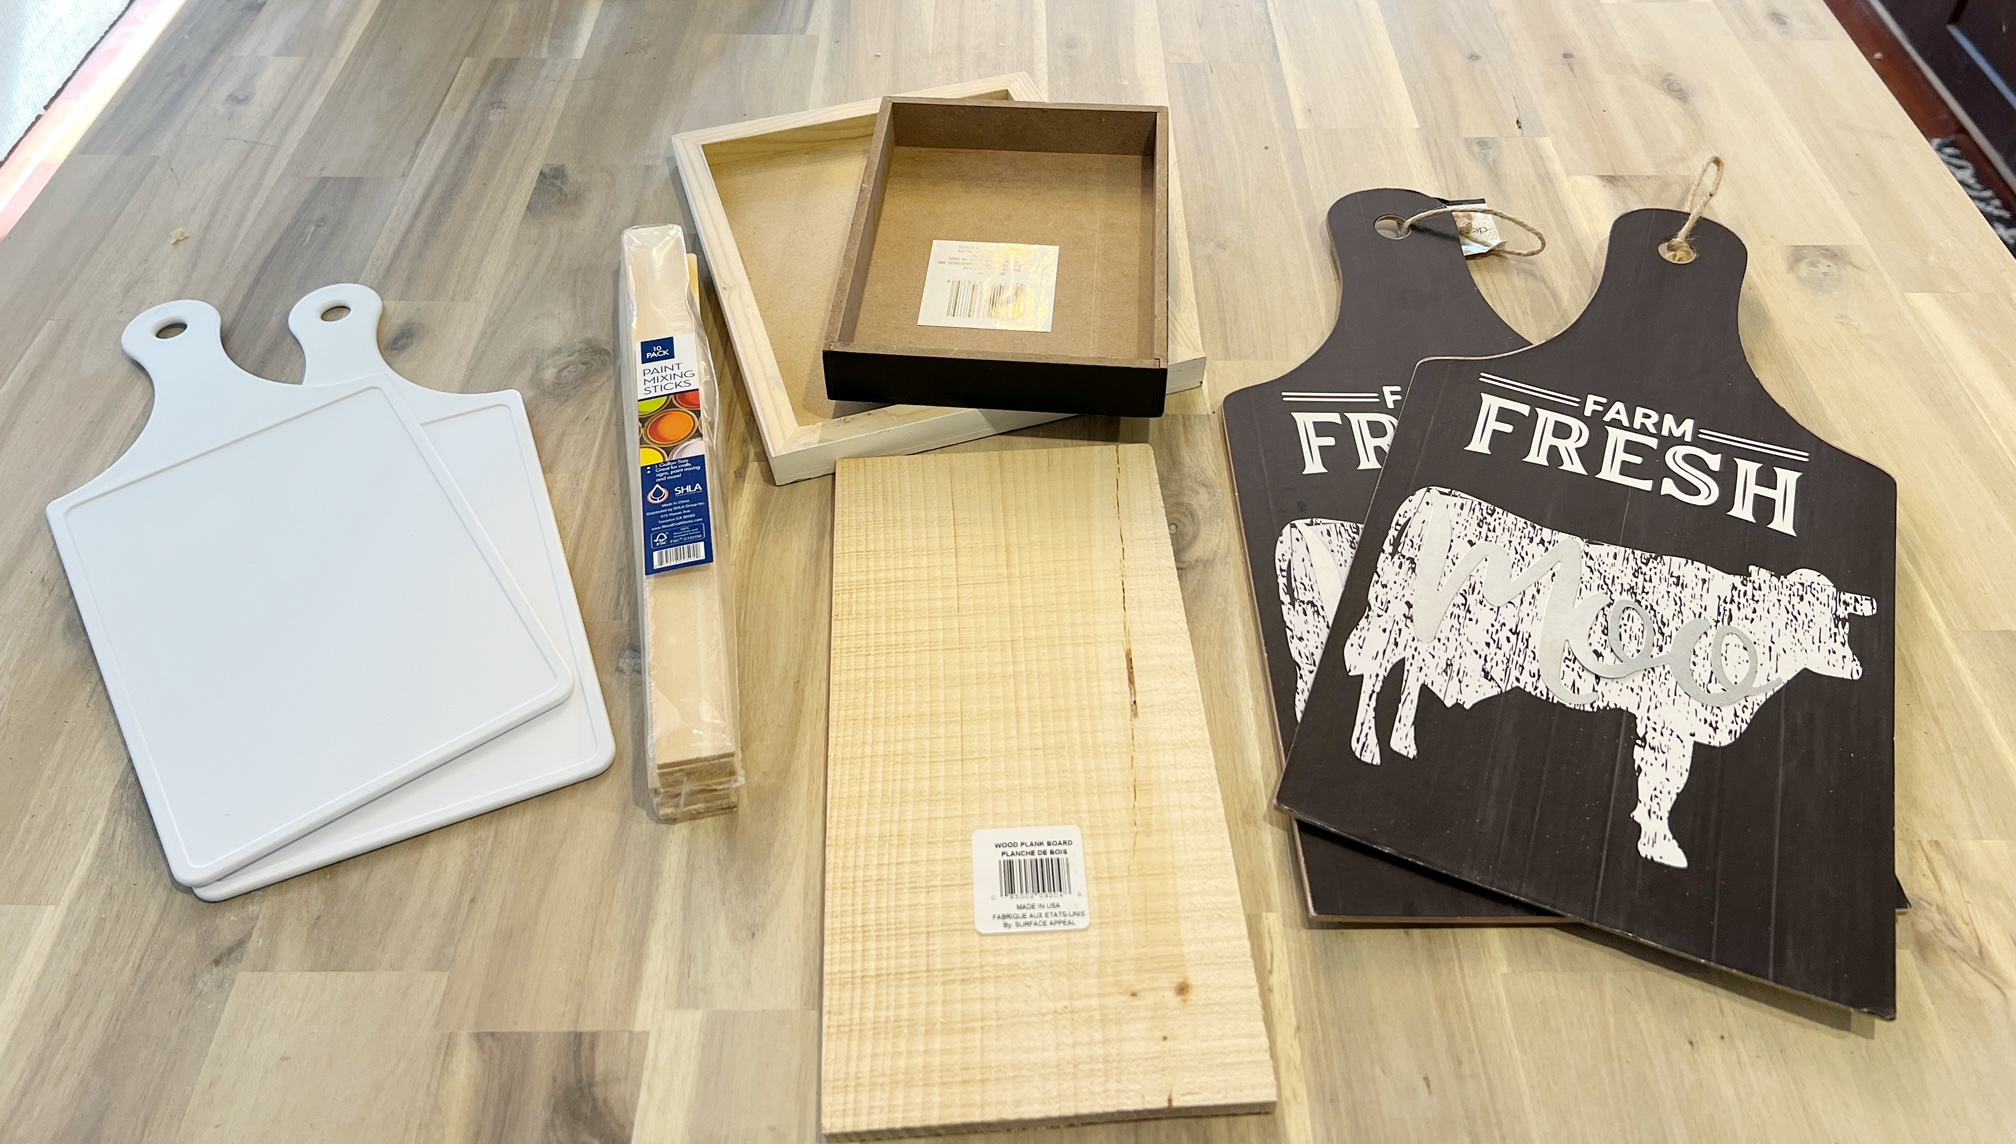
The ones I made here were made out of dollar store signs, or cutting boards, some paint sticks and wooden dowels. I have made a couple of different sizes to inspire you for your DIY Mothers Day Gift Giving, but honestly the point is to look for shapes and sizes that will work for your faux milk crate (vs. just recreating what I have done here).
Plus, check out lots more DIY Dollar Tree Craft Ideas too!
I share a couple of different ideas that you can use for this simple project. Smaller crates vs. larger crates, but all sizes make beautiful gifts.
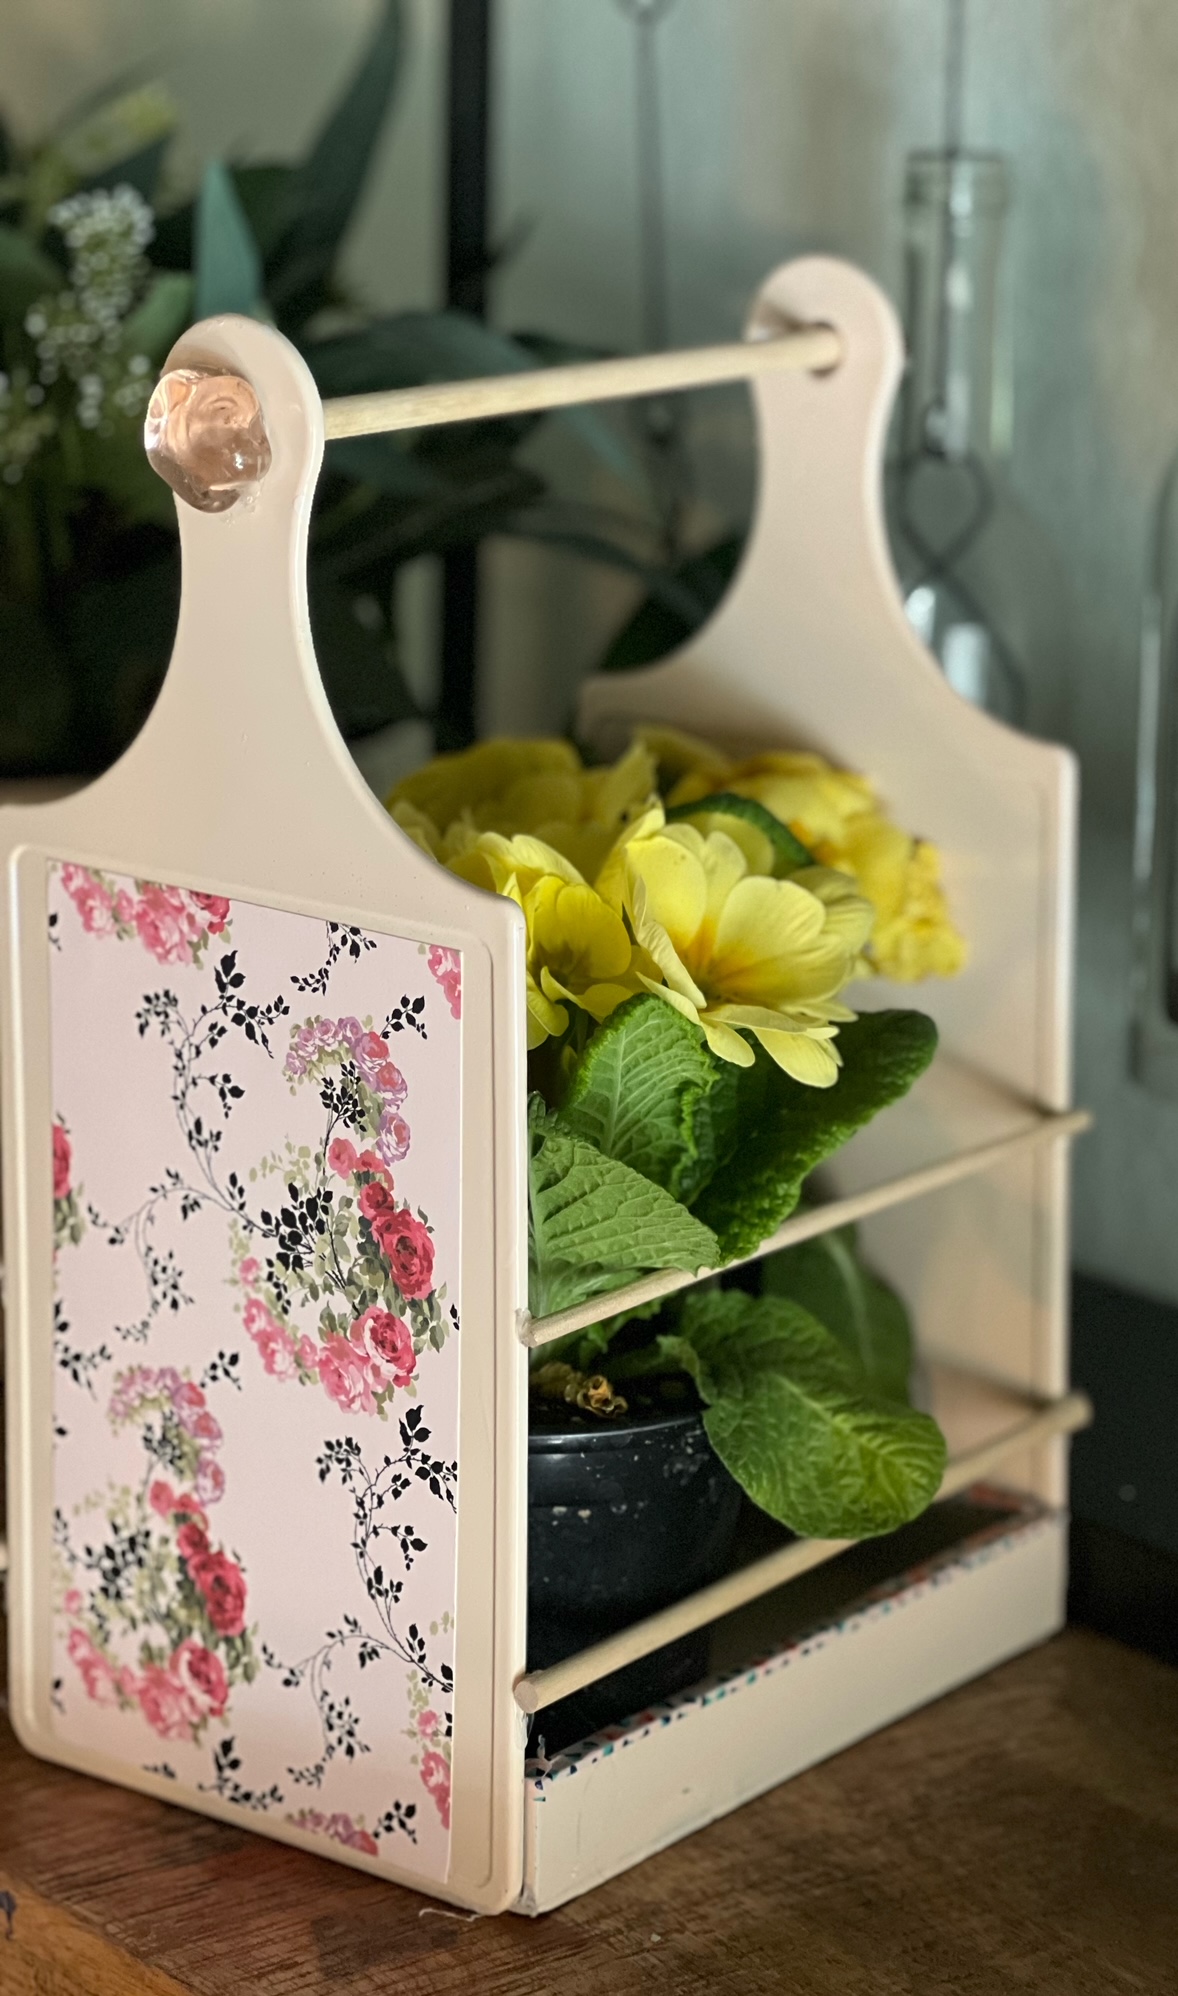
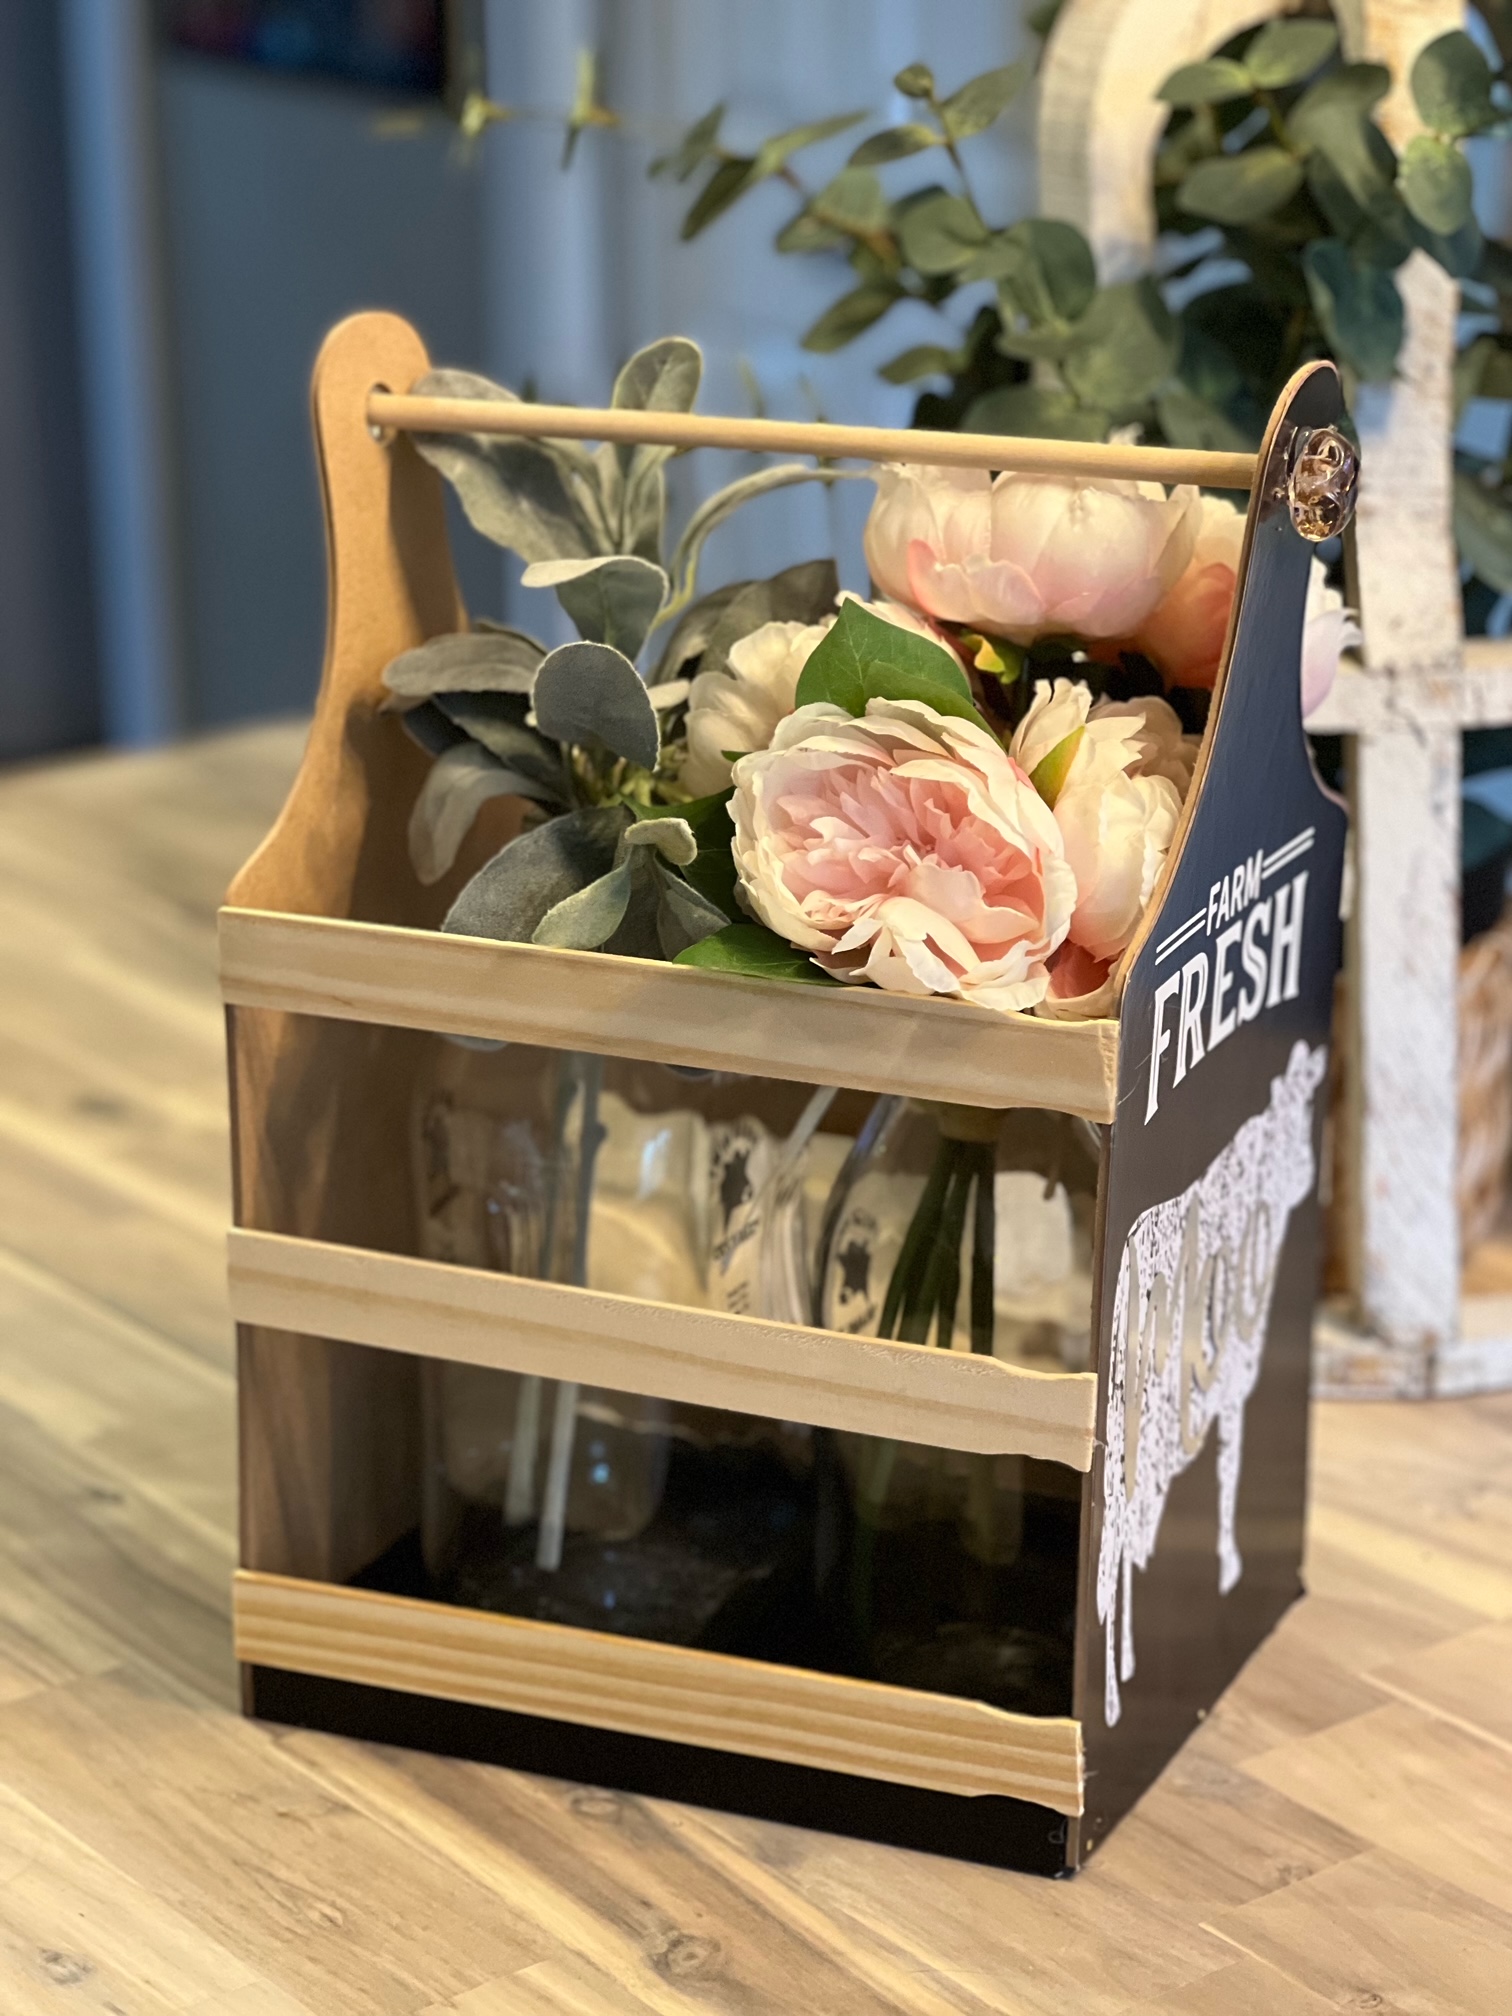
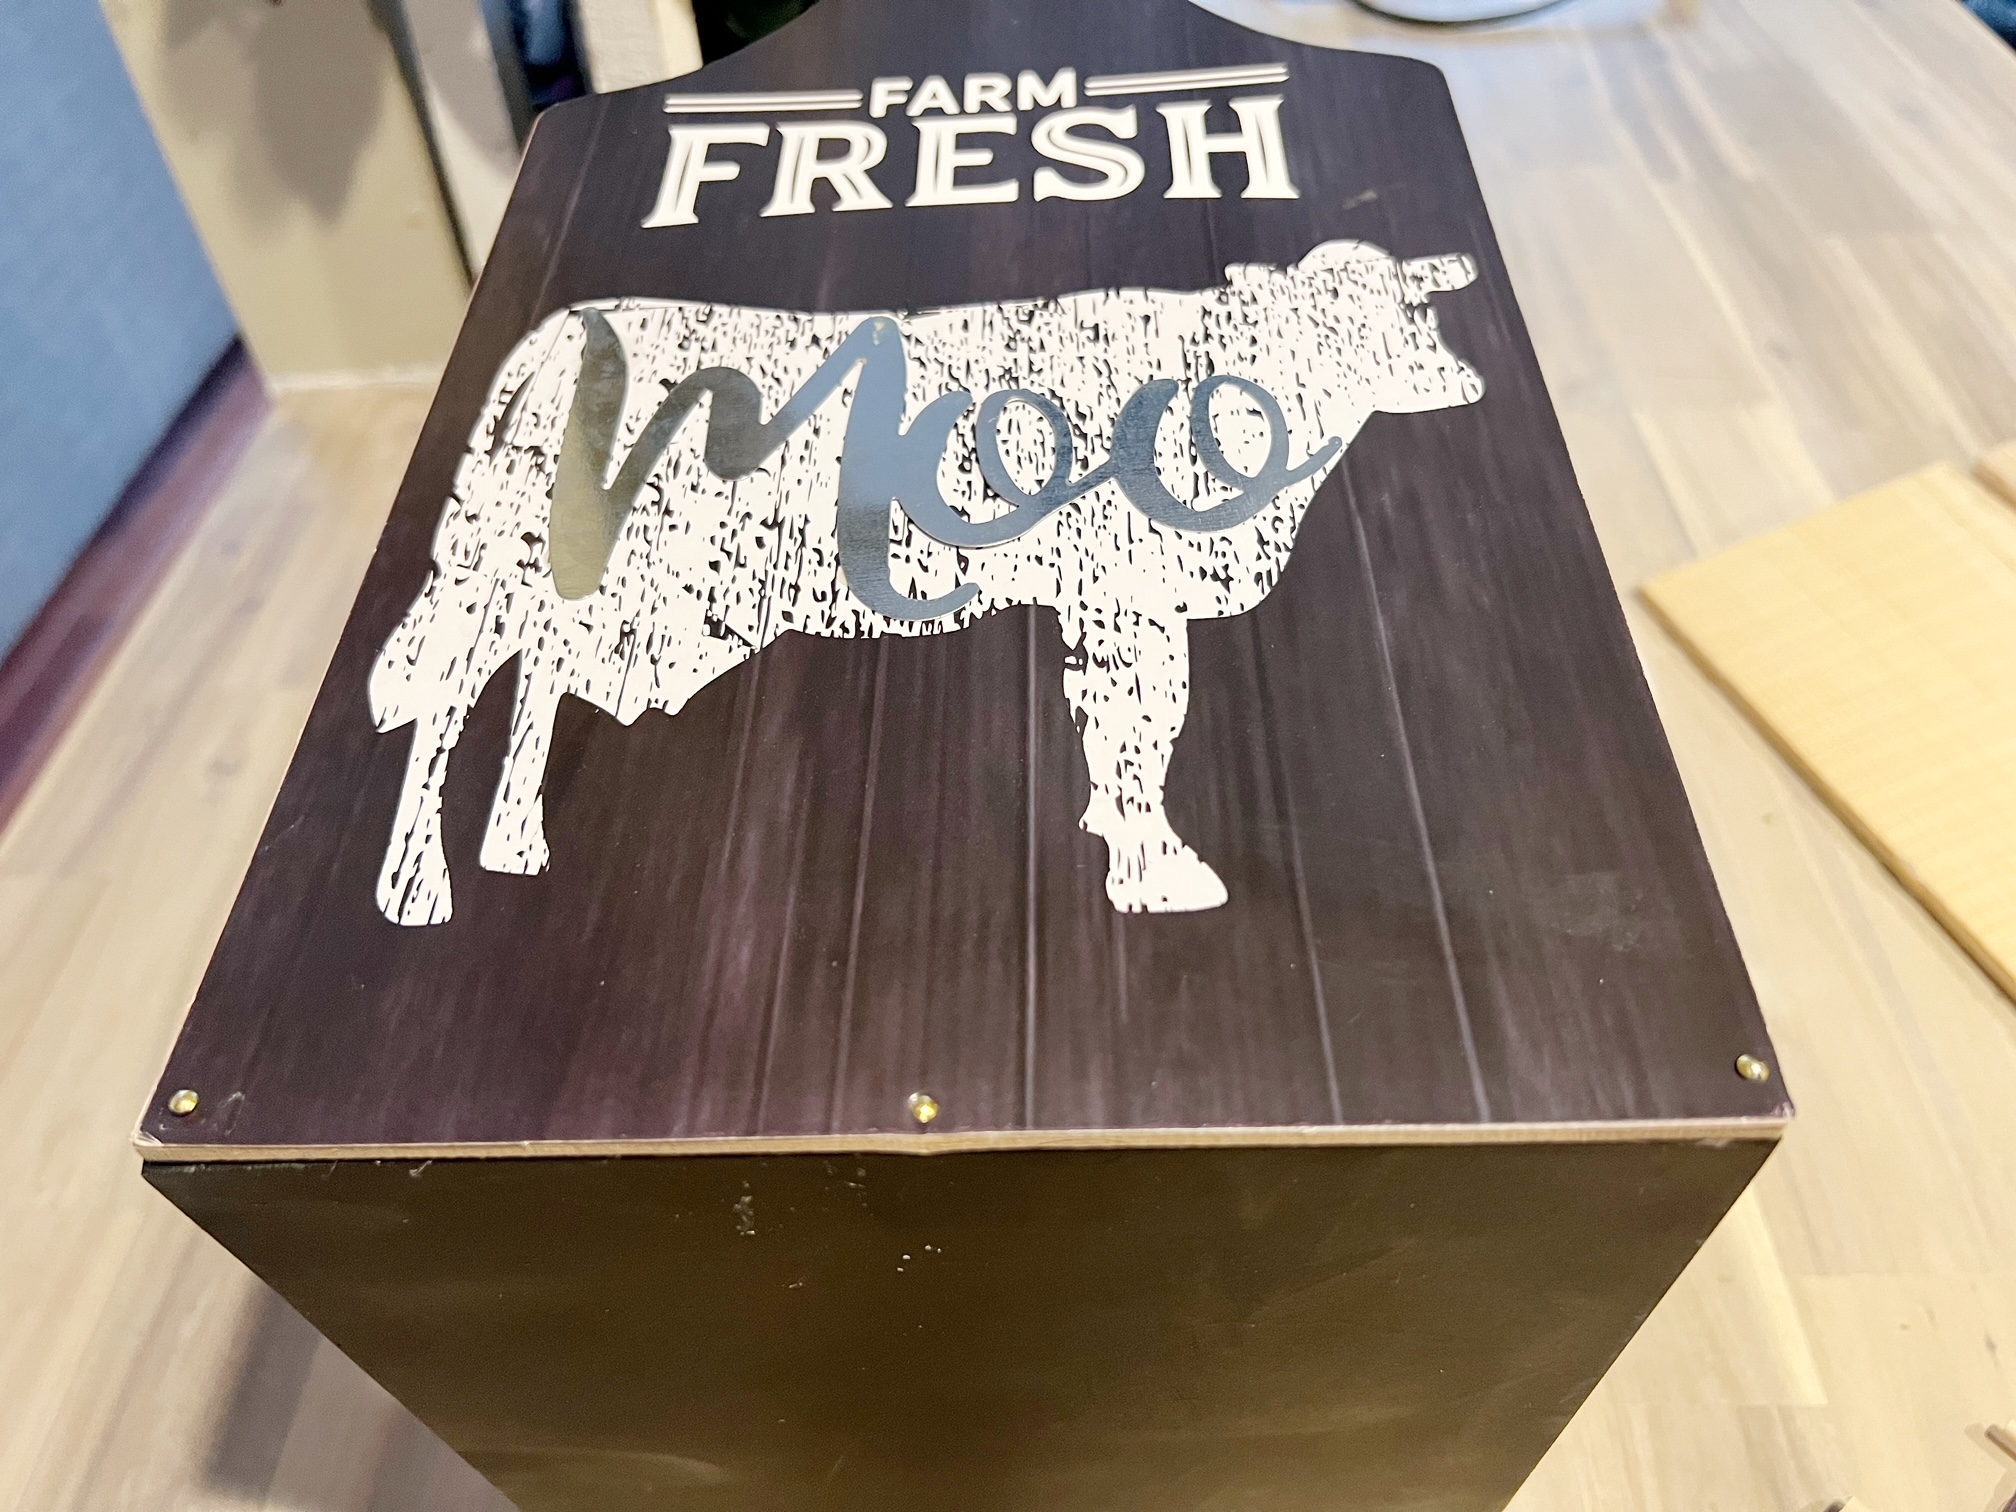
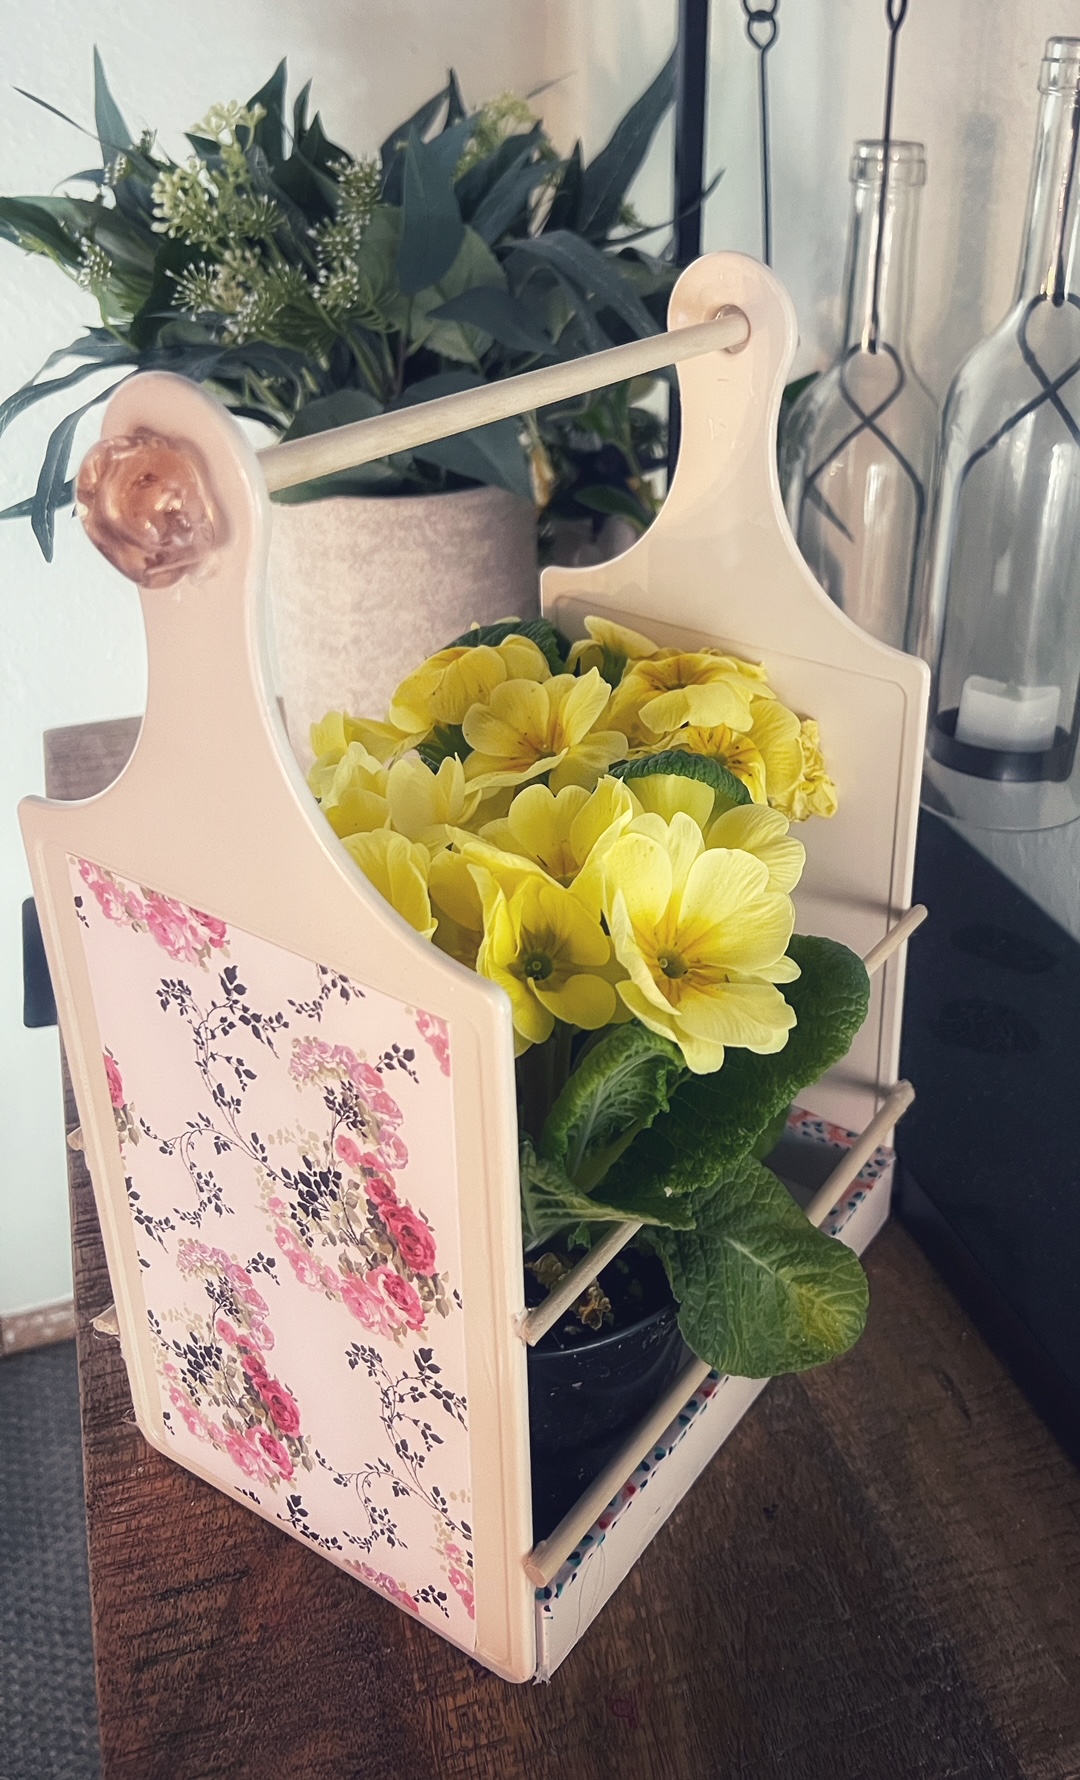
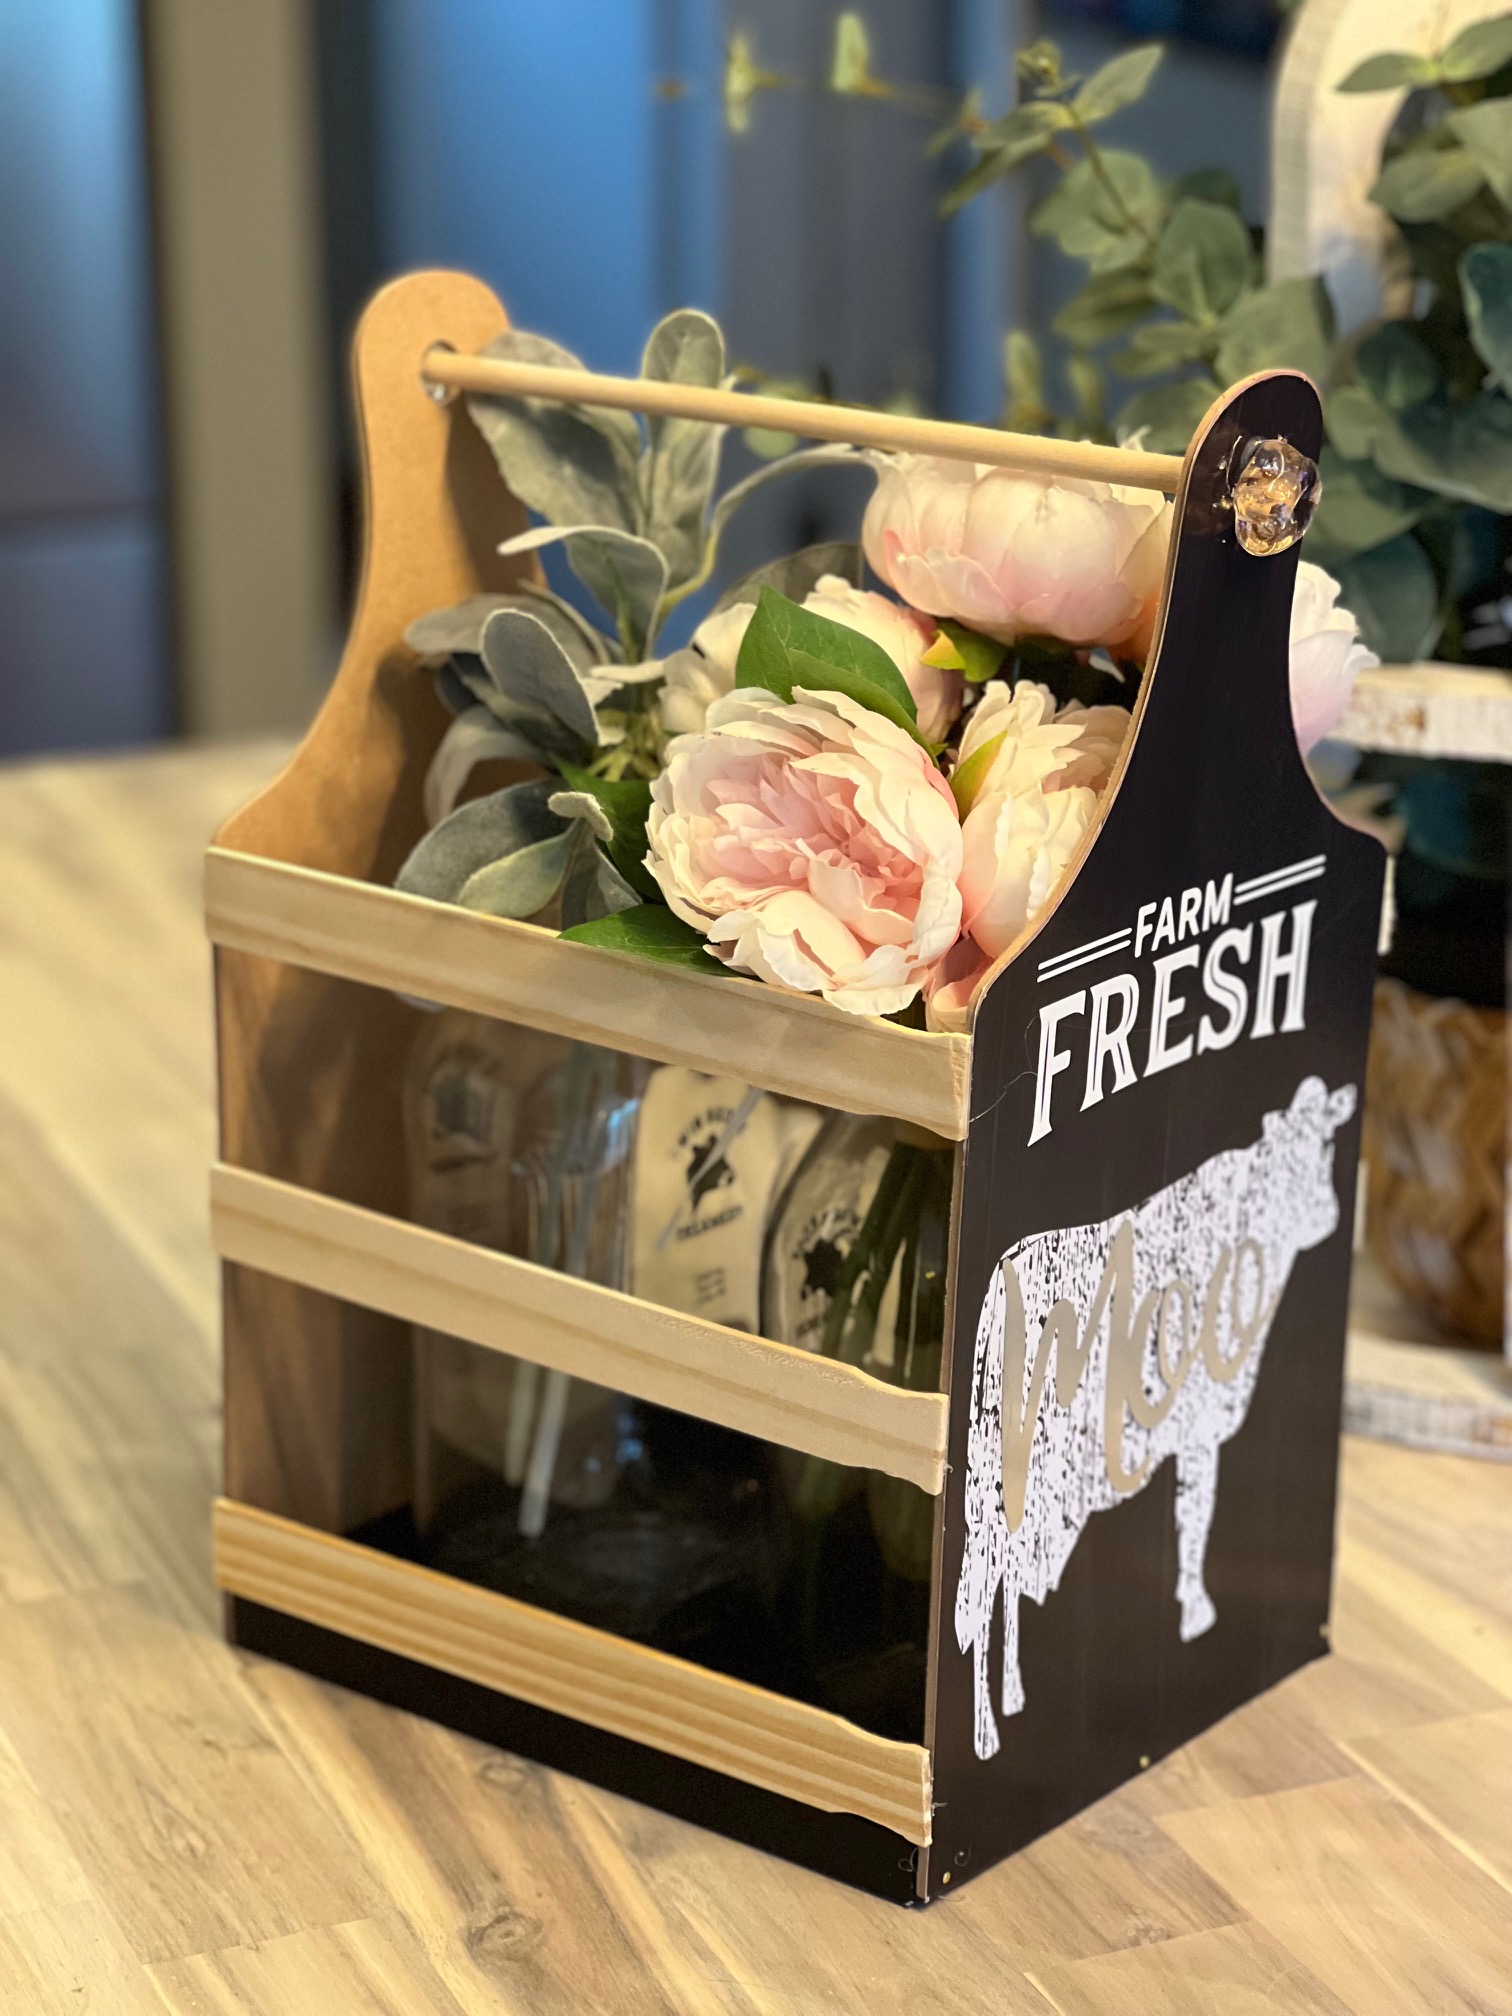
The one at the top of the post is made from 2 Dollar Tree signs. This pink one is made from 2 Dollar Tree cutting boards. Some folks have reported finding the thicker wood dollar tree cutting boards (which would be ideal – but I did not have those in our local stores). Again, the idea here is too look for the right sizes and shapes, to make these adorable faux milk crates that you can basically use as decorative gift baskets.
Plus, find lots more Dollar Tree projects here too, if you are looking for more craft project ideas.
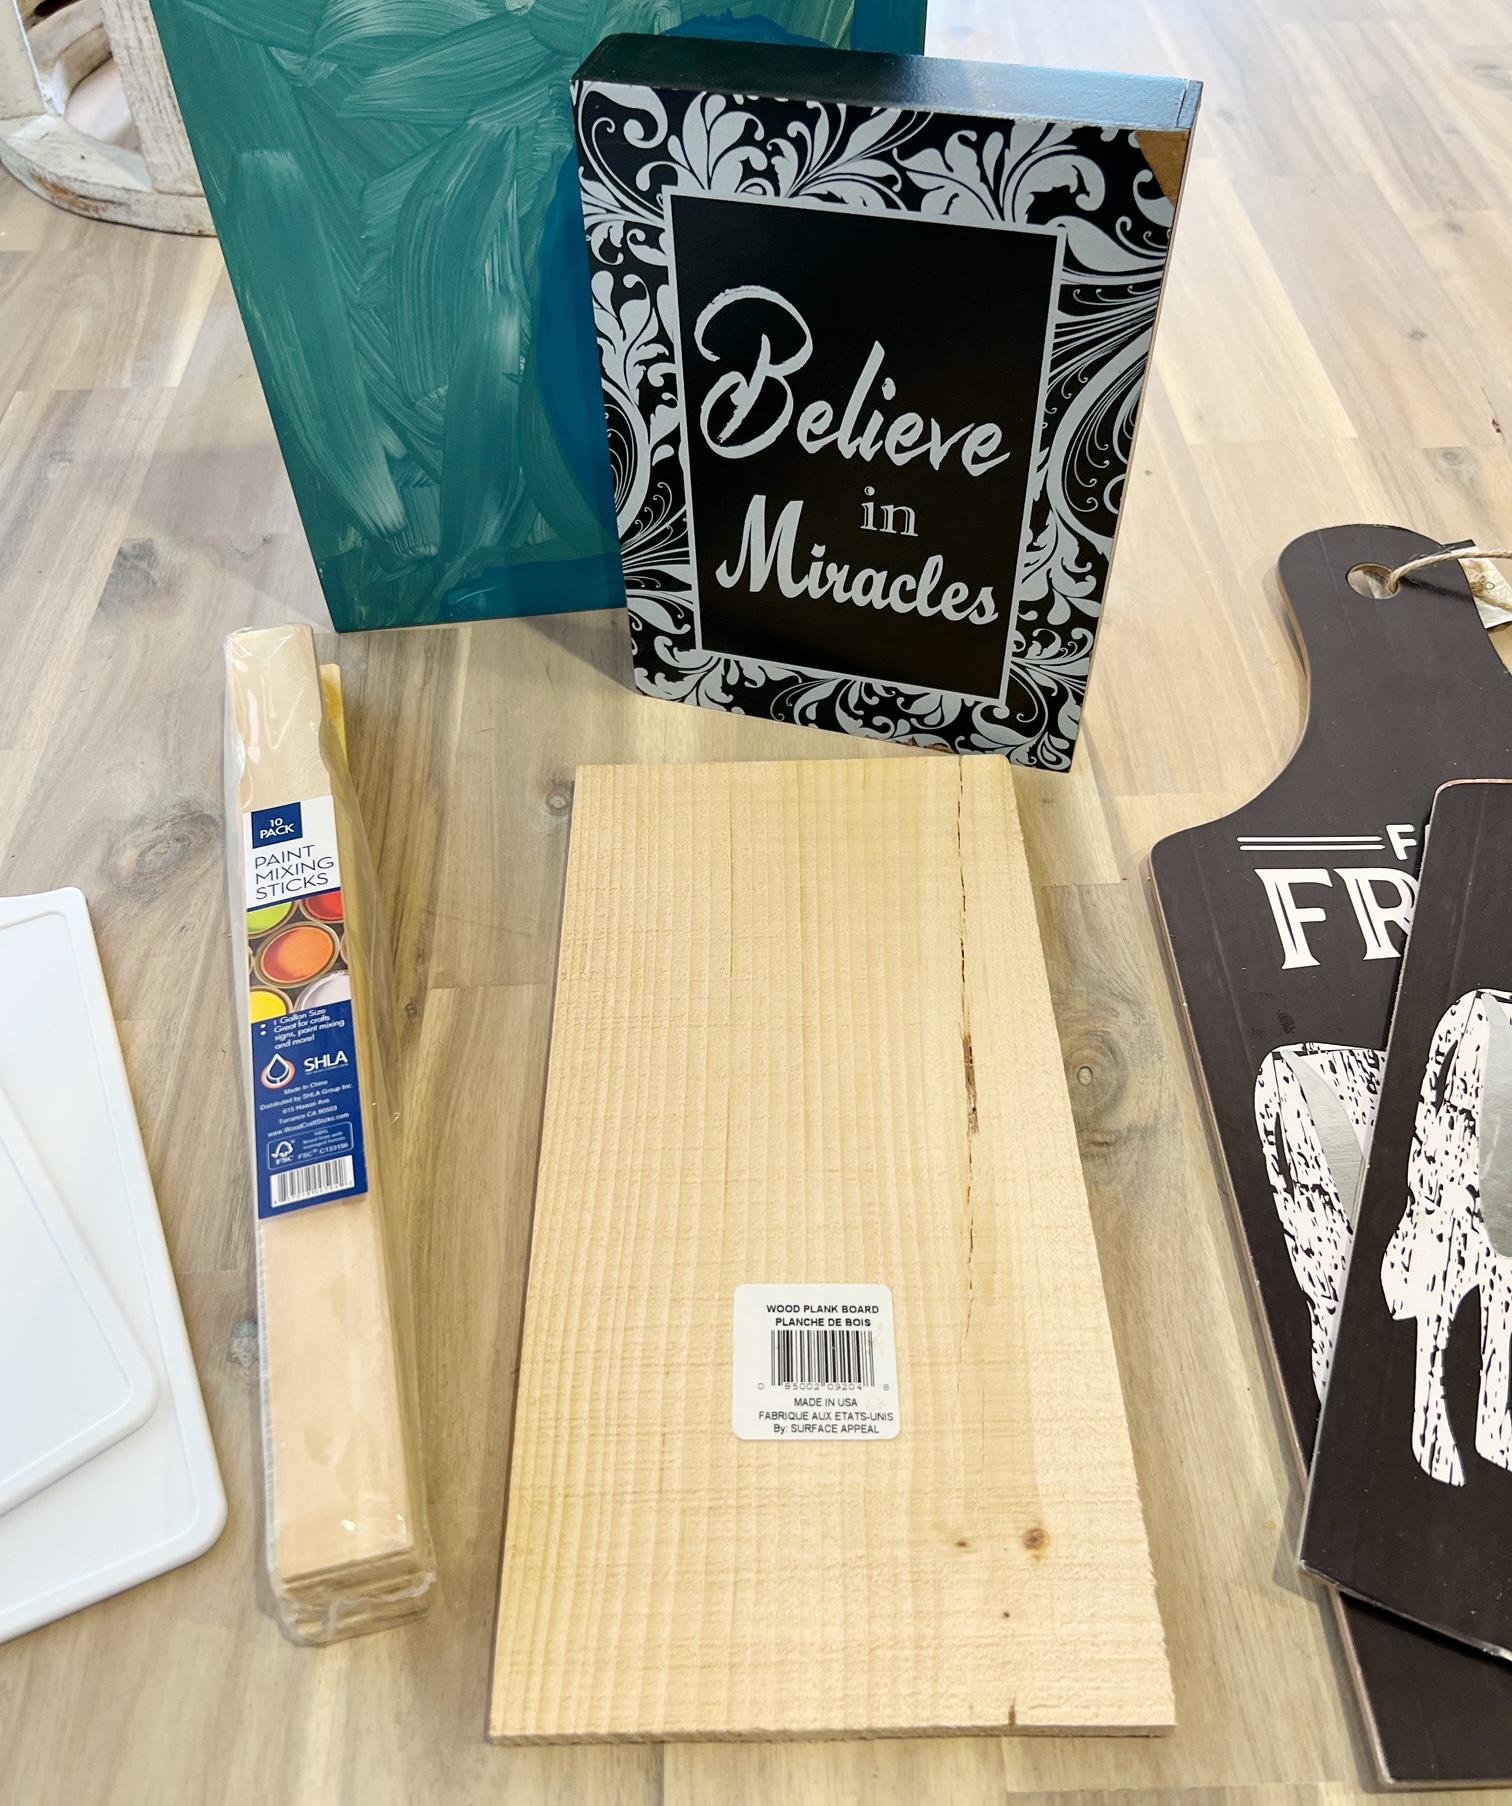
Supplies Neede to make this DIY Mothers Day Gift Idea – Farmhouse Milk Crates:
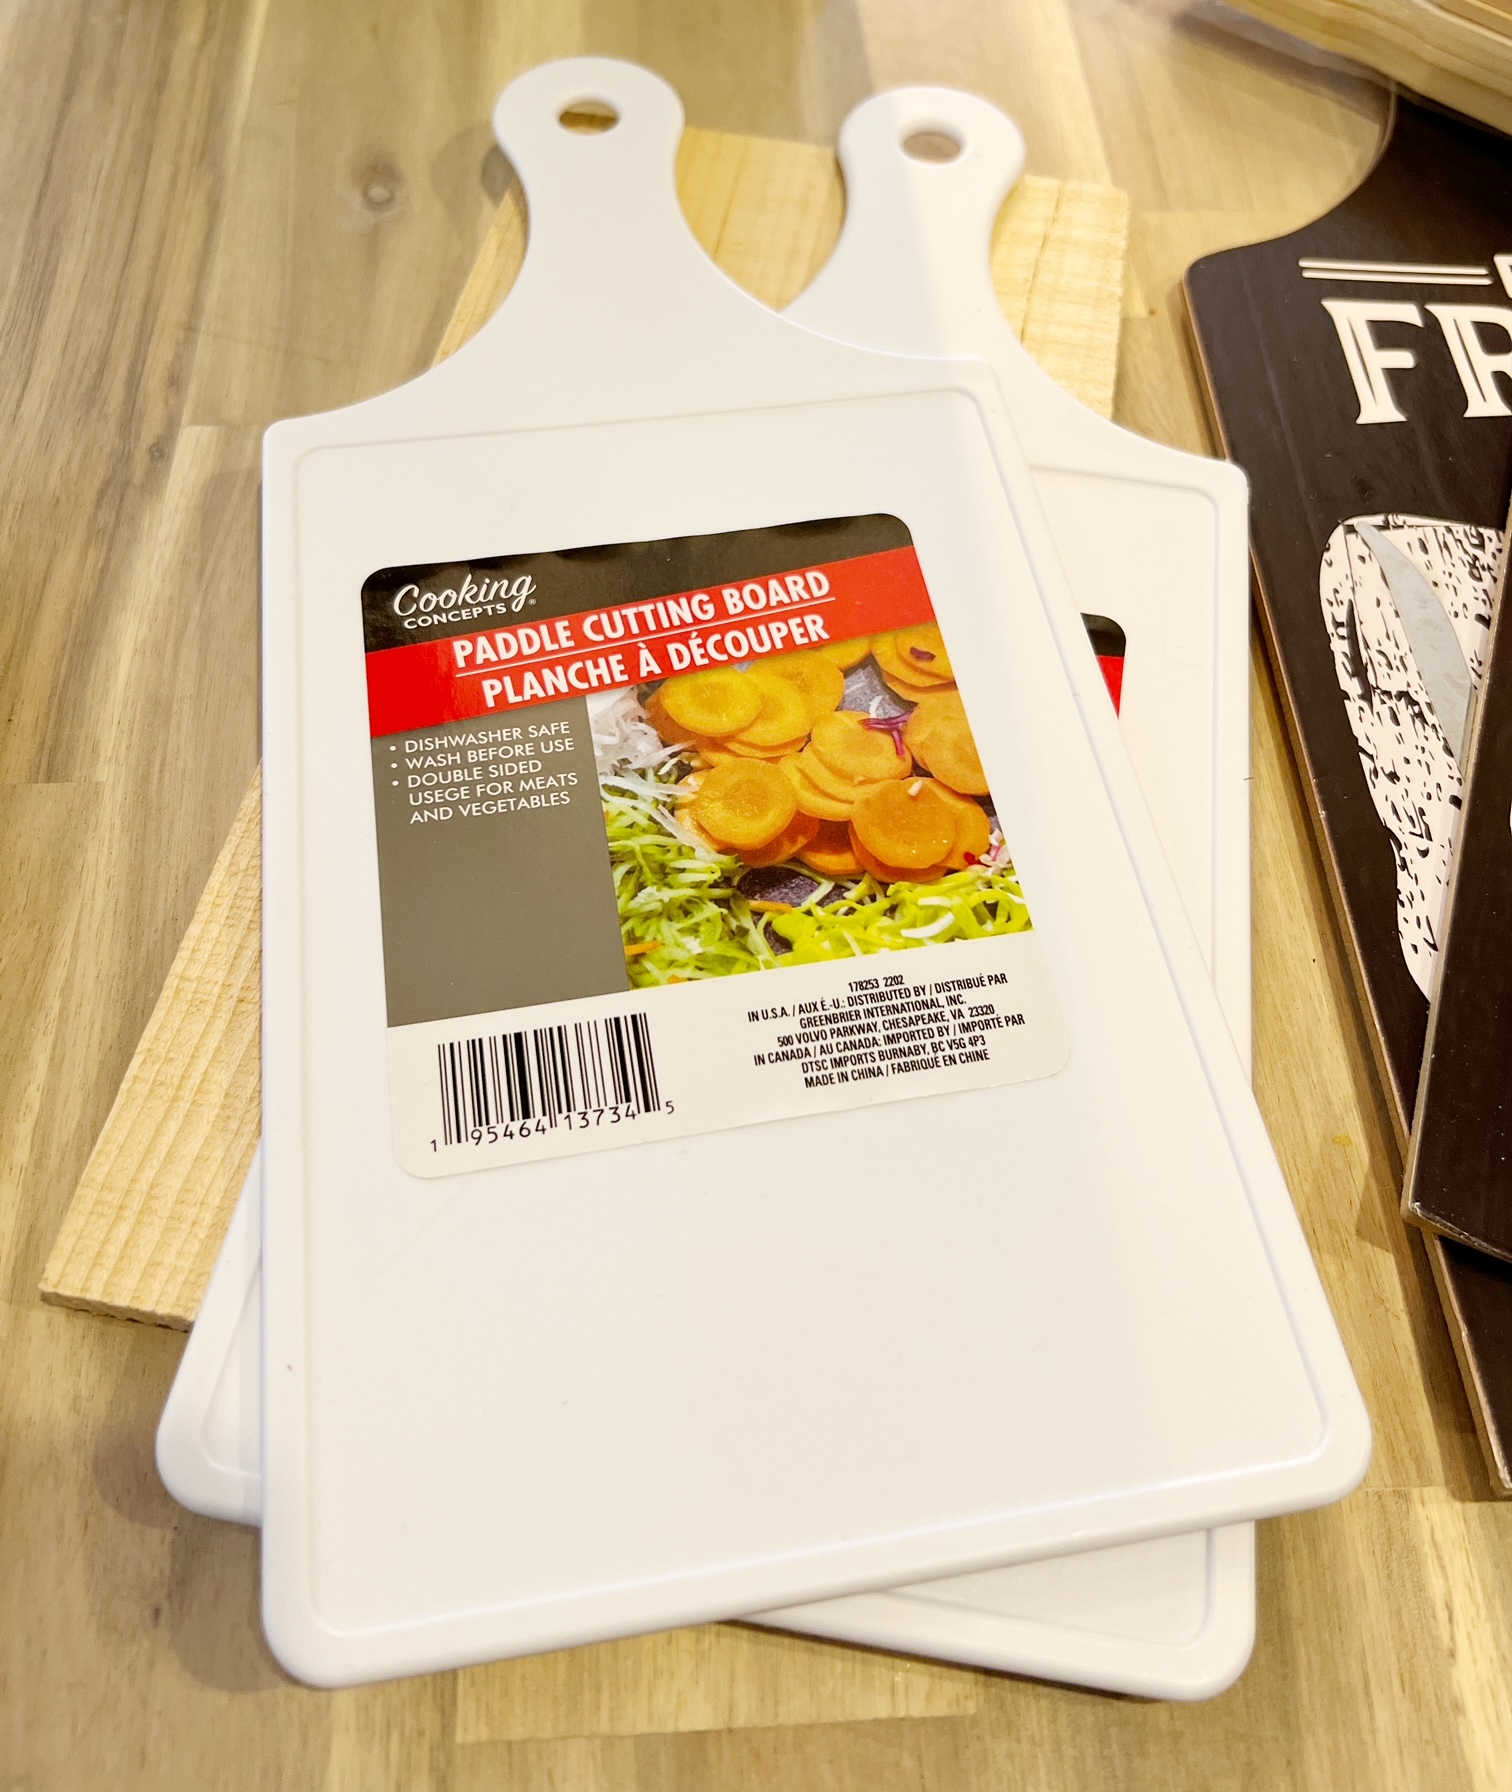
- 2 Signs or cutting boards from the Dollar Tree. Walmart also has these crafting boards that could work nice , or these larger sizes too (these
- A base (either a base board, or I prefer to use signs upside down, or a wood canvas (also upside down) for the base of this box.
- Wood Dowels
- Paint (if you are painting the cutting boards and the base)
- Paint sticks or large craft sticks
- Large beads for the carry handle
- Hot Glue (and wood glue if you want for added strength
- Small wood furniture nails (optional,…but add some strength)
- any Decorative elements (to decorate your box with)
- Whatever you want to fill your box with (I love flowers for a DIY Mothers Day Gift)!
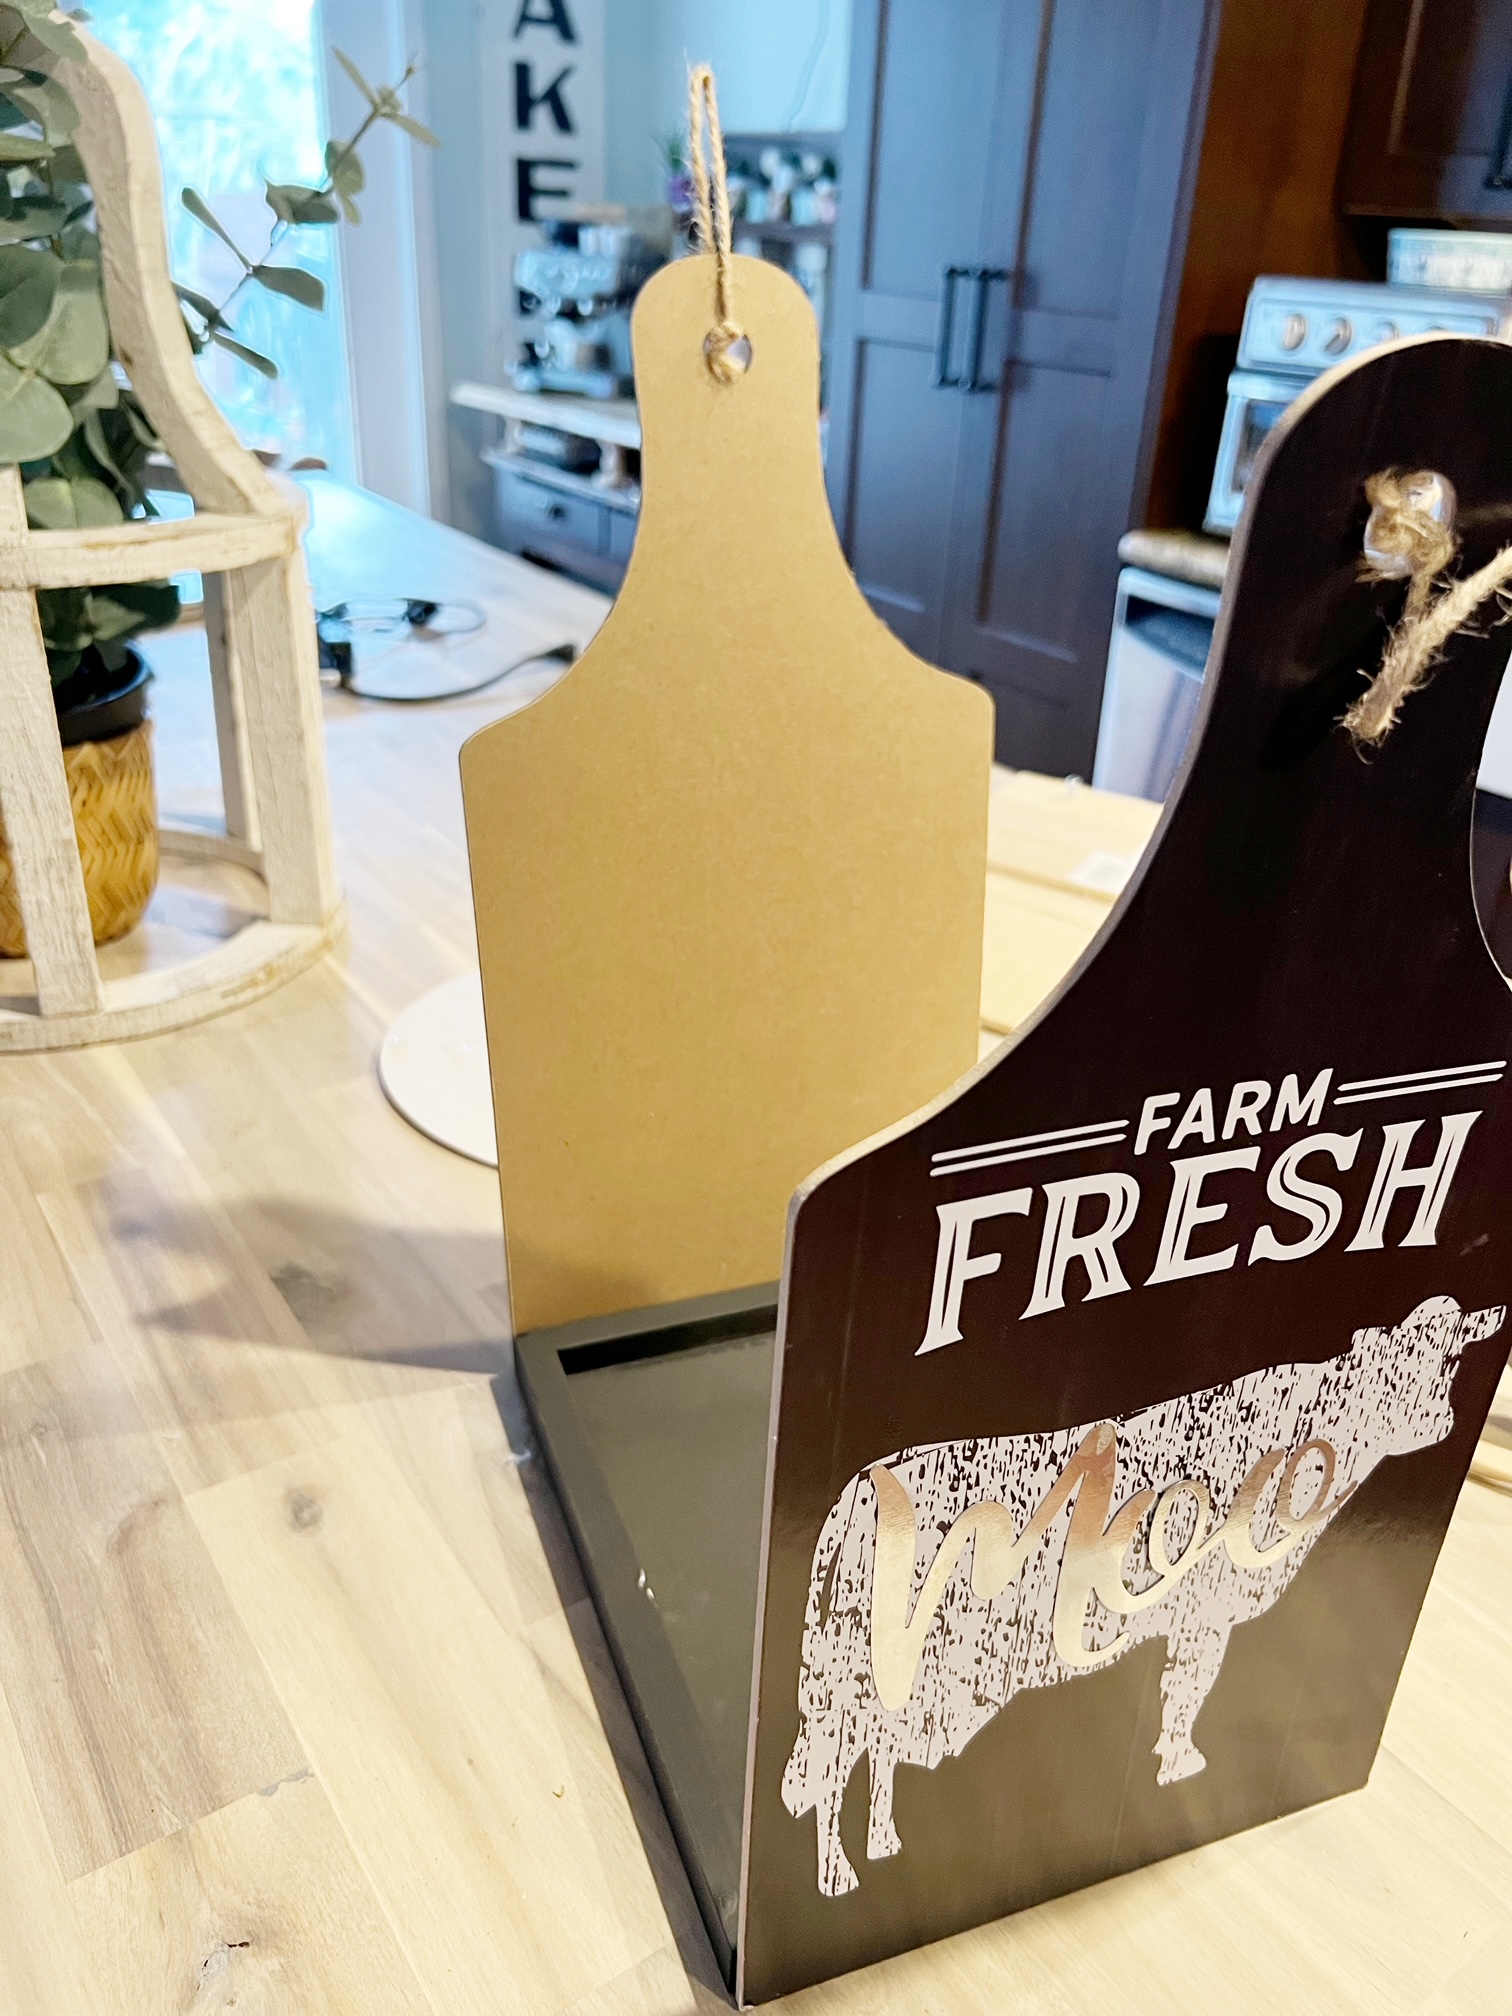
I did a couple of different versions to give you more idea on what you can create. I used 2 Dollar Store Signs (the black and white moo signs above), as well as 2 Dollar Tree plastic cutting boars.
For the base of this project I give a couple of ideas of what you can use. The Dollar Tree now sells these wood plates. I however opted to use other signs, or a wood canvas piece. The reason I did that is because if you turn them upside down, they have a box shape which works really well for this project. It also gives you something to attach the sides too if you opt to use small nails for extra stability.
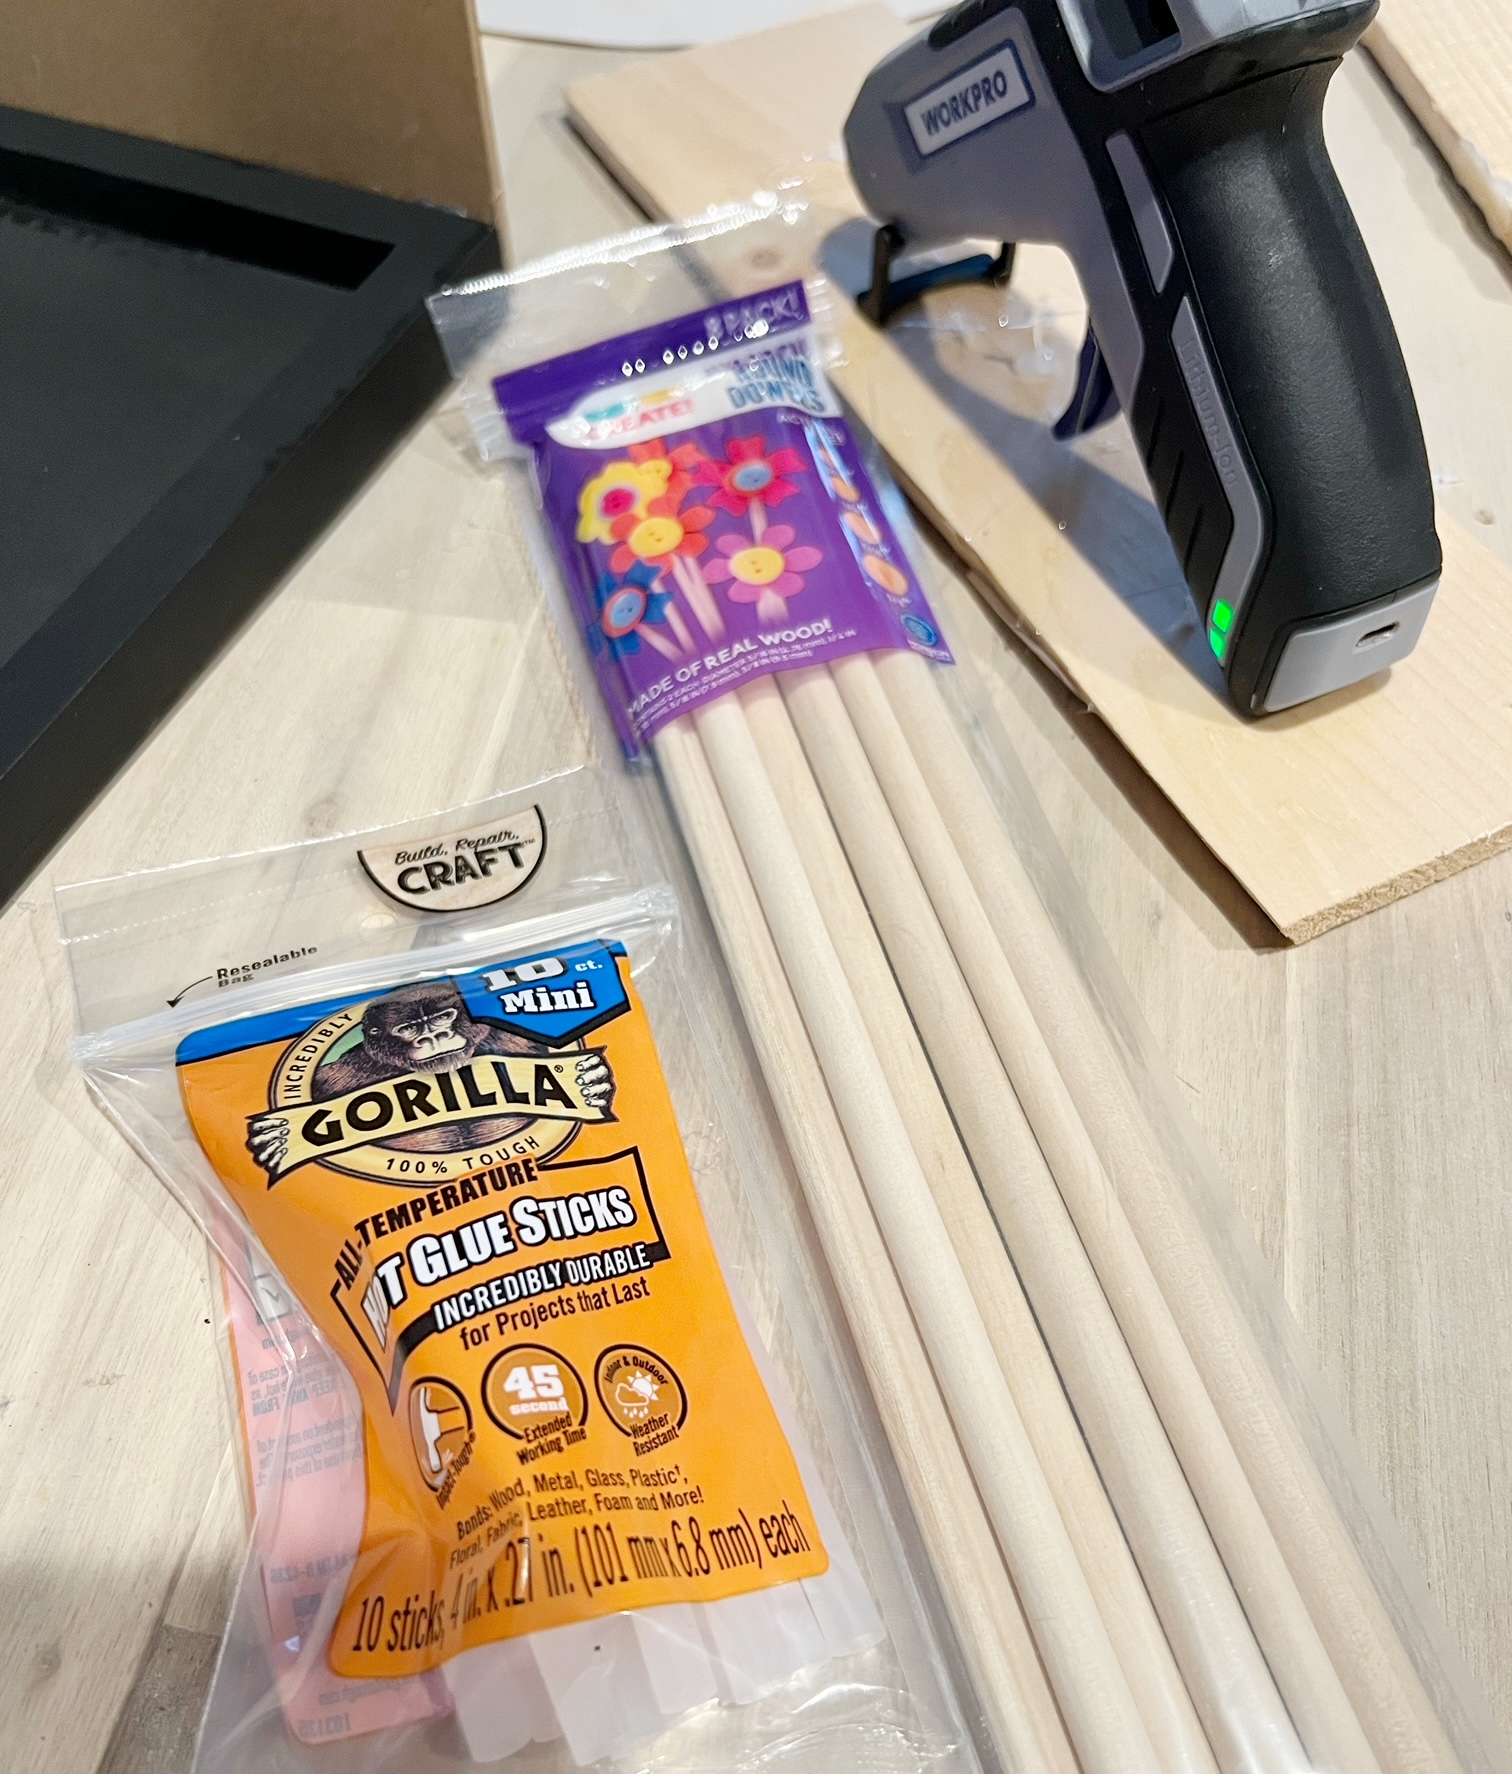
And hot glue. I prefer to use Gorilla Hot Glue sticks for extra strenght. If you really want to make it strong, I recommend using wood glue (or E6000) + hot glue. The wood glue adds longevity, and the hot glue lets it adhere right away so nothing shifts while drying.
If you are using the plastic cutting boards shown above, sold at the Dollar Tree, you will need to be careful that you select a paint that adheres to plastic. If you do not do this, chances are your paint may peel right off after drying. My prefered paint for this is the Rust-Oluem Painers Touch 2x Ulta – (should adhere to plastics) – and you can usually find it at any Home Depot Store here or Walmart stores here.
How to Assemble Your DIY Milk Crates –
Once you have all your supplies painted, dried and ready to assemble, this is the process….
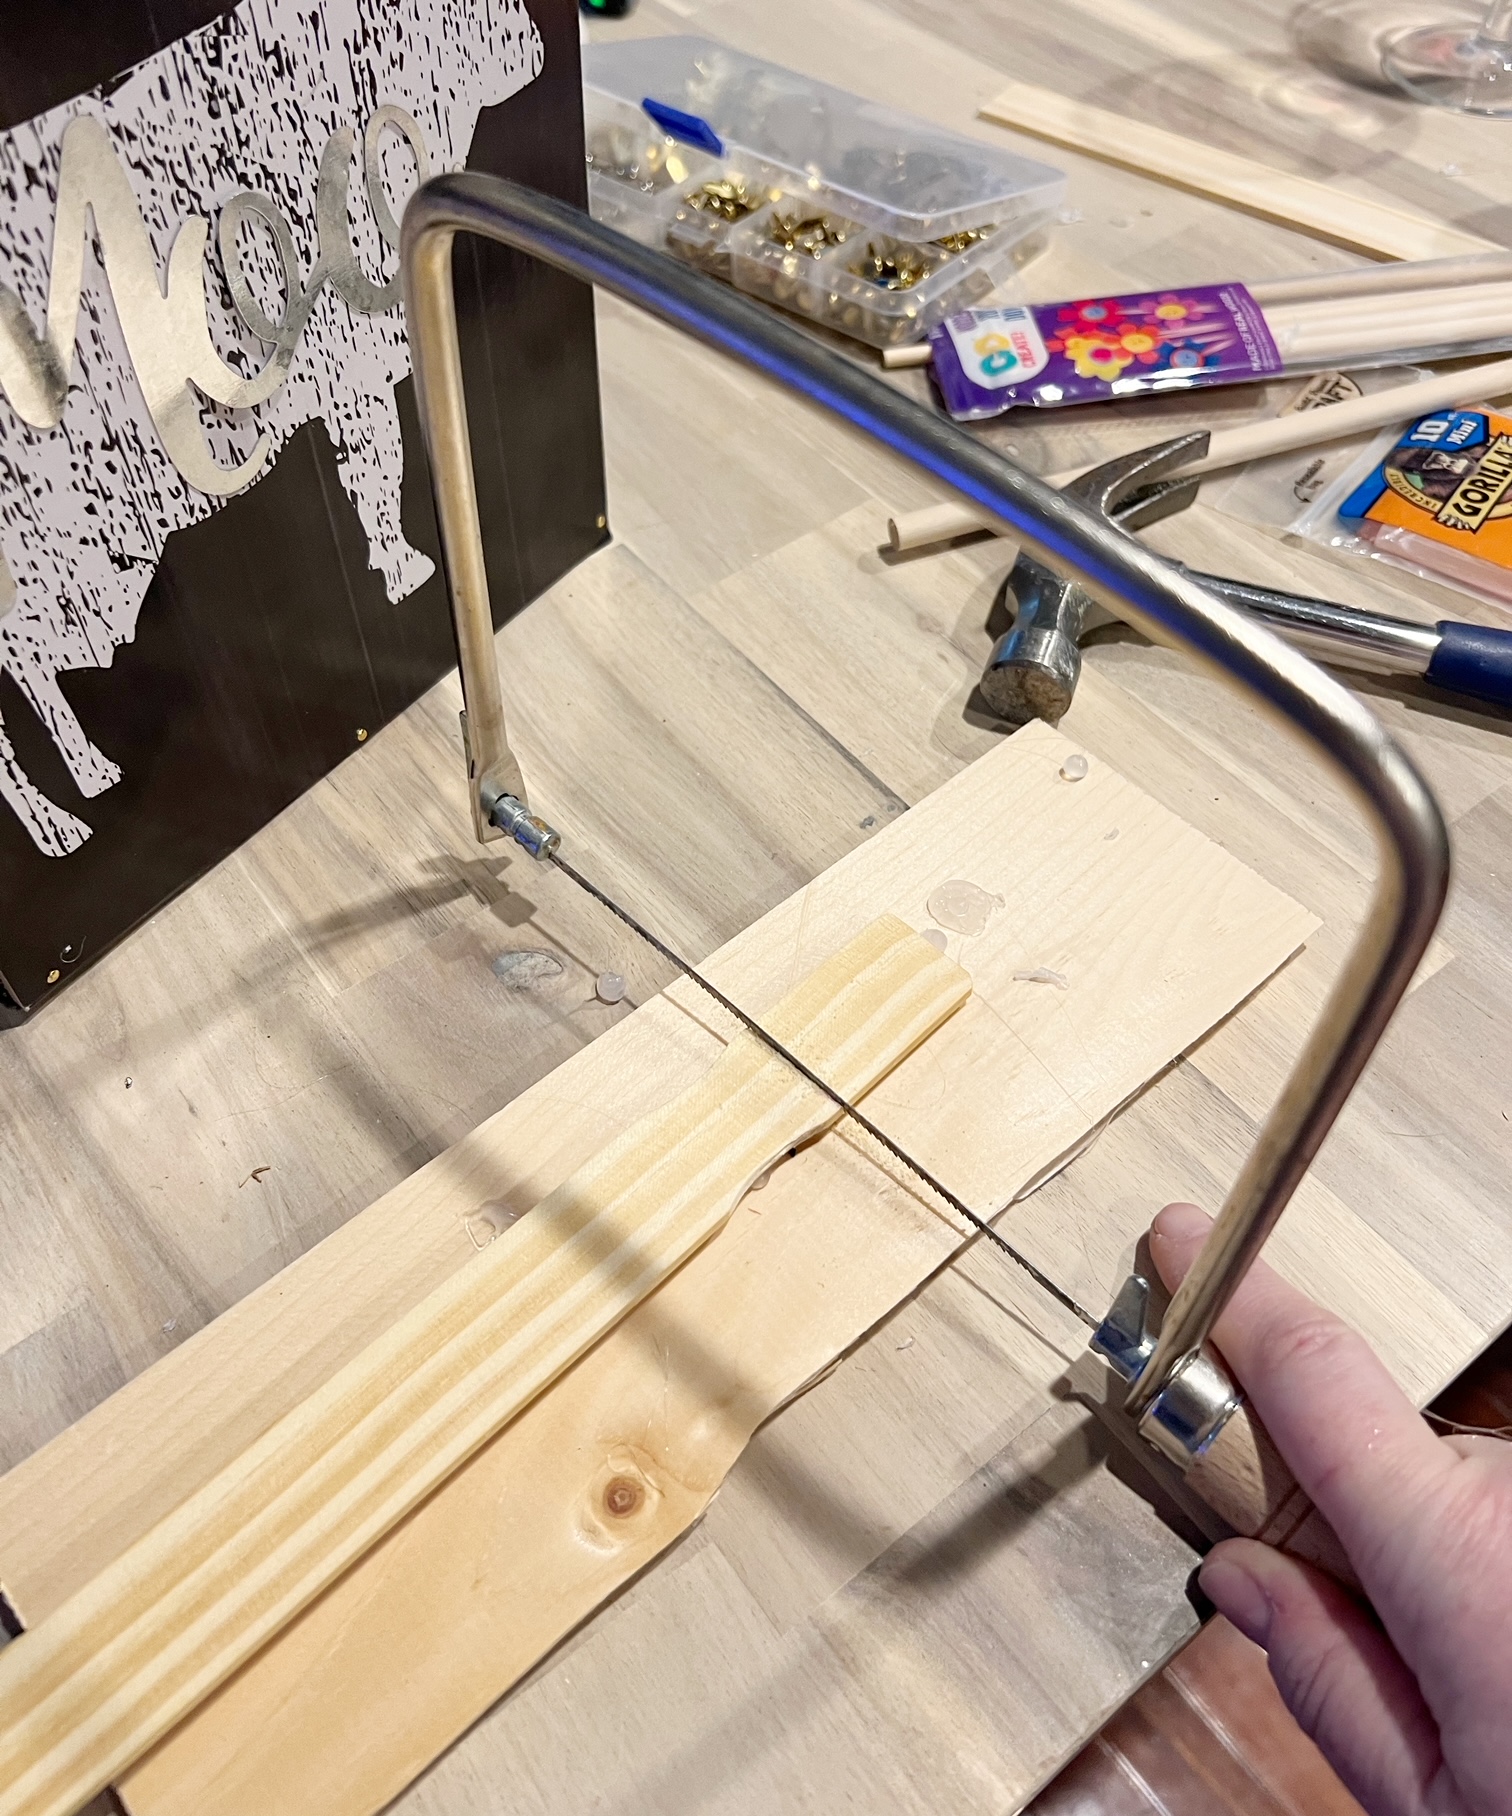
Start by measuring your paint or craft sticks and cutting them. I use a simple hacksaw. You can get them for just over $5 at Walmart. The wood is really easy to cut so you do not need a heavy duty saw.
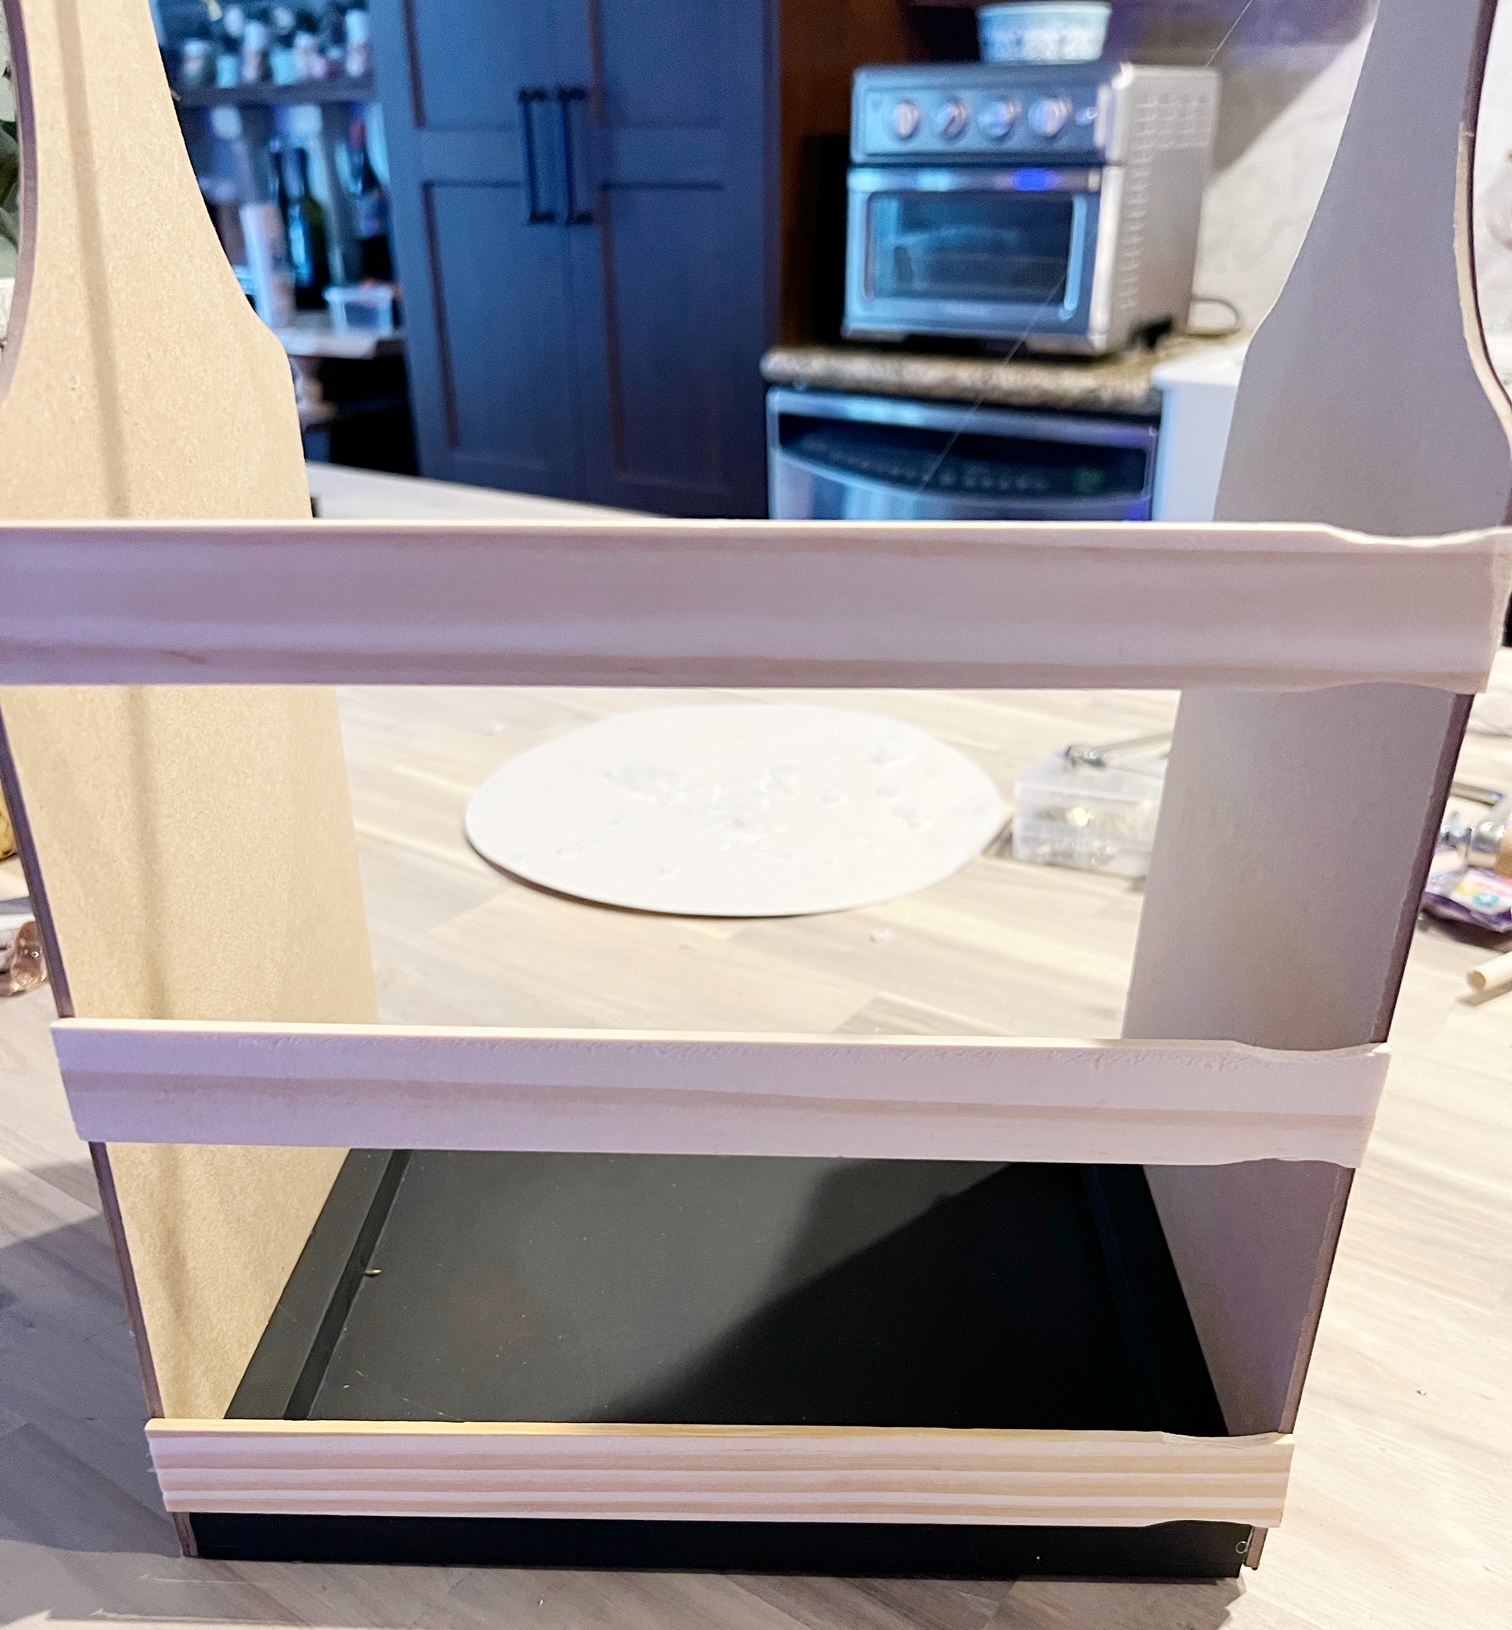
To measure them accurately, I hot glued my signs or cutting boards to the bottom piece. Then I measured the length from side to side.
I then used a hacksaw to cut the paint sticks (or craft sticks) to the appropriate size).
Once that was done I hot glued my cut down paint sticks (or craft sticks) from one side of the sign to the next. I did three rows of sticks, evenly spread out for mine. You can space them out in whatever way looks good to you.
Next, in order to add extra strenght after glueing, I added small tact nails to the base of my box too. This step is completly optional, but it just made me feel better that it would help from keeping things from falling apart when we picked it up.
It is a bit tricky, in that you need to make sure the nails go into the bottom layer, so take your time with this step and do it right!
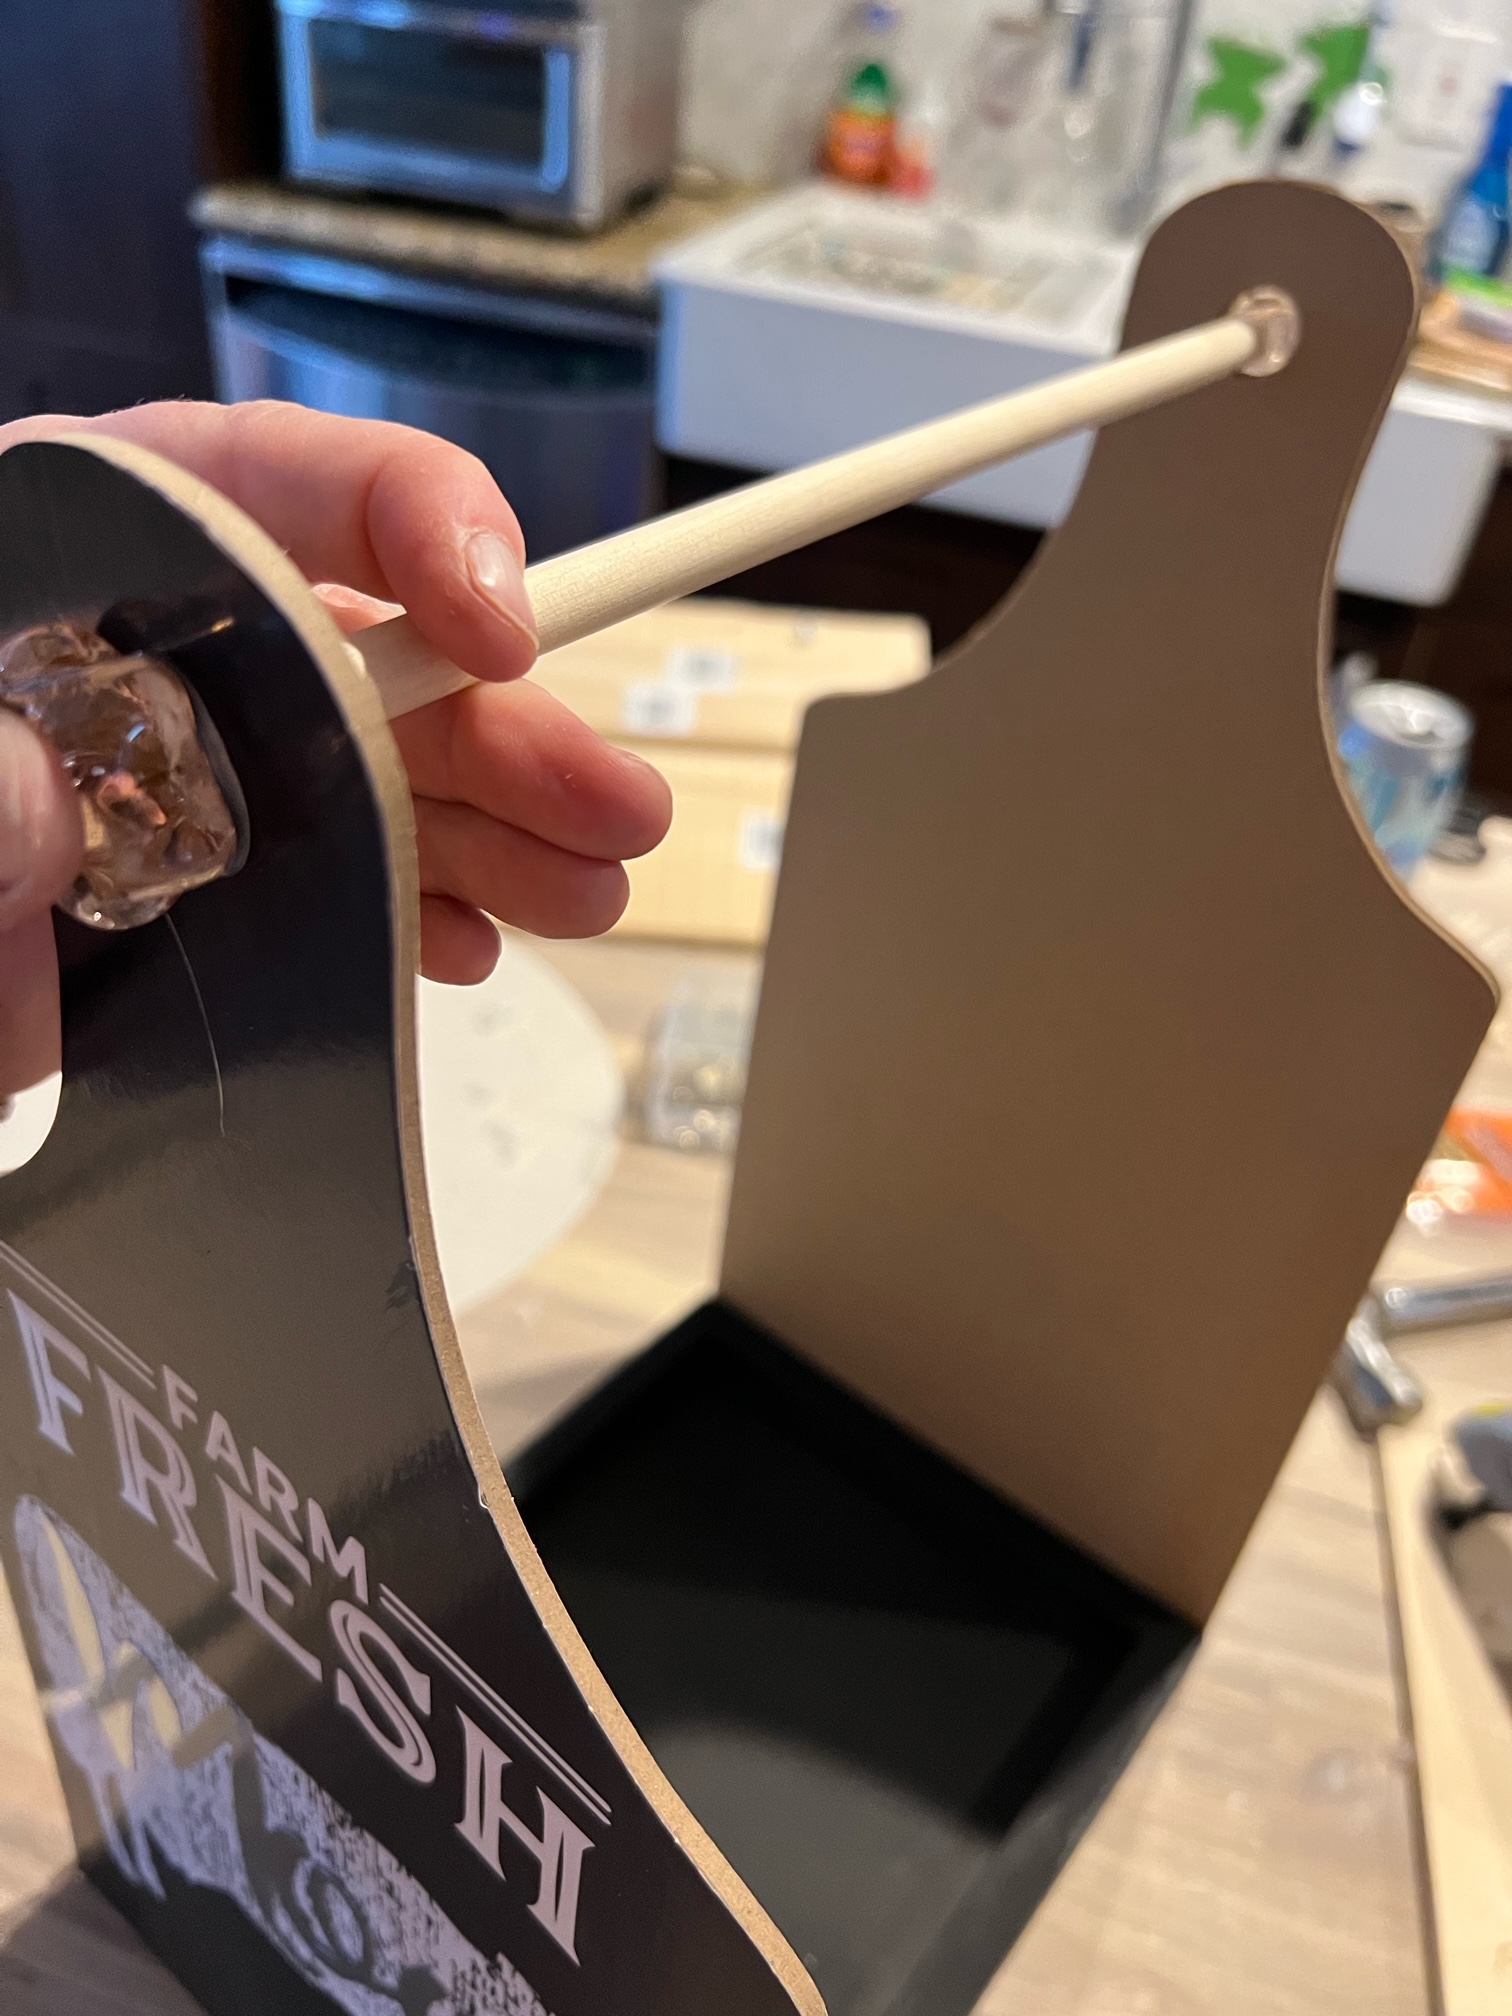
Once the base of your faux milk crate is assembled you can add the dowel through the holes at the top to make a carry handle. To do this I cut one of my dowels down to size (again with the simple hack saw), and then selected a decorative element to hot glue it to on each side. I liked adding the “glass bead” as one more way to make this faux milk crate stand out (it is in the details), but you could just glue it inside of the holes if you prefer.
I did add the dowel prior to adding the paint sticks to the side on this one, but you can really do this step in either order.
Make Different Sizes & Designs –
I love to make these smaller sized ones out of the plastic cutting boards you can grab at the Dollar Tree + one of their mini signs for the base (used up side down). These are the perfect size for smaller flowers like pansies or herbs too. This is a really affordable option, but looks like it cost you much more than it really does. For this one I used the dowels on the side rather than craft sticks, just to show you how you can use different items on these.
I also embelleshished with some sticker paper. You could mod podge a pretty napkin on as well, or decorate how you want (or leave it plain).
What to put in this DIY Mothers Day Gift Idea
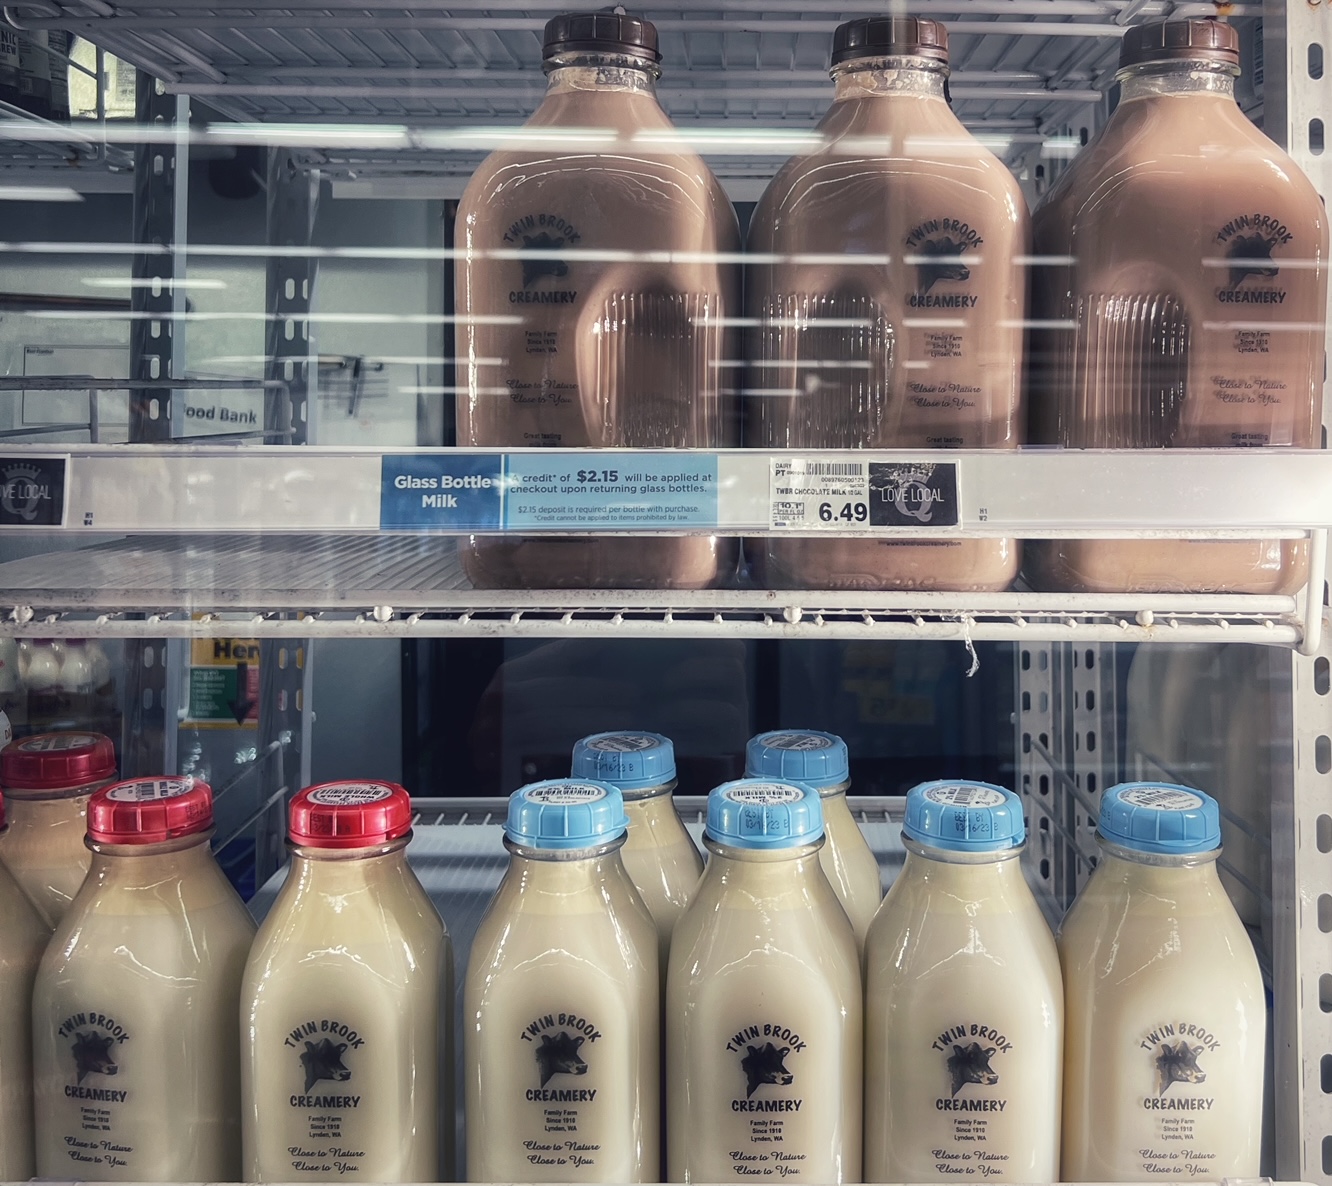
You can add any of the items I list below, but one fun idea I love to use for this larger size one, is actual glass milk bottles to put in your faux milk crate. It just works out perfect for the faux milk crate look, and is also a really affordable way to get a cute vase.
I do this by purchasing Twin Brooks Creamery Milks (they come in white milk and chocolate milk – my kids favorite is the chocolate milk). You can return the glass bottle to get a deposit fee back, but I usually keep them. I figure it is the best price I will pay for glass vases and I use them for flowers year round. They are also a great size to put into the milk crates and then add fresh flowers or fake flowers before you gift the crate.
Some ideas on what to fill your DIY Mothers Day Gift box with include:
- Flowers
- Spa Products
- Candles and Dish Towels
- A meal (fill it will supplies to make their favorite dinner and a recipe card)

