DIY Magnet Board Made From Dollar Store Cookie Sheet!
This post may contain affiliate links and I may be compensated for this post. Please read our disclosure policy here.
DIY Magnet Board Made From $1 Cookie Sheet!
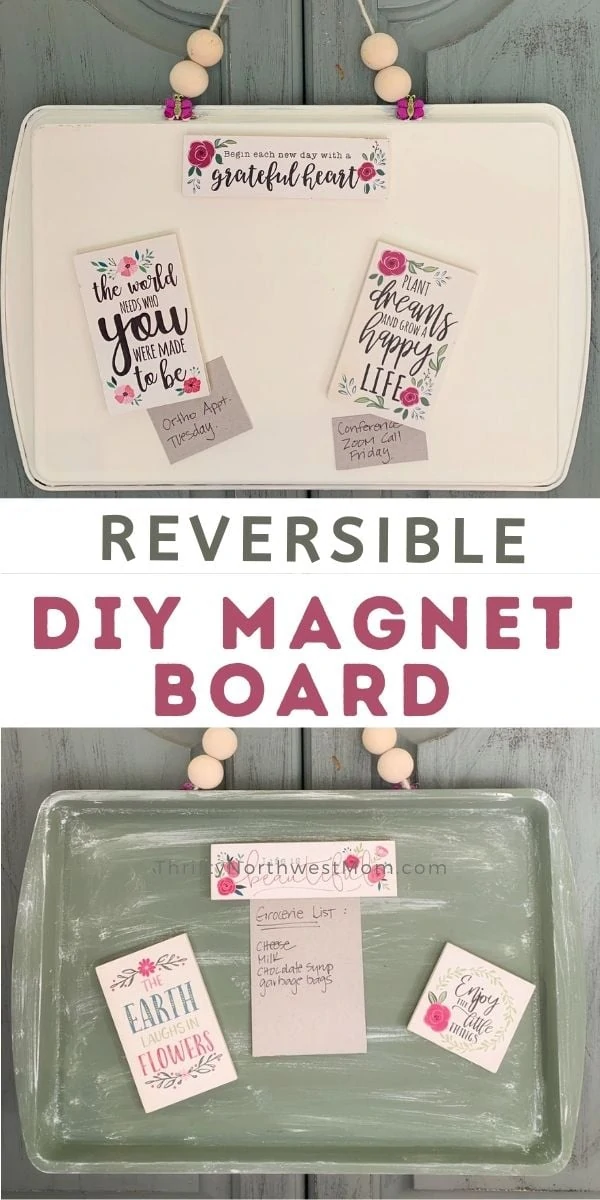
There are many ways you can make a DIY magnet board for your home, including these Dollar Store tin cookie sheets. These have got to be one of the most budget friendly magnet boards you can make, and if you make it reversible and use both sides, you have more space then you might anticipate to display pictures or notes, etc with your magnets.
So how do you make a magnet board with one of these Dollar store cookie sheets? You simply decorate it and hang it, and add your magnets. It really is that simple, and affordable to make this project.
Making the magnet board was so easy with the dollar store cookie tins (or you could use one of the pizza pans too, if you wanted a round version of this). You can buy magnets, or you can also make those as well.
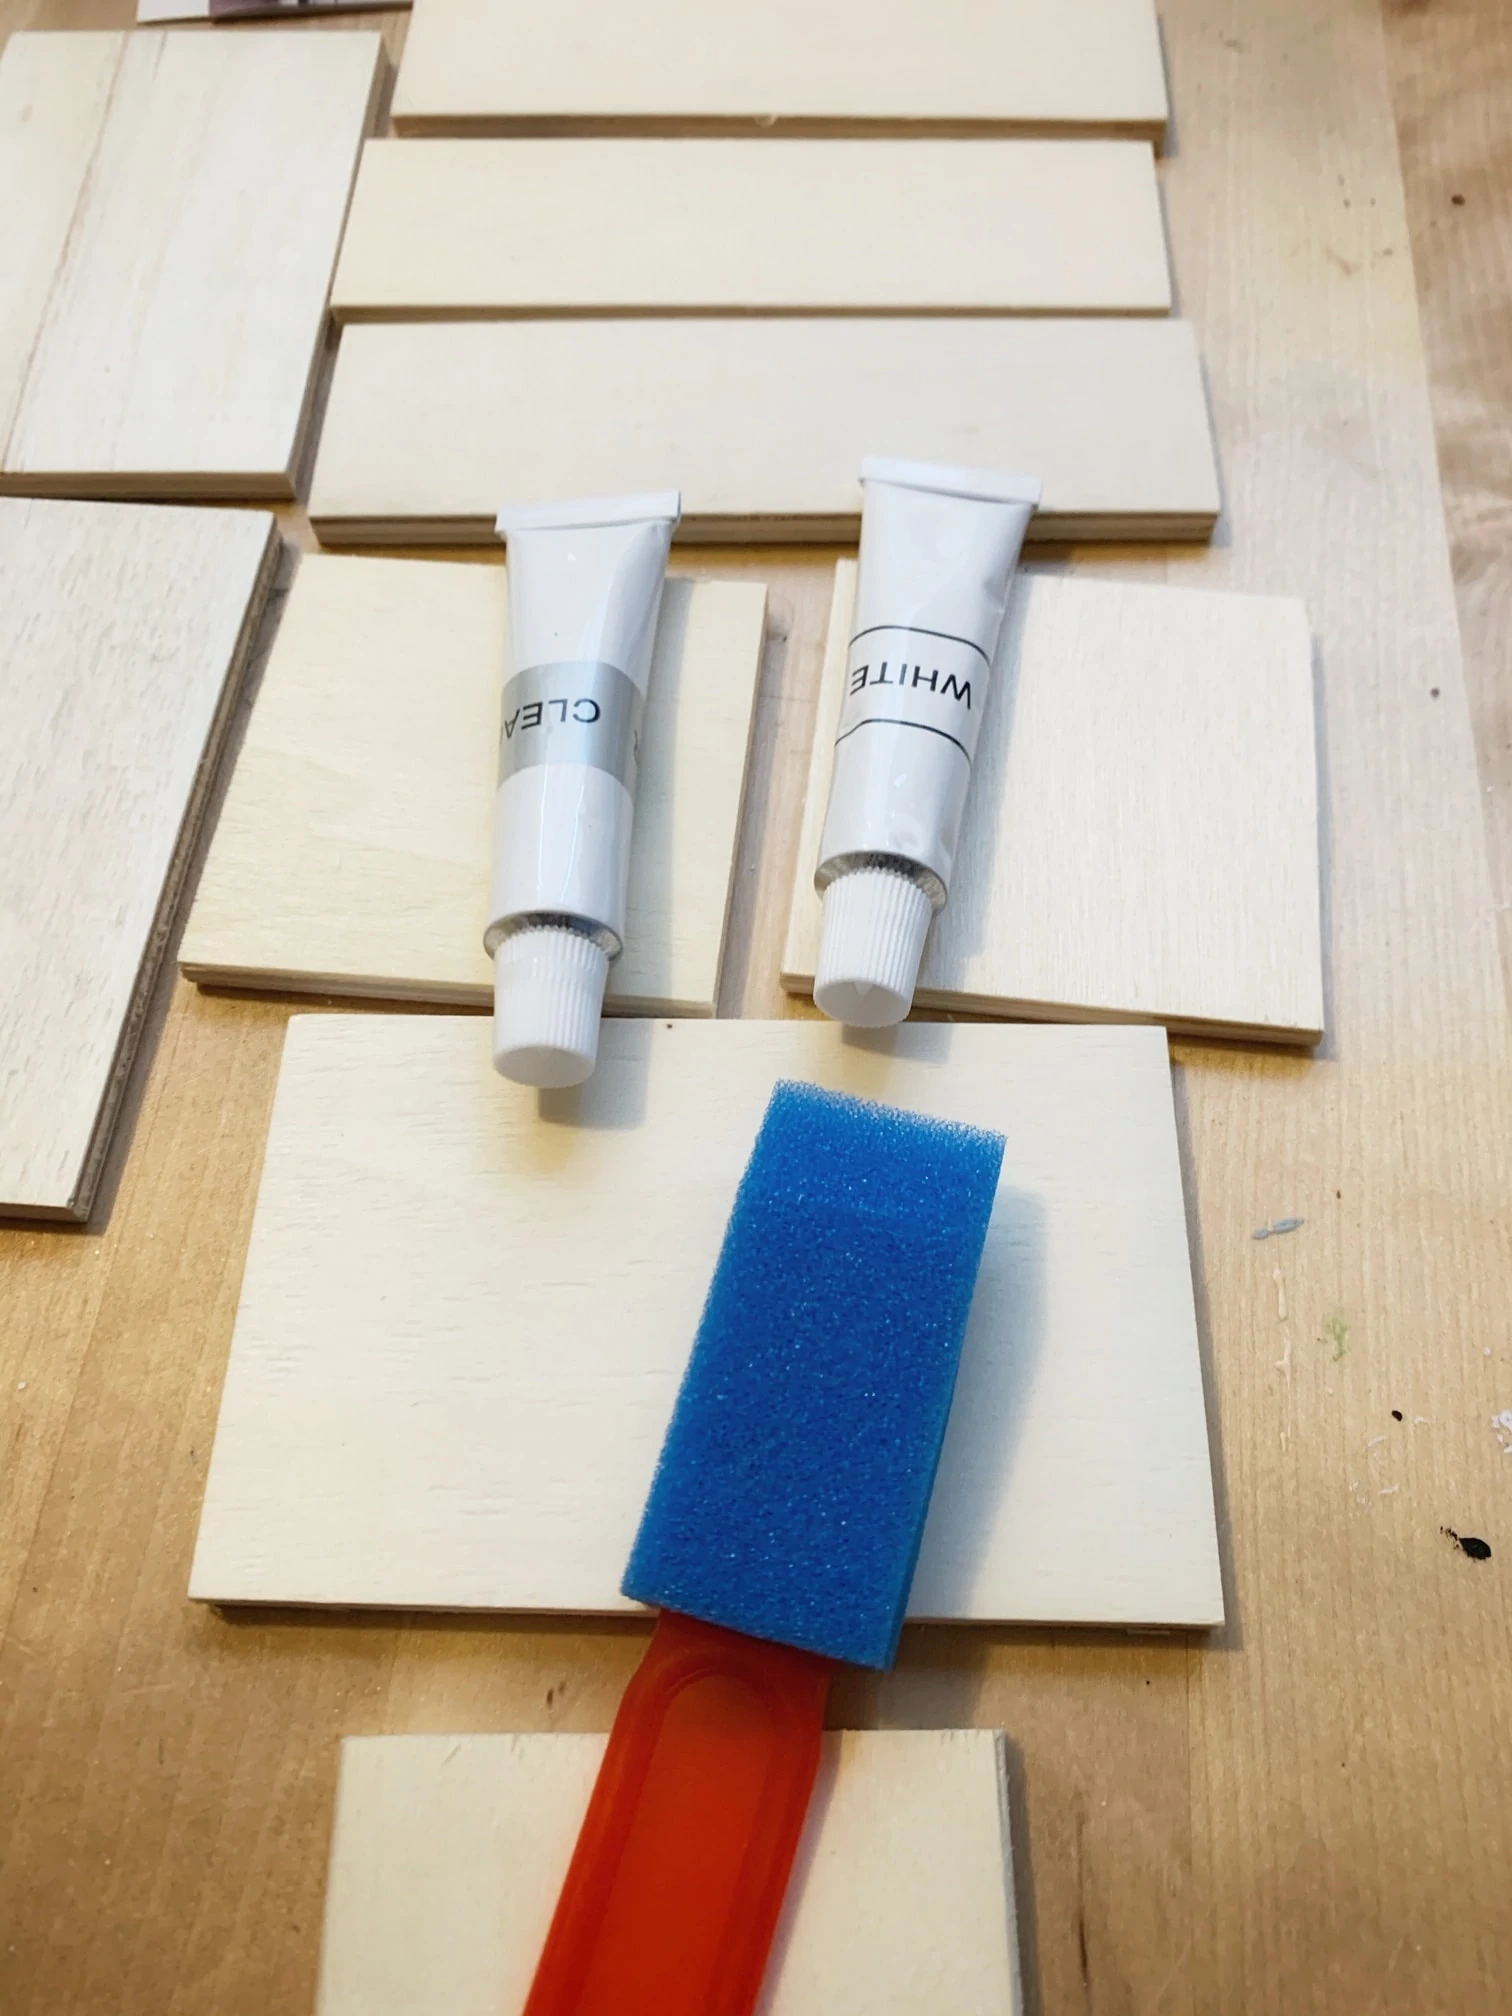
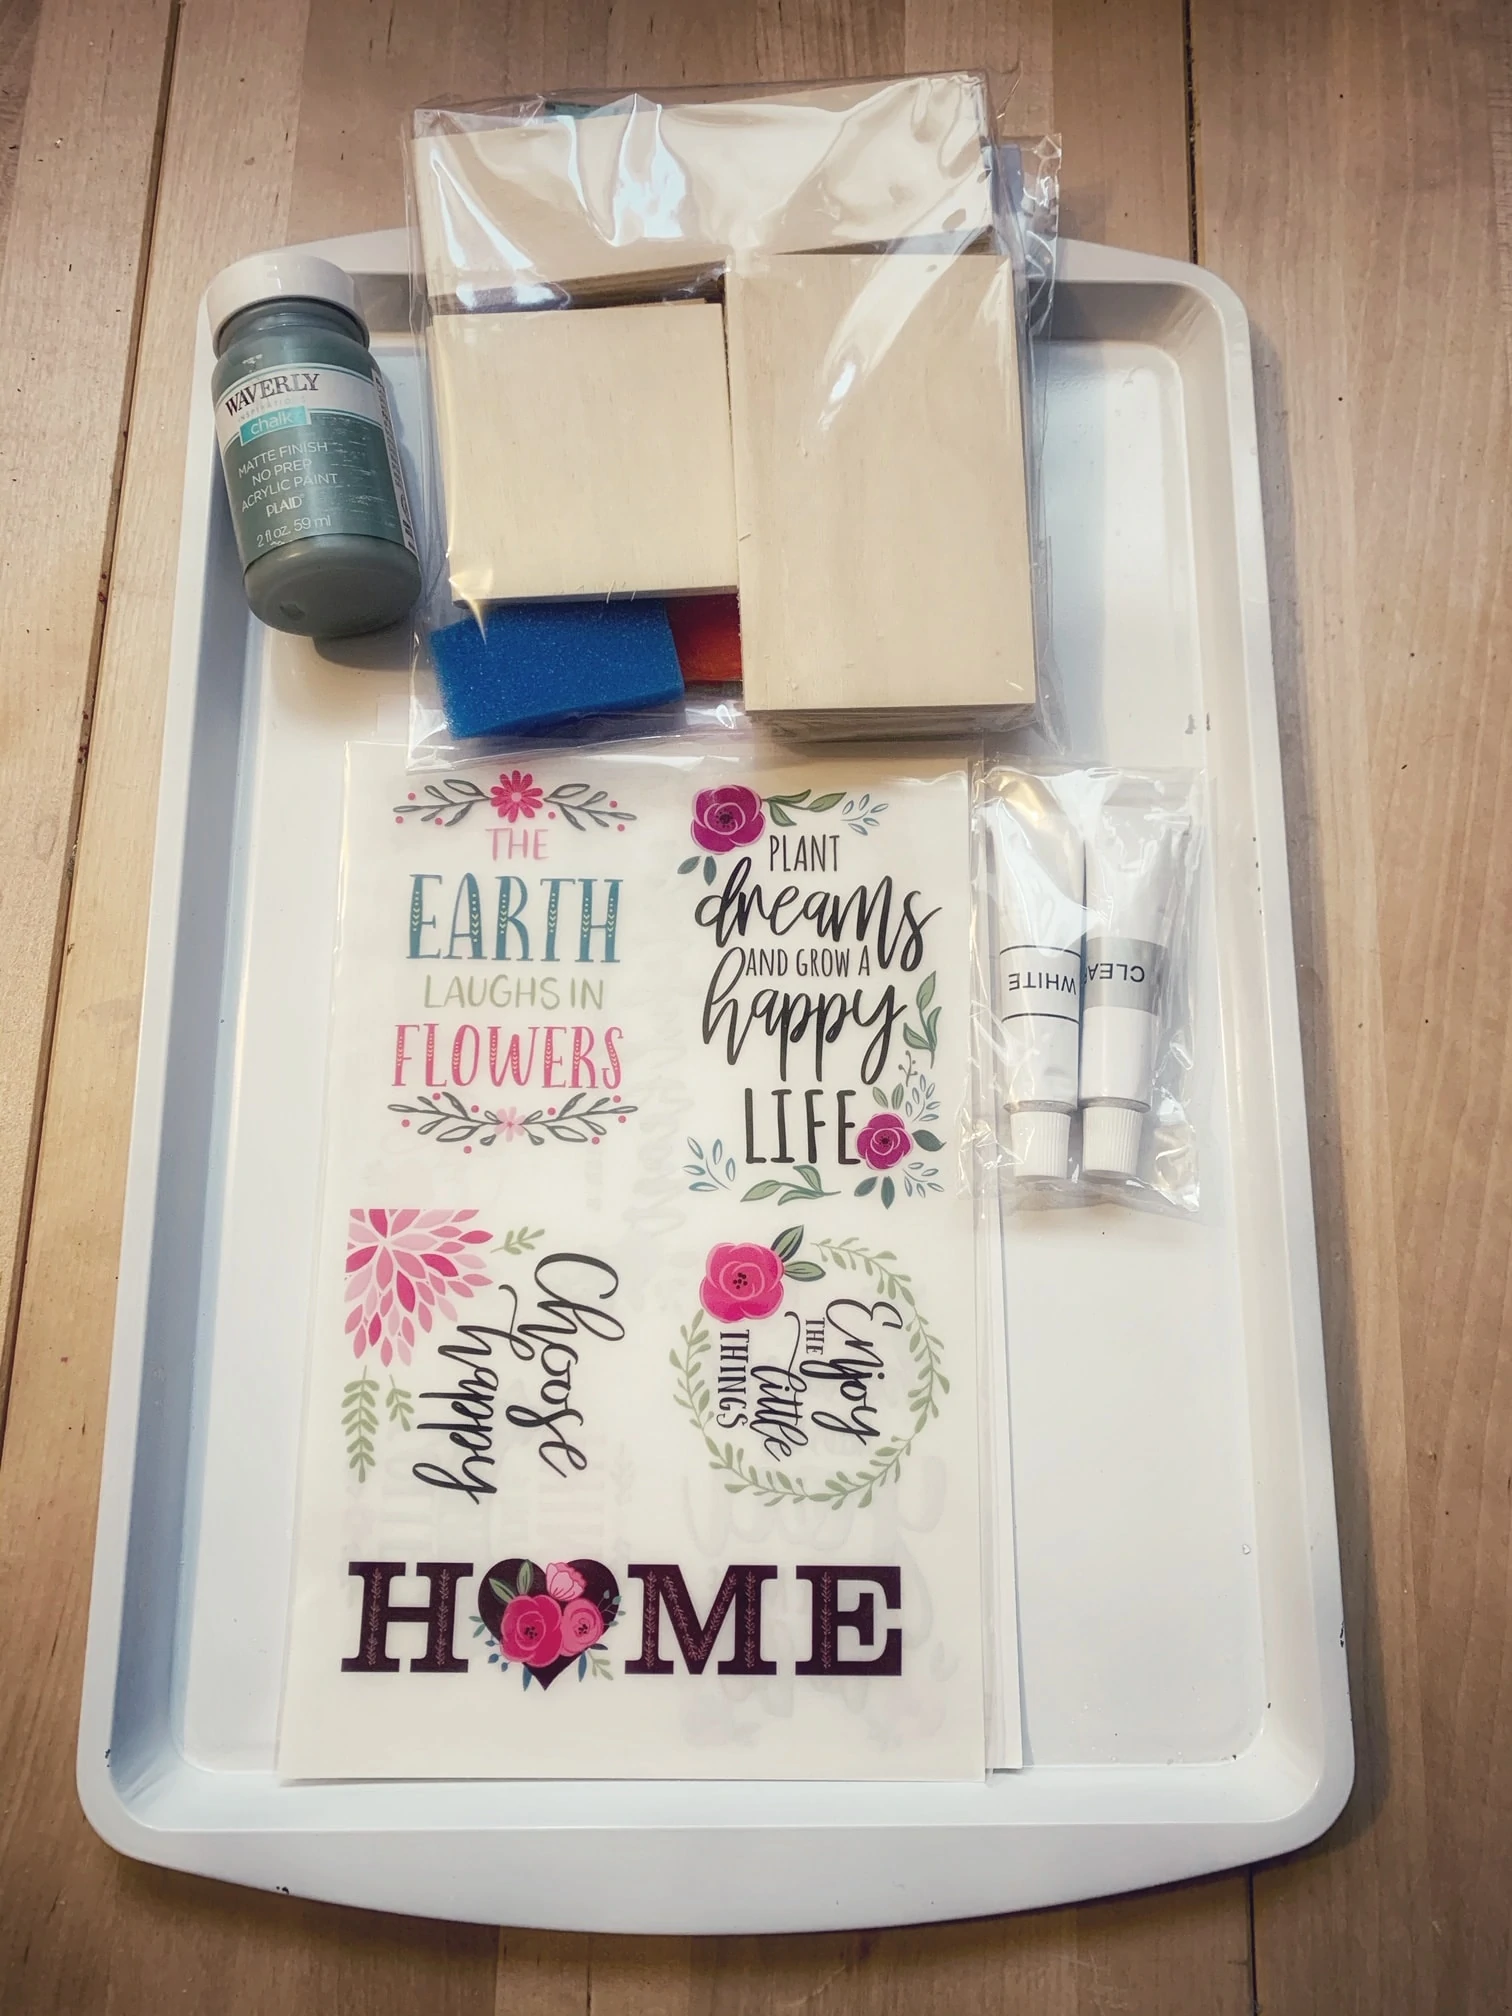
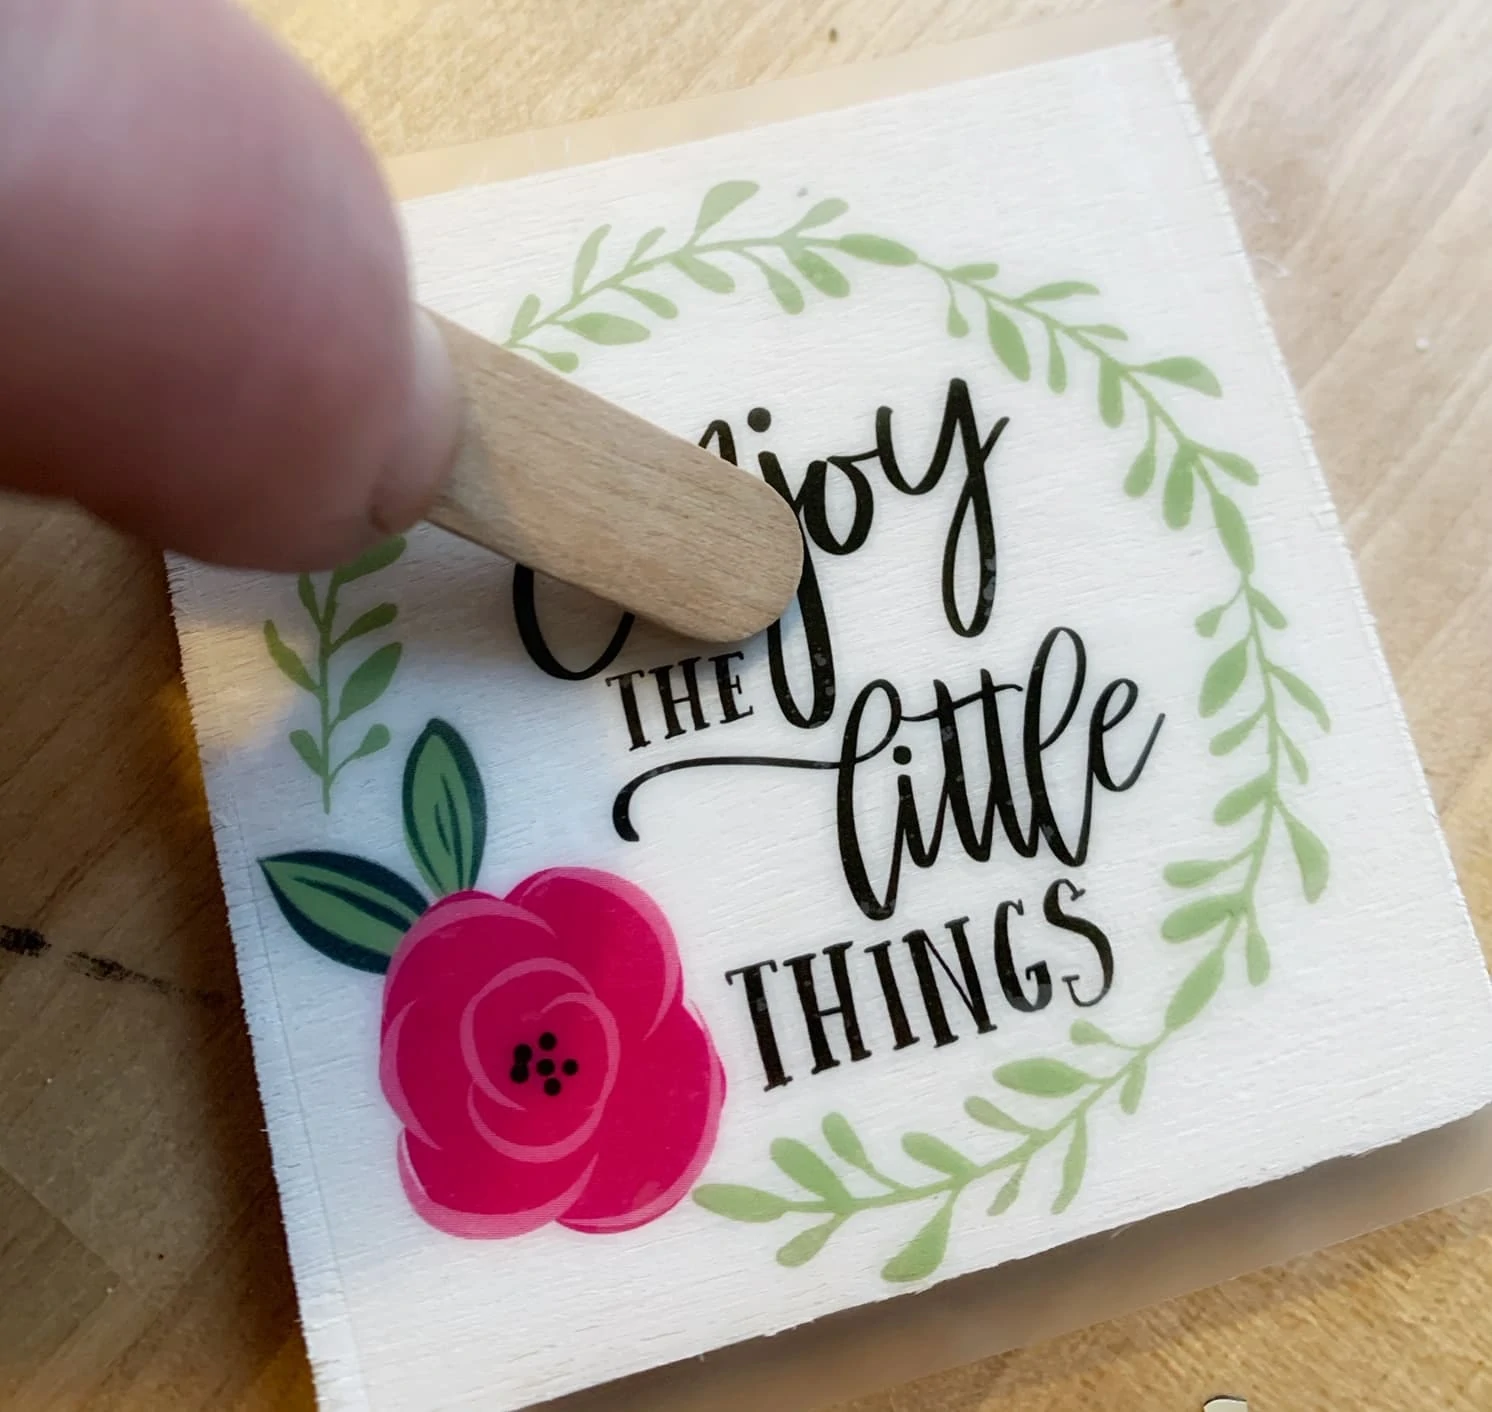
I got my magnet set from the Annies Craft Club, and loved it, but you can make your own too. If you like to craft, you should check out the Annies Craft Club subscription boxes. I love them, as they send you everything you need to do various craft projects. This one that I had been holding on to was for a magnet set. It included the designs you burnish onto wood blocks, and the magnet backings. I find them to be a great value too. For example, for these, I do have a Cricut and could have made them myself, but although the designs the are small, the number of vinyl colors I would have needed to replicate them would have cost quite a bit (not to mention trying to weed those things)! I highly recommend checking out the Annies Craft Club options here.
But back to this DIY magnet board project, you can buy your magnets or make them (and you could do something as simple as getting a roll of magnet backing at the dollar store and gluing it to buttons or other objects you like.
Supplies Needed for this DIY Magnet Board Cookie Sheet –
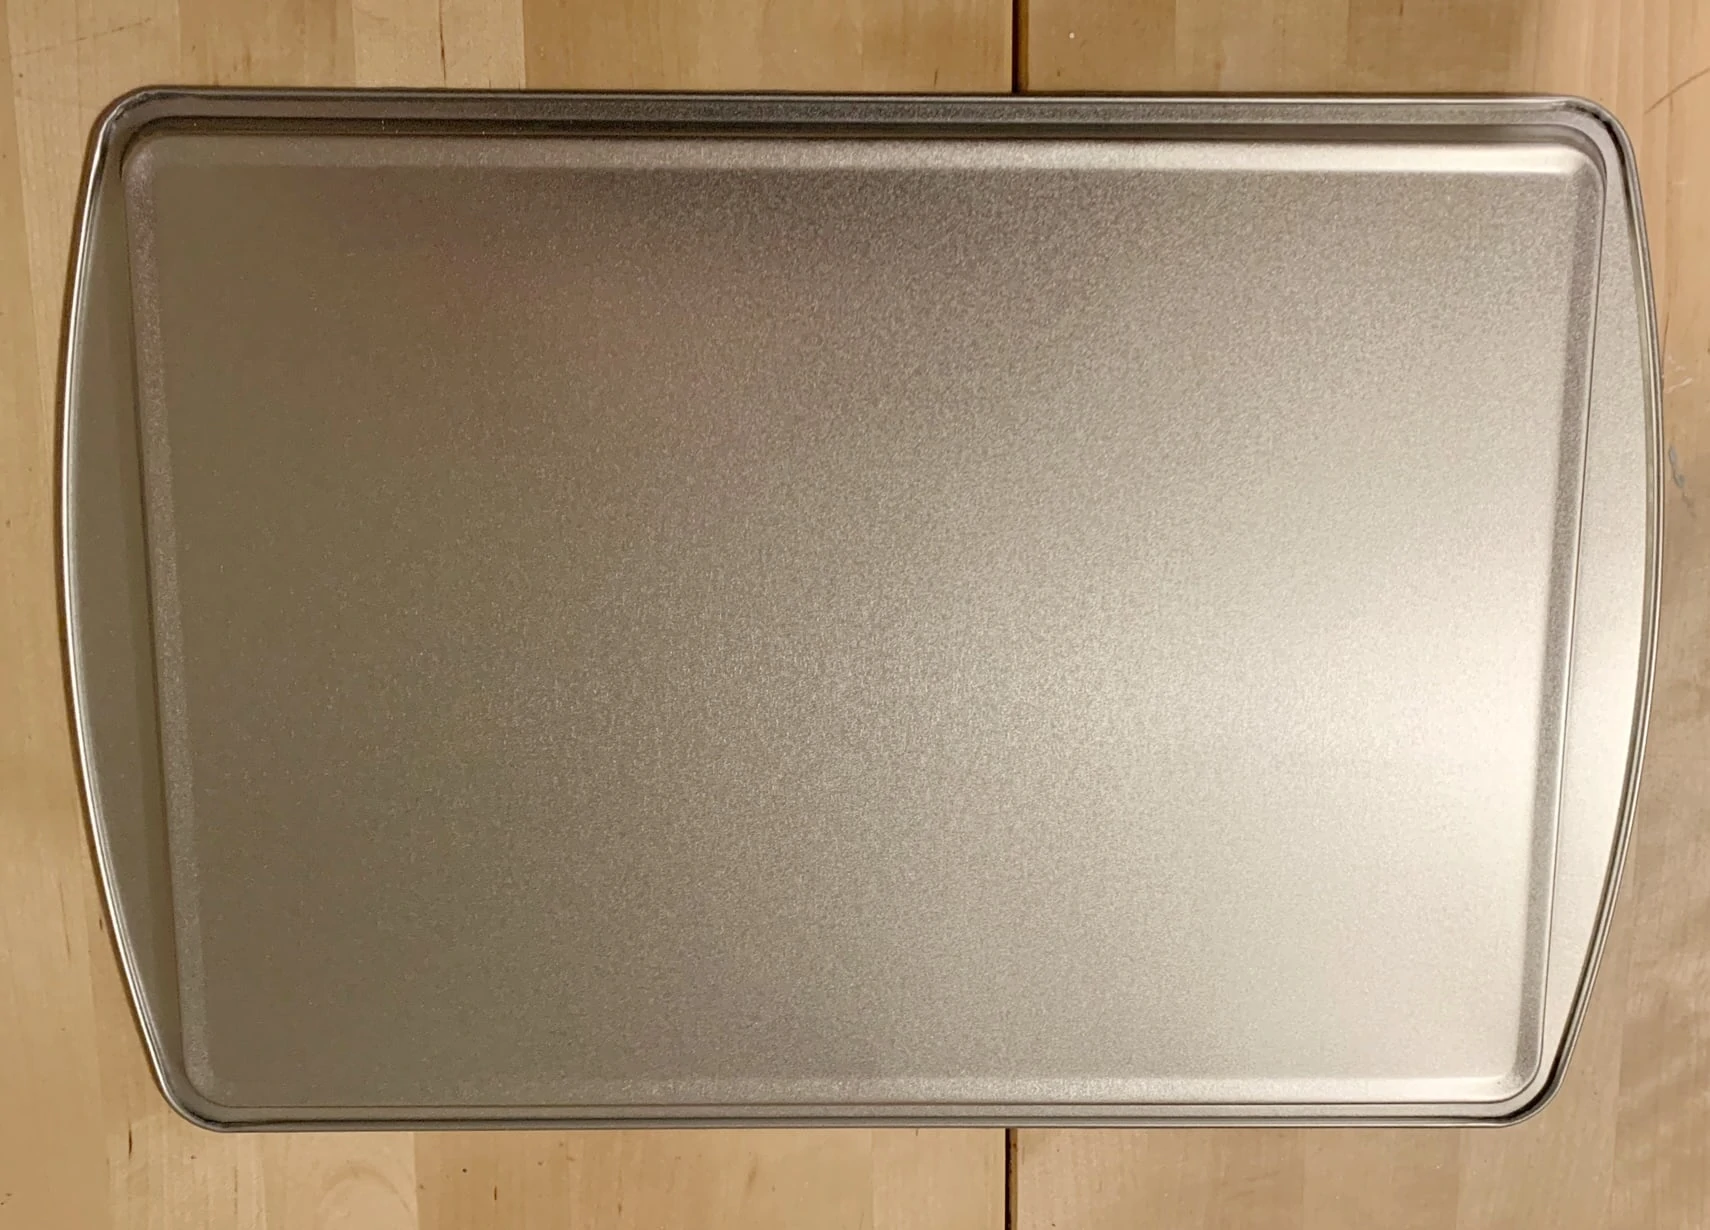
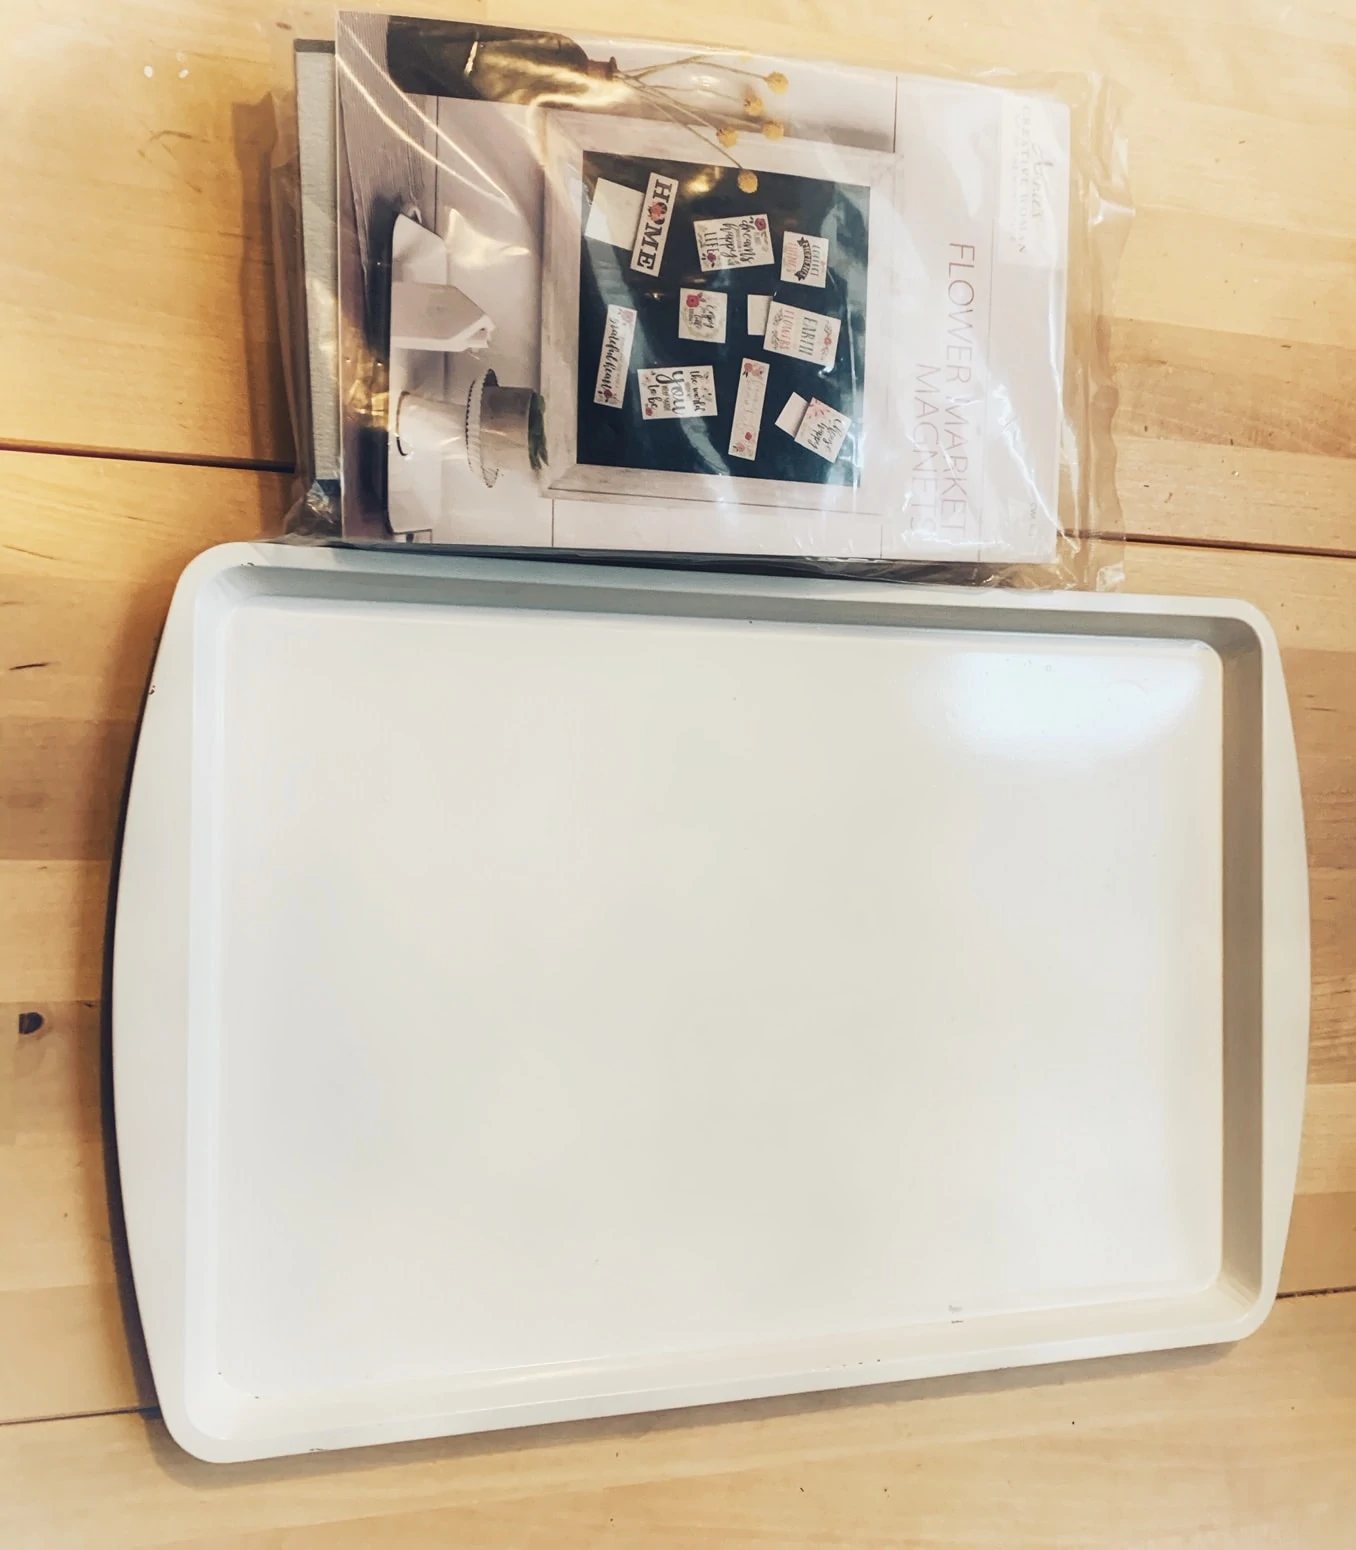
- Metal Cookie Sheet (I got mine at the Dollar store for $1 – you could also use the round pizza pans)
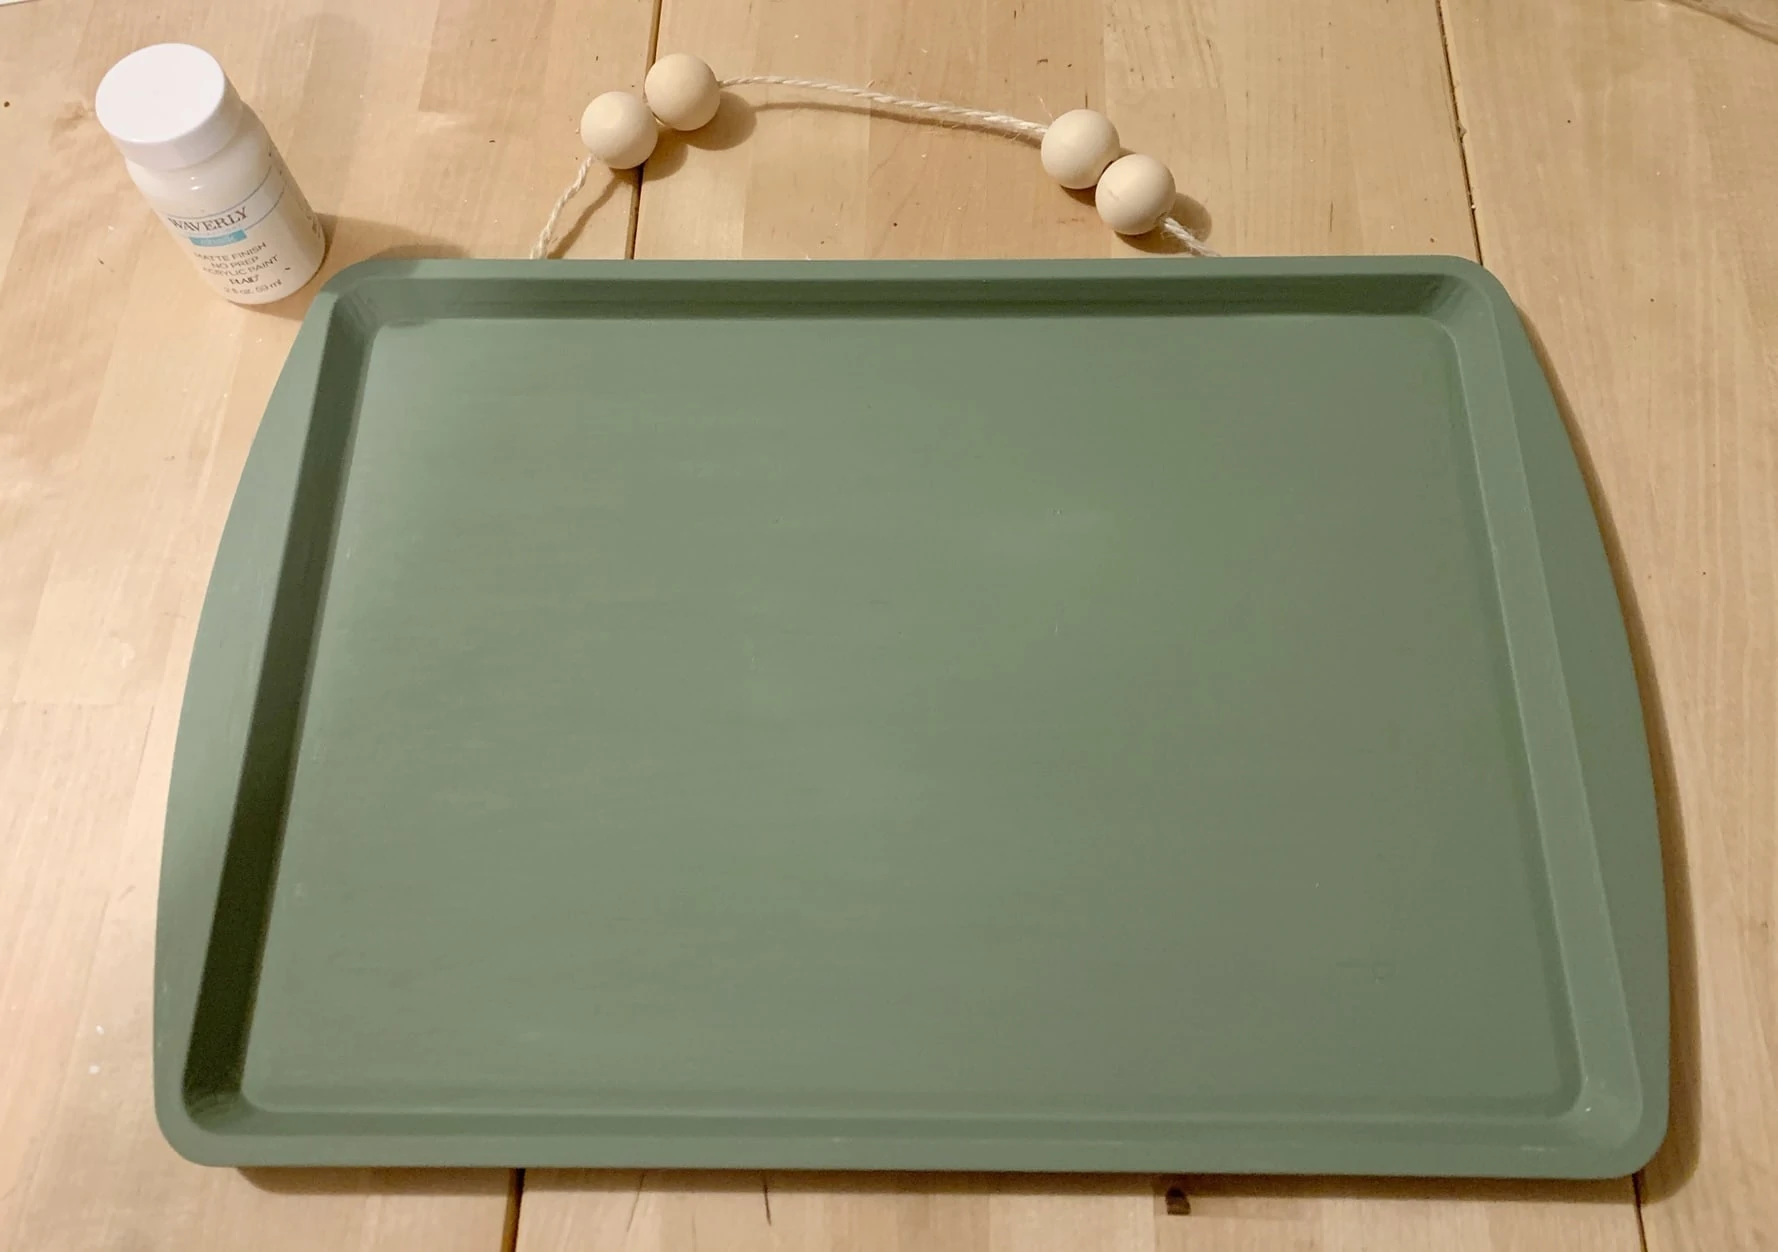
- Chalk Paint (I used these 2 oz Waverly ones from Walmart for $1.67 each)
- Magnets (we made ours from an Annies Craft Kit)
- Twine and wood beads to make the hanger (optional, you can hang however you want)
How to Make this DIY Magnet Board Cookie Sheet –
This project is so simple, and there are a couple of ways you can make it:
- You can do a paint treatment on the cookie sheet
- You can mod podge on some paper you love
- You can cut out a design from a machine like the Cricut to decorate it
Can you paint a magnet board?
You sure can! You can paint it with various paint finishes, as well as mod podge your favorite paper on and more – and the magnets should still stick without any issues. We painted our cookie sheet with a few coats of paint, and have had no issues with our magnets sticking.
What kind of paint did we use on our magnet board?
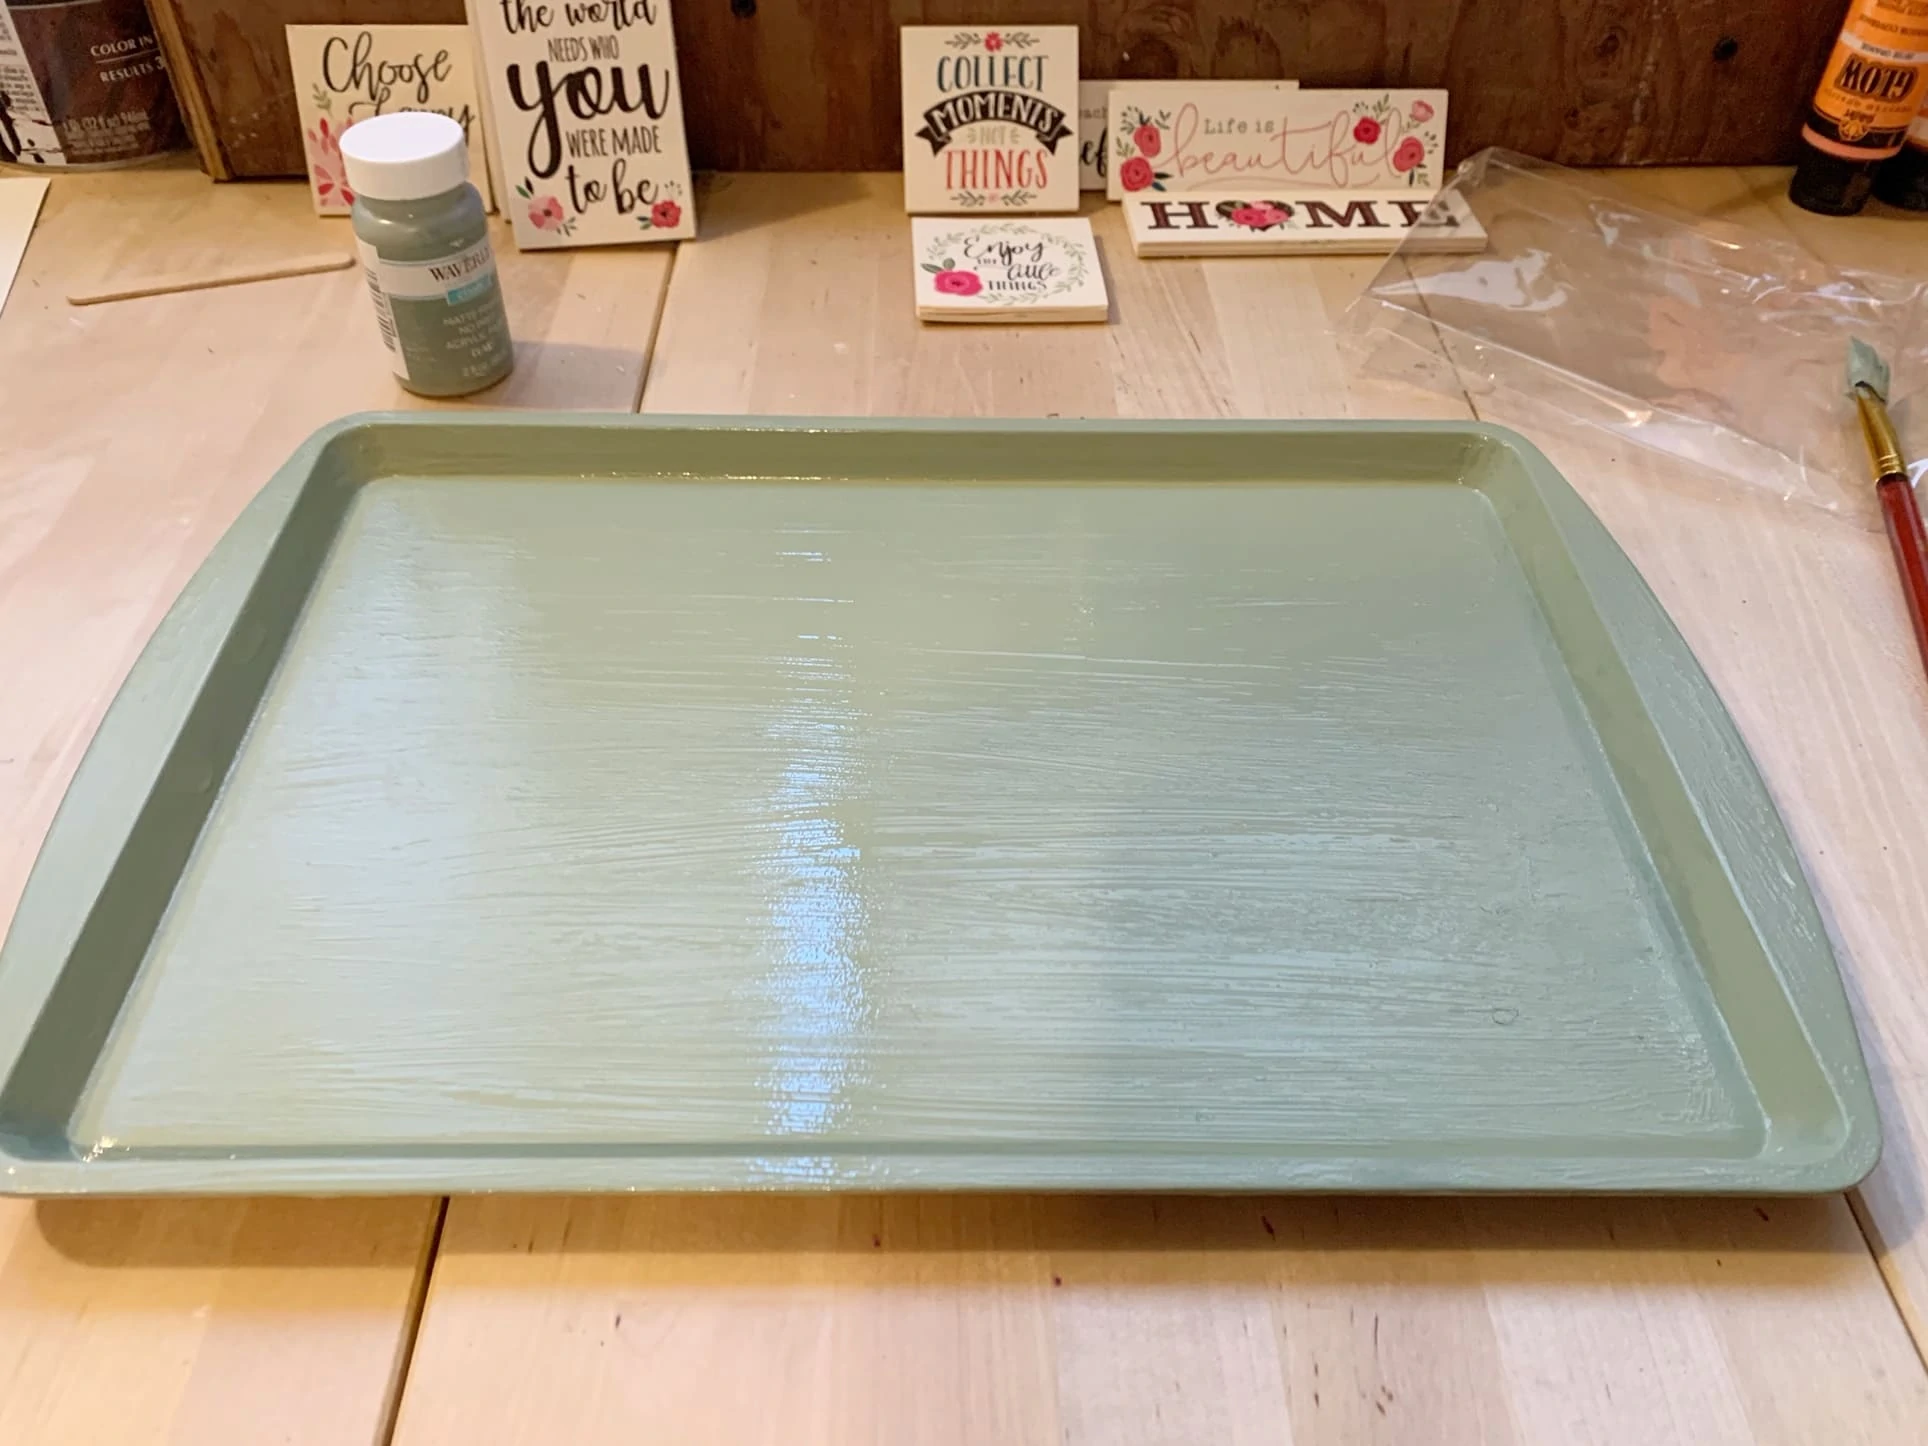
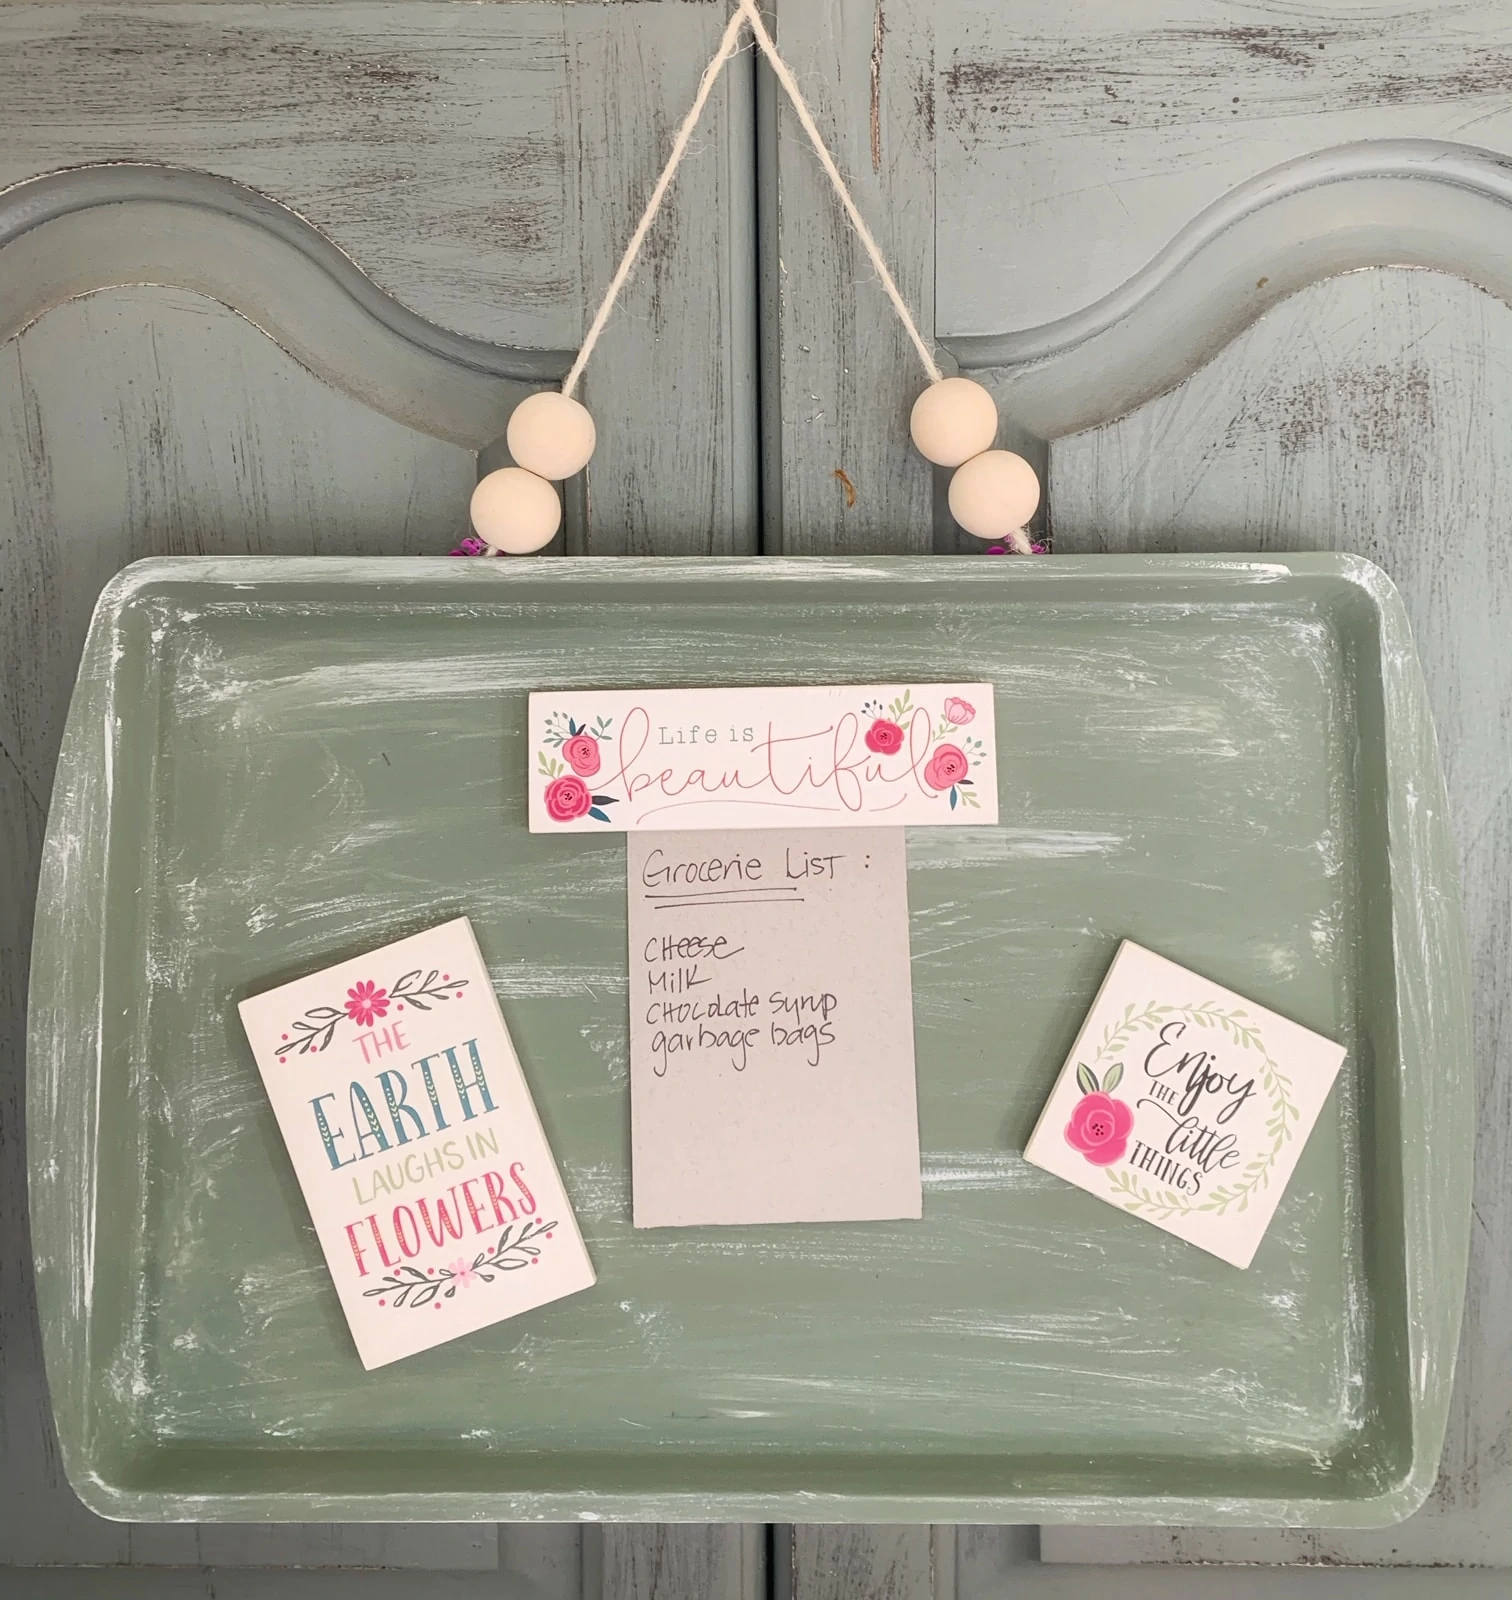
We decided to do a chalk treatment on our cookie sheet for a small home office space, just to create a place to display the magnets we made, and hold small reminders or pictures.
I also did a different treatment on both sides of the cookie sheet, to make it a reversible magnet board. These cookie sheets are not that big, so it was a great way to be able to use multiple magnets on one cookie sheet magnet board.
Here is how we made ours:
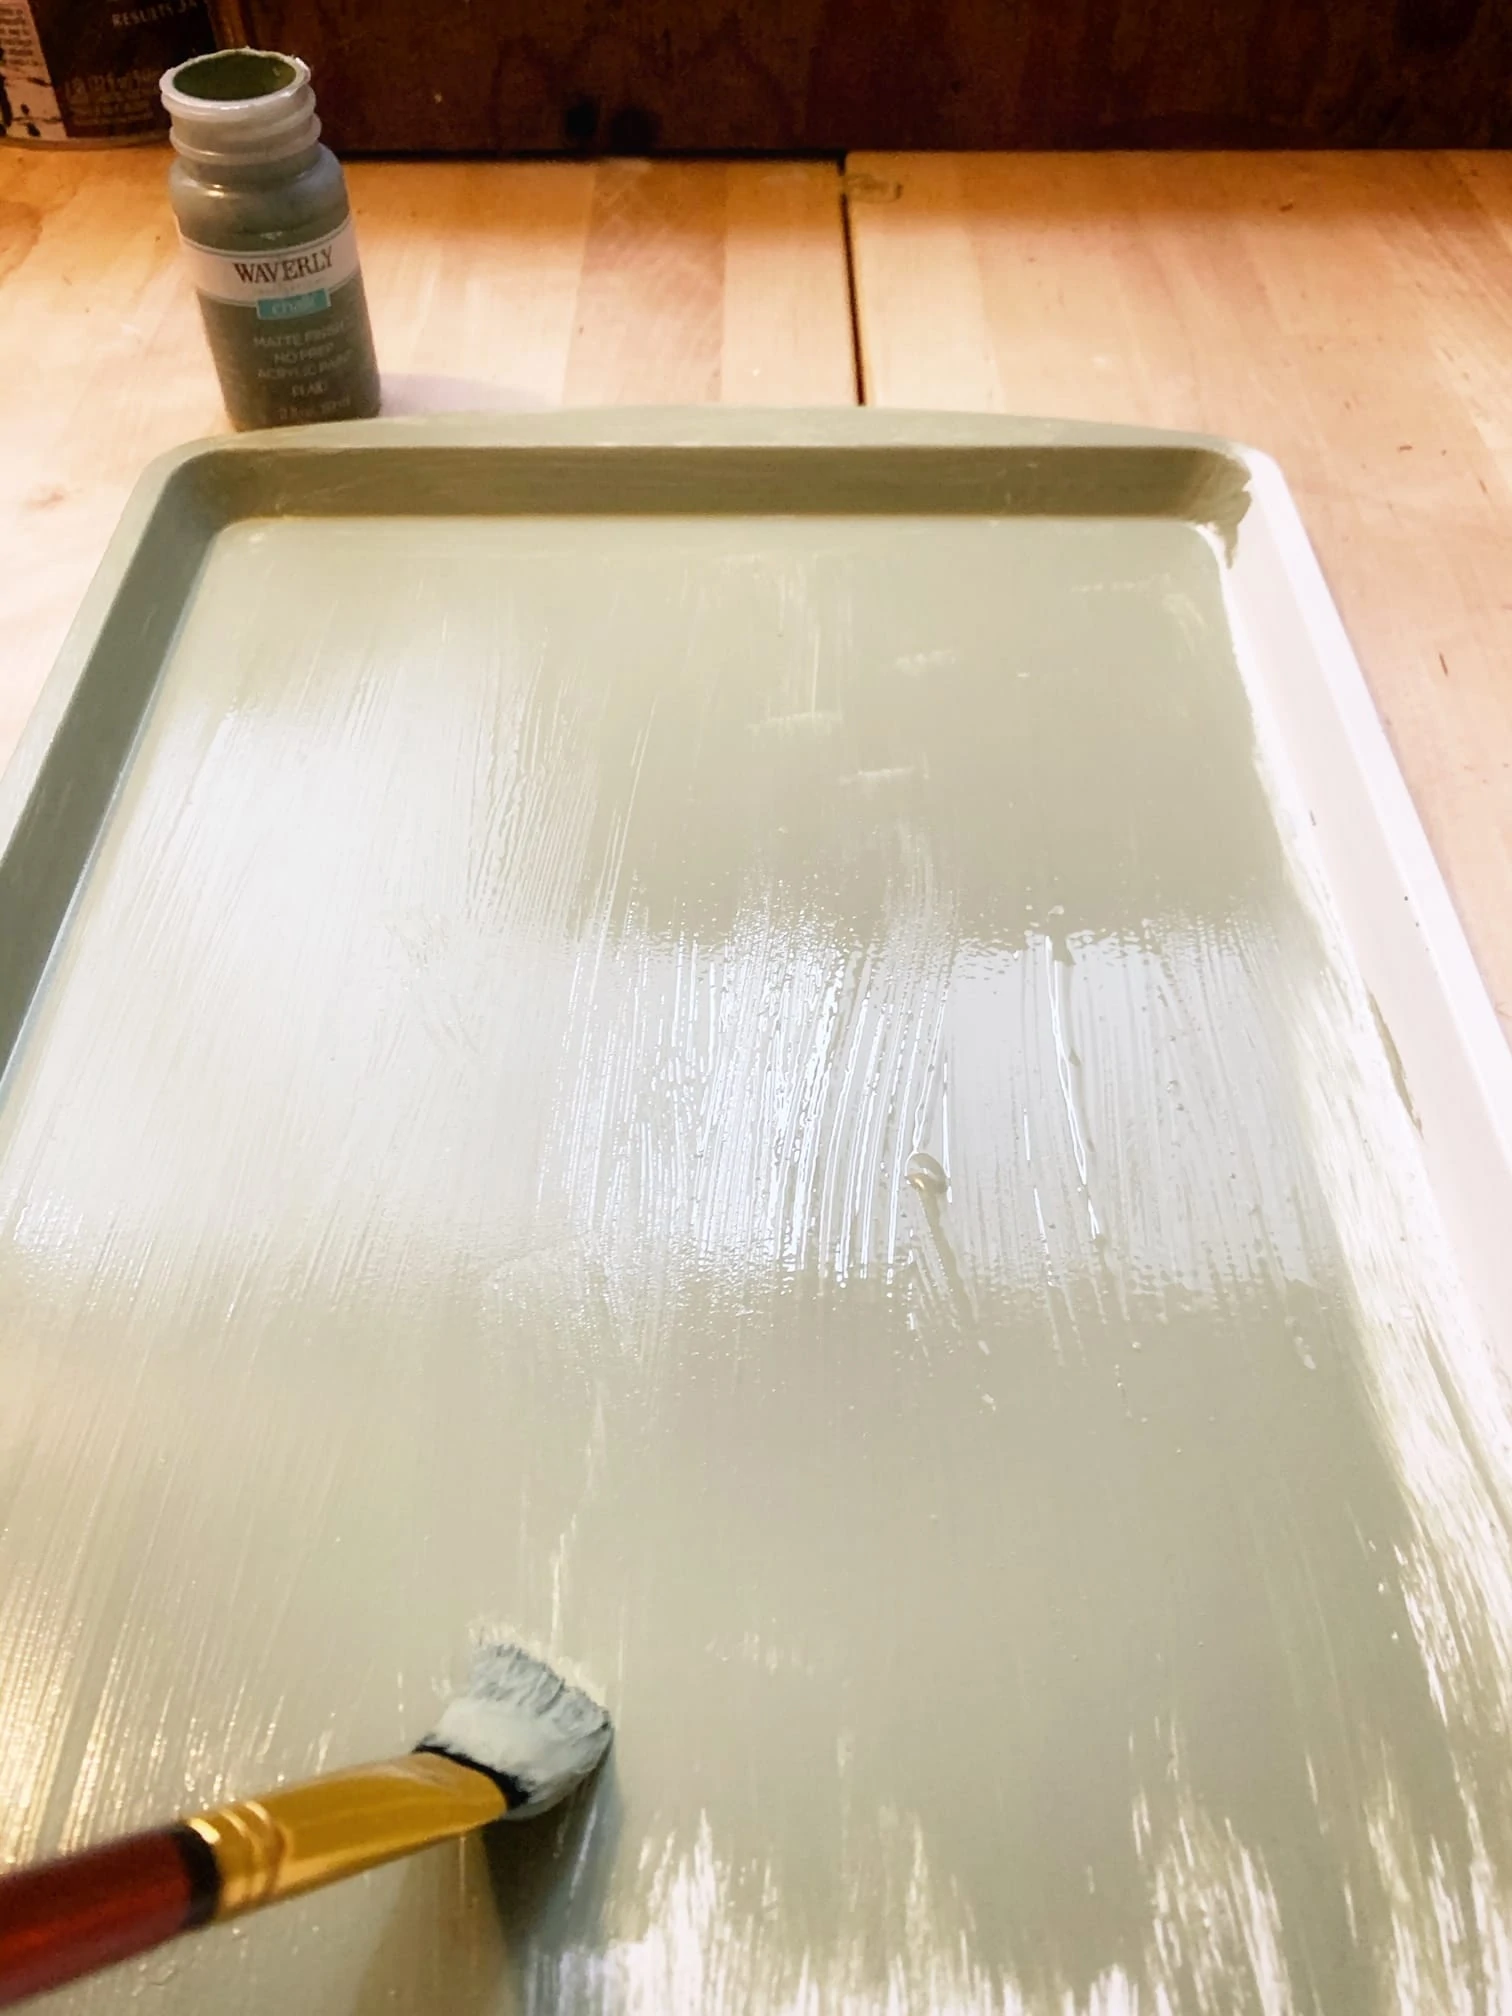
We painted one side (it took us two coats, with dry time in between). One one side we used one color, and then after two coats of that solid color, we used the cream color to dry brush on to create a distressed look.
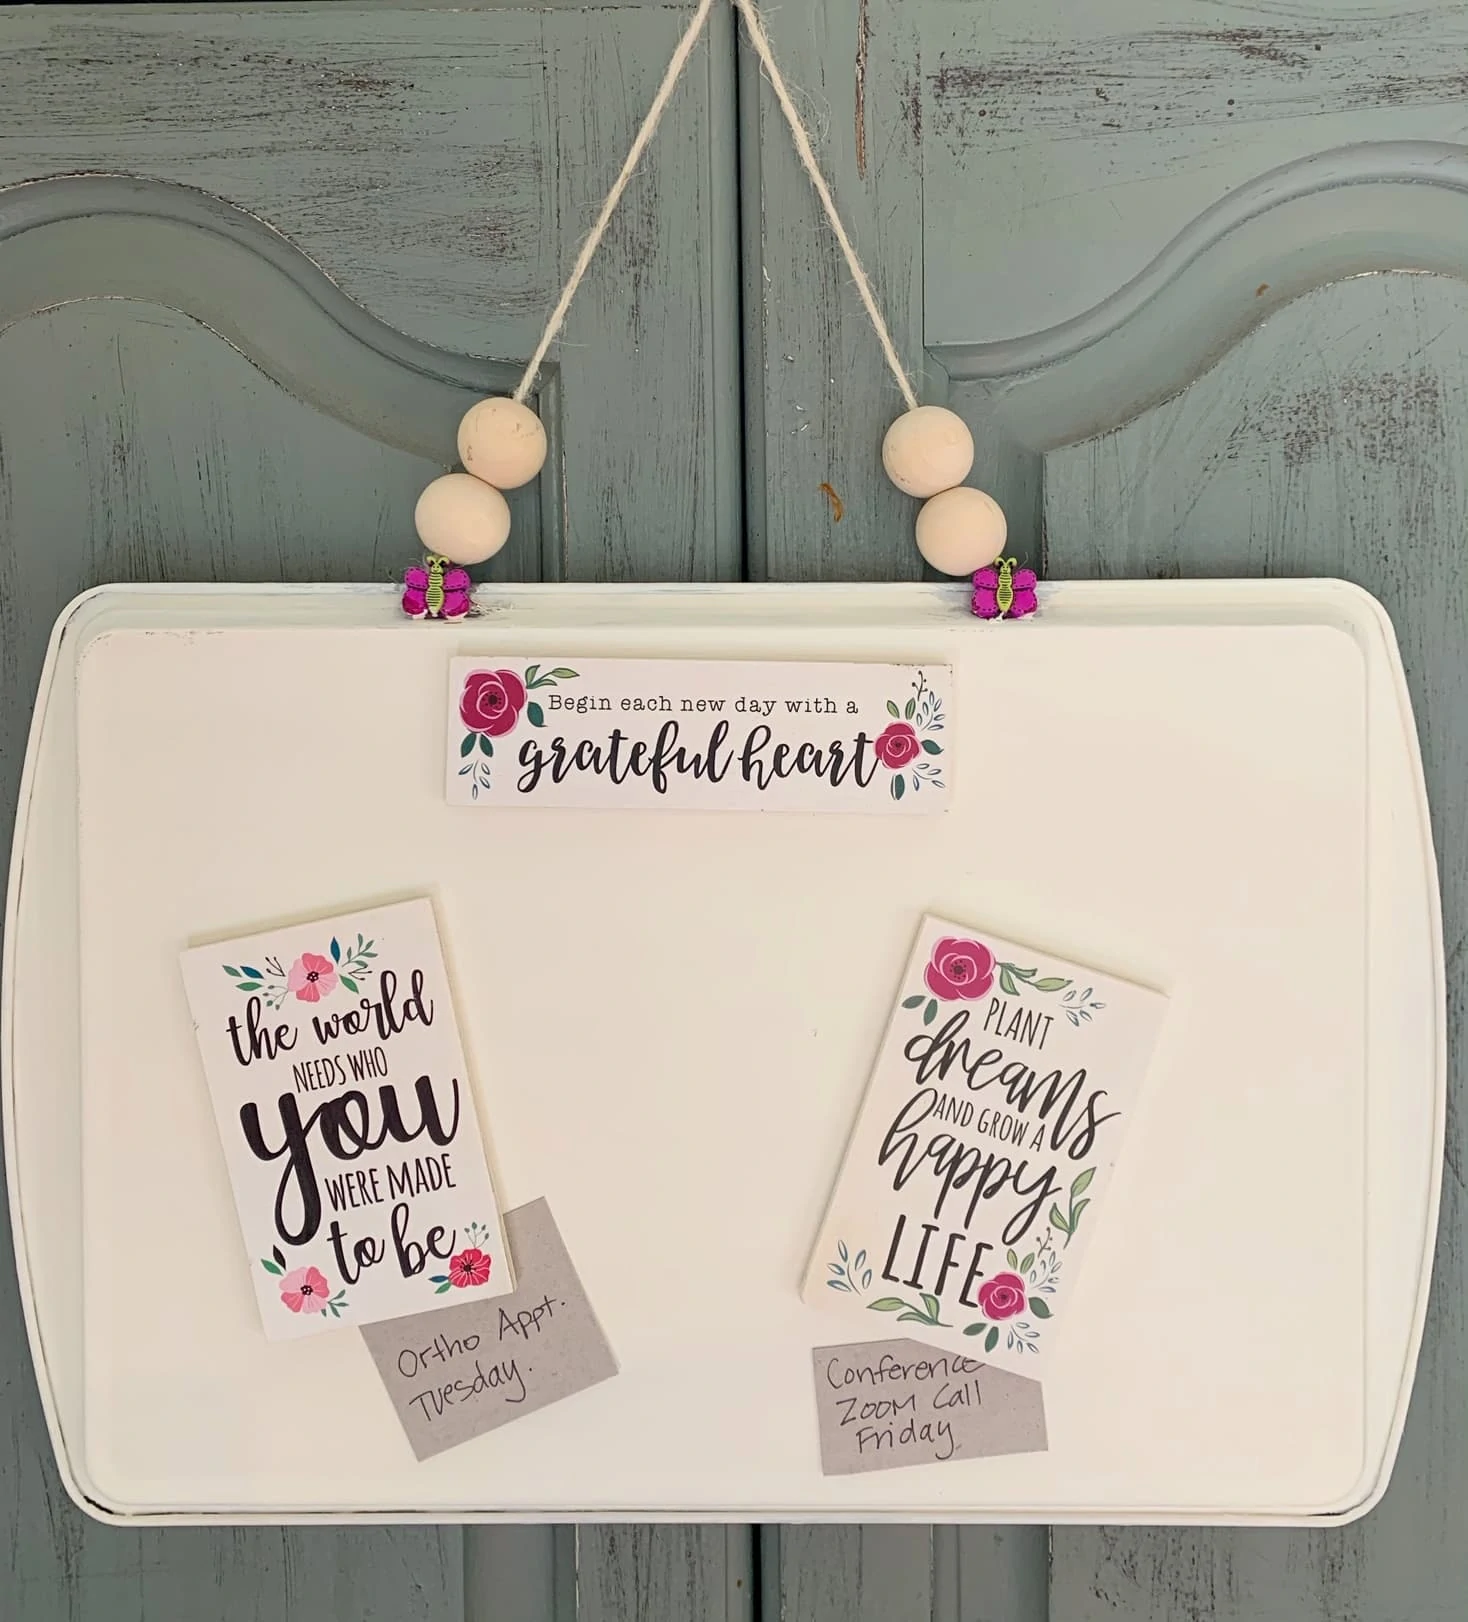
Once one side was painted and fully dry, flip it over and paint the back side, again giving it time to dry between coats. On the second side I just used a cream chalk paint to show off the magnets (as in this case, I really made this magnet board to highlight this magnet set I made from an Annies Craft Kit).
You can then add a protective coat (like a flat mod podge if you use a chalk finish). This step is optional, but it will give you more protection so that the paint does not scrape off when you move magnets around etc.
I did spray paint the pan first, to show you that you can also paint it this way if you prefer. The pictures do not really show texture well, but the chalk paint does add more texture to the magnet board then the regular spray paint did (I just used used a regular white, and it was a little shiny – not the look I was going for….but there are many different textures of spray paint available these days). Spray paint is the simplest method (and you can even get chalk board spray paint, but it is more expensive then the small Waverly paints – which is why I opted to use those for this project). It takes a few coats, but they dry quickly in between, so it will be your simplest method to get it painted.
Make your magnets that you want to attach to the diy magnet board (you could also buy these at the Dollar store if you prefer).
Now you will want to add something to hang it. We simply hot glued on some twine, with wood beads to give it a little more of that farmhouse look. Since it is reversible we used some decorative bee beads on the back, to disguise where to had glued the twine down (just hot glued these on top of those raw ends to give it a finished look).
Now it is time to add your magnets and display!
This project is so simple, but is such a cute design element for anyplace in your home you want to display reminders, photos or whatever else makes sense for a magnet board.
You might also like:
DIY Tin Flowers for Home Decor (Using Dollar Store Cookie Sheets)!

