DIY Headbands – How to Make Beautiful Headbands for Just a Couple of Dollars!
This post may contain affiliate links and I may be compensated for this post. Please read our disclosure policy here.
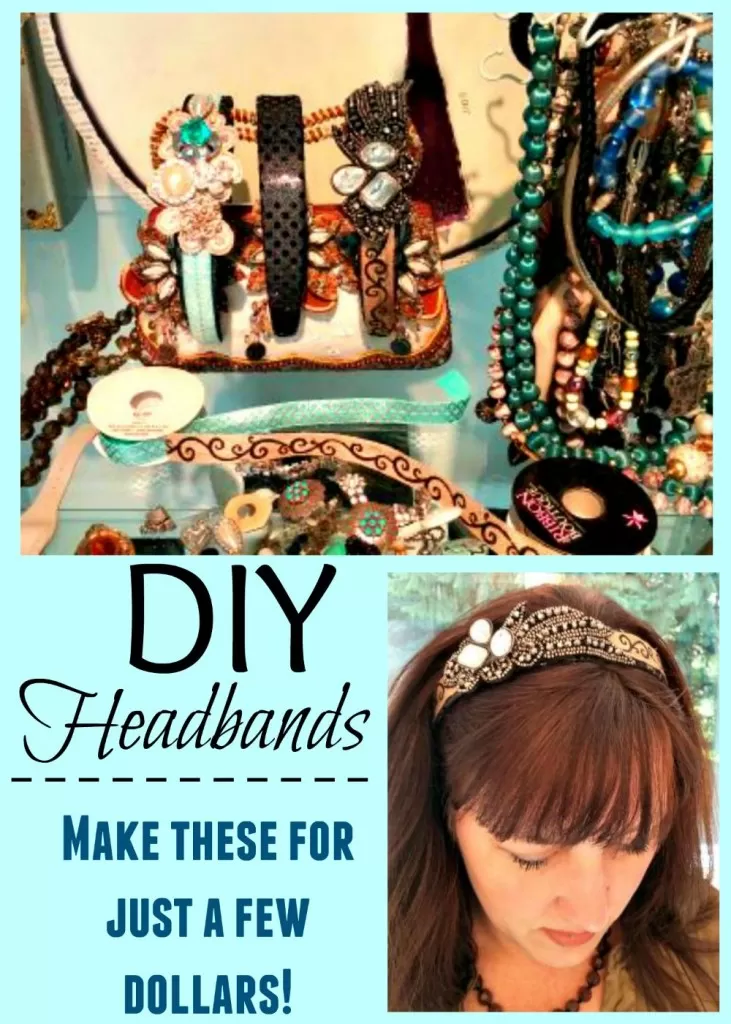
As we get ready for back to school, my girls and I were out looking at accessories, and specialty headbands can be very pricey at department stores. We decided that we would make our own instead this year, and it was a big success! We made them for as low as $1.60 ea (compare that to the $15 + price tag we were seeing many other places). Some of the fancy headbands were over $50. The way my kids lose things like this, those price tags were out of the question for us.
So we made our own.
Not only are they fun to make, but they turned out so cute. After gathering materials, they take very little time to actually make. The trick is to find the items you want to add to the plain headbands to embellish them, without spending too much on those. Here are some ideas on where you can gather supplies that are inexpensive, but won’t look cheap.
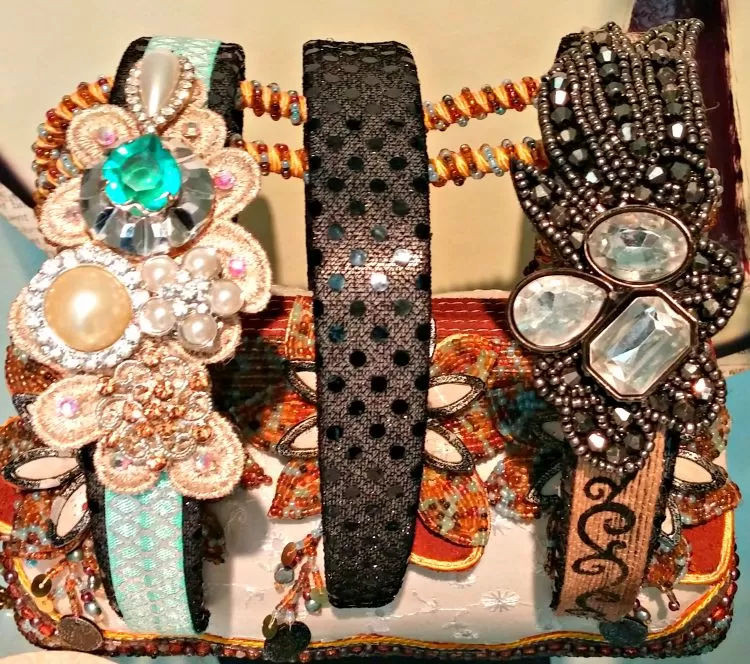
Start with the plain headbands (shown in the middle) we got for less then $1. Add ribbon, old earrings, appliques, flowers and more to come up with your own personalized embellished headband!
Materials:
We got our headbands from JoAnnes. They were $1 ea (and came in multiple colors) but JoAnnes often has coupons available too. We downloaded the JoAnnes App on our phone and got 20% off our purchase, making the headbands just $.80 ea. The Dollar store also sells $1 headbands, but I like the quality of the JoAnnes ones better. The Target Dollar Spot is another spot to keep your eye out for the plain headbands.
Items to embellish the headbands with can also be found at JoAnnes. We grabbed the flowers and jeweled ribbon for under $1 on the clearance rack at our local JoAnnes. After coupons, they were just $.80 (and the ribbon was a scrap piece left over from another project). When I am in JoAnnes I like to check the clearance section for items I think will look nice on headbands.
The Dollar Store fake flowers are another great place to grab some flowers you can add to the headbands.
We like to shop thrift stores, like Value Village (or garage sales) for the jewel items. Think outside the box. Look for old earrings or brioches you can take apart and use on the headbands. Or appliques from belts or other craft projects.
Thin ribbon that you love is another great item to grab when you see it on sale.
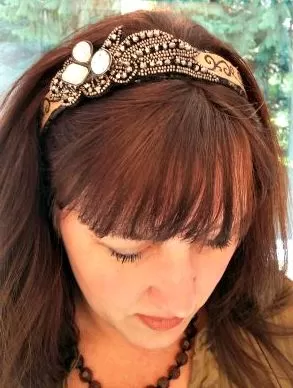
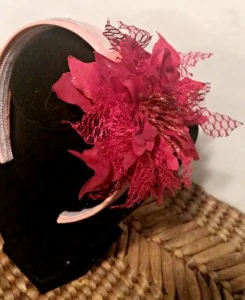
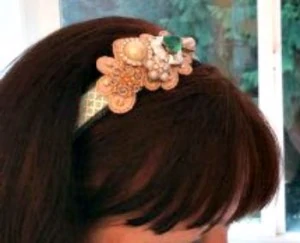
If you look at the picture above you will notice that we layered those headbands quite a bit. We started with a line of ribbon on the plain headband, and then added a part of an old belt we find (that is the beaded section on the black and brown one) and then some old earrings we found and clipped the stem off of. The funnest part of making this is to be creative, and just keep trying combinations until you make something you love.
You will also need a hot glue gun and hot glue sticks if you do not already have these items on hand.
How To Make These DIY Headbands:
- Start by laying out the supplies you have collected. Then you will simply use your hot glue gun to attach them embellishments to the plain headbands, to make them beautiful!
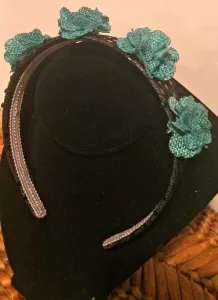
- To keep it really simple, start by hot gluing a flower you love to the headband. These headbands take just minutes to make, but are perfect to dress up kids outfits.
- To step it up a bit, add a ribbon to your headband before adding a flower.
- Next you can get really creative, by starting to layer all of the other items we mention above. You will simply use the hot glue gun to start attaching the items in the combinations you like. Its that simple, and so much more inexpensive then buying them pre-made. Plus you can make them to color coordinate with your outfits, or those of your kids.
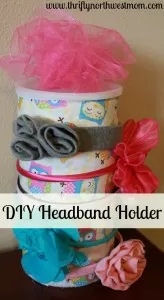
And be sure to check out our post on how to make a DIY headband holder too!


Thank you for this post. Did you buy satin covered headbands or plain ones? I did visit Joann’s but I’m confused about the headbands to use.