Caramel Apple Pops Recipe – Kid Friendly + Less Mess!
This post may contain affiliate links and I may be compensated for this post. Please read our disclosure policy here.
Caramel Apple Pops Recipe
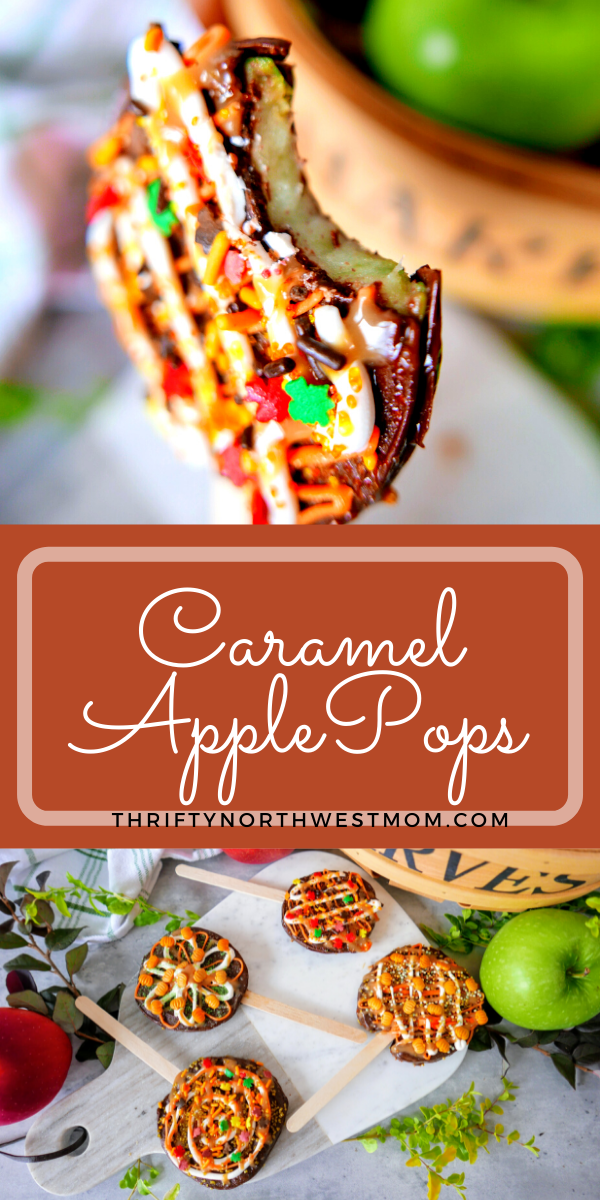
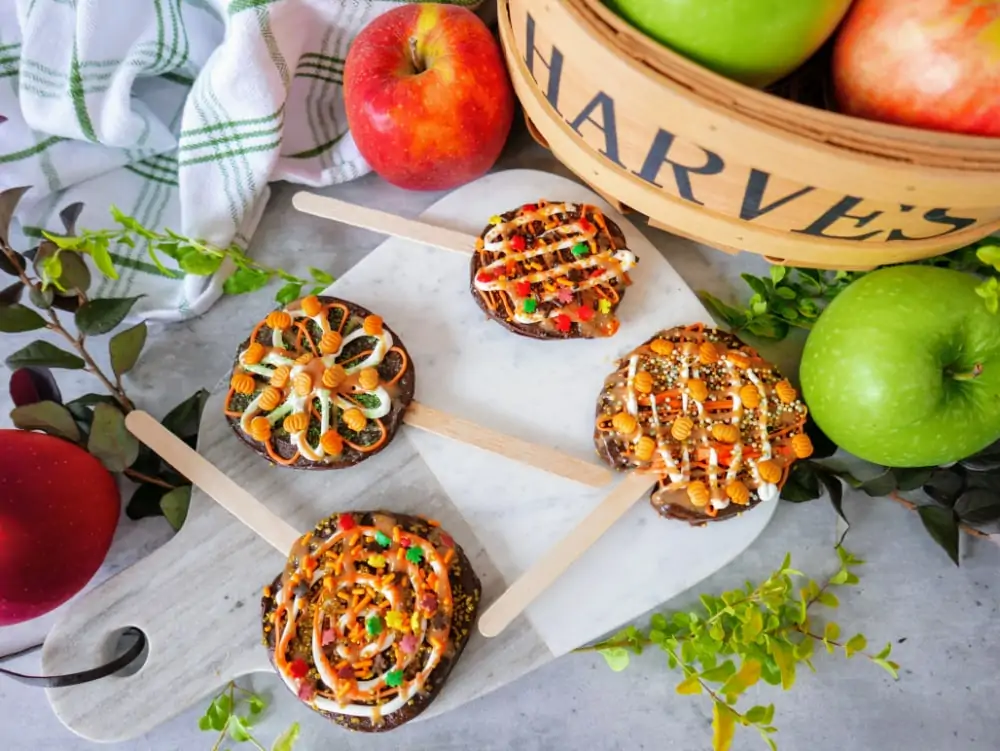
If you’re looking for a fun fall treat for a Halloween party, Harvest party or just a fun fall after-school snack, these Caramel Apple Pops are the perfect treat to make! I love a good homemade caramel apple, but they can be so big & messy to eat with all the caramel dripping and it always seems to end up on your face & hands everywhere – so good, but so sticky!
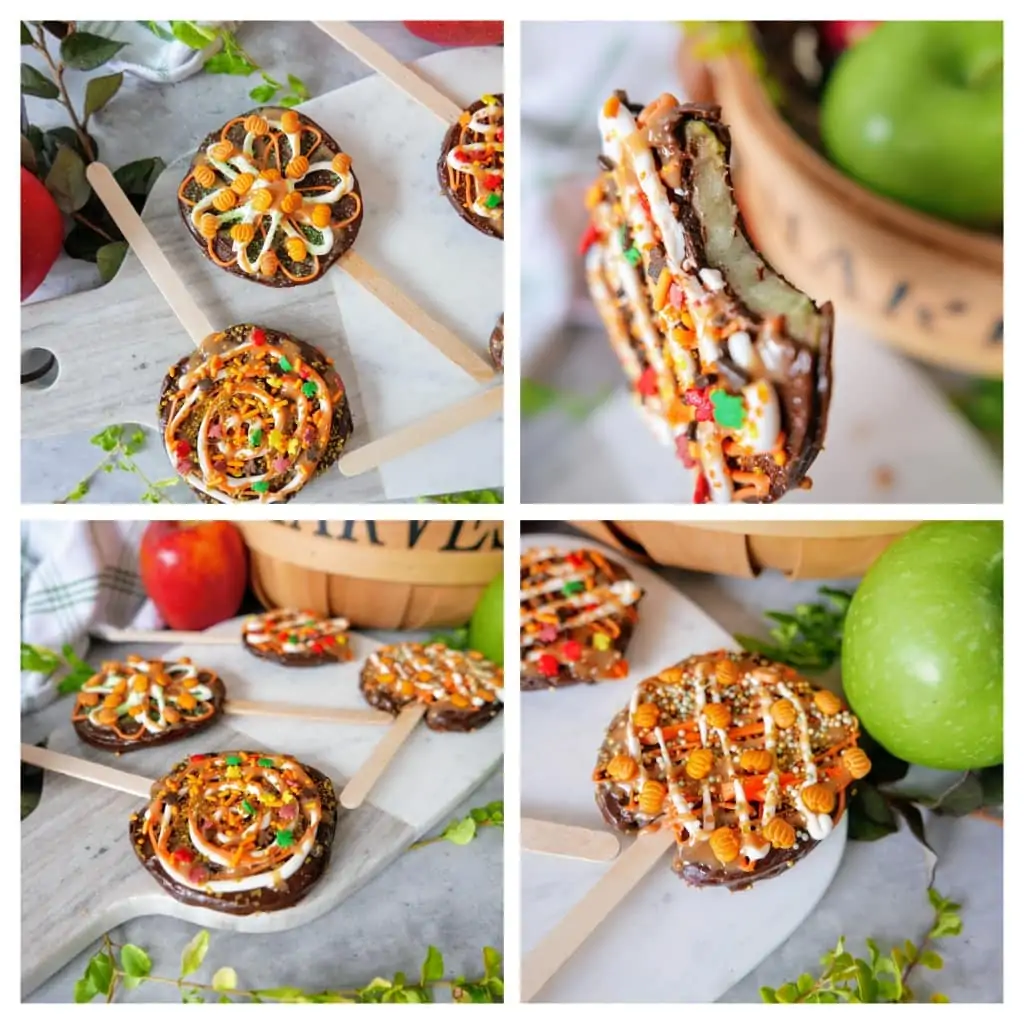
So I love that these caramel apple pop bites are so much more manageable! Plus, you combine both chocolate + caramel for the perfect combo with your tart apples! What a fun but healthier treat option in the fall!
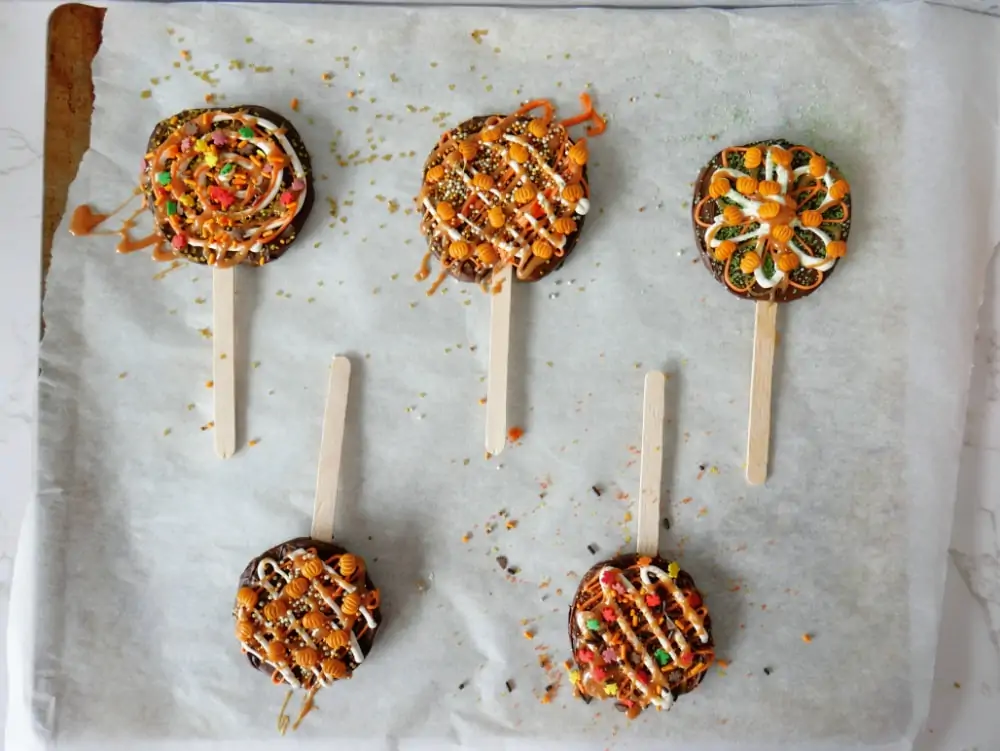
Kids will love decorating these on their own & making fun designs with the frosting & sprinkles! These are so fun to have as a fall activity & then enjoy the treat when they are all done! I love how versatile these are, too – you can add more caramel if you love caramel or just add a touch of caramel. And so many fun designs to put on your caramel apple lollipops + sprinkles to give it your own unique look!
Caramel Apple Pops:
The serving size is 5-6 pops. Time to make these is 20 minutes
Ingredients:
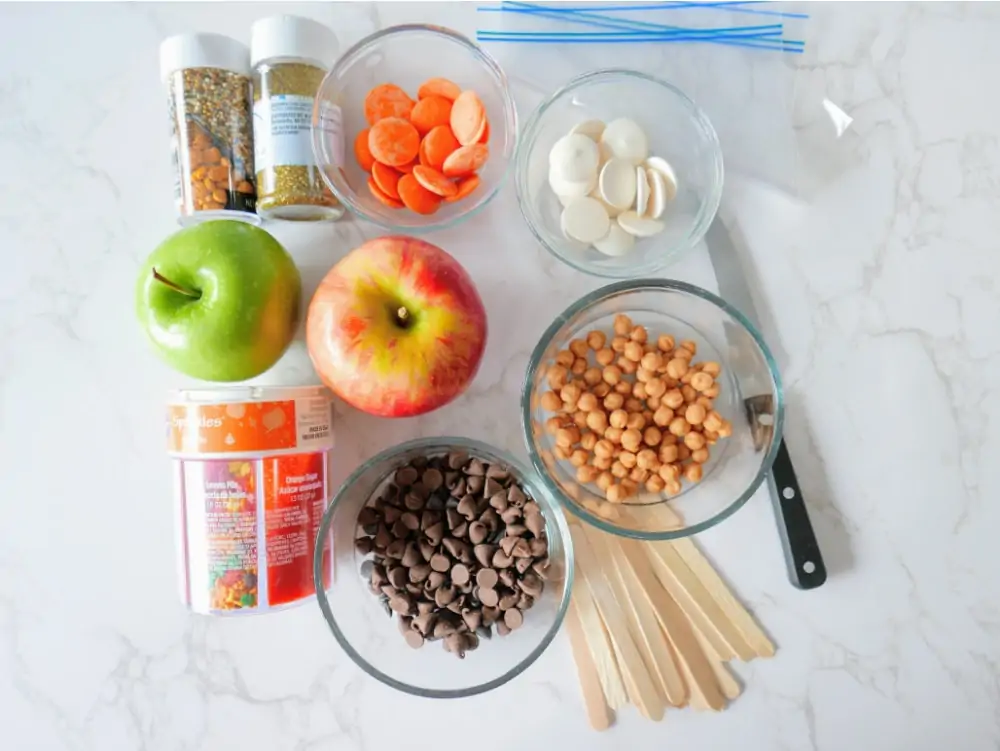
- Large apple (I used Granny Smith, but you could use any variety you prefer)
- 1 ½ c milk chocolate chips (you could substitute dark chocolate, white chocolate, or mix milk and dark together)
- Small popsicle sticks
- Sharp knife
- Paper towels
- Spoon or silicone spatula
- ¼ c orange candy melts
- ¼ c white candy melts
- 2 sandwich size baggies
- ⅓ c caramel bits
- Sprinkles in various colors and shapes
- Parchment paper
- Baking sheet
Directions:
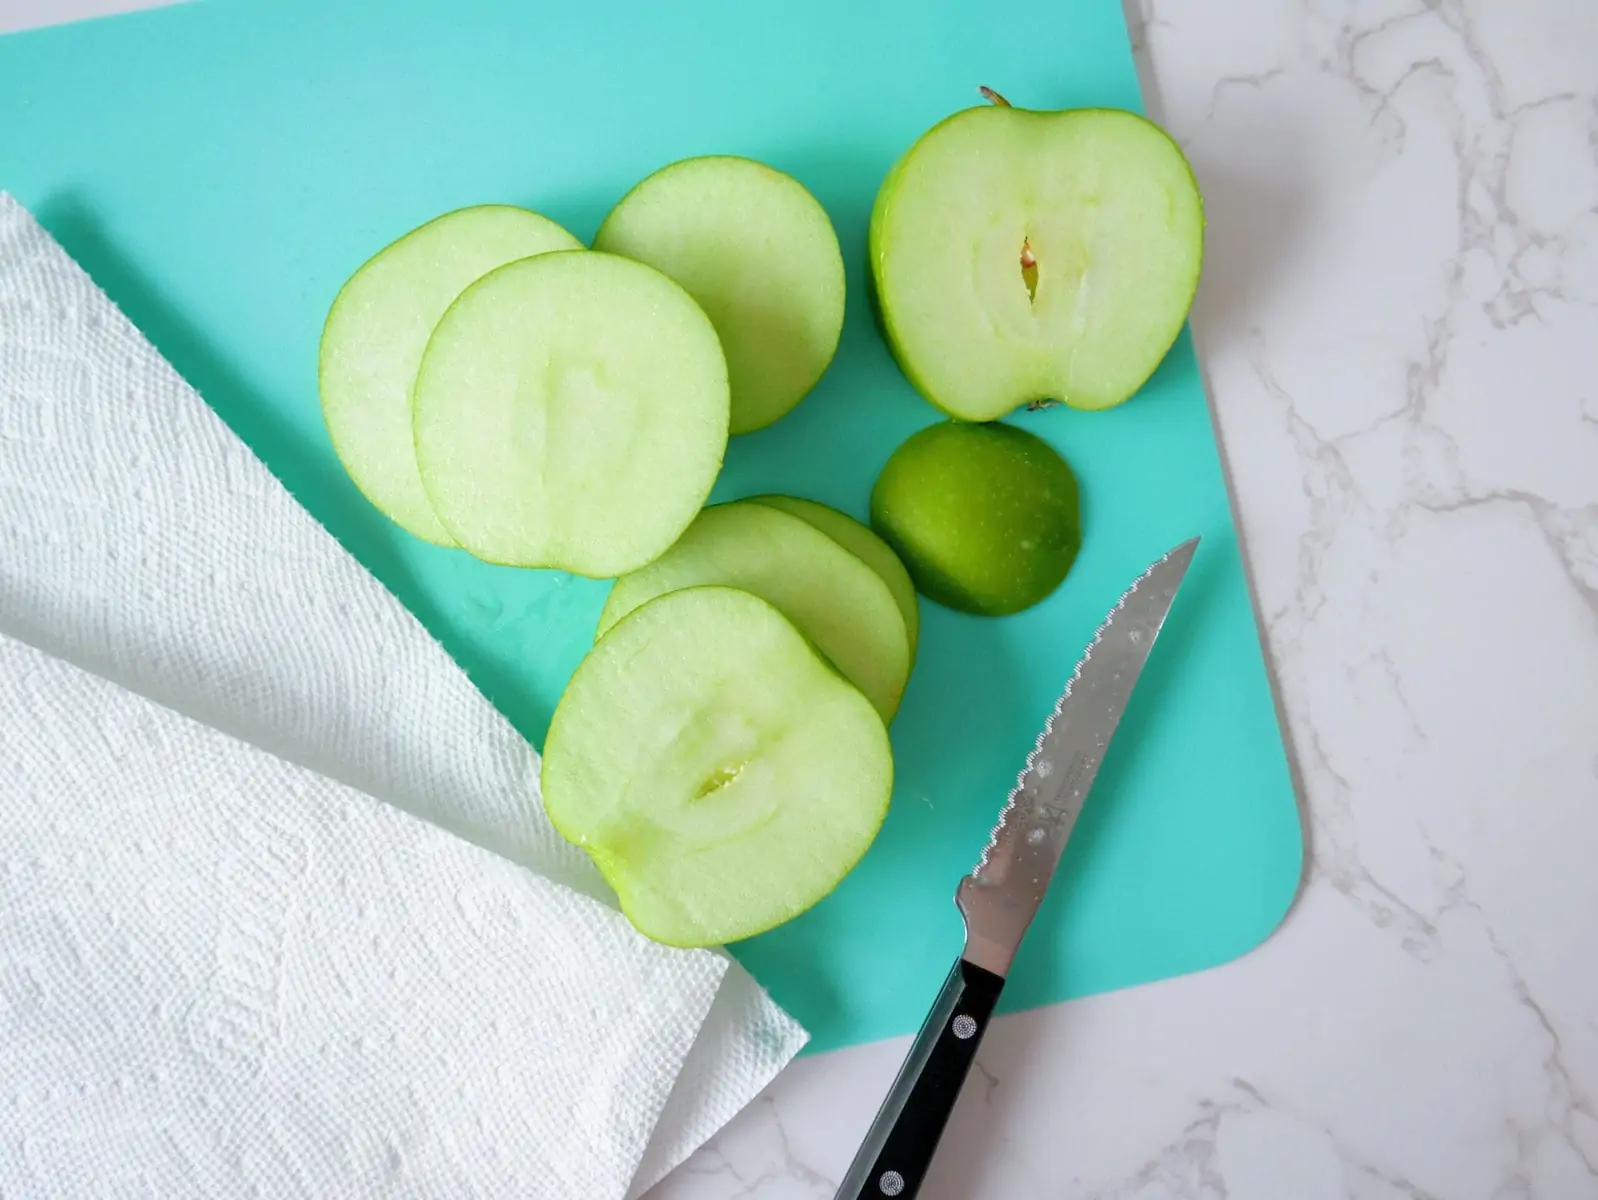
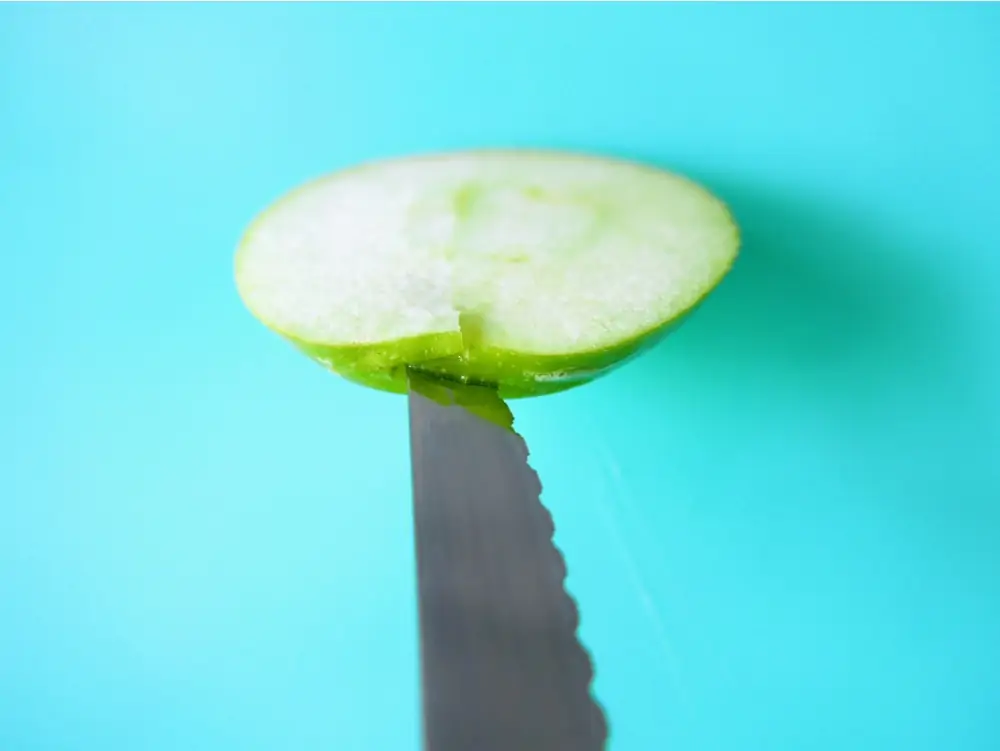
Begin by slicing the apple vertically to make 5-6 ¼” slices, avoiding the core of the apple. Pat dry between two paper towels.
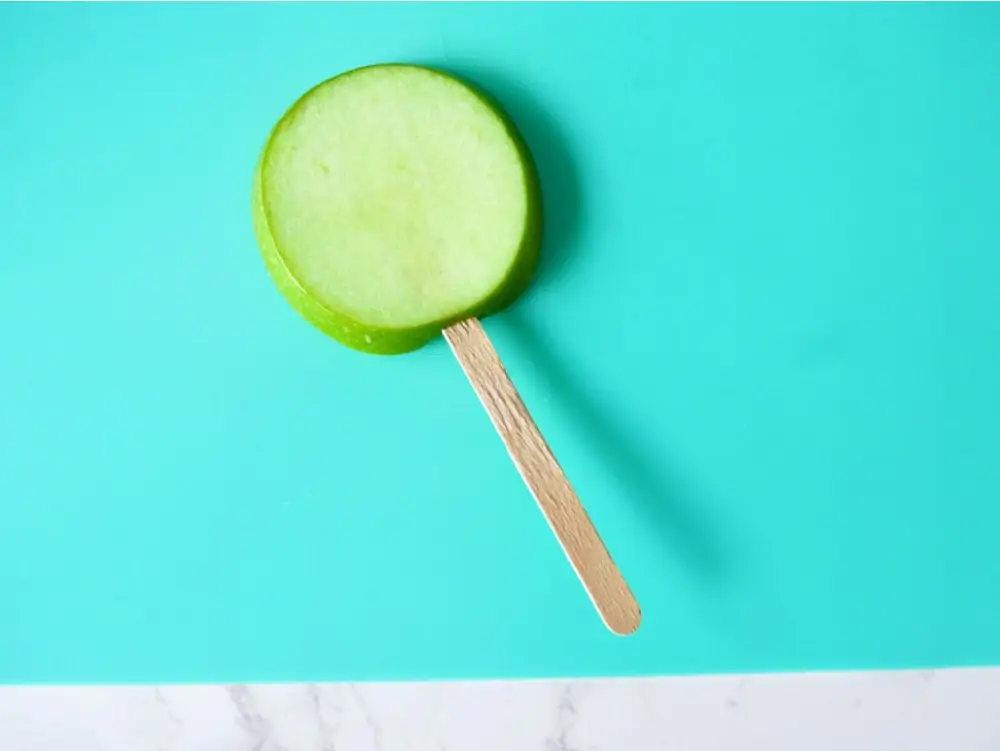
Make a small slit in the bottom of each apple slice, and insert a small popsicle stick about ½” into the apple slice.
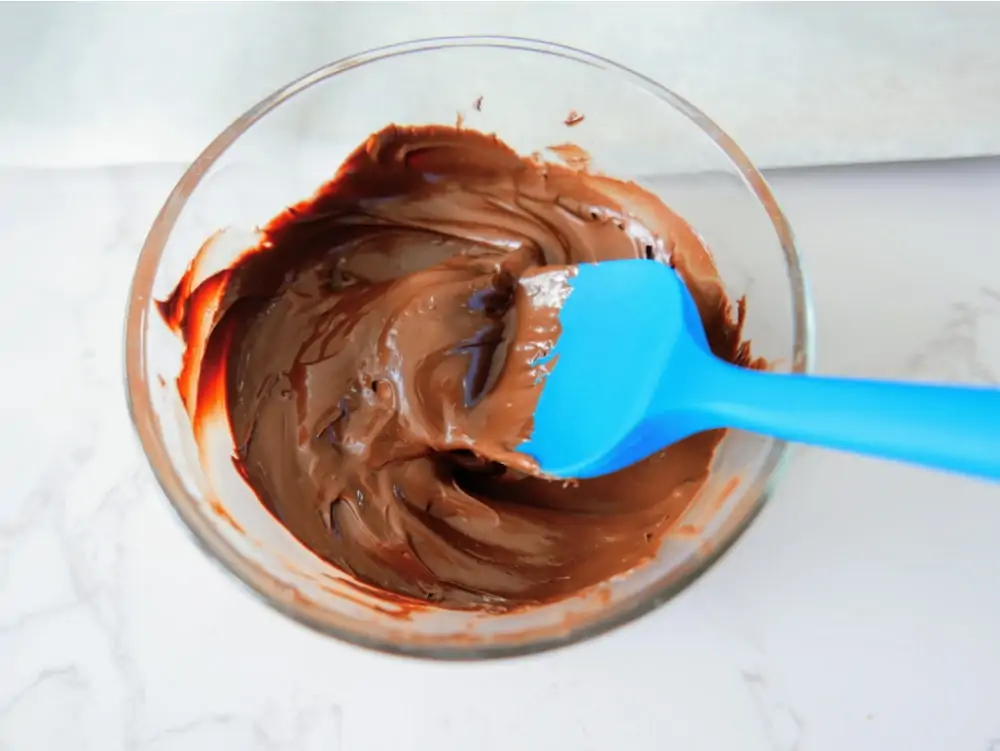
Melt the chocolate chips per directions on the package. (I melted them in the microwave, but you could also melt them on the stove top)
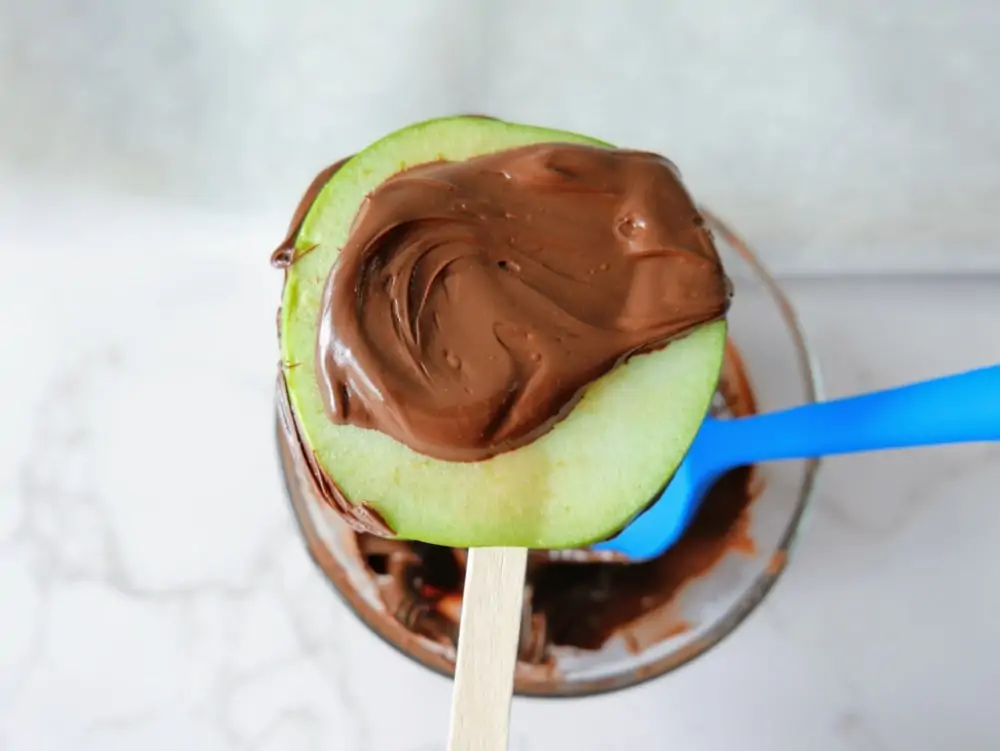
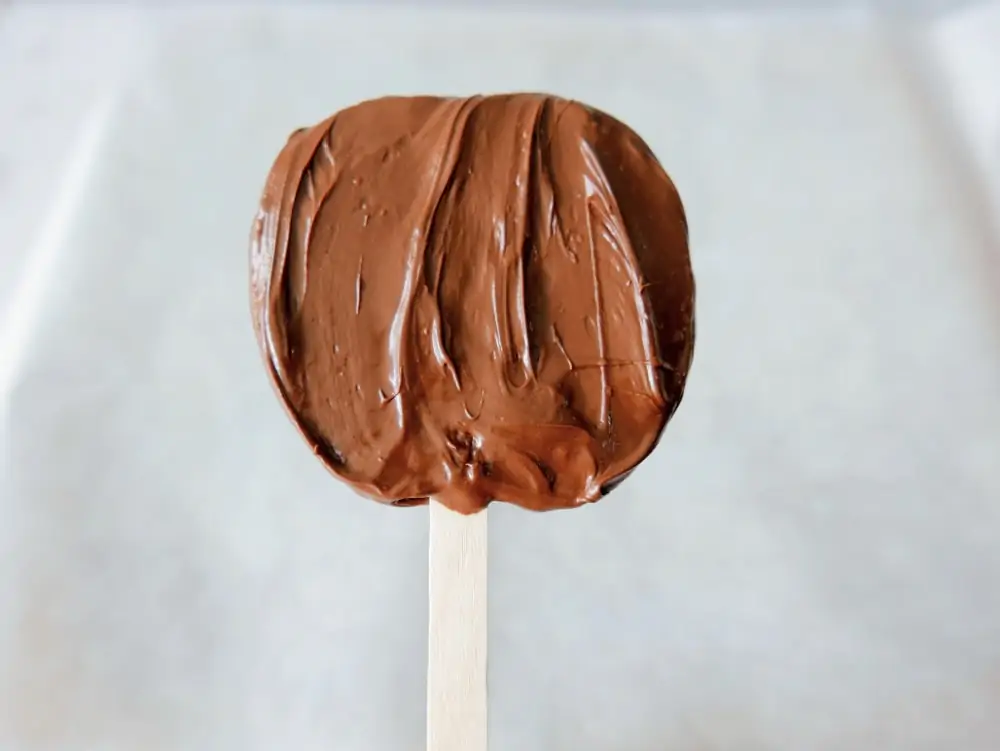
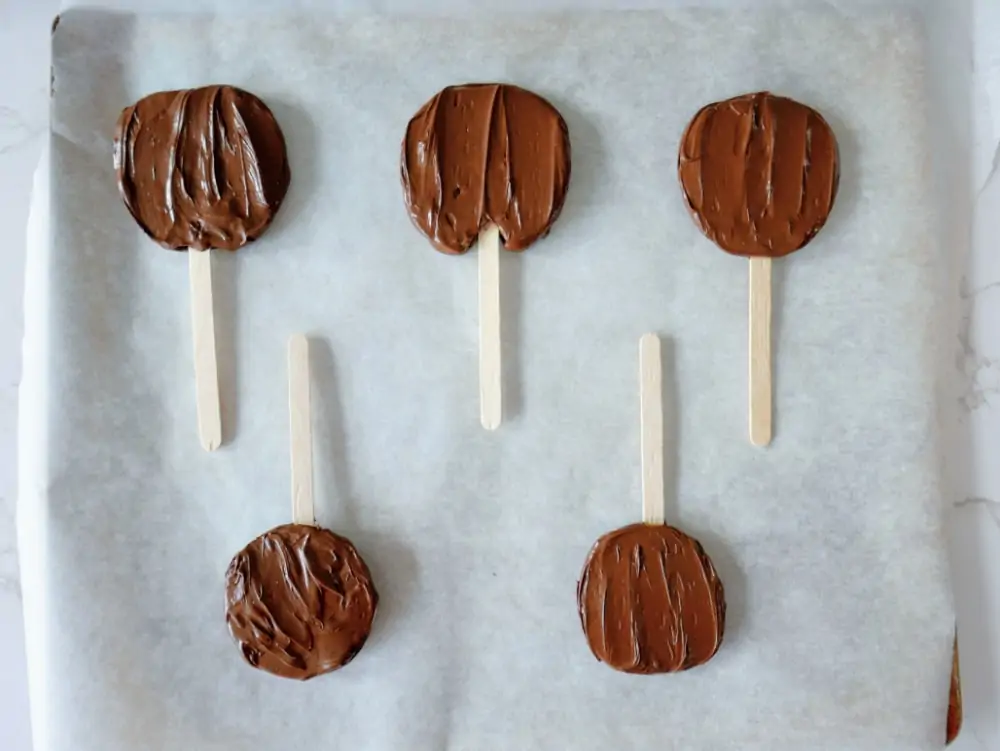
Using a spoon or silicone spatula, spoon the chocolate over the apple slices, covering all sides and the edges.
Place on a parchment paper lined baking sheet, and put in the refrigerator to harden for approximately 10 minutes.
Once hardened, remove from the refrigerator.
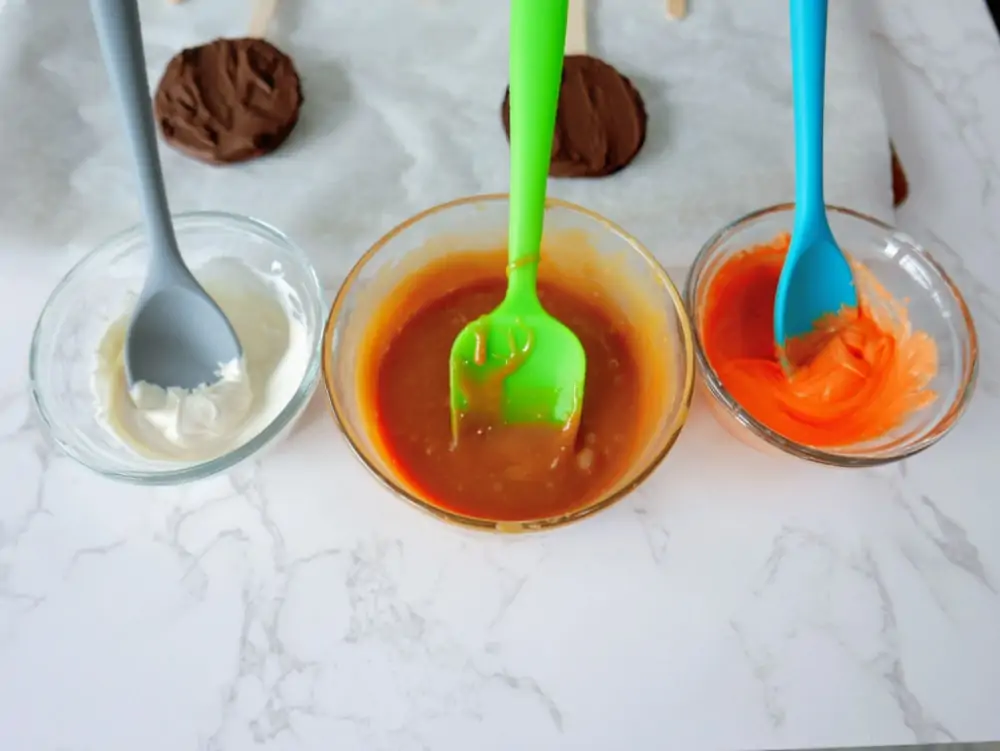
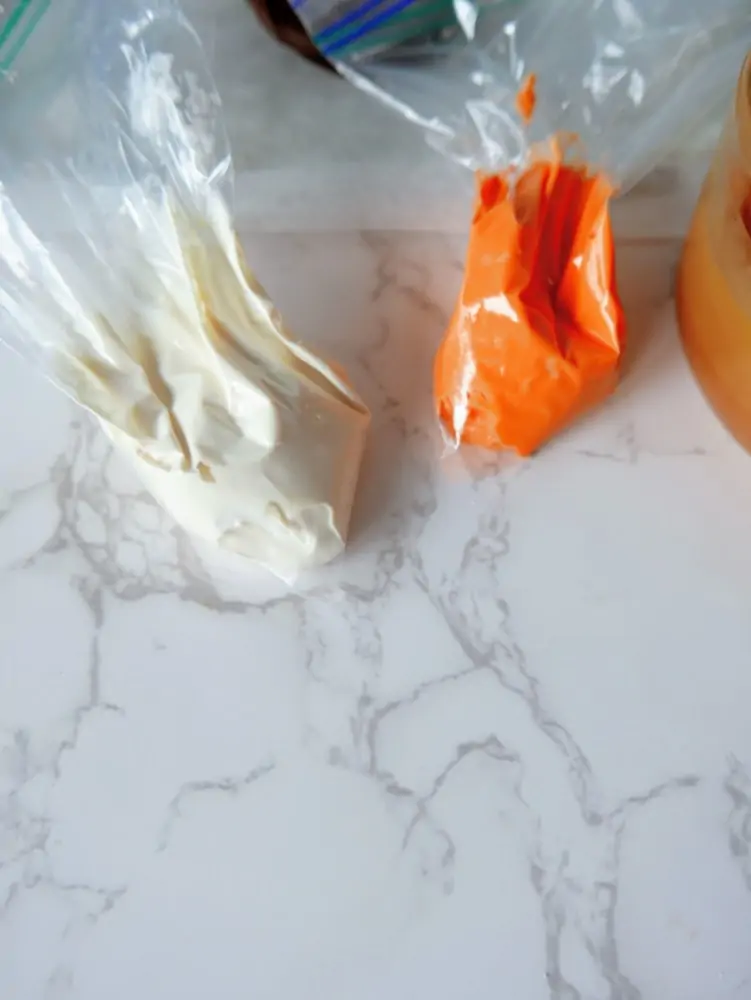
Melt the orange and white candy melts, and caramel bits according to the package instructions. Open a sandwich baggie, and drape over your hand.
Fill each bag with the melted orange and white candy melts. Cut the tip of the baggie with some kitchen shears.
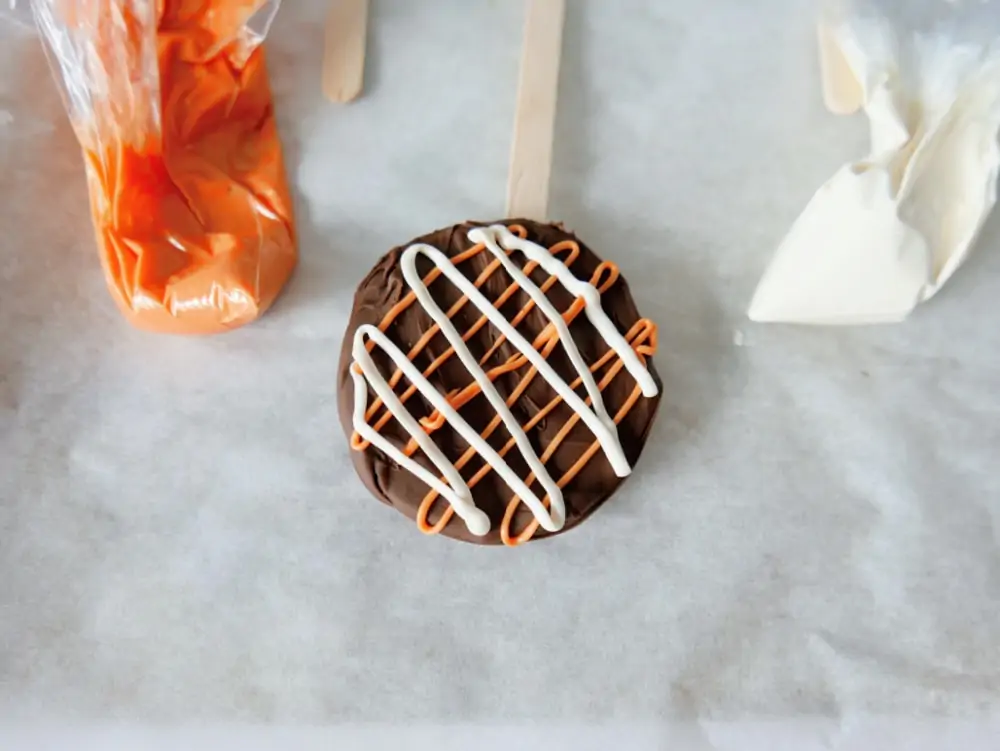
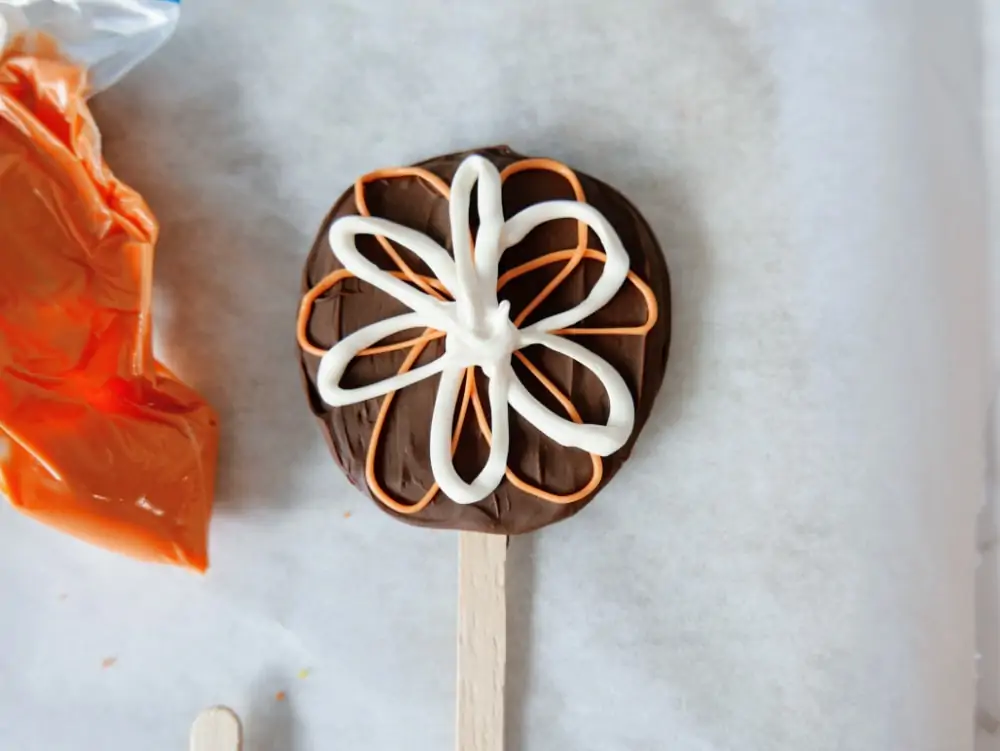
Pipe different designs of the orange and white candy melts onto the chocolate covered apple pops.
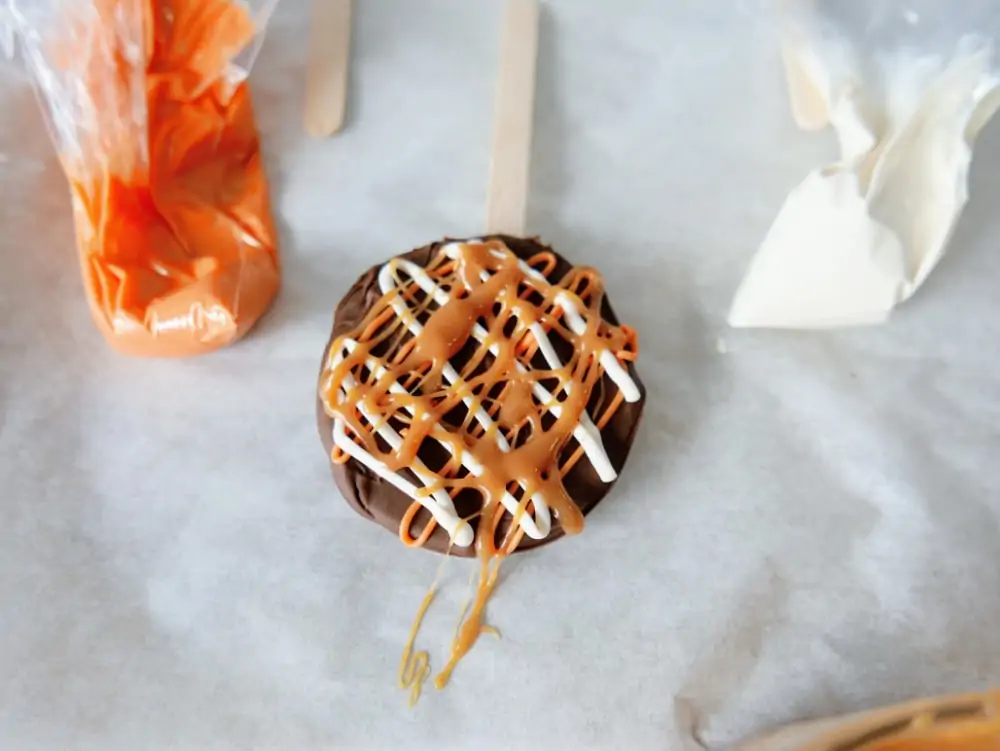
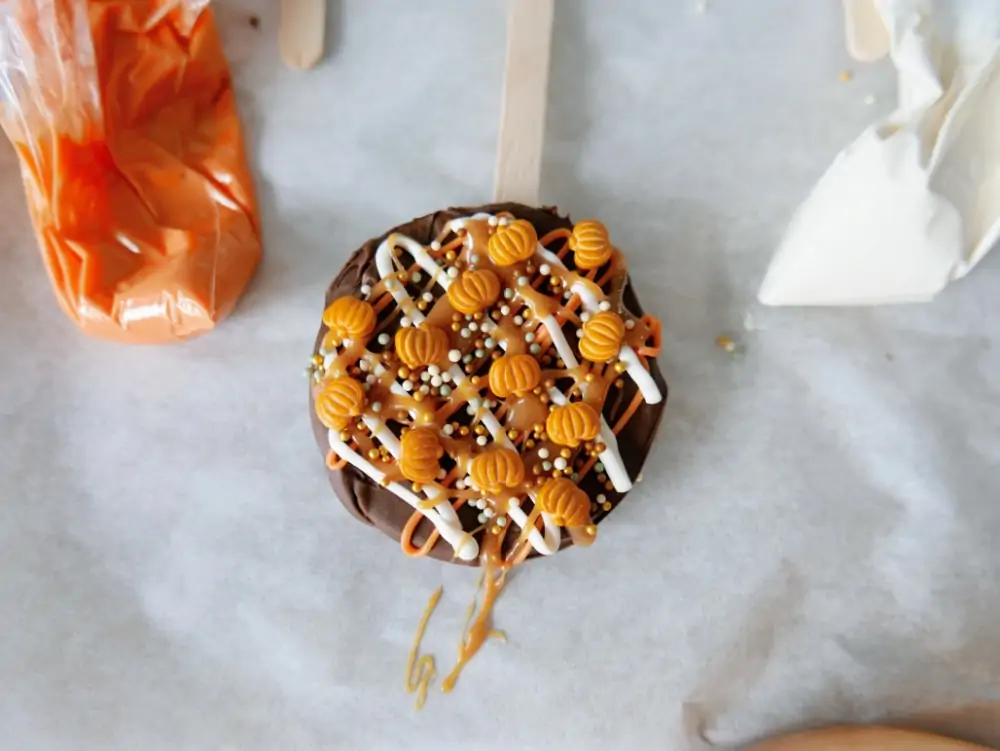
Next, drizzle the melted caramel on each pop, and then immediately add sprinkles. (I found it easiest to add the sprinkles to the caramel, as the orange and white candy melts harden too quickly, and it was hard to get the sprinkles to stick to them)
Let sit for a few minutes to allow the caramel to harden a bit, and then they are ready to enjoy!
Refrigerate any leftovers for up to 2 days. Let the pops reach room temperature before eating if removed from the refrigerator, or the chocolate will flake off very easily.
Printable Recipe for Caramel Apple Pops:
Here’s a printable version of the Caramel Apple Pops recipe for you to print off to put in your recipe binder or notebook.
Print
Caramel Apple Pops Recipe
Ingredients
Materials/Ingredients Needed:
- Large apple (I used Granny Smith, but you could use any variety you prefer)
- 1 ½ c milk chocolate chips (you could substitute dark chocolate, white chocolate, or mix milk and dark together)
- Small popsicle sticks
- Sharp knife
- Paper towels
- Spoon or silicone spatula
- ¼ c orange candy melts
- ¼ c white candy melts
- 2 sandwich size baggies
- ⅓ c caramel bits
- Sprinkles in various colors and shapes
- Parchment paper
- Baking sheet
Instructions
- Begin by slicing the apple vertically to make 5-6 ¼” slices, avoiding the core of the apple. Pat dry between two paper towels. Make a small slit in the bottom of each apple slice, and insert a small popsicle stick about ½” into the apple slice.
- Melt the chocolate chips per directions on the package. (I melted them in the microwave, but you could also melt them on the stove top) Using a spoon or silicone spatula, spoon the chocolate over the apple slices, covering all sides and the edges. Place on a parchment paper lined baking sheet, and put in the refrigerator to harden for approximately 10 minutes.
- Once hardened, remove from the refrigerator. Melt the orange and white candy melts, and caramel bits according to the package instructions. Open a sandwich baggie, and drape over your hand. Fill each bag with the melted orange and white candy melts. Cut the tip of the baggie with some kitchen shears. Pipe different designs of the orange and white candy melts onto the chocolate covered apple pops. Next, drizzle the melted caramel on each pop, and then immediately add sprinkles. (I found it easiest to add the sprinkles to the caramel, as the orange and white candy melts harden too quickly, and it was hard to get the sprinkles to stick to them)
- Let sit for a few minutes to allow the caramel to harden a bit, and then they are ready to enjoy! Refrigerate any leftovers for up to 2 days. Let the pops reach room temperature before eating if removed from the refrigerator, or the chocolate will flake off very easily.
More Fall Recipes to Try:

